
Loading ...
Loading ...
Loading ...
7
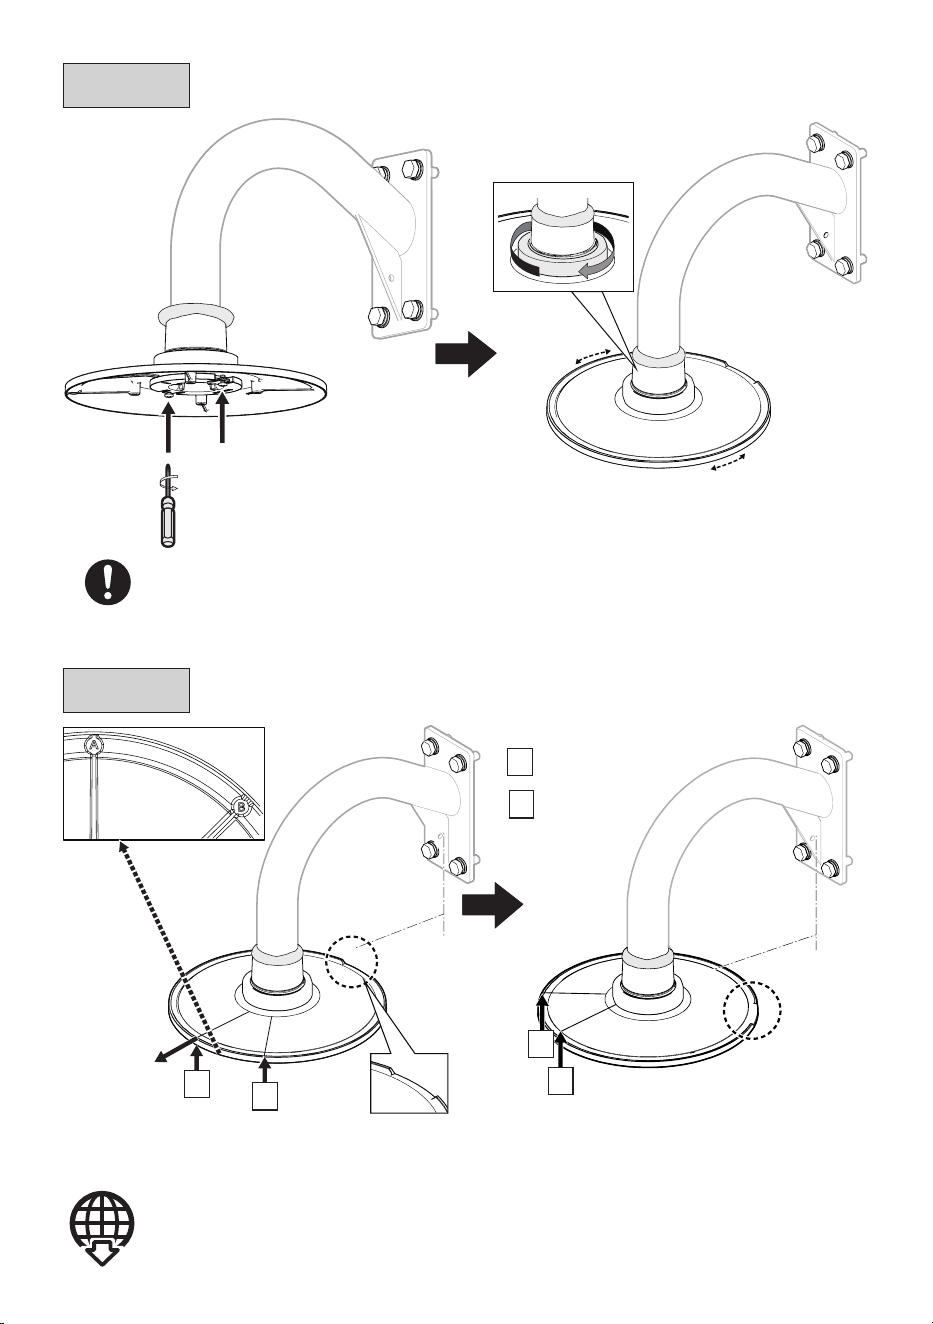
Step 5
Installation orientation of the camera and positional relationship on
the each camera.
Step 4
①
② Loosen the nut
• Do not loosen the fixing
scews more than four turns.
4 eyes camera:
Camera 2 is the center direction
3 eyes camera:
Normally not used in position B
Hereafter, illustrations are created using WV-QSR508F installation as an
example. Also, cables and safety wire may be omitted.
Using this product by shifting to a position other than “A” and “B” above
Refer to our technical information website <Control No.: C0513> for further information.
4 eyes camera:
Center direction between
camera 2 and 3
3 eyes camera:
Camera 2 is the center direction
A
B
Center direction of
the shooting screen
Water drain
B
A
A
Camera 2 of 3 eyes
camera
B
Camera 2 of 4
eyes camera
②
Loading ...
Loading ...
Loading ...