USER'S MANUAL/HANDBUCH/MANUEL DE L'UTILISATEUR
/MANUAL DEL USUARIO/MANUALE UTENTE/INSTRUKCJA OBSŁUGI
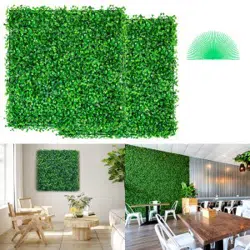
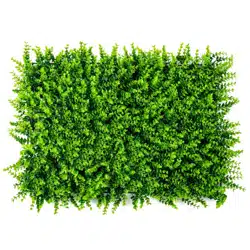
Artificial Hedge Fence Panel/Künstliche Hecke/
Panneau de Haie Artificielle/Panel de Cobertura Artificial/
Siepe Artificiale/Sztuczny żywopłot
OP70777/OP70778/OP70779/OP70780
EN DE FR ES IT PL
OP70777 OP70778
OP70779 OP70780

Different situation, different solution.
1)Balcony, fence, wire mesh,etc.
(Zip ties required, assembled by hands)
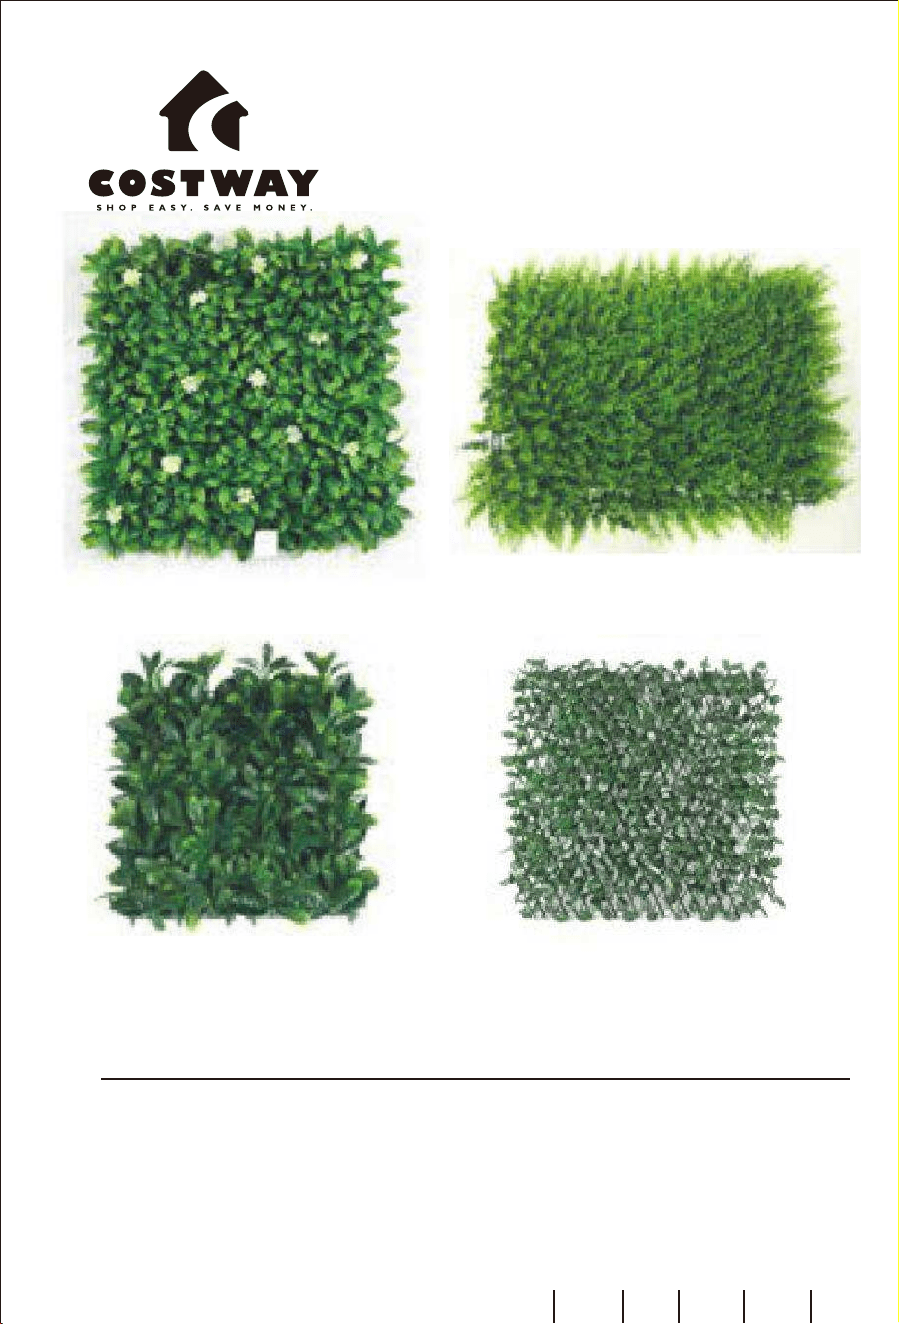
1.Please put the first one in the right position
(upper left or upper right corner) then use the zip
ties to secure this one.
2.Connect the first row at the top and use the
zip ties to secure them. Pay attention to the
direction of the interlocking connectors.
3.Splice the remaining panels to complete the
assembly.
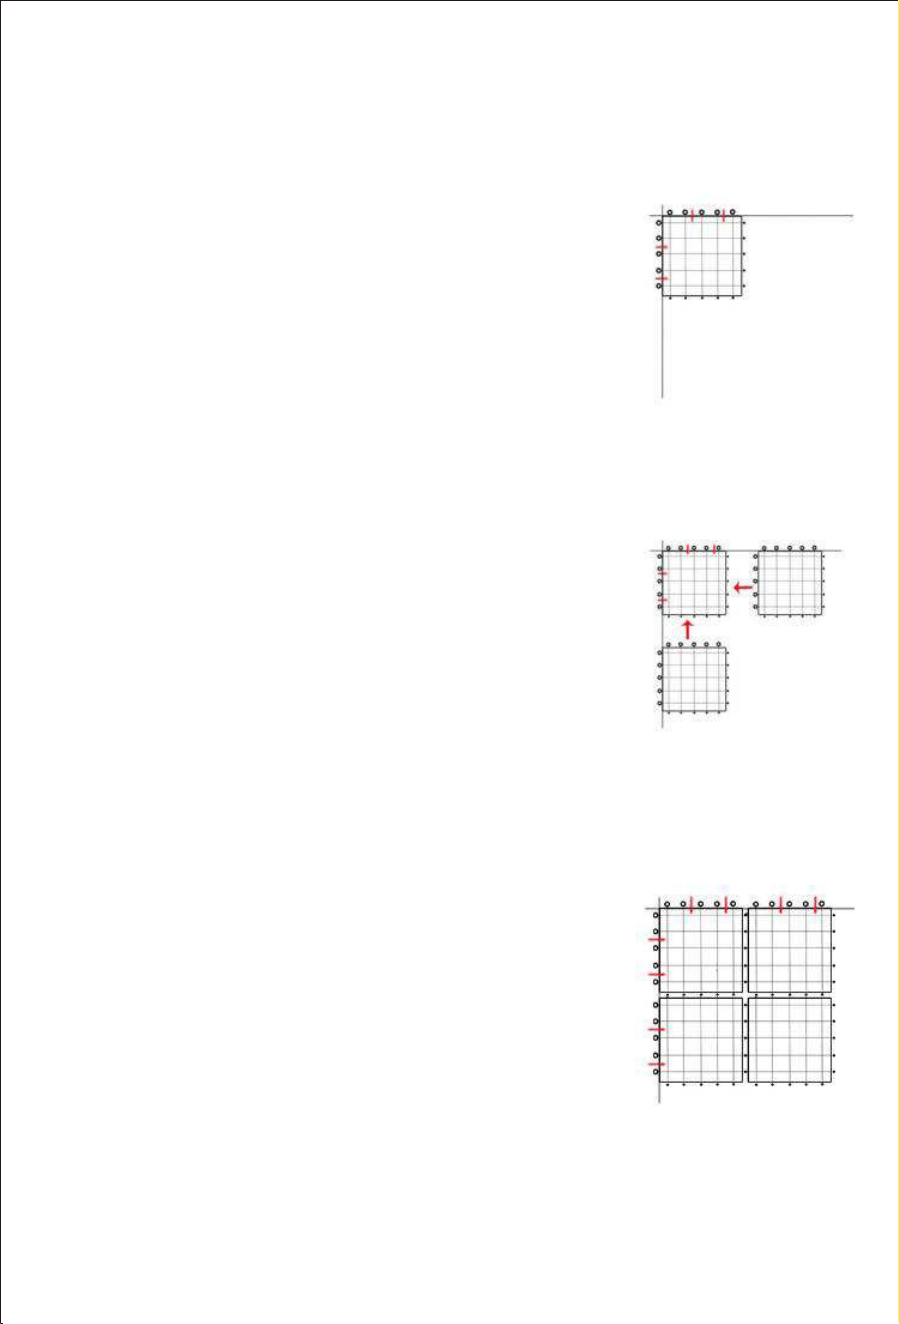
2)Wooden wall, concrete, brick, metal, etc.
(The ruler, pen, screw or staples required)
1.Please draw crossed vertical and horizontal
lines with the ruler in the wall to determine the
position of all panels.
2.Put the first one in the right position on the lines
(upper left or upper right corner) then use the
screw (staples) to fix this one.
3.Connect the panels on lines and fix them
by screw(staples). Pay attention to the direction
of the interlocking connectors.
4.Splice the remaining panels to complete the assembly.
02

Unterschiedliche Situation, unterschiedliche Lösung.
1) Balkon, Zaun, Drahtgeflecht usw. (Kabelbinder
erforderlich, von Hand zusammengebaut)
1.Bitte bringen Sie den ersten in die rechte Position (obere
linke oder obere rechte Ecke) und befestigen Sie ihn mit
den Kabelbindern.
2.Schließen Sie die erste Reihe oben an und befestigen Sie
sie mit den Kabelbindern. Achten Sie auf die Richtung der
Verriegelungsstecker.
3.Splizieren Sie die verbleibenden Paneele, um die
Montage abzuschließen.
2) Holzwand, Beton, Ziegel, Metall usw. (Lineal, Stift,
Schraube oder Heftklammern erforderlich)
1.Bitte zeichnen Sie gekreuzte vertikale und horizontale
Linien mit dem Lineal in der Wand, um die Position aller
Paneele zu bestimmen.
2. Setzen Sie die erste in die richtige Position auf die
Linien (obere linke oder obere rechte Ecke) und befestigen
Sie diese mit der Schraube (Heftklammern).
3. Verbinden Sie die Paneele mit Leitungen und befestigen
Sie sie mit einer Schraube (Heftklammern). Achten Sie
auf die Richtung der Verriegelungsstecker.
4.Splizieren Sie die verbleibenden Paneele, um die
Montage abzuschließen.
03

Situation différente, solution différente.
1) Balcon, clôture, grillage, etc. (Assembler à la main avec
des attaches de câble)
Veuillez mettre le premier panneau de haie dans la bonne
position (coin supérieur gauche ou supérieur droit) puis
utiliser les attaches de câble pour fixer celui-ci.
2. Reliez la première rangée en haut et utilisez les attaches
de câble pour les fixer. Faites attention à la direction des
connecteurs de verrouillage.
3. Raccordez les panneaux restants pour compléter
l’assemblage.
2) Mur en bois, béton, brique, métal, etc. (La règle, le
stylo, la vis ou les agrafes sont nécessaires)
1. Veuillez tracer des lignes verticales et horizontales
croisées avec la règle dans le mur pour déterminer la
position de tous les panneaux.
2. Placez le premier panneau dans la bonne position sur
les lignes (coin supérieur gauche ou supérieur droit) puis
utilisez la vis (agrafes) pour fixer celui-ci.
3. Reliez les panneaux sur les lignes et fixez-les à l’aide
de vis (agrafes). Faites attention à la direction des
connecteurs de verrouillage.
4. Raccordez les panneaux restants pour compléter
l’assemblage.
04
Situación diferente, solución diferente.
1) Balcón, valla, malla de alambre, etc. (Monte a mano
con bridas para cables)
1. Coloque el primer panel de cobertura en la posición
correcta (esquina superior izquierda o esquina superior
derecha) y luego use las bridas para asegurarlo.
2. Conecte la primera fila en la parte superior y use las
bridas para asegurarlos. Preste atención a la dirección de
los conectores de enclavamiento.
3. Empalme los paneles restantes para completar el
montaje.
2) Pared de madera, hormigón, ladrillo, metal, etc. (Se
requieren la regla, el bolígrafo, el tornillo o las grapas)
1. Dibuje líneas cruzadas verticales y horizontales con la
regla en la pared para determinar la posición de todos los
paneles.
2. Coloque el primer panel de cobertura en la posición
correcta en las líneas (esquina superior izquierda o
esquina superior derecha) y luego use el tornillo (grapas)
para fijarlo.
3. Conecte los paneles en las líneas y fíjelos con tornillos
(grapas). Preste atención a la dirección de los conectores
de enclavamiento.
4. Empalme los paneles restantes para completar el
montaje.
05

Situazione diversa, soluzione diversa.
1) Balcone, recinzione, rete metallica, ecc. (Assemblare a
mano con fascette)
1. Si prega di mettere il primo nella posizione giusta
(angolo in alto a sinistra o in alto a destra) e poi utilizzare
le fascette per fissarlo.
2. Collegare la prima fila in alto e usa le fascette per
fissarle. Prestare attenzione alla direzione dei connettori
ad incastro.
3. Collegare i pannelli rimanenti per completare il
montaggio.
2) Parete in legno, cemento, mattoni, metallo, ecc. (Sono
necessari righello, penna, vite o graffette)
1. Tracciare linee verticali e orizzontali incrociate con il
righello nel muro per determinare la posizione di tutti i
pannelli.
2. Mettere il primo nella posizione giusta sulle linee
(angolo in alto a sinistra o in alto a destra) e poi utilizzare
la vite (graffette) per fissare questo.
3. Collegare i pannelli su linee e fissarli con viti
(graffette). Prestare attenzione alla direzione dei
connettori ad incastro.
4. Collegare i pannelli rimanenti per completare il
montaggio.
06

Ustawienie i montaż w zależności od preferencji:
1) Balkon, ogrodzenie, siatka druciana itp. (Zmontować
ręcznie za pomocą trytytek)
Umieść pierwszy panel żywopłotu we właściwej pozycji
(lewy górny lub prawy górny róg), a następnie użyj
trytytek , aby go zamocować.
2. Połącz pierwszy rząd u góry i zabezpiecz je trytytkami.
Zwróć uwagę na kierunek zatrzasków.
3. Połącz pozostałe fragmenty, aby zakończyć montaż.
2) Ściana wykonana z drewna, betonu, cegły, stali itp.
(Potrzebna jest linijka, długopis, śruba lub zszywki)
1. Narysować pionowe i poziome linie skrzyżowane z
linijką na ścianie, aby określić położenie wszystkich
fragmentów.
2. Umieść pierwszy fragment we właściwej pozycji na
liniach (lewy górny lub prawy górny róg), a następnie
zabezpiecz go śrubą (lub zszywkami).
3. Podłącz panele i zabezpiecz je śrubami (zszywkami).
Zwróć uwagę na kierunek zatrzasków.
4. Połącz pozostałe panele, aby zakończyć montaż.
07

UNITED STATES
CANADA
UNITED KINGDOM
GERMANY
FRANCE
ITALY
SPAIN
JAPAN
RUSSIA
AUSTRALIA
With your inspiring rating, COSTWAY will be more consistent to offer you EASY
SHOPPING EXPERIENCE, GOOD PRODUCTS and EFFICIENT SERVICE!
Mit Ihrer inspirierenden Bewertung wird COSTWAY konsistenter sein, um Ihnen
EIN SCHÖNES EINKAUFSERLEBNIS, GUTE PRODUKTE und EFFIZIENTEN
SERVICE zu bieten!
Avec votre évaluation inspirante, COSTWAY continuera à fournir une
EXPÉRIENCE D’ACHAT PRATIQUE, des PRODUITS DE QUALITÉ et un
SERVICE EFFICACE !
Con su calificación inspiradora, COSTWAY será más consistente para ofrecerle
EXPERIENCIA DE COMPRA FÁCIL, BUENOS PRODUCTOS y SERVICIO
EFICIENTE.
Con la tua valutazione incoraggiante, COSTWAY sarà più coerente per offrirti
ESPERIENZA DI ACQUISTO FACILE, BUONI PRODOTTI e SERVIZIO
EFFICIENTE!
Dzięki twojej opinii COSTWAY będzie mógł oferować jeszcze WYGODNIEJSZE
ZAKUPY, LEPSZE PRODUKTY i SPRAWNIEJSZĄ OBSŁUGĘ KLIENTA.
US office: Fontana
UK office: Ipswich
DE office: FDS GmbH, Neuer Höltigbaum 36, 22143 Hamburg, Deutschland
FR office : 26 RUE DU VERTUQUET, 59960 NEUVILLE EN FERRAIN, FRANCE