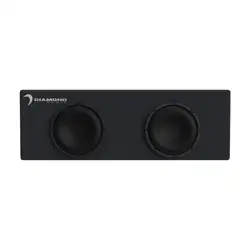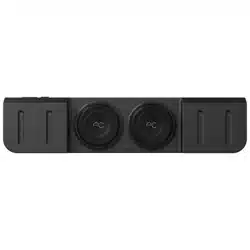
Dual 10” Under Seat Subwoofer Enclosure
For FORD Trucks
2015+ F-150 Super Crew
2017+ F-250 / F-350 Super Duty Crew Cab
INSTALLATION GUIDE
NOTE! Read this installation guide thoroughly before disassembling or modifying the
vehicle. Installation of this product requires technical skill, experience and specialized
tools. If in doubt, it’s recommended to have it professionally installed by an authorized
Stinger or AudioControl Dealer.
TXFF15D10
A video installation guide is available at:
2
INSTALLATION NOTES
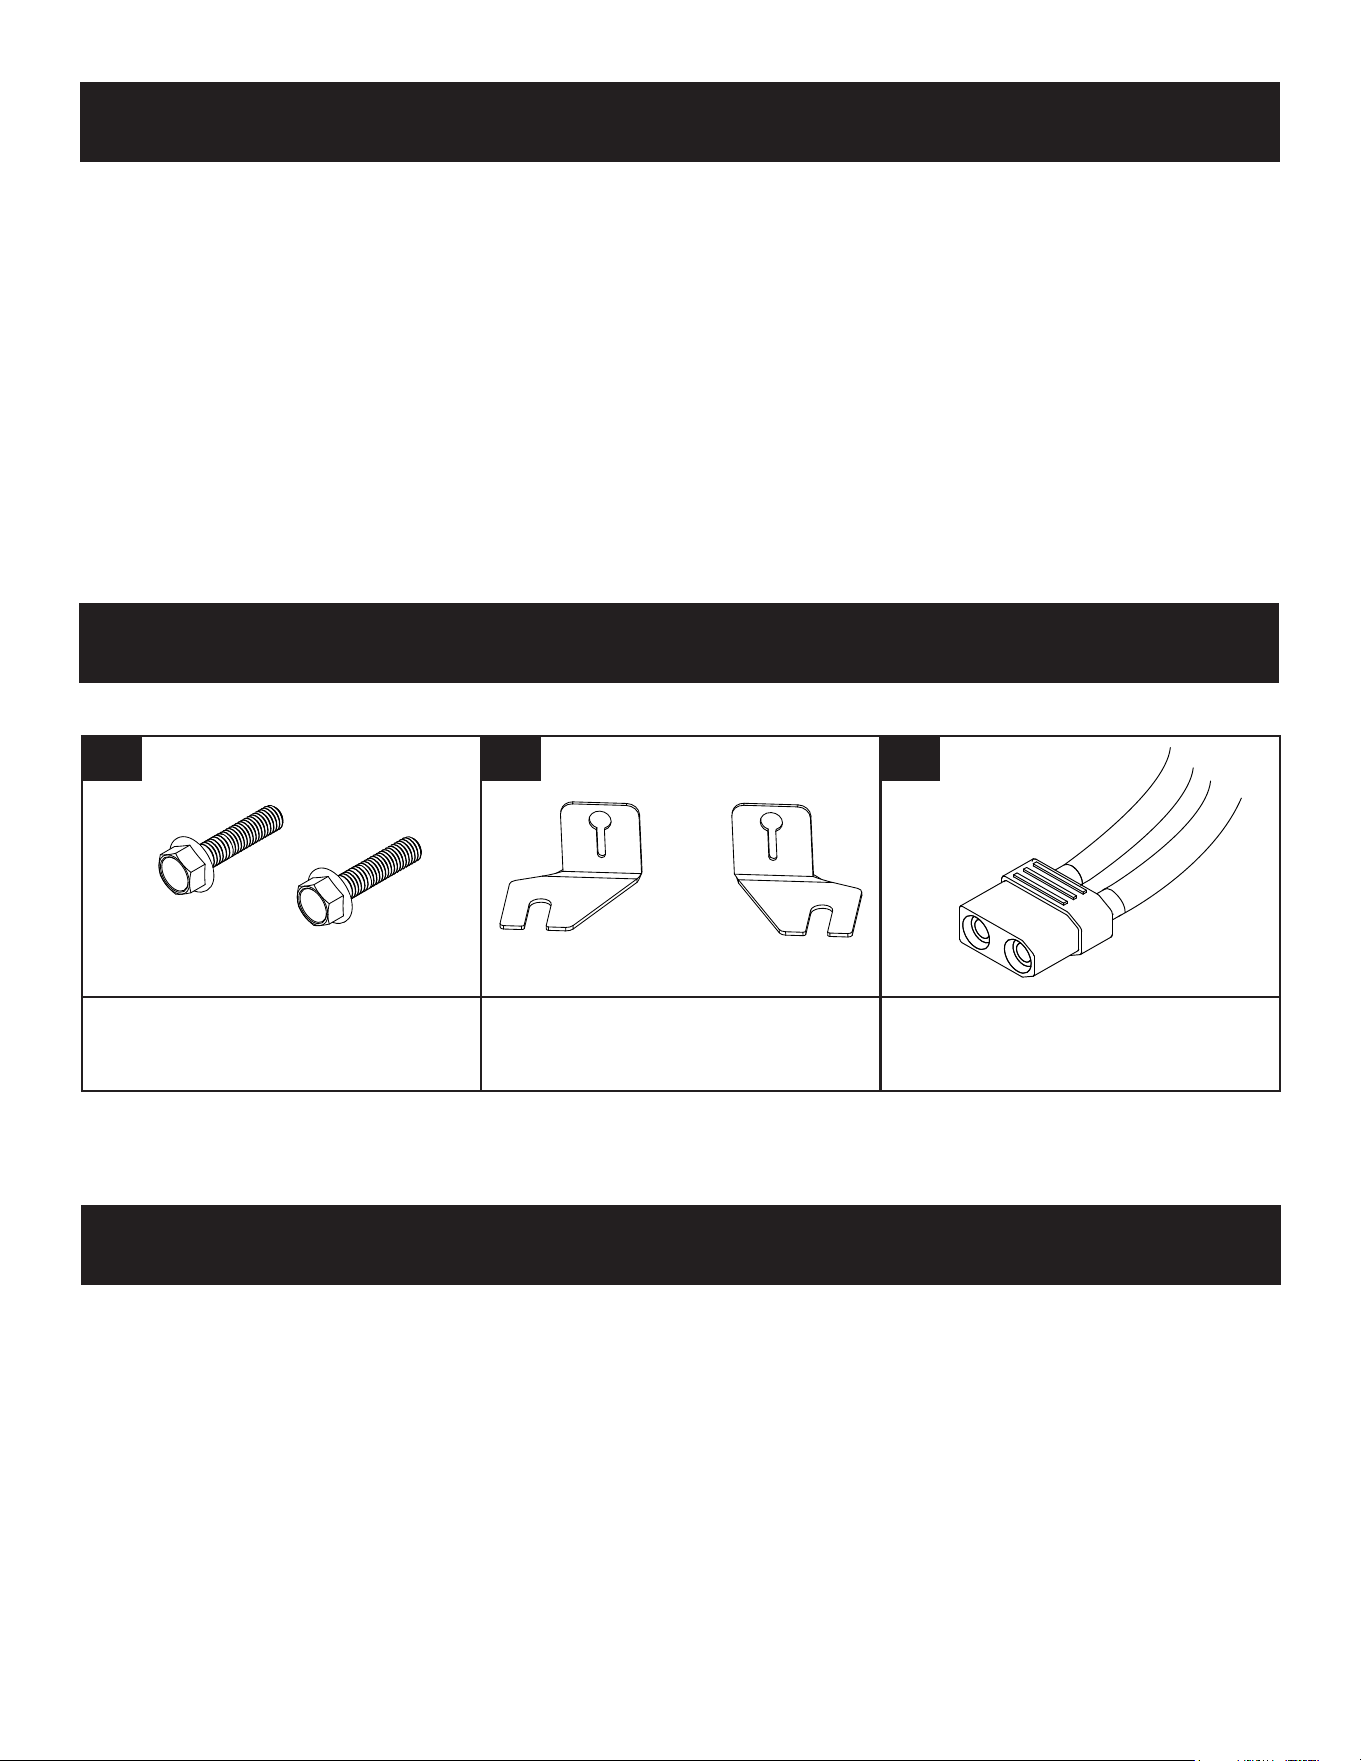
INCLUDED HARDWARE
RECOMMENDED TOOLS
M6 FLANGED HEX HEAD BOLT (2)
75mm / 2.95in Length
ENCLOSURE MOUNTING BRACKETS (2) QUICK-PLUG SPEAKER CONNECTOR (1)
Ratchet
13mm Socket
10mm Wrench
Wire Strippers
Optional:
Wire Crimper
Solder/Solder Gun
The TXFF15D10 is designed to mount under the rear seat of FORD Super Crew Trucks
Some installation steps are more easily completed with a second person.
Speaker wire is required.
Final enclosure impedance: 2ohms.
Recommended amplifier rating: 400-1,200 watts @ 2ohms.
1 2
3
D = Driver P = Passenger
3
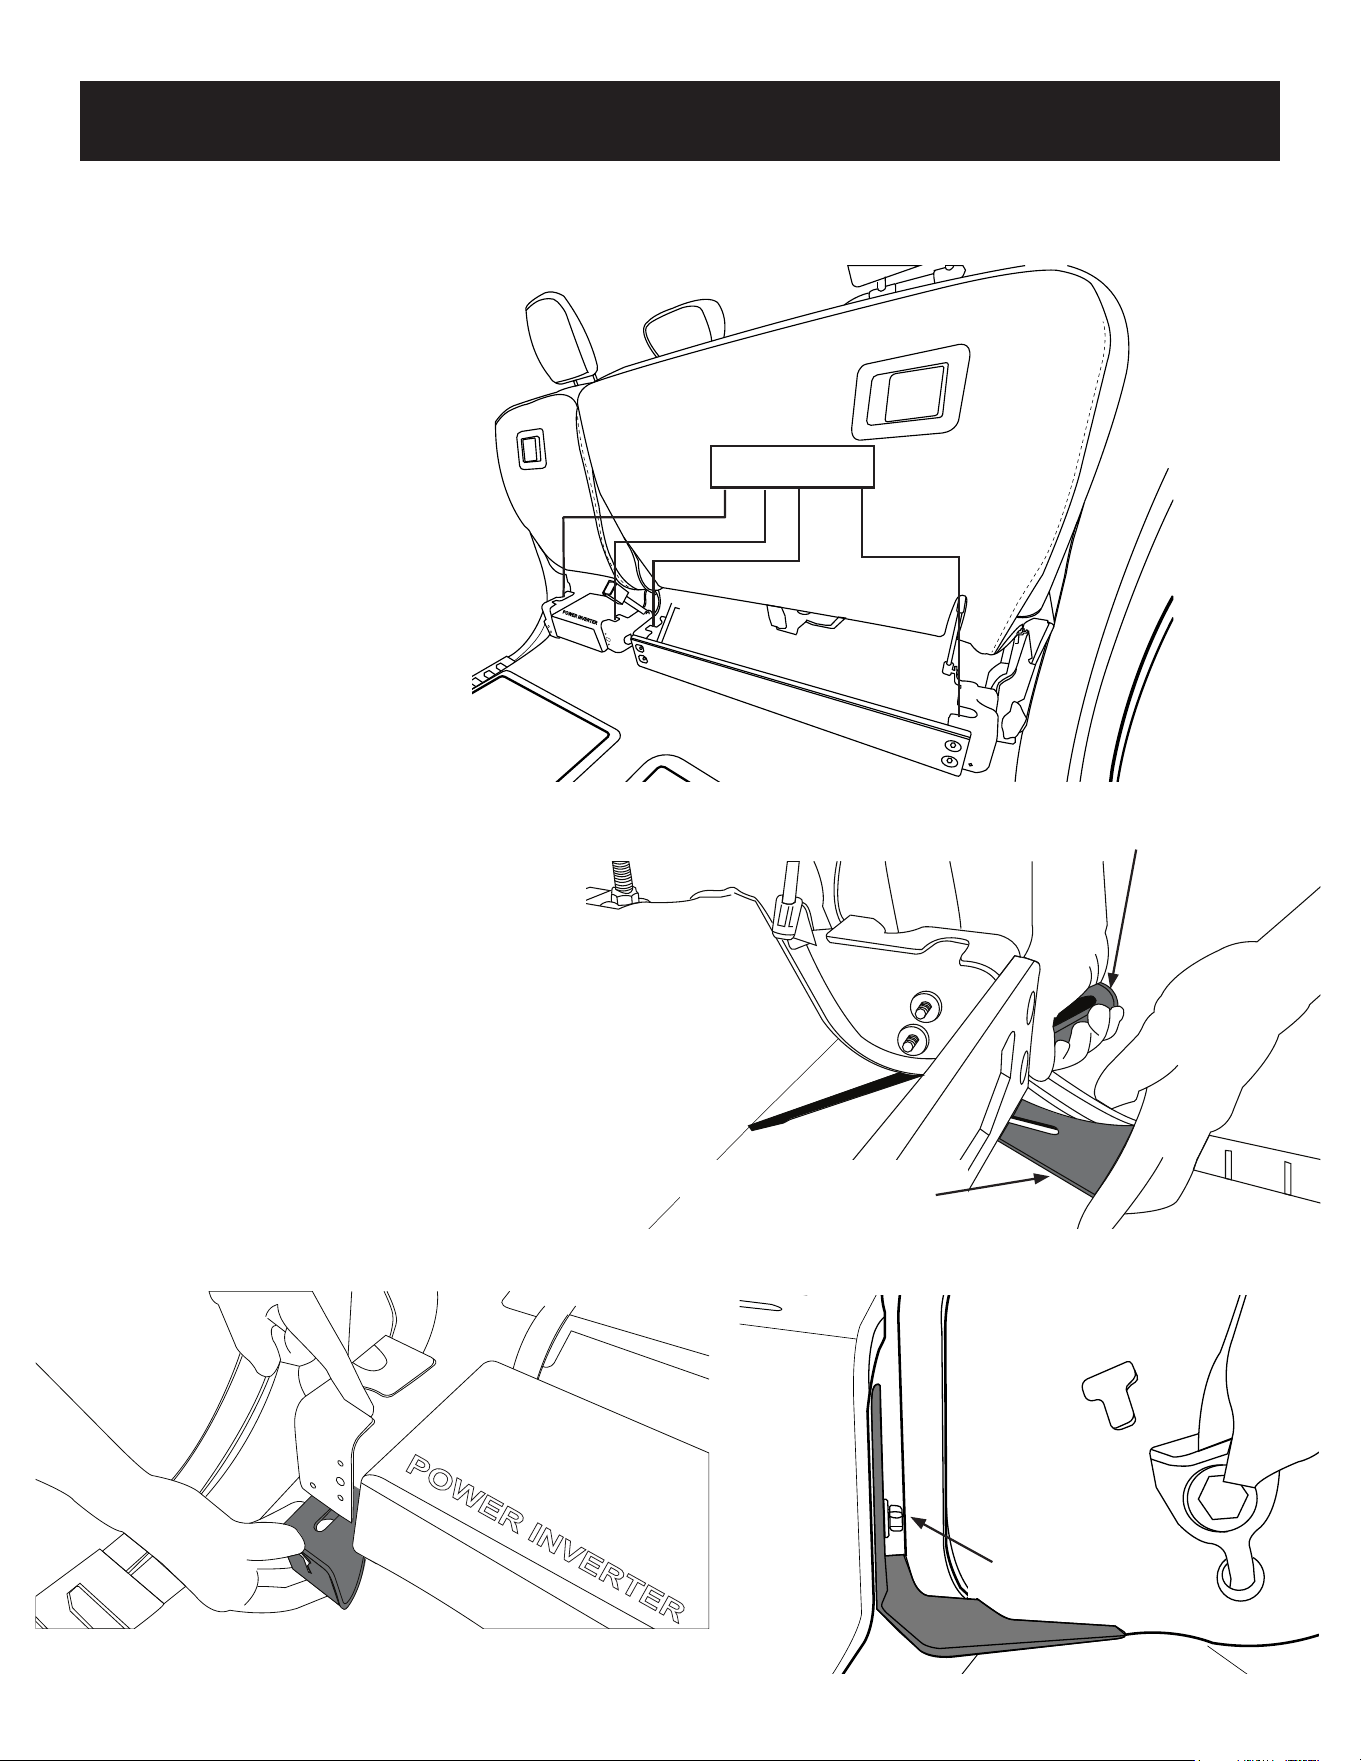
INSTALLATION
Step 2
Step 1
Lift up the Rear seat to expose the 4
front seat mounting bolts.
Use a 13mm socket to loosen the 4 hex
bolts enough to allow the brackets to
slide under the seat brackets.
Use a large athead screw driver and slide
it under the seat frame. Take the driver side
enclosure mounting bracket and slide under
the seat bracket.
Push the bracket toward the back of the
vehicle, leaving enough space to allow a
wrench to t between the space.
Follow the same instructions above for
installing the passenger side enclosure
mounting bracket.
Once both brackets are installed, tighten the
4 13mm Hex bolts.
Seat Bolts
Leave Space
for Wrench
Flathead Screwdriver
Enclosure Mounting
Bracket
4
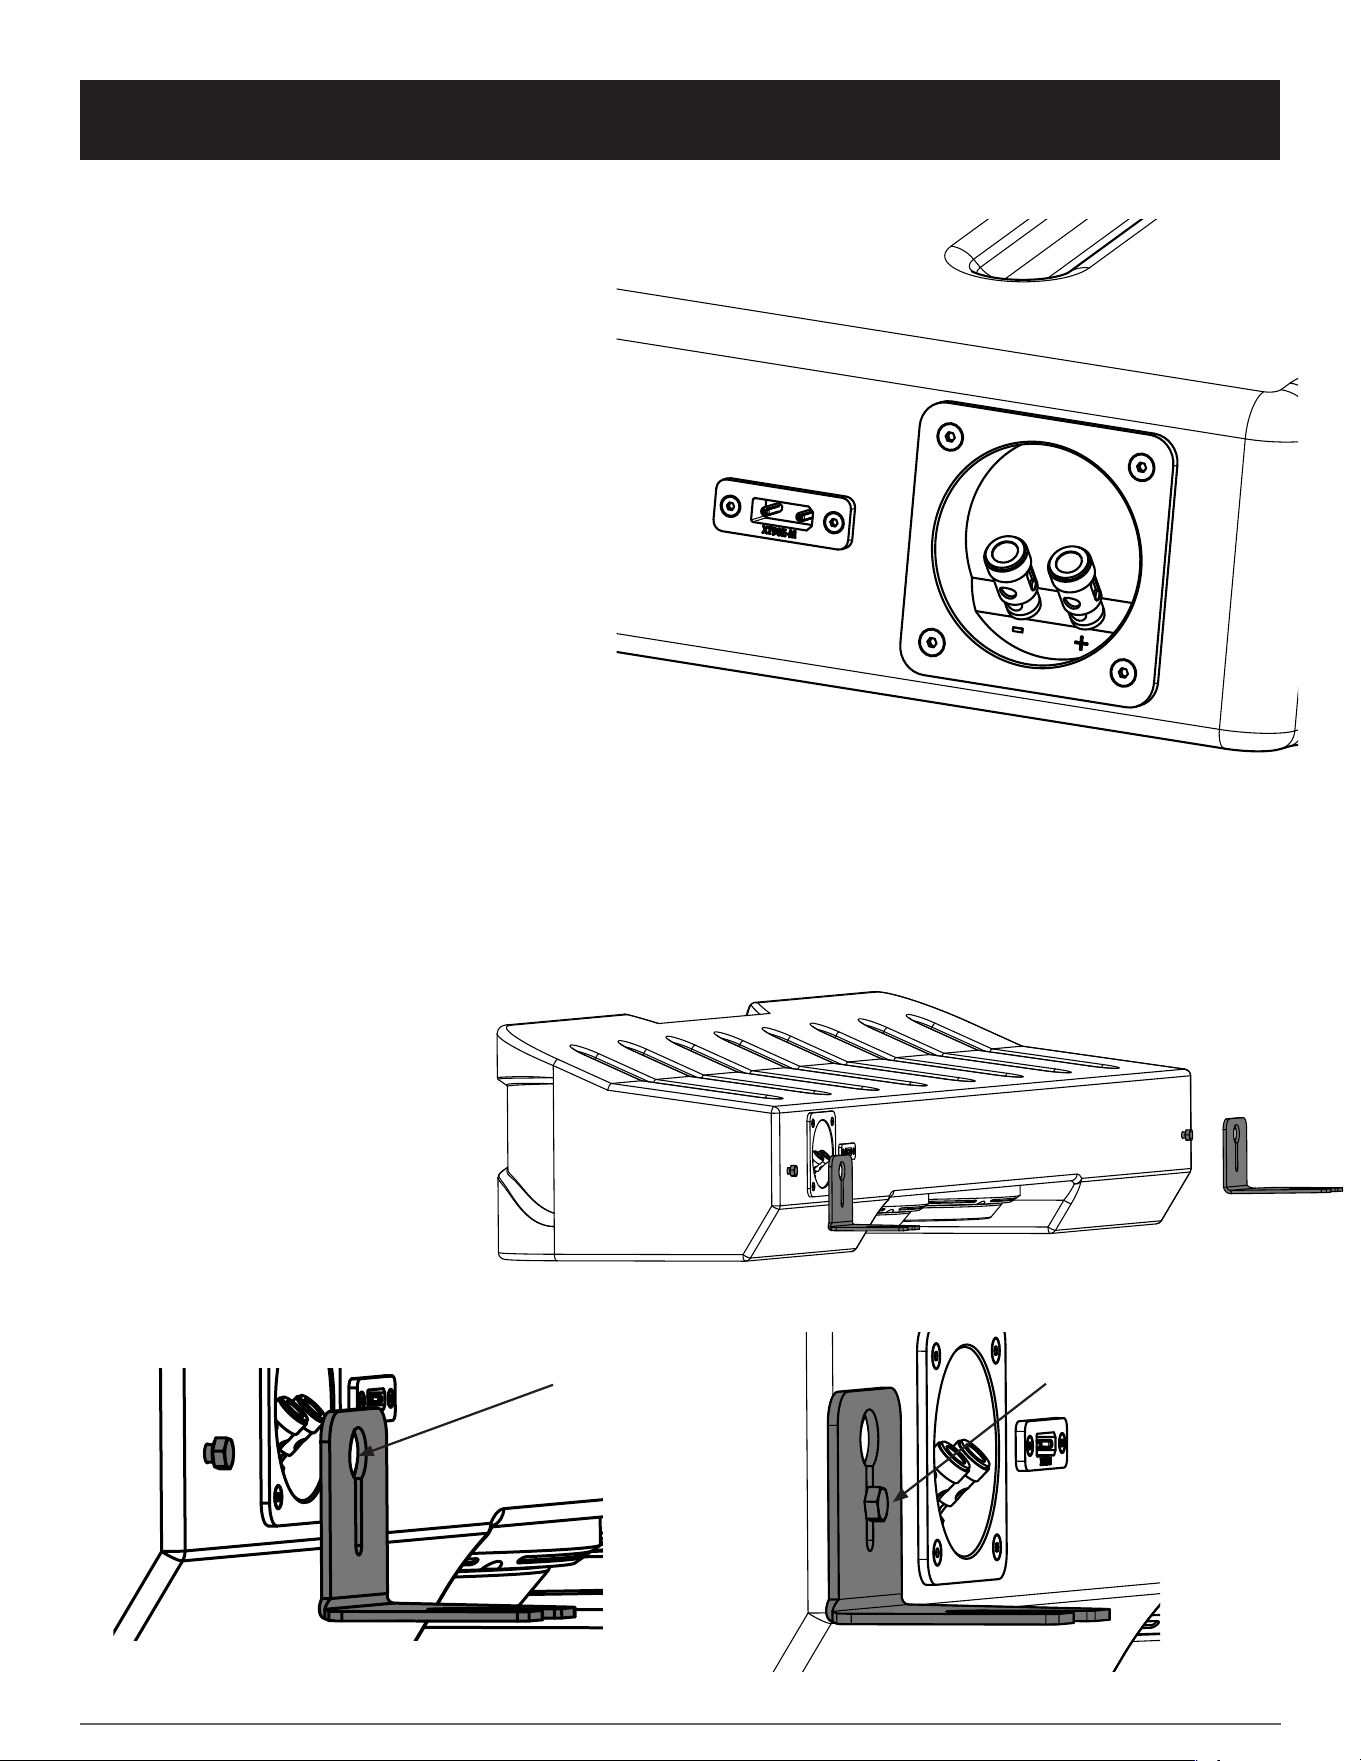
INSTALLATION
Step 3
Place the speaker enclosure in
the vehicle with the rear of the
enclosure facing the back seat.
Route speaker wire to the rear of
the enclosure and connect using
either the Push Terminals or the
Quick-Plug connector.
Red = Positive (+)
Black = Negative (-)
NOTE: Do not connect speaker
leads to both of the enclosure
connections. Use one or the
other.
Step 4
Slide the enclosure into the brackets.
Align both bolts on the enclosure to
slide into the larger key hole opening.
Once both bolts are aligned properly
push down on the enclosure to lock
it in place. Tighten both botls on the
back of the enclosure with a 10
mm
wrench.
Key Hole
Bracket Mounted
to Enclosure
5
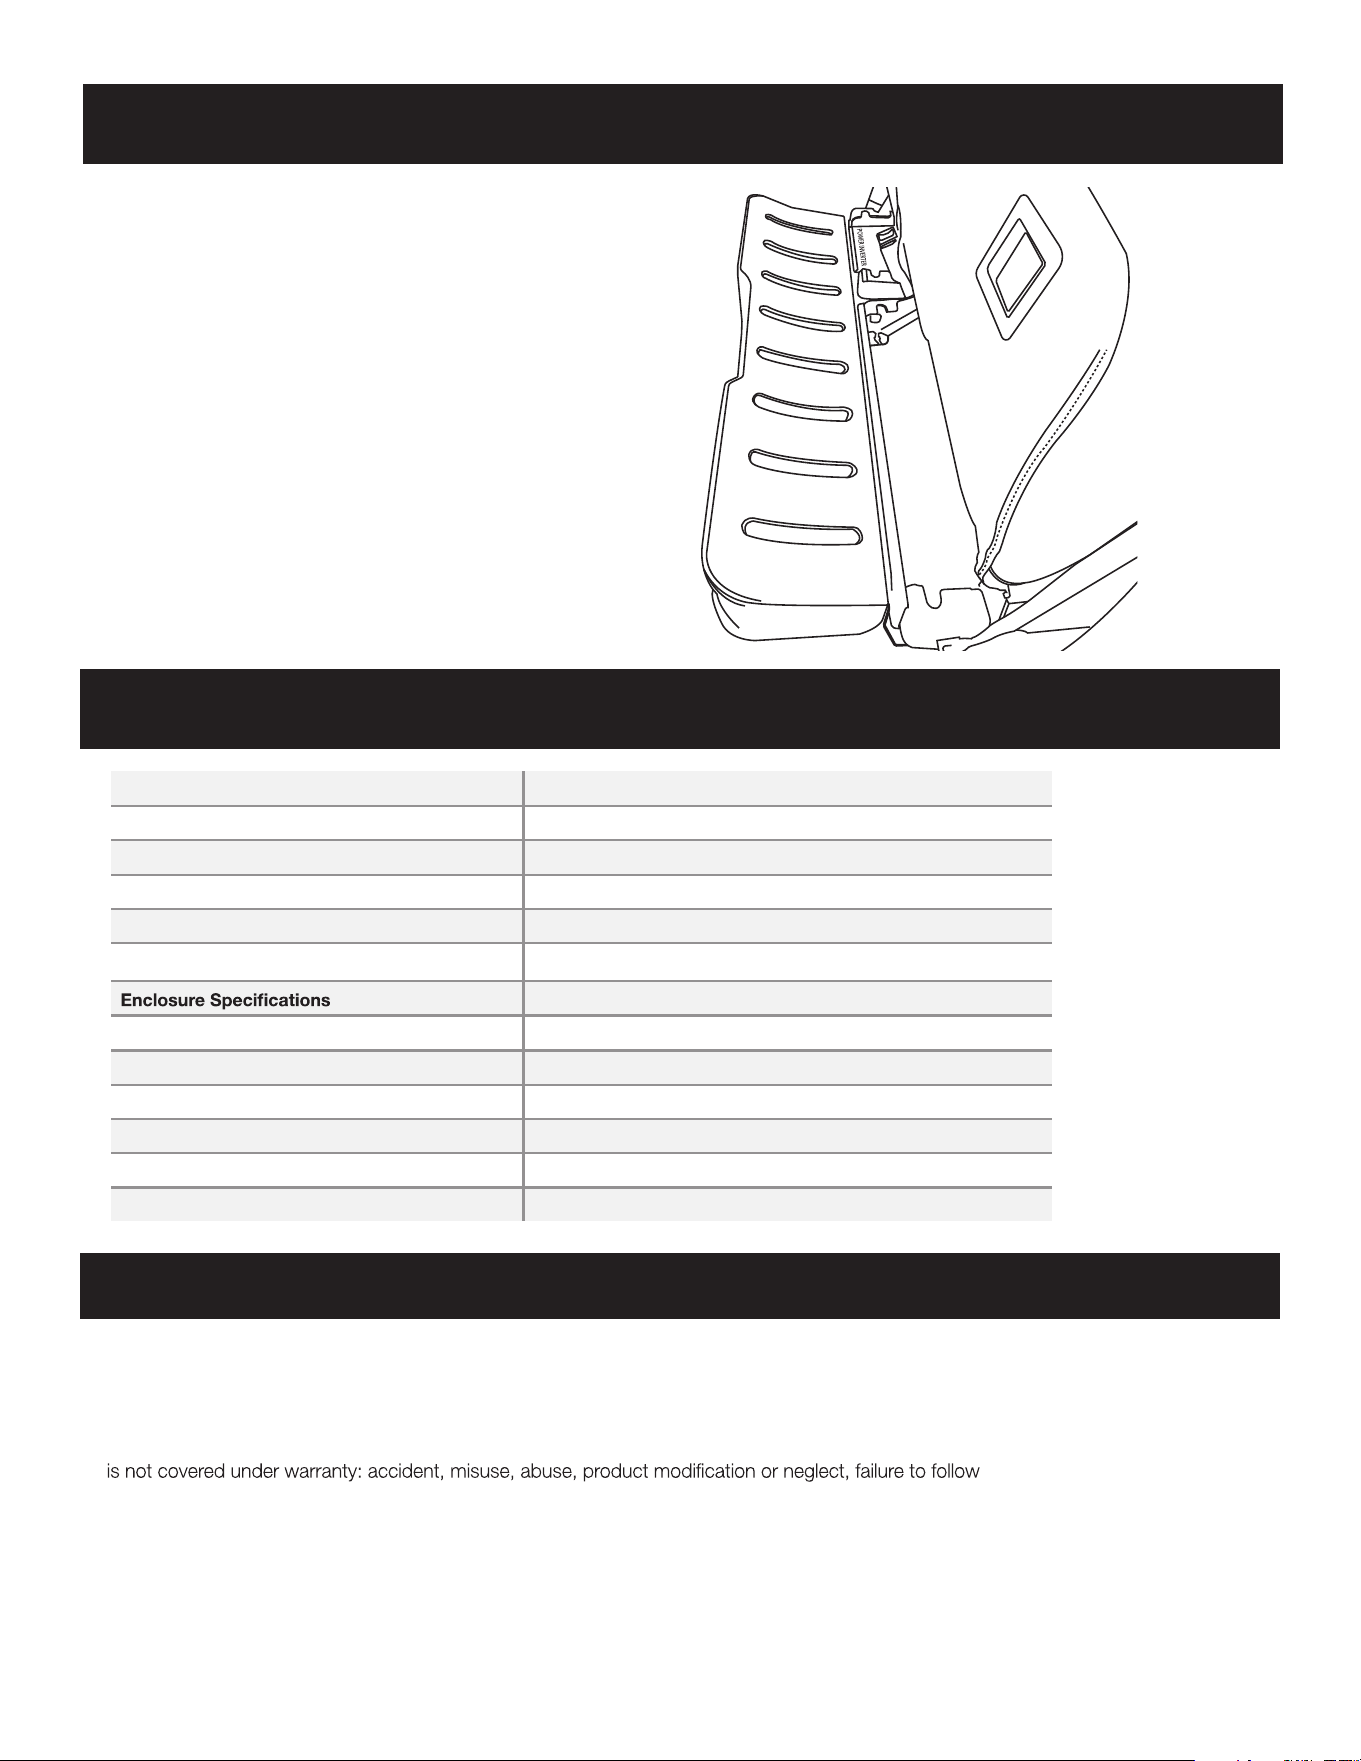
SPECIFICATIONS
COMPLETED
Step 5
Crank up the volume.
WARRANTY
Model Number TXFF15D10
Subwoofer Model SPC-10S4 (x2)
Subwoofer Size 10”
Frequency Response 20Hz - 250Hz
RMS Power Min 400w - Ideal 800w -Max 1200w
Total Weight
49.4 lbs
Height
8.7 In
Width
51 In
Depth 11.75 In
Limited Warranty
Stinger warrants this product to be free of defects in materials and workmanship for a period of one (1) years from the original date of pur-
chase. This warranty is not transferable and applies only to the original purchaser from an authorized Stinger dealer in the United States of
America only. Should service be necessary under this warranty for any reason due to manufacturing defect or malfunction, Stinger
will (at
its discretion), repair or replace the defective product with new or remanufactured product at no charge. Damage caused by the following
installation instructions, unauthorized repair attempts, misrepresentations by the seller. This warranty does not cover incidental or conse-
quential damages and does not cover the cost of removing or reinstalling the unit(s). Cosmetic damage due to accident or normal wear
and tear is not covered under warranty.
INTERNATIONAL WARRANTIES:
Products purchased outside the United States of America are covered only by that country’s Authorized Stinger reseller and not by
Stinger. Consumers needing service or warranty information for these products must contact that country’s reseller for information.
Enclosure DC Resistance (Re) 2 ohm

Complimentary Layout Page (tape measure and calculator not included)
6

Complimentary Layout Page (tape measure and calculator not included)
7
Phone: 727-592-5991
Email: [email protected]
Technical Support
© 2024 AAMP Global. All rights reserved. | IG-TXFF15D10 REV 091024
AudioControl
questions, additional details of the limited warranty and repair
services, please visit www.audiocontrol.com
AudioContol – “a Stinger Company”
15500 Lightwave Drive Suite 202
Clearwater, FL 33760
Mobile audio support:
Phone: 425-777-7723
Email: [email protected]
As Technology advances, AudioControl reserves the right to
© 2024 Stinger. All rights reserved. AudioControl is a Stinger