
Loading ...
Loading ...
Loading ...
6
Assembly
1. Screw the optical bracket on to the base (see the left picture above,P2 ).
2. Once you have done so, if the bracket is not aligned over the base, unscrew the locking ring, adjust the
bracket’s direction, and then turn the locking ring clockwise until it is tight.
(After doing so, it will still be possible to hold the base and
turn the bracket if sufficient force is applied, but it will not spin freely.)
3. Loosen the small thumbscrews on the optical bracket.
4. Slide the optical stack in to the ring of the optical bracket.
5. Tighten the thumbscrews to hold the optical stack in place.
If done correctly, you should be able to not just turn the focus controller of the optical stack freely, but also
freely adjust the monitor, the angel between the base and the optical bracket, while the rest of
microscope remains in place. If you have any question or problem for assembly, please contact us as soon
as possible, so you won’t damage the device during assembly.
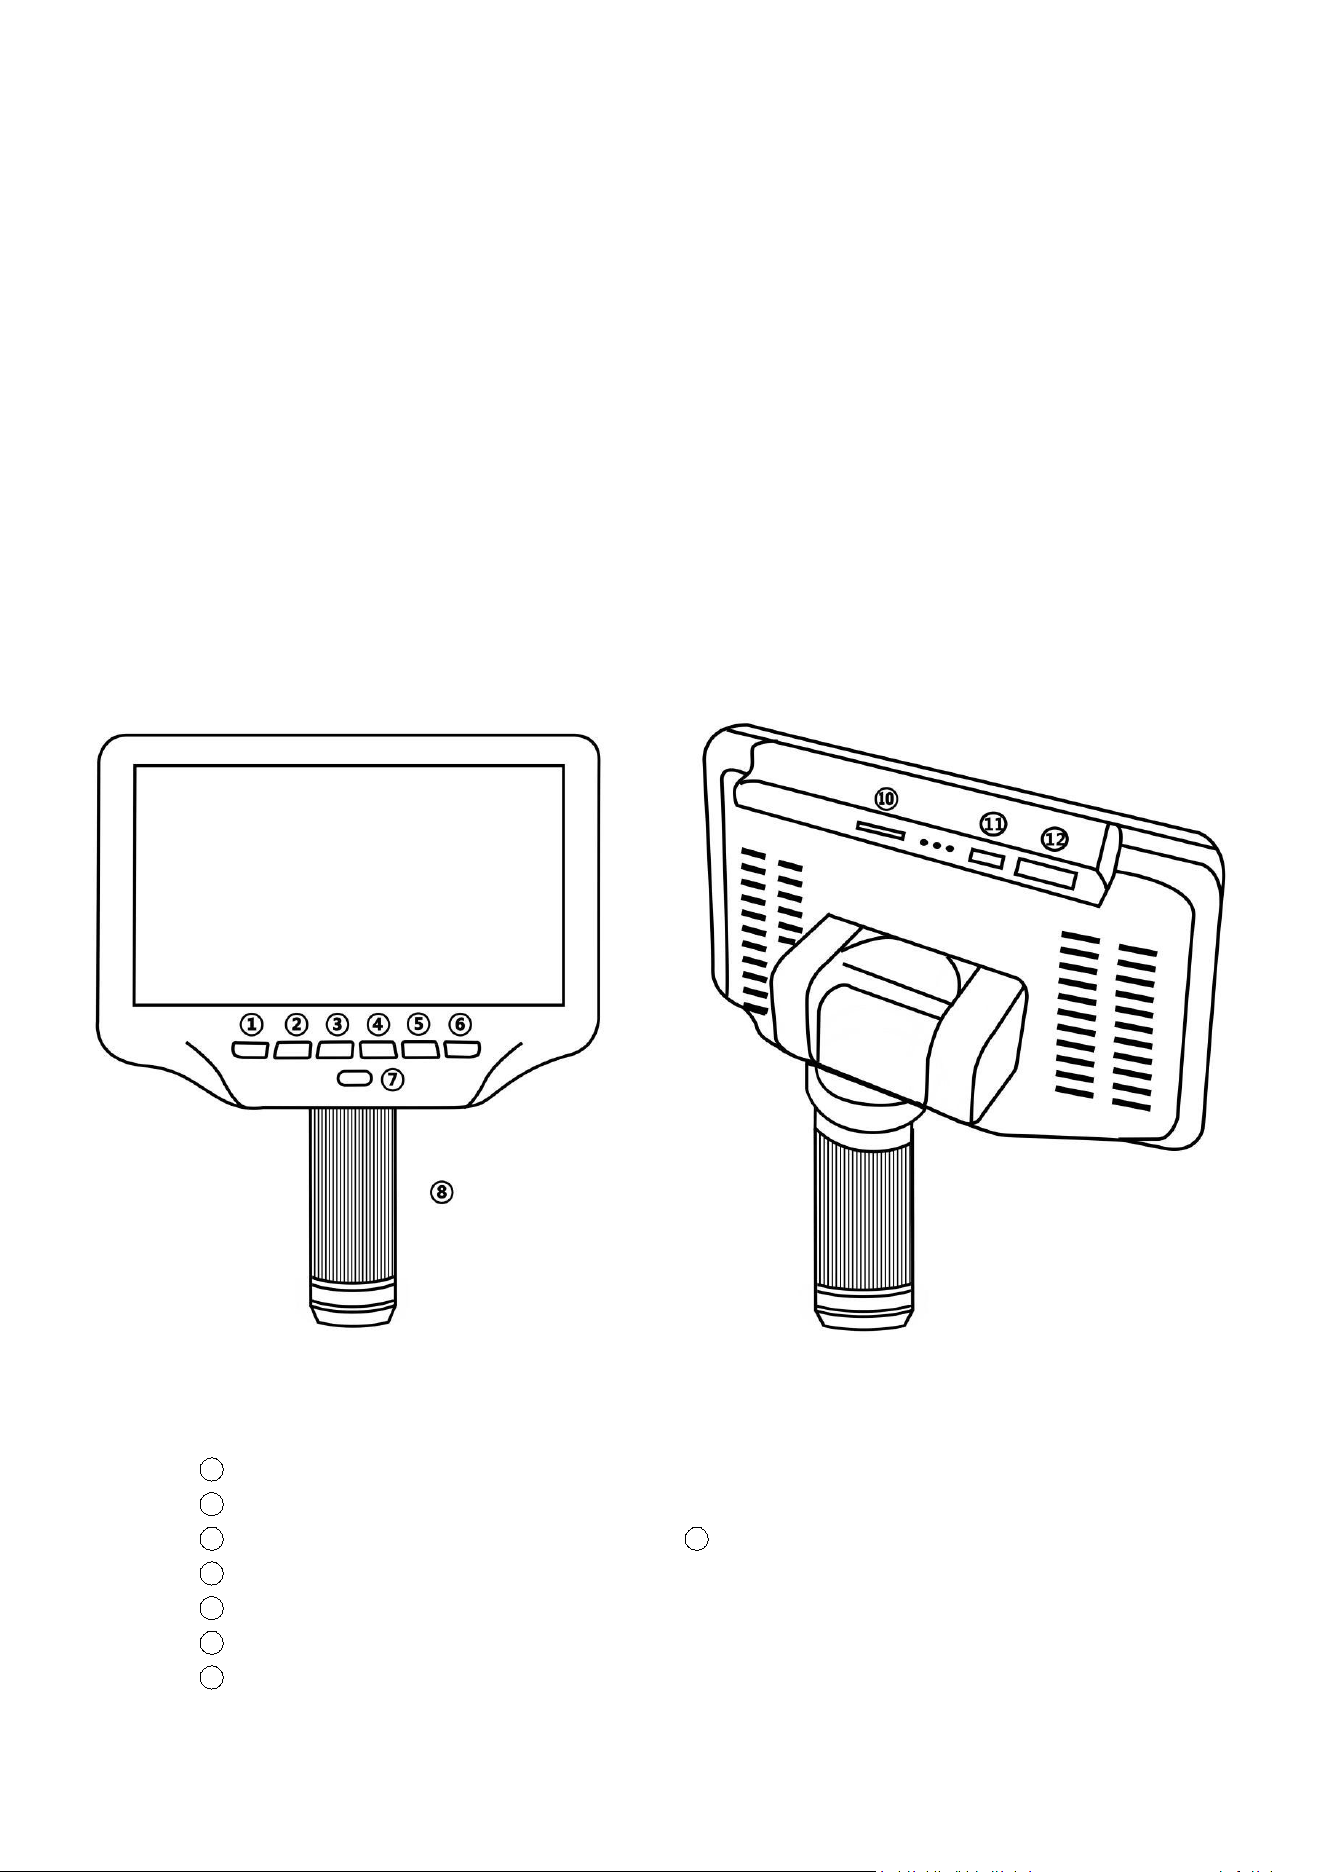
Buttons
(P4, buttons)
1 Power on/off
2 Mode/menu
3 Up
4 Down
5 OK/Start video record
6 Picture capture
7 Infrared sensor (when you are using the
remote, please point the remote to this so the
device would response)
8 Focus controller
⑩Memory card slot
⑪USB port
⑫HMDI port
Loading ...
Loading ...
Loading ...