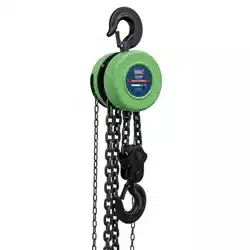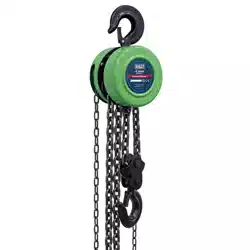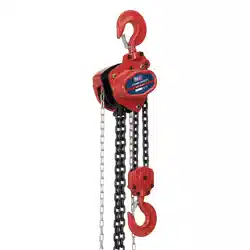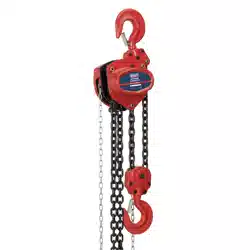
CHAIN BLOCKS
MODEL NO: CB500.V4, CB1000.V4, CB2000.V4,
CB3000.V4, CB5000.V4
Thank you for purchasing a Sealey product. Manufactured to a high standard, this product will, if used according to these instructions,
and properly maintained, give you years of trouble free performance.
IMPORTANT: PLEASE READ THESE INSTRUCTIONS CAREFULLY. NOTE THE SAFE OPERATIONAL REQUIREMENTS, WARNINGS &
CAUTIONS. USE THE PRODUCT CORRECTLY AND WITH CARE FOR THE PURPOSE FOR WHICH IT IS INTENDED. FAILURE TO DO
SO MAY CAUSE DAMAGE AND/OR PERSONAL INJURY AND WILL INVALIDATE THE WARRANTY. KEEP THESE INSTRUCTIONS SAFE
FOR FUTURE USE.
CB500.V4 CB1000.V4 CB2000.V4 CB3000.V4 CB5000.V4 Issue 1 25/01/24
Original Language Version
© Jack Sealey Limited
1. SAFETY
1.1. GENERAL SAFETY
8 DO NOT lift more than rated load. Be aware of dynamic loading! Sudden load movement may briey create excess load causing
product failure.
8 DO NOT operate hoist with twisted, kinked, or damaged chain. Inspect chain carefully before every use.
8 DO NOT operate a damaged or malfunctioning hoist. Inspect hoist carefully and test operation before every use.
8 DO NOT lift people or lift loads over people. Falling loads can injure or kill people.
8 DO NOT operate hoist with anything other than manual power (by hand).
8 DO NOT remove or cover warning labels and/or tags. These carry important safety information.
NOTE: The warnings, precautions, and instructions discussed in this instruction manual cannot cover all possible conditions and
situations that may occur. It must be understood by the operator that common sense and caution are factors which cannot be built into
this product, but must be supplied by the operator.
1.2. INSTALLATION SAFETY
9 The supporting structure the hoist is mounted to (including trolley, monorail, or crane) must be designed to
withstand the loads and forces imposed by the hoist for the rated load.
9 Install in a location that allows the operator to move and stay clear of the load.
9 Where the slack chain hanging from the hoist may create a hazard, use an appropriate chain container (not
provided) to contain the excess chain.
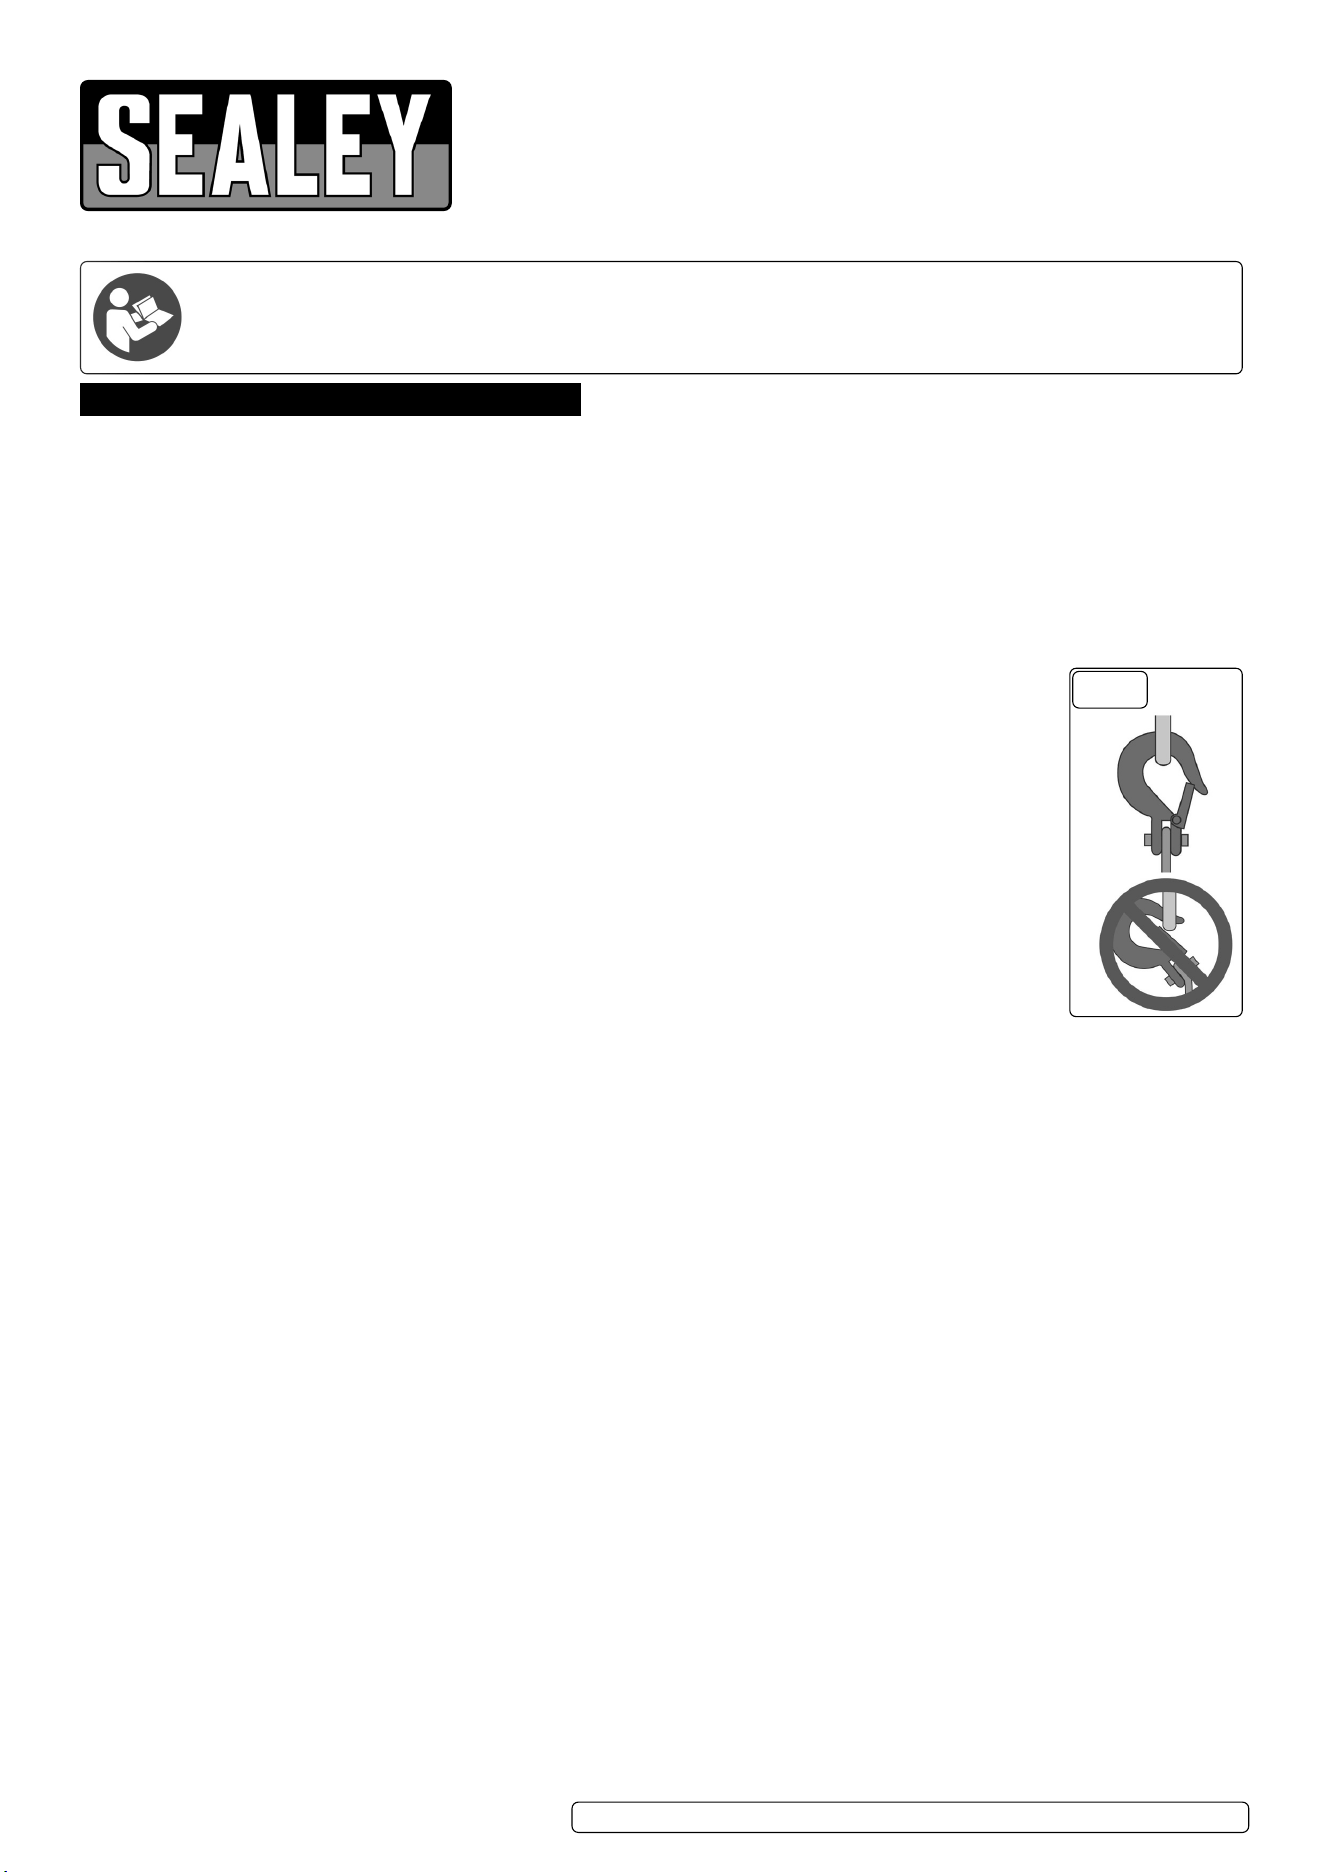
9 Properly seat the suspension hook on the supporting structure at its intended load bearing point (see the
diagram of g.1).
8 DO NOT allow the hook hitch to support any part of the load.
8 DO NOT apply the load to the point of the hook (g.1).
9 Designate a work area that is clean and well-lit. The work area must not allow access by children or pets to prevent
distraction and injury.
9 There must not be objects, such as utility lines, nearby that will present a hazard while working.
1.3. MAINTENANCE SAFETY
WARNING! TO PREVENT SERIOUS INJURY FROM HOIST FAILURE:
8 DO NOT use damaged equipment. If adjustments or repairs are necessary, or any defects are known, have the problem corrected
before further use.
9 Perform a “Frequent Inspection” daily.
9 Perform a “Periodic Inspection” every 3 Months.
9 More frequent inspections are needed for hoists that are used heavily.
9 Raise test loads only to the minimum extent needed and stay well clear of load at all times during testing.
9 Only a qualied technician should perform maintenance to the hoist.
9 Inspect the hoist as explained in this instruction manual.
1.4. OPERATION SAFETY
9 Wear goggles, hard hat, and steel-toed work boots during set up and use.
9 This product is not a toy. DO NOT allow children to play with or near this item.
9 Use as intended only. DO NOT use to handle molten material. DO NOT use for aircraft purposes.
8 DO NOT operate a hoist with an out-of-order sign.
8 DO NOT use the chain or rope as a ground for welding.
8 DO NOT touch a welding electrode to the chain or rope.
9 Only operate hand chain operated hoists with hand power, with no more than one operator per hand chain.
1.5. APPLYING THE LOAD
8 DO NOT wrap the hoist rope or chain around the load.
9 Attach the load to the load hook securely by properly rated, suitable means, such as chains, shackles, hooks, lifting slings, etc. Load
must be attached to prevent accidental disconnection.
9 Properly seat the sling or other device in the base (bowl or saddle) of the hook (g.1).
8 DO NOT allow the hook hitch to support any part of the load.
8 DO NOT apply the load to the point of the hook (g.1).
9 Before moving the load, make sure chains or wire rope are not kinked or twisted or that multiple part chains or ropes are not twisted
around each other.
8 DO NOT operate the hoist unless rope or chain is seated properly on the drum, sheaves, or sprockets.
8 DO NOT operate the hoist unless the hoist unit is centred over the load.
8 DO NOT pick up a load in excess of the rated load appearing on the hoist or load block, except during properly authorised tests.
8 DO NOT use a hoist overload limiting device to measure the maximum load to be lifted.
9 Give specic attention to load balancing and hitching or slinging to prevent load slipping.
1.6. MOVING THE LOAD
8 DO NOT engage in any activity which will divert the operator’s attention while operating the hoist.
FIG.1
9 Respond to signals from a designated person only. However, always obey a stop signal, no matter who gives it.
8 DO NOT lift or lower a load with the hoist until the operator and all other personnel are clear of the load.
9 Make sure the load and hoist will clear all obstacles before moving or rotating the load.
8 DO NOT lift a load more than a few inches until it is well balanced in the sling or lifting device.
9 Each time a load approaching rated capacity is handled, check hoist brake action by lifting the load just clear of supports and
continuing only after verifying that the brake system is operating properly.
WARNING! DO NOT carry any load over any person.
WARNING! DO NOT carry personnel on the hook or the load.
9 Avoid swinging the load or load hook when traveling the hoist.
9 On trolley mounted hoists, avoid contact between trolleys and between trolleys and stops.
8 DO NOT use the upper (or lower, if provided) limit devices as a normal means of stopping the hoist. These are emergency devices only.
1.7. LOCKING THE LOAD
8 DO NOT leave a suspended load unattended unless specic precautions have been instituted and are in place.
9 Position the load block above head level for storage when the hoist is not in use.
9 Exercise care when removing a sling from under a landed and blocked load.
2. INTRODUCTION
Fitted with heat treated and ground, triple-spur geared shaft and pinion. Also includes mechanical load brake for extra safety. All
chains are manufactured from hardened alloy material and load hooks feature safety latches. Compact gear housing allows use where
headroom is limited.
3. SPECIFICATION
MODEL NO: CB500.V4 CB1000.V4 CB2000.V4 CB3000.V4 CB5000.V4
Applicable Standards: EN
13157:2004+A1
EN
13157:2004+A1
EN
13157:2004+A1
EN
13157:2004+A1
EN
13157:2004+A1
Capacity: 500kg 1000kg 2000kg 3000kg 5000kg
Head Room: 350mm 383mm 485mm 554mm 688mm
Hook Aperture: 25mm 27mm 33mm 35mm 45mm
Load Chain Diameter: Ø5mm Ø6mm Ø8mm Ø7.1mm Ø10mm
Maximum Hook Capacity Ø: 35mm 40mm 45mm 50mm 50mm
Pulling Eort: 249N 284N 343N 385N 372N
Safe Working Load: 500kg 1000kg 2000kg 3000kg 5000kg
Size N/A N/A N/A N/A 186 x 253mm
Standard Lift: 2.5m 2.5m 3m 3m 3m
Test Load: 750kg 1500kg 3000kg 4500kg 5000kg
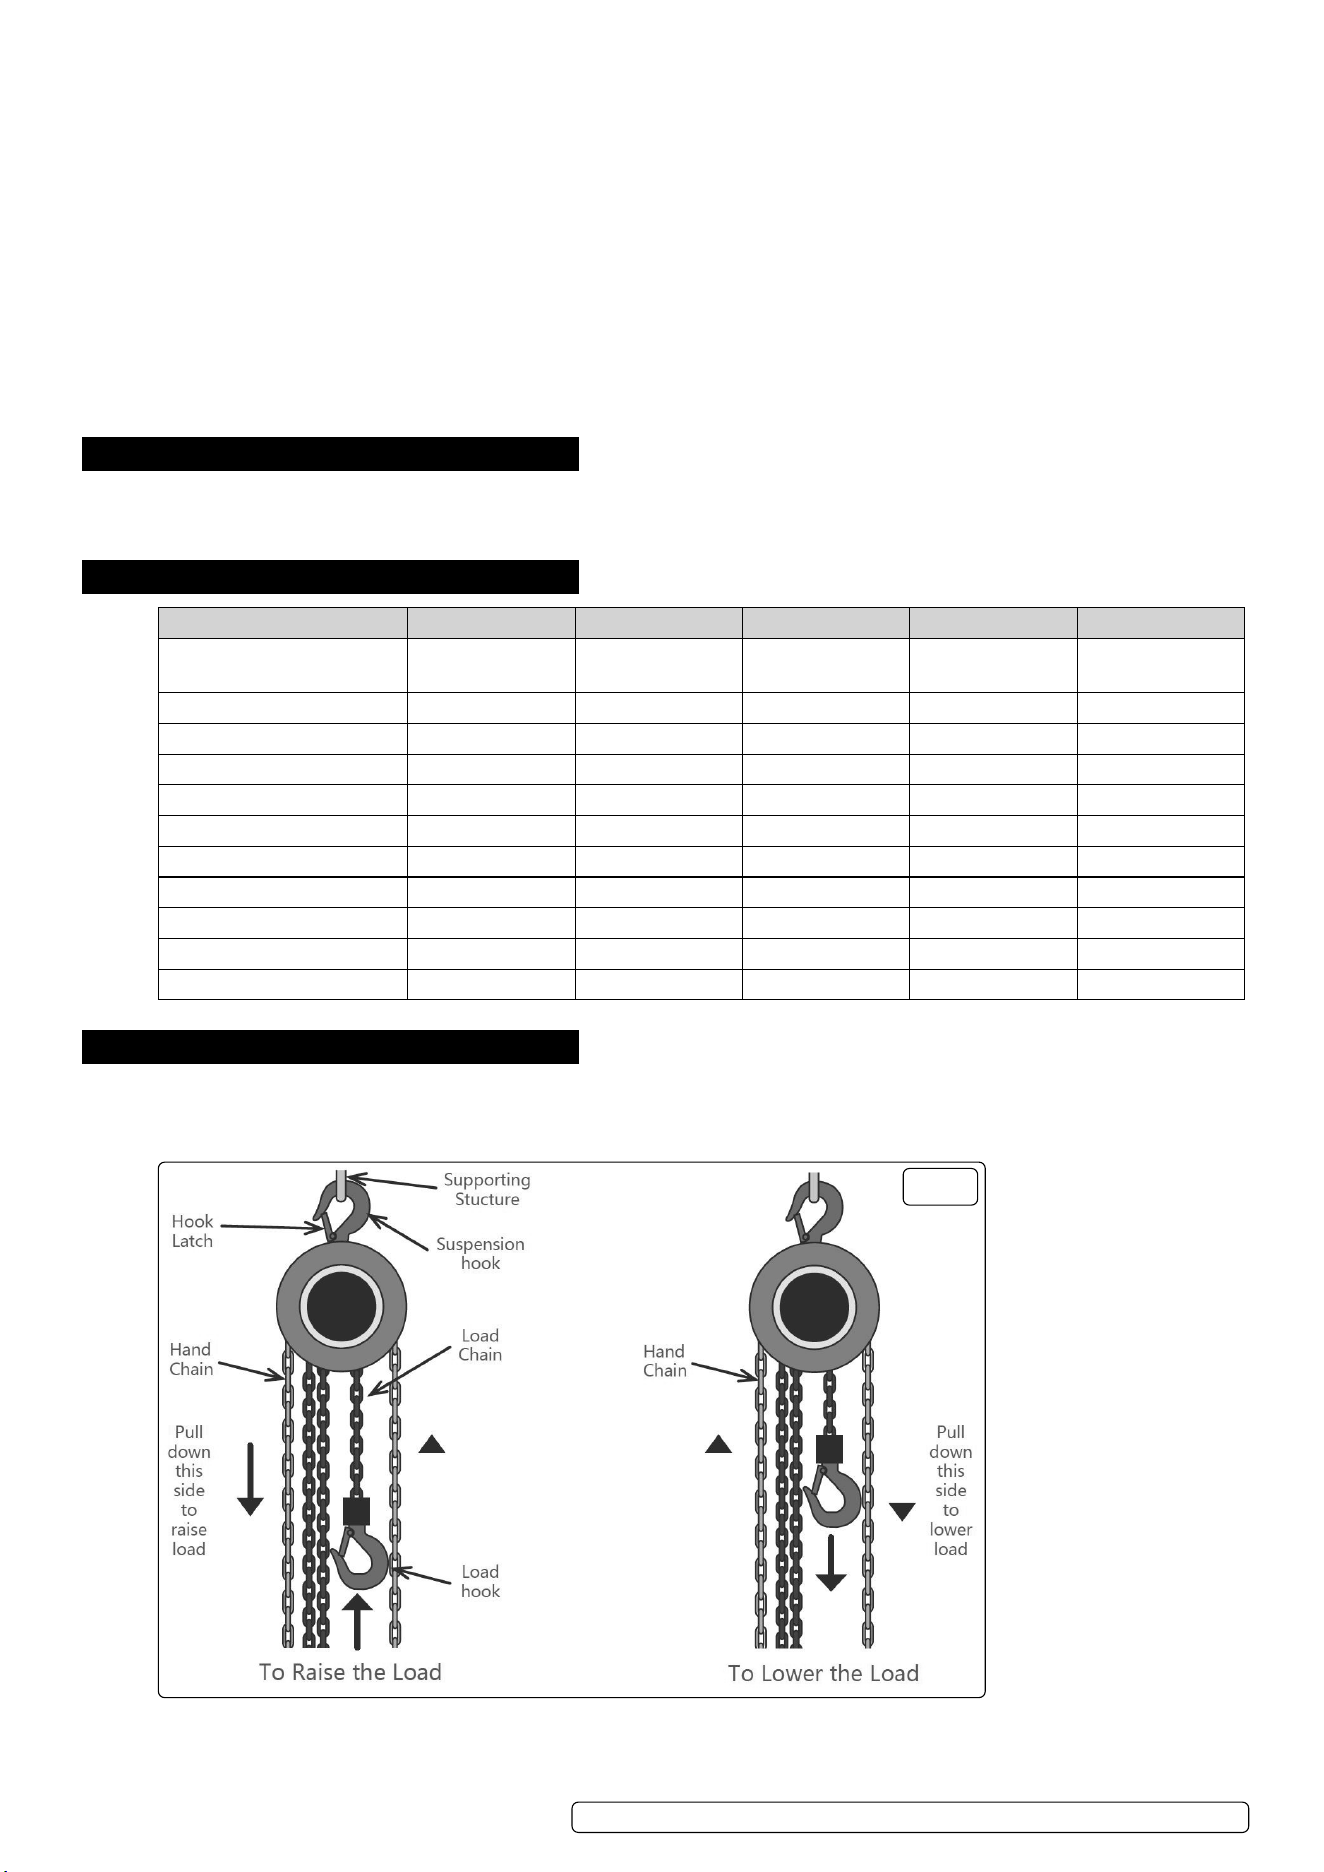
4. OPERATION
The chain block is delivered assembled. Unpack the product and check contents against the parts list in these instructions. Should
there be any damaged or missing parts, contact your supplier immediately.
IMPORTANT: ensure you have read and understood ALL safety warnings in this manual before operating the chain block.
FIG.2
CB500.V4 CB1000.V4 CB2000.V4 CB3000.V4 CB5000.V4 Issue 1 25/01/24
Original Language Version
© Jack Sealey Limited

5. MAINTENANCE
NOTE: Procedures not specically explained in this manual must be performed only by a qualied technician. Parts that deteriorate
must be checked regularly and replaced to avoid a risk to health and safety. Users should always look out for any defects during use.
5.1. DAILY INSPECTION
Perform the procedures in this section BEFORE INITIAL USE and DAILY. Inspection is needed more often for heavily used hoists.
5.1.1. Check operating mechanisms for proper operation, proper adjustment, and unusual sounds.
5.1.2. Frequent Braking System Inspection. The braking system must automatically stop and hold up to the rated load if the hand chain is
released.
5.1.3. FREQUENT HOOK INSPECTION
A. Distortion, such as bending, twisting, or increased throat opening
B. Wear
C. Cracks, nicks, or gouges
D. Latch engagement (if equipped)
E. Damaged or malfunctioning latch (if provided)
F. Hook attachment and securing means.
5.1.4. FREQUENT HOIST LOAD CHAIN INSPECTION
A. Test the hoist under load in lifting and lowering directions and observe the operation of the chain and sprockets. The chain should
feed smoothly into and away from the sprockets.
B. If the chain binds, jumps, or is noisy, rst see that it is clean and properly lubricated. If the trouble persists, inspect the chain and
mating parts for wear, distortion, or other damage.
C. Examine visually for gouges, nicks, weld spatter, corrosion, and distorted links. Slacken the chain and move the adjacent links to
one side to inspect for wear at the contact points. If wear is observed or if stretching is suspected, the chain should be measured as
follows:
I) Select an unworn, unstretched length of the chain (e.g., at the slack end).
II) Suspend the chain vertically under tension and, using a caliper-type gauge, carefully measure the outside length of any convenient
number of links approximately 12” to 24” overall.
III) Carefully measure the same number of links in the used sections and calculate the percentage increase in length.
IV) If the used chain is 2.5% longer than the unused chain, replace the chain.
5.1.5. Check rope or load chain reeving.
WARNING! TO PREVENT SERIOUS INJURY FROM HOIST FAILURE: DO NOT use damaged equipment. If any defect or damage is
noted, repair the problem before further use.
5.2. MONTHLY INSPECTION
A qualied technician should perform the procedures in this section AT LEAST EVERY 3 Months. Inspection is needed more often for
heavily used hoists. Remove or open access covers to allow inspection of components.
5.2.1. First, follow all Frequent Inspection procedures. Additionally:
5.2.2. Check fasteners for evidence of loosening.
5.2.3. Check load blocks, suspension housings, hand chain wheels, chain attachments, clevises, yokes, suspension bolts, shafts, gears,
bearings, pins, rollers, and locking and clamping devices for evidence of wear, corrosion, cracks, and distortion.
5.2.4. Check hook retaining nuts or collars, and pins, welds, or rivets used to secure the retaining members for evidence of damage.
5.2.5. Check load sprockets, idler sprockets, drums, and sheaves for evidence of damage and wear.
5.2.6. Check the brake mechanism for evidence of worn, glazed, or oil contaminated friction disks; worn pawls, cams, or ratchets; and
corroded, stretched, or broken pawl springs.
5.2.7. Check supporting structure or trolley, if used, for evidence of damage.
5.2.8. Check warning label for legibility and replacement.
5.2.9. Check end connections of wire ropes or load chains for evidence of wear, corrosion, cracks, damage, and distortion.
5.2.10. Check the hoist and hoist mounting or evidence of missing parts.
5.3. STORAGE
5.3.1. Store in a dry location, recommended indoors.
5.3.2. A hoist that is used in infrequent service, which has been idle for a period of a month or more , but less than a year, must be inspected
before being placed in service according to the Frequent Inspection requirements.
5.3.3. A hoist that is used in infrequent service, which has been idle for a period of a year or more , must be inspected before being placed in
service according to the Periodic Inspection requirements.
5.3.4. Equipment should be stored in an area where they will not be subjected to damage.
5.3.5. If extreme temperatures or chemically active or abrasive environments are involved, the guidance provided in shall be followed.
5.3.6. Temperature - When equipment are to be used at temperatures above 140
o
F (60
o
C) or below -20
o
F (-29
o
C), the equipment
manufacturer or a qualied person should be consulted.
5.3.7. Chemically Active Environments -The strength and operation of equipment can be aected by chemically active environments such
as caustic or acid substances or fumes. The equipment manufacturer or a qualied person should be consulted before equipment are
used in chemically active environments.
5.3.8. Other Environments - The internal workings of equipment can be aected by high moisture, gravel or sand, silt, grit, or other dust-laden
air. Equipment subject to these environments should have their inner components frequently cleaned, inspected, and lubricated.
NOTE: If the equipment is stored outdoors, be sure to lubricate all parts before and after use to ensure the equipment stays in good
working condition.
5.4. CLEANING
5.4.1. If the moving parts of the equipment are obstructed, use cleaning solvent or another good degreaser to clean the equipment.
5.4.2. Remove any existing rust, with a penetrating lubricant.
5.4.3. DO NOT use motor oil to lubricate the equipment.
5.4.4. Quarterly (every 3 months), clean o load chain, then lubricate load chain links with lithium grease. Apply grease to inner surfaces of
load chain, where the links rub against each other.
5.4.5. Repair or replacement of hoist components must be performed only by a qualied technician using only identical replacement parts
with the same rating.
CB500.V4 CB1000.V4 CB2000.V4 CB3000.V4 CB5000.V4 Issue 1 25/01/24
Original Language Version
© Jack Sealey Limited
Note: It is our policy to continually improve products and as such we reserve the right to alter data, specications and component parts
without prior notice. Please note that other versions of this product are available. If you require documentation for alternative versions, please
email or call our technical team on technical@sealey.co.uk or 01284 757505.
Important: No Liability is accepted for incorrect use of this product.
Warranty: Guarantee is 12 months from purchase date, proof of which is required for any claim.
Sealey Group, Kempson Way, Suffolk Business Park, Bury St Edmunds, Suffolk. IP32 7AR
01284 757500 sales@sealey.co.uk www.sealey.co.uk
ENVIRONMENT PROTECTION
Recycle unwanted materials instead of disposing of them as waste. All tools, accessories and packaging should be
sorted, taken to a recycling centre and disposed of in a manner which is compatible with the environment. When
the product becomes completely unserviceable and requires disposal, drain any uids (if applicable) into approved
containers and dispose of the product and uids according to local regulations.
REGISTER YOUR
PURCHASE HERE
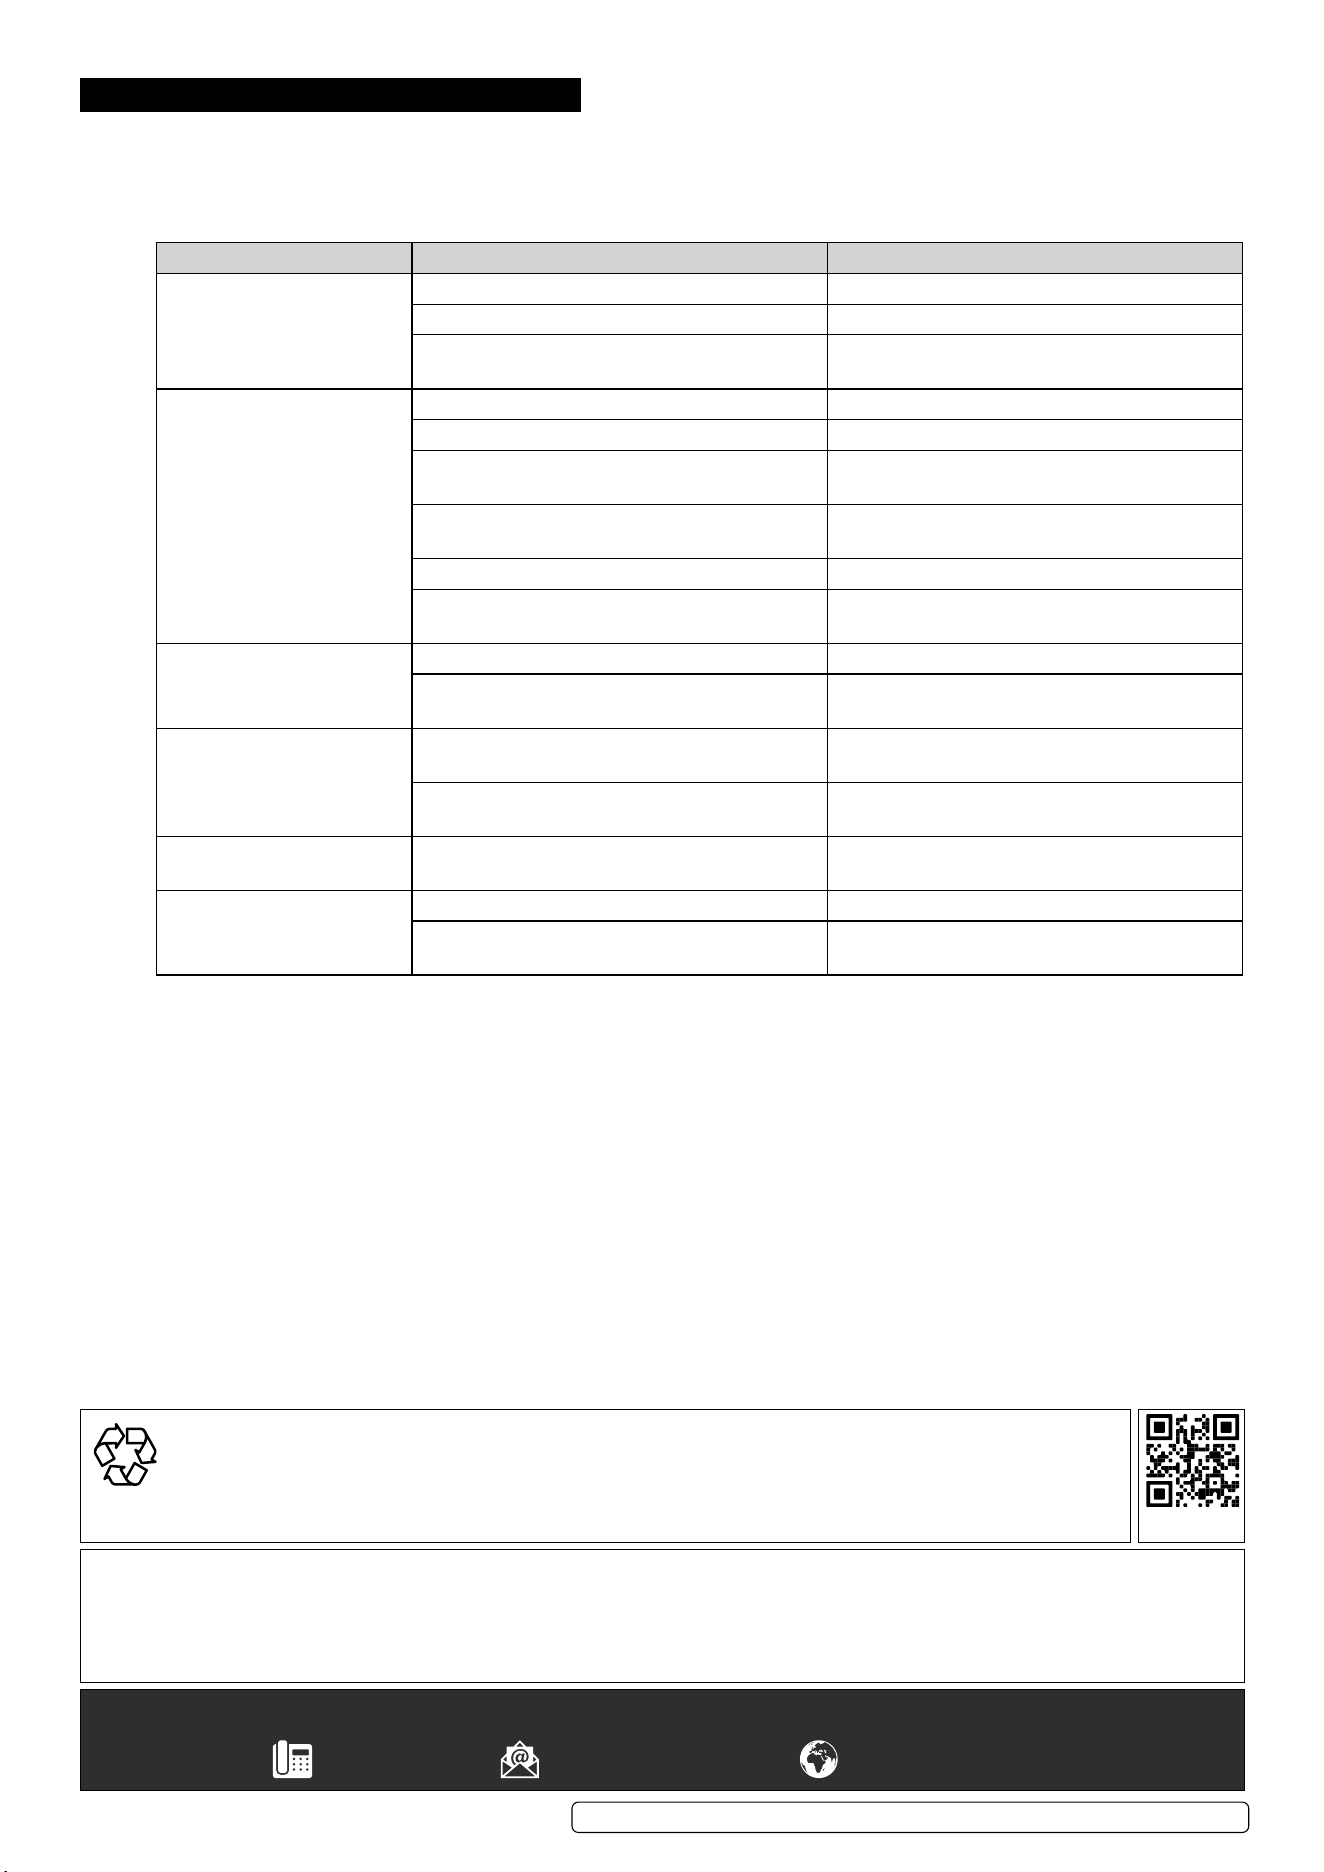
6. TROUBLESHOOTING
6.1. The hoist is a dependable workhorse that runs without problems most of the time; however, they do sometimes require maintenance
or repair. It is necessary to conduct basic maintenance and troubleshooting in the eld to keep the hoist in good working condition
or to make informed decisions on repair or replacement. Determination of specic causes of problems has to be identied through
inspections performed by TRAINED or PROFESSIONAL Technicians. Always use genuine parts.
SYMPTOM CAUSE REMEDY
Hoist does not lift without
load
The hand chain is twisted Disassemble the housing. Align the hand chain
Hand chain is not installed properly Reinstall the hand chain properly
Damaged hand chain/hand chain wheel or gear Replace the defective parts with original spare
parts or scrap directly
Load is not lifted Overloading Reduce the lading to rated capacity
The hand chain is twisted Disassemble the housing. Align the hand chain
The load hook was pulled against the housing
and got stuck
Release the hook,unload the hoist and try again
Brake disc is worn Replace the defective parts with original spare
parts
The load chain is twisted Align the load chain
Load chain/load chain wheel or gear is worn Replace the defective parts with original spare
parts or scrap directly
Load is lifted with
interruptions or does not lift
the whole distance
The load chain is twisted Align the load chain
Hook stuck Inspect the hook and replace the original parts if
necessary
Hoist does not lower the load Brake disc is too tight Adjust the tolerance between chain wheel and
the screws
Keep loading too long time,the brake is stuck by
impact stress during lifting
Pull down the hand chain with much power to
loosen the brake
Load slips down particularly
during lowering
Brake discs are missing,installed incorrectly or
worn
Replace the brake discs by original spare parts;
or install it correctly
The latch does not work Latch broken Replace the hook latch by original parts
Load hook bent or twisted Inspect the hook and replace the original parts if
necessary
CB500.V4 CB1000.V4 CB2000.V4 CB3000.V4 CB5000.V4 Issue 1 25/01/24
Original Language Version
© Jack Sealey Limited