Loading ...
Loading ...
Loading ...
1). Hold the camera body and rotate the enclosure
to adjust the pan position [0° to 360°].
2). Move the camera body up and down to adjust
the tilt position [0° to 75°].
3). Rotate the camera body to adjust the rotation
position [0° to 360°].
2.2.2 Ceiling Mounting with Junction Box
Before you start:
You need to purchase a junction box separately.
Both wall mounting and ceiling mounting are suitable
for the bullet camera. Ceiling mounting will be taken
as an example in this section. And you can take steps
of ceiling mounting as a reference for wall mounting.
Steps:
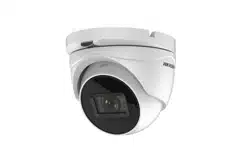
1. Paste the junction box’s drill template on the
ceiling.
2. Drill screw holes and the cable hole (optional) in the
ceiling according to the holes of the drill template.
Screw
Hole
Cable
Hole
Figure 2-12 Drill Template of the Junction Box
Note:
Drill the cable hole, when adopting the ceiling outlet
to route the cable.
3. Refer to step 3 of 2.2.1 Ceiling Mounting without
Junction Box to take out the camera’s main body.
4. Take apart the junction box, and align the screw
holes of the camera with those on the junction
box’s cover.
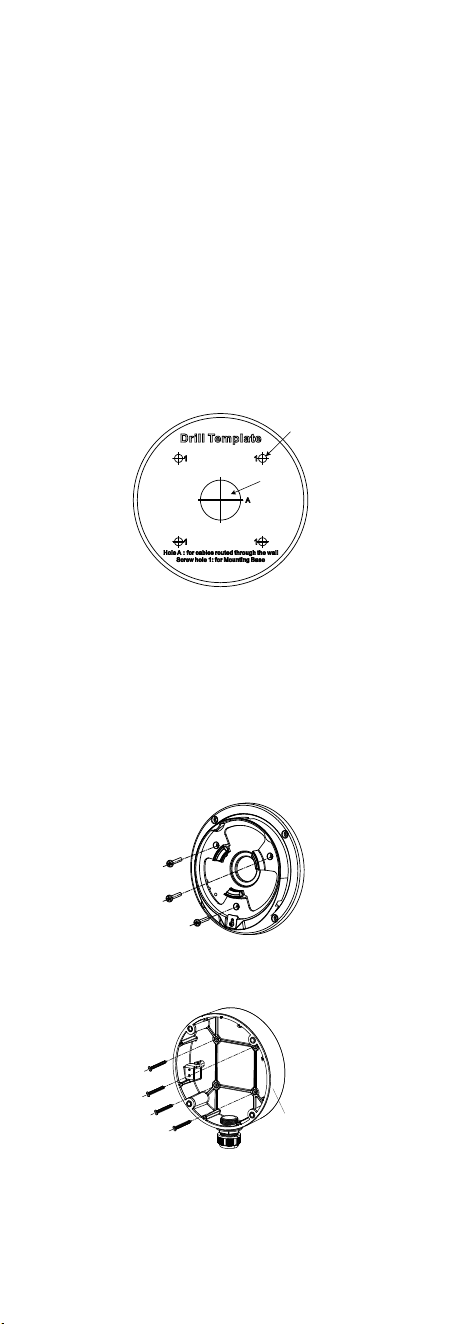
5. Fix the camera’s mounting base on the junction
box’s cover with three PM4 × 10 screws.
Figure 2-13 Secure Screws on Junction Box’s Cover
6. Secure the junction box’s body on the ceiling with
four PA4 × 25 screws.
Junction
Box Body
Figure 2-14 Secure the Junction Box’s Body on Ceiling
7. Combine the junction box cover with its body by
tightening four screws on junction box’s cover.
Loading ...
Loading ...
Loading ...