
2
Thank you for choosing our product!
Please read the instructions carefully so you will know how to operate your product
properly.
If there are any technical questions, please contact:
Customer care: (805) 751-4853 & Live chat
Online support: www.bossaudio.com/support
IMPORTANT
Please enter below the Serial No. which is located on the exterior of the product.
Retain this information for future reference.
Model No.
Serial No.
Purchase Date

3
Before use
Read and understand all instructions before you use your product. If you do not follow the instructions in
this manual, we are not responsible for injury or damage resulting from improper handling. This will also
invalidate the warranty.
Important safety precautions
• Be sure to observe the following guidelines:
- Do not increase speaker volume so high that you cannot hear what is around you.
- Use caution or temporarily discontinue use in potentially hazardous situations.
• Do not make any adjustment on the product when driving or in other situations where distractions can be hazard-
ous. Responsible and safe driving is your primary responsibility when operating a vehicle.
• Start volume at a low setting then gradually increase the volume until you can hear it comfortably, without sound
distortion and ear discomfort.
• In the event of smoke, strange noise or odor emitted from the product or any other abnormal operational signs
appearing on the product, disconnect the product from the power supply. Discontinue use and contact your dealer
or our technical support. Using the product in this condition may result in permanent damage to the system.
• Servicing must only be carried out by a technician. Contact our technical support for any service question.
Table of contents
Before use ............................................................................................................................. 2
Introduction ........................................................................................................................... 3
Delivery content .................................................................................................................... 3
Mounting speakers ............................................................................................................... 4
Speaker wire connection ..................................................................................................... 5
LED power connection ......................................................................................................... 6
LED light control ................................................................................................................... 7
Care for your product ........................................................................................................... 8
Care of the environment ...................................................................................................... 8
Specications ....................................................................................................................... 8

4
Installation precautions
• WARNING: Always consult a professional installer.
• Installation must be performed by a professional. Contact our technical support for any installation question.
• Observe the safety and operating instructions of the devices which are connected to the product.
• Only use attachments/accessories specied by the manufacturer for installation.
• Do not modify this product, as this affects the safety of the product. Risk of injury or damage to the product.
• Before installation, disconnect the negative terminal of the vehicle battery to prevent damage to the product, re,
and/or possible injury.
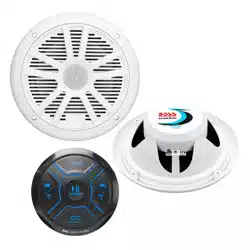
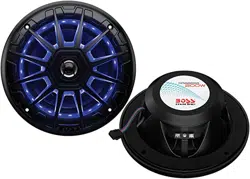
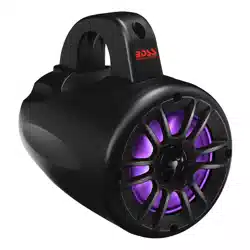
Introduction
This product has four marine-grade speakers with 2-way system and is designed to be mounted on a wake tower
boat or UTV. The supplied clamps allow you to quickly and safely mount the speakers on proper tubings of your
vehicle. The speakers need connection to your amplier or head unit for 4 channel audio output.
Each speaker has a RGB LED light with multiple color modes, and you can control LED lights with the supplied
remote control.
Please read this manual carefully so you will know how to operate your product properly. After you have nished
reading this manual, store it in a safe place for future reference.
Delivery content
• (4) Marine grade speakers
• (4) Mounting clamps (pre-attached to each speaker)
• (8) M6 x 15mm hex bolts and spring washers (pre-attached to each mounting clamp)
• (12) Rubber mounting pads (1/8” thickness)
• (1) Remote control (CR2025 coin battery inserted)
• (1) Keychain tag
• (1) 12V vehicle battery cable with 3.5mm plug (for LED power)
• (1) LED cable
• User manual and warranty card
5
Mounting speakers
Important notes on mounting
• The mounting system is designed to provide a safe and stable installation. However, it is important to remember
that these are objects that will be used in an environment that is extremely bumpy and turbulent. Consider this,
and use extreme caution when mounting to avoid what may be a serious accident.
• The supplied clamps accept the tube size range of 1.5” – 2” to attain strong and safe hold. If some gap around
the clamped tube occurs for clamping looseness, use universally available rubber inserts to ll the gap to prevent
the movement of the mounted speakers.
• The supplied rubber mounting pads must be used to prevent abrasion and provide more secure clamping.
• The supplied spring washers must be used to provide more stable bolt tightening against vibration.
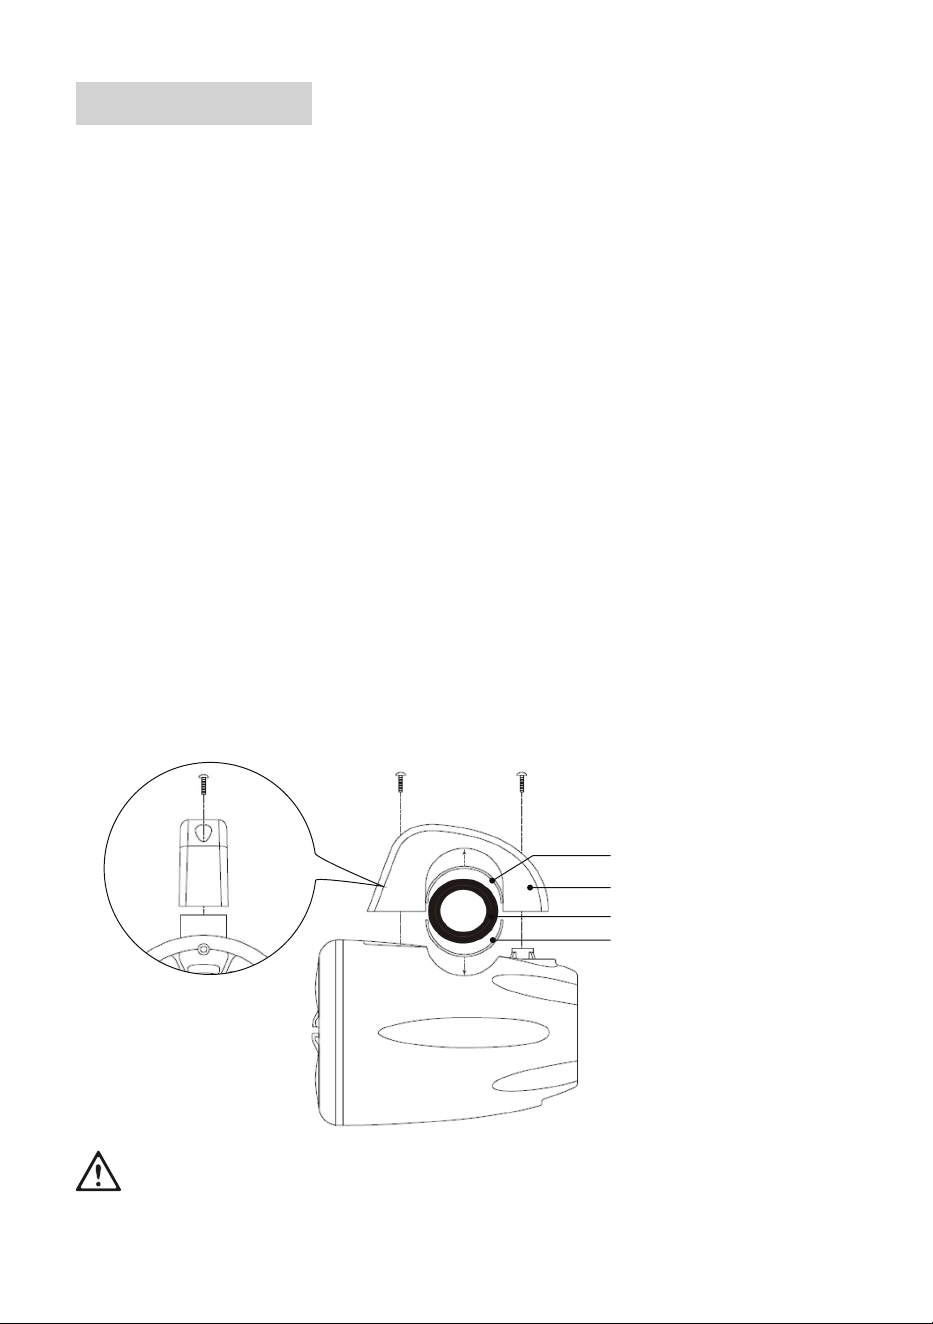
1. Unpack the speakers. Each speaker is pre-attached with a clamp which has 2 hex bolts and spring washers.
Remove the clamps, hex bolts and spring washers from the speakers.
On a speaker, nd two holes on the clamp and use a proper hex wrench to loosen the bolts with spring nuts
then take the clamp off. Repeat the step above to remove the clamps, bolts and spring washers from other three
speakers.
2. Determine the mounting location and a proper mounting tube on your vehicle.
The tube size should be in the range of 1.5” – 2” to attain strong and safe hold by the clamp.
3. Cut the supplied rubber pads to a suitable length, and remove the protective layer. Then stick the adhesive side
on the inner surface of the clamp which comes in contact with the mounting tube. Stick another rubber pad on the
speaker surface which comes in contact with the mounted tube.
4. Hold the speaker on the mounting tube, and place the clamp on top of the tube, then fasten the clamp with two
bolts and spring washers.
Tighten each bolt until you feel resistance, then tighten each of the two bolts a few turns. Tighten both equally to
greatly improve the safety of the mounting.
5. Repeat steps 2-4 to mount the other three speakers.
Rubber pad
Mounting clamp
Mounting tube (Ф1.5” – 2”)
Rubber pad
To ensure safety of the mounted speakers, always check the mounting conditions (e.g. the bolt tightness
and no clamp damage) of the speakers before each vehicle ride.
6
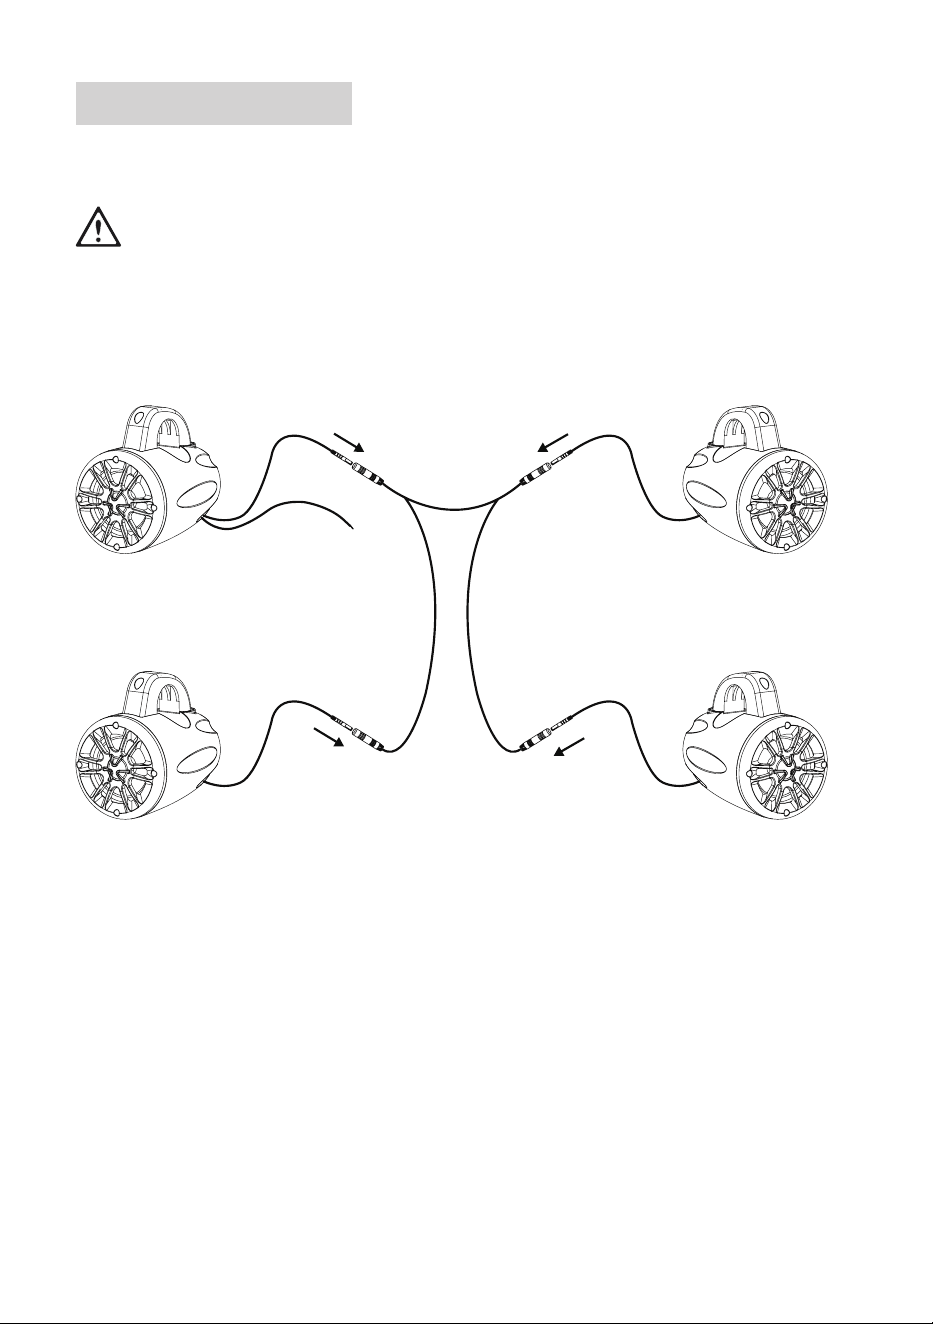
Speaker wire connection
For signal input to the speakers, connect the front and rear speakers to the 4 channel amplier or head unit on your
vehicle. The speakers are also powered by the connected amplier or head unit.
For installation safety points, see “Installation precautions” on page 4.
For safety, disconnect the negative terminal of the vehicle battery prior to wiring.
Note the speaker load for your amplier or head unit prior to wiring.
Use only high quality marine-grade wires for reliable installation and to minimize signal or power loss.
Never run wires underneath the vehicle. Always run wires inside the vehicle for best protection of wires.
Make sure wires are not squeezed or damaged by sharp edges. Use rubber bushings for penetrations.
1. Each speaker has a pair of terminals (red and black). Connect the speaker wire (not included) to the two terminals
on the speaker. Be sure to observe correct polarity.
Press the spring-loaded terminal down, insert the bare wire end into the slot of the terminal, then release the
terminal. Repeat the step to insert the wire into the other terminal.
2. Connect the other end of the speaker wire to the audio outputs on your amplier, OR to the speaker wire leads of
your head unit. Be sure to observe speaker polarity.
If connected to your amplier, refer to the amplier’s user manual for proper audio output connection.
If connected to your head unit, refer to the head unit’s user manual for proper speaker wire lead connection.
3. Repeat the steps above to connect the other three speakers to your amplier or head unit.
To retain stereo imaging, make sure the front and rear speakers are correctly connected with respect to the left
and right sides.
4-channel amplifier
or head unit
7
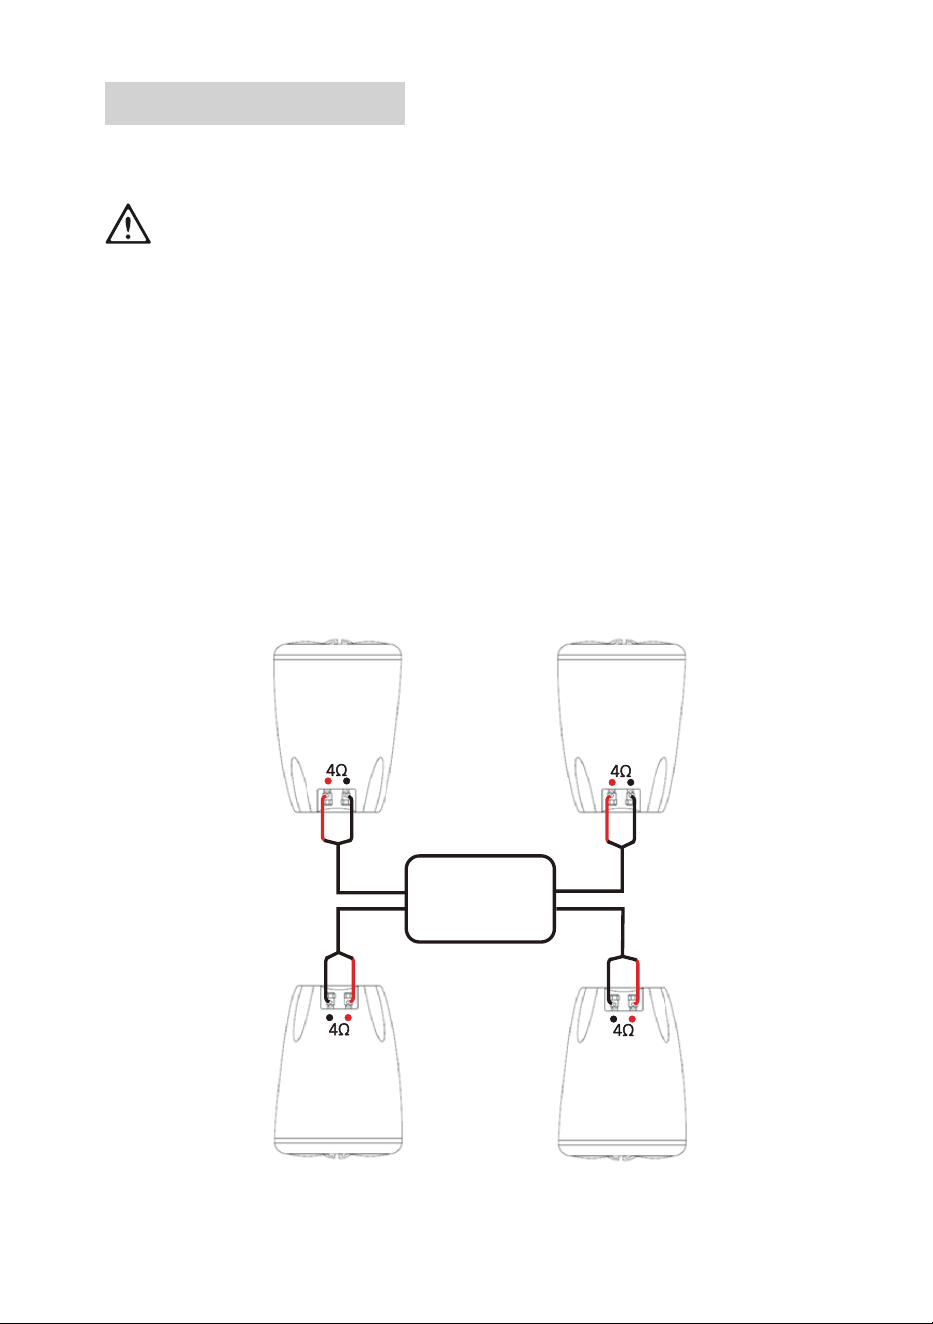
LED power connection
LED light is equipped in the front of each speaker. Use the supplied LED cable to connect all the speakers to create
RGB multicolor illumination.
Caution!
The LED lights are powered by 12V DC vehicle battery. Never connect to any other voltage supply (e.g.
24V DC power supply in trucks or buses).
For safety, disconnect the negative terminal of the vehicle battery before connecting power to the speakers.
Make sure wires are not squeezed or damaged by sharp edges. Use rubber bushings for penetrations.
Position wires so that no one can trip over or become entangled in them.
1. Connect the supplied LED cable to four speakers as shown below.
157 in.
79 in.79 in.
10 in.10 in.
10 in.
10 in.
Vehicle battery cable
Speaker with DC input Speaker
Speaker Speaker
2. Connect the supplied vehicle battery cable to the power jack on the speaker which has DC input.
Then using high quality extension wires (not included), connect the DC input on the speaker to the positive terminal
of the vehicle battery. Then reconnect the negative terminal of the vehicle battery. Now the speakers are powered.
8
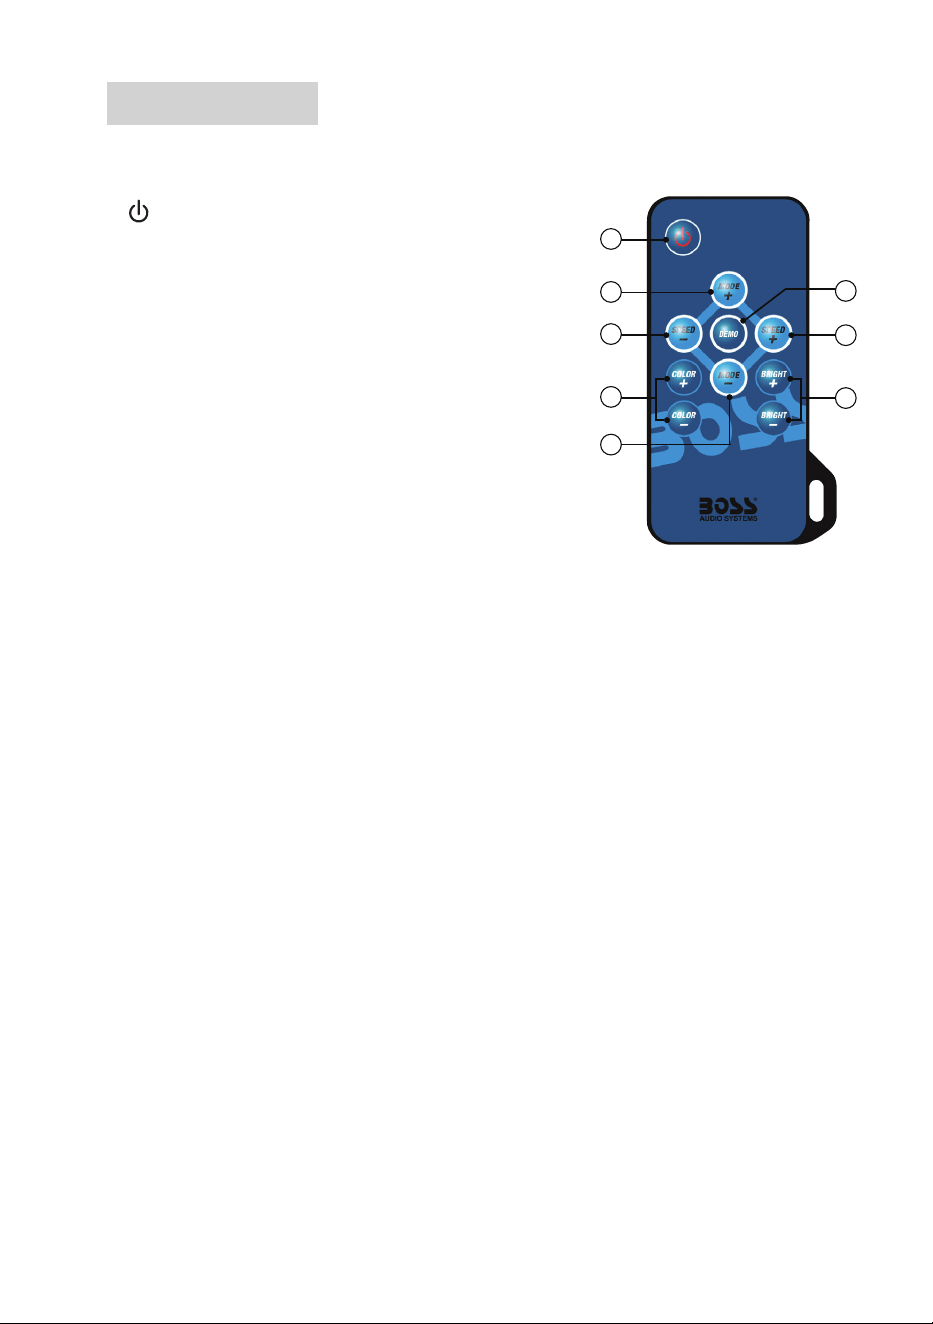
LED light control
The product comes with a remote control for you to control the RGB LED light in the front of each speaker. Keep the
remote control safely using the supplied keychain tag.
1
Turn on or off illumination. Make sure the DC input speaker is con-
nected to the vehicle battery.
2 MODE +/-
Switch to dynamic illumination and select a dynamic mode.
3 SPEED +/-
Switch to dynamic illumination and change a dynamic illumination
speed.
4 COLOR +/-
Switch to static illumination and select a color mode.
5 BRIGHT +/-
Change illumination intensity.
6 DEMO
Show nine dynamic illumination modes in sequence. The show repeats three times.
Replace battery
The remote control is powered by a CR2025 coin battery. If the battery is exhausted, replace it with a new battery of
the same type.
1. Find the battery compartment at the back of the remote control. Pull the battery tray out.
2. Load a new battery with correct polarity as shown on the tray.
3. Replace the battery tray. Make sure the tray is securely inserted.
Important notes on battery
• Danger of explosion if the battery is incorrectly replaced. Replace only with the same type or equivalent type.
Observe correct polarity while inserting the battery.
• Do not leave the battery near re or under direct sunlight. Do not place the remote control in hot places (e.g. on
the dashboard). This may cause re, explosion or excessive heat.
• Remove the battery from the remote control if it is not used for a long time to avoid battery leakage.
• Do not recharge, dismantle or short-circuit the battery or throw it into re. This may cause a risk of explosion or
battery leakage. If spilled uid comes in contact with your skin or clothing, immediately rinse with water and consult
a doctor.
• The remote control contains a coin/button type battery, which can be swallowed. Keep the battery out of reach of
children at all times! If swallowed, the battery can cause serious injury or death.
If you suspect that a battery has been swallowed or placed inside any part of the body, seek immediate medical
attention.
1
2
3
4
5
3
6
2

9
Care for your product
• DO NOT clean the product in hot weather (e.g. hot sunlight).
• DO NOT use abrasive or highly alkaline cleaner on the product.
• DO NOT use gasoline, acetone, carbon tetrachloride or other aggressive chemical solutions on the product.
• DO NOT scrape the product with razor blade or other sharp instrument.
• This product is waterproof against splashing water. However, never submerge the product to water or other liquids.
• Wash the product with lukewarm water and mild soap or detergent using a clean sponge or soft cloth. Rinse well
with clean water.
Care of the environment
Product disposal
Do not throw away the product with the normal household waste at the end of its life, but hand it in at an ofcial col-
lection point or recycling. By doing this, you help to preserve the environment.
Battery disposal
Batteries must not be disposed of with normal household waste. Recycle them at the collection points provided for
this purpose. Contact the local authorities or your dealer for recycling advice. Correct disposal of old batteries helps
protect the environment and human health.
Specications
LED power supply ............................................12V DC vehicle battery
Output power ....................................................max 400 W
Mid bass driver .................................................4” (102 mm), poly injection cone, rubber surround
Tweeter .............................................................1” (25 mm) dome
Speaker impedance ..........................................4 Ω
Frequency response .........................................130 Hz-20 kHz, ±3 dB
Input sensitivity ................................................. 94 dB @ 1 W/1 m
Mounting tube size (Ф) .....................................1.5” – 2” (38 – 51 mm)
Dimensions .......................................................5.44” x 7.43” x 7.17” (138.3 x 188.6 x 182 mm)
Weight ..............................................................2.3 lbs
0421