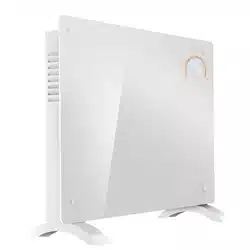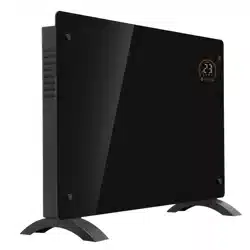

Baridi, Electric Glass Panel Heater,Thermostat Controlled 24Hr 7 Day Timer,
Wi-Fi Enabled, Remote Control, Black/White
Model No.s: DH135, DH136, DH137, DH138, DH139, DH140
Thank you for purchasing a Dellonda product. Manufactured to a high standard, this product will,
if used according to these instructions, and properly maintained, give you years of trouble free performance.
DH Panel Heaters Issue:3 26/01/24
www.dellonda.co.uk
Important Information
Please read these instructions carefully. Note the safe operational requirements, warnings & cautions. Use the product correctly and with care
for the purpose for which it is intended. Failure to do so may cause damage and/or personal injury and will invalidate the warranty. Keep these
instructions safe for future use.
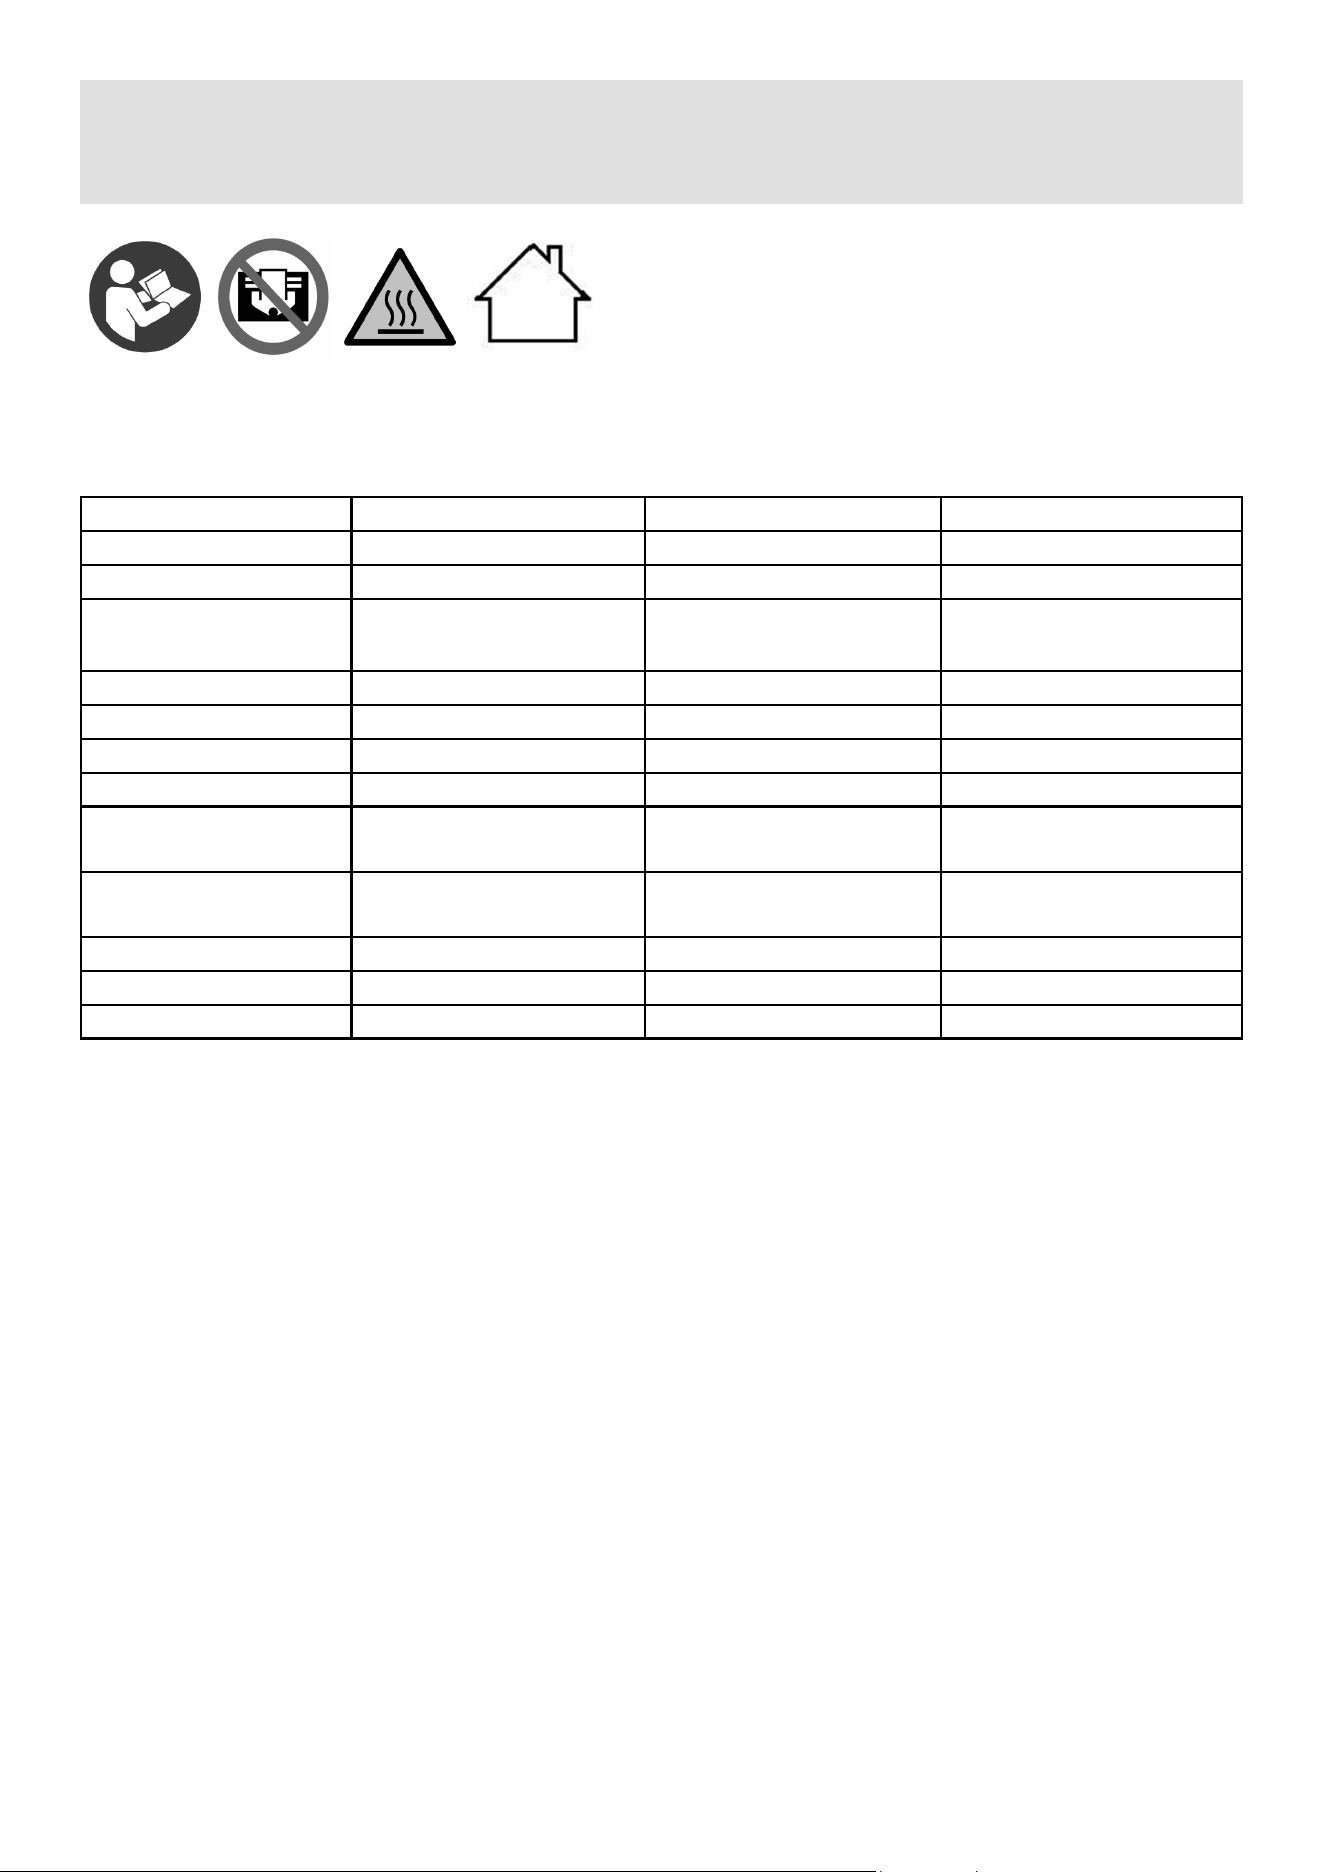
Refer to
instruction
manual
Warning:
Hot
Surface
Specication
Safety Instructions
WARNING! The warnings, cautions and instructions in this manual cannot cover all possible conditions and situations that may occur.
It must be understood by the operator that common sense and caution are factors which cannot be built into this product, but must be
applied by the operator.
WARNING! It is the user’s responsibility to check the following:
9 Check all electrical equipment and appliances to ensure that they are safe before using. Inspect power supply leads, plugs and all
electrical connections for wear and damage. Sealey recommend that an RCD (Residual Current Device) is used with all electrical
products. You may obtain an RCD by contacting your local Sealey stockist.
If the heater is used in the course of business duties, it must be maintained in a safe condition and routinely PAT (Portable Appliance
Test) tested.
ELECTRICAL SAFETY
WARNING! It is the user’s responsibility to check the following:
9 Check all electrical equipment and appliances to ensure that they are safe before using. Inspect power supply leads, plugs and all
electrical connections for wear and damage. Sealey recommend that an RCD (Residual Current Device) is used with all electrical
products.
1.1. Electrical safety information. It is important that the following information is read and understood:
9 Ensure that the insulation on all cables and on the appliance is safe before connecting it to the power supply.
9 Regularly inspect power supply cables and plugs for wear or damage and check all connections to ensure that they are secure.
Important: Ensure that the voltage rating on the appliance suits the power supply to be used and that the plug is tted with the correct
fuse.
8 DO NOT pull or carry the appliance by the power cable.
8 DO NOT pull the plug from the socket by the cable.
8 DO NOT use worn or damaged cables, plugs or connectors. Ensure that any faulty item is repaired or is replaced immediately by a
qualied electrician.
If the cable or plug is damaged during use, switch o the electricity supply and remove from use.
Ensure that repairs are carried out by a qualied electrician.
1.2. GENERAL SAFETY
WARNING! Disconnect heater from the mains power supply before carrying out any servicing or maintenance.
9 Disconnect the heater from the power supply before handling or cleaning.
9 Maintain the heater in good order and clean condition for best and safest performance.
Attribute DH135 / DH136 DH137 / DH138 DH139 / DH140
Actual Product Width 52cm 65cm 12cm
Colour: Black / White Black / White Black / White
Control Style: Touch Screen, Digital or
Remote Control
Touch Screen, Digital or
Remote Control
Touch Screen, Digital or
Remote Control
Heating Technology: Convection Convection Convection
IP Rating: IP24 IP24 IP24
Material: Glass Glass Glass
Mounting Location: Floor or Wall Floor or Wall Floor or Wall
Number of Heat
Settings:
3 3 3
Product Dimensions
(WxDxH):
52 x 12 x 47cm 65 x 12 x 47cm 78 x 12 x 47cm
Rated Power: 1000W 1500W 2000W
Supply: 230V 50Hz 230V 50Hz 230V 50Hz
Cable Length: 1.5m 1.5m 1.5m
Warning:
Do not cover
Warning:
Indoor use only
9 Replace or repair damaged parts. Use genuine parts only. Unauthorised parts may be dangerous and will invalidate the warranty.
9 Ensure there is adequate lighting and keep the immediate area in front of the outlet grille clear.
9 Only use the heater standing on its feet in the upright position.
8 DO NOT allow any untrained persons to use the heater. Ensure they are familiar with the controls and hazards of the heater.
8 DO NOT let power lead hang over an edge (i.e. table), or touch a hot surface, lie in heater hot air flow, or run under a carpet.
8 DO NOT touch the outlet grille (top) of the heater during and immediately after use as it will be hot.
8 DO NOT place the heater near items that may be damaged by heat.
8 DO NOT place heater too close to yourself or any object, allow the air to circulate freely.
8 DO NOT use the heater for any purpose other than for which it is designed.
8 DO NOT use heater on very deep pile carpets.
8 DO NOT use the heater outdoors. These heaters are designed for indoor use only.
8 DO NOT use heater if the power cord, plug or the heater is damaged, or if the heater has become wet.
8 DO NOT use in bathroom, shower room, or in any wet or damp environments or where there is high condensation.
8 DO NOT operate the heater when you are tired or under the influence of alcohol, drugs or intoxicating medication.
8 DO NOT allow the heater to get wet as this may result in an electric shock and personal injury.
8 DO NOT insert or allow objects to enter any openings of heater as this may cause an electric shock,a fire or damage to heater.
8 DO NOT use the heater where there are flammable liquids, solids or gases such as petrol, solvents, aerosols etc, or where heat sensitive
materials may be stored.
8 DO NOT place the heater immediately below any electrical outlet.
8 DO NOT cover heater when in use, and do not obstruct the air inlet and outlet grille (i.e. clothing, curtain, furniture, bedding etc).
9 Allow the unit to cool before storage. When not in use, disconnect from the mains power supply and store in a safe, cool, dry, childproof area.
NOTE: Children of less than 3 years should be kept away unless continuously supervised.
Children aged from 3 years and less than 8 years shall only switch on/off the appliance provided that it has been placed or installed
in its intended normal operating position and they have been given supervision or instruction concerning use of the appliance in a safe
way and understand the hazards involved. Children aged from 3 years and less than 8 years shall not plug in, regulate and clean the
appliance or perform user maintenance.
Assembly
Floor mounting
9 Invert the unit and place top edge carefully on a soft cloth or carpet.
9 Fix the feet to the bottom edge using the supplied screws (2 per foot) ensuring a sound and stable t.
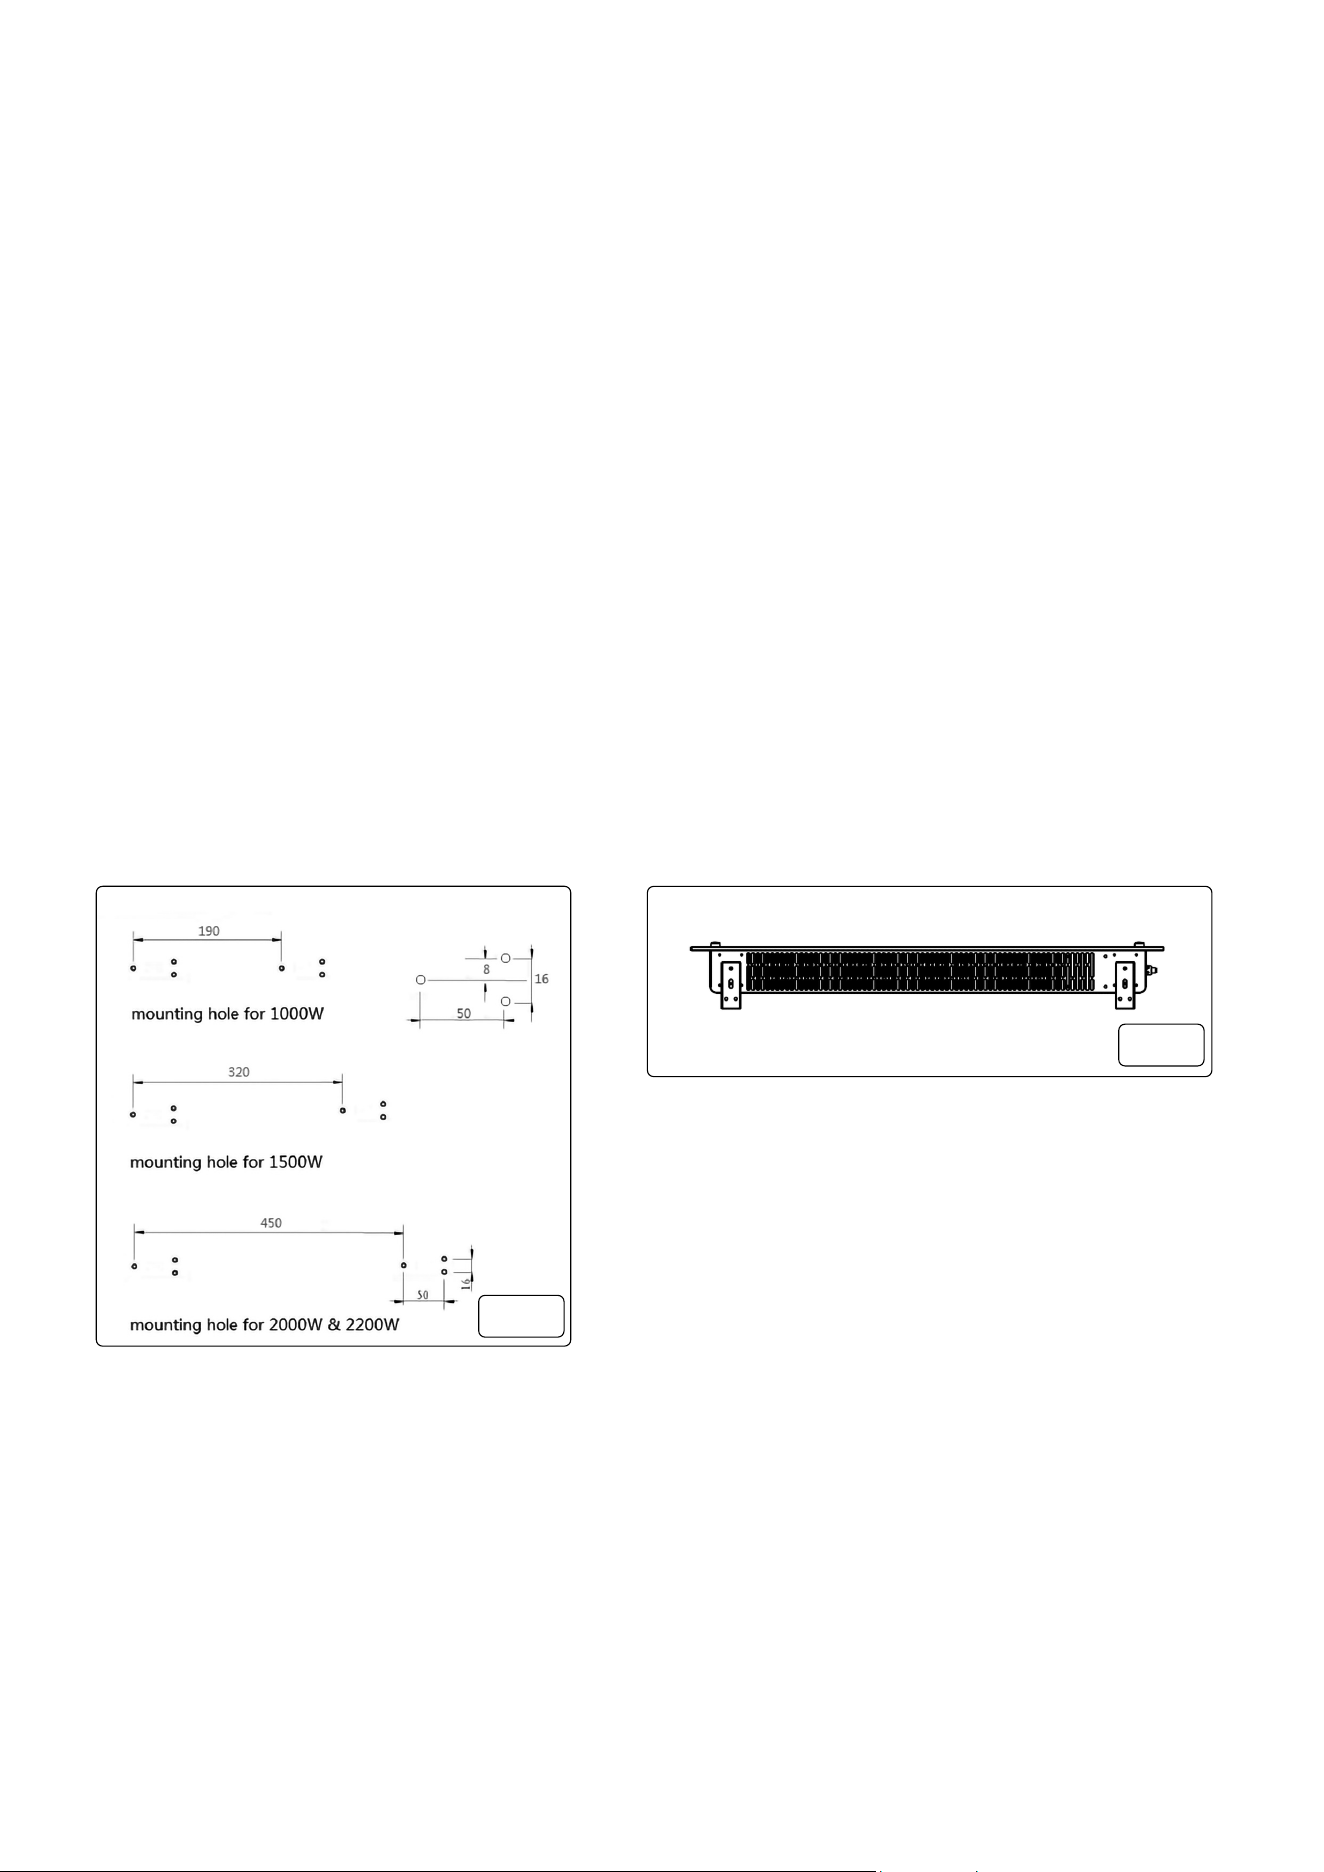
Wall mounting (g.1, g.2)
9 NOTE: The installation MUST be at least 15cm o the ground and no less that 50cm away from the ceiling.
9 Fig.1 - Using the correct measurements of the xings for your particular unit e.g. 1000W, 1500W, 2000W, drill 6 holes to suit.
9 NOTE: Before drilling ensure that there are no hidden pipes or wires that will be damaged by the drilling.
9 Fig. 2 - Fit two brackets (supplied) to the underside of the unit using the supplied self tapping screws (2 per bracket) as shown. These
will hold the unit o of the wall when hanging.
9
fig.
1
fig.
2
Operation
9 When rst powered up the heater will beep, be in standby mode, display the wireless symbol (if connected) and current room
temperature.
9 The rst time the unit is switched on the Heating and ECO icons will illuminate. This means the device is in the ECO heating mode
state. The heater has memory function, when you turn on it subsequently, it will be in the last working state and the display will illustrate
this.
9 To change heating mode, press the UP and DOWN buttons to cycle through the modes: ECO mode, Comfort mode and Anti-frost
mode.
9 To adjust the set temperature of any of the modes press the Mode Value Selector button and the LED displayed value will ash then
use the UP and DOWN buttons to adjust the temperature. Temperature range is from 5°C –50°C.
NOTE: the temperature cannot be adjusted in anti-frost mode.
9 To set the timer, press the Mode Value Selector button. When the LED displayed value ashes, use the UP and DOWN buttons to
adjust the time. Timer range is 1 – 24 hours. The digits will ash while setting and then the screen will return to heating mode. The
timer icon on the screen will show that the timer has been set. The heater will heat until the set time has elapsed.
9 To set the child lock, press and hold the UP button. The Control Panel Lock icon will appear on the screen and the control panel will be
locked out. To release, press and hold the UP button. The padlock icon will disappear, indicating that all the buttons can be used again.
9 To turn o the LED display, press and hold the DOWN Value Selector button. Press any key to re-light the display screen.
Maintenance
9 Always disconnect the appliance and let it completely cool before any maintenance. Use a vacuum cleaner to remove dust on grilles.
Clean the outside of the unit with a damp cloth and then dry it with a dry cloth. Never immerse the unit in water, nor let water drip into
the unit.
9 Always disconnect the appliance, let it completely cool and clean it before storing. If you do not use the device for a long period, return
the unit and the instruction manual to the original carton and store in a dry and ventilated place. DO NOT place any heavy items on top
of carton during storing as this may damage the appliance.
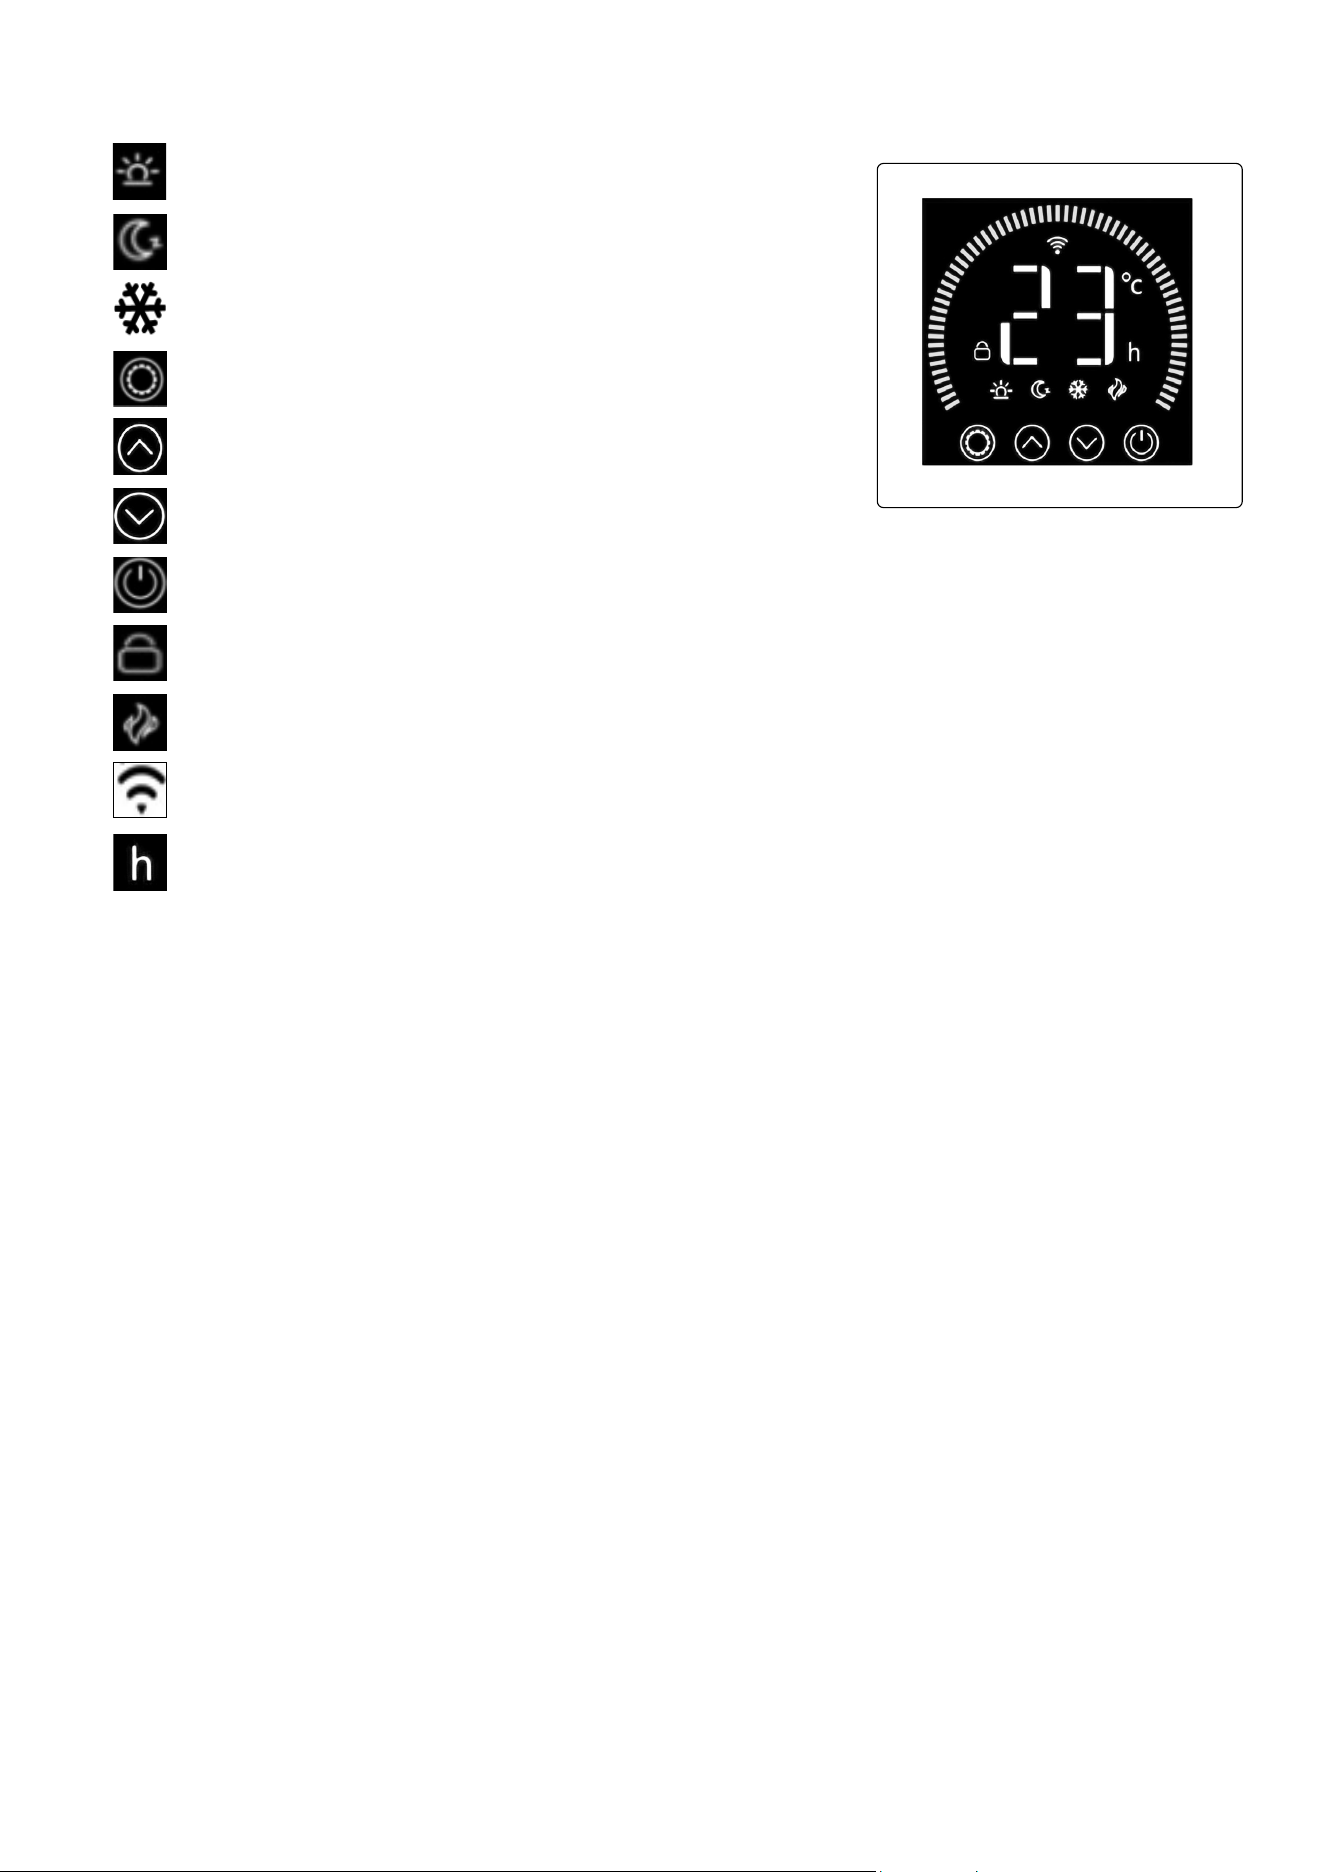
9 “h” Icon: indicates timer has been set.
9 Wireless Icon: Shows when connected.
9 Heating Icon: Shows when panel is heating.
9 Control Panel Lock. Press and hold UP arrow to engage and press and hold UP arrow disengage.
9 On / O selection.
9 Cycle through modes and decrease values set.
9 Cycle through modes and increase values set.
9 Mode Value Selector: Cycle through options to set values.
9 Comfort Mode: Heater is working on full power.
9 Eco Mode: Heater is working on half power.
9 Anti Frost Mode: Heater turns on if ambient temperature drops below
6
o
C. Turns o when temperature rises to 7
o
C.
WiFi Installation
9 To connect your heater to the WiFi, the rst step is to download the Smart Life app onto your smart phone or tablet. You can nd the
app by searching “Smart Life” in the Google Play or Apple app store.
9 Download and install the app. Unless you already have a Smart Life account, you will need to create an account by tapping Register.
9 The device will automatically determine your country, although you can change this if necessary. Enter your phone number or email
address. If you enter a phone number, a verication number will be sent to your phone: enter this number to verify, then create a
password. If you enter your email address, you’ll just need to create a password.
9 To add your heater to the app, rst put the heater in WiFi connection mode. The heater is in WiFi connection mode when the WiFi icon
is ashing. If the wi icon is not ashing, go to standby mode and hold down the button for three seconds.
9 Once the WiFi icon is ashing, go to the app and press Add a Device. Select the device type (Small Appliances > Heater) and conrm
that the indicator is ashing. You will then be prompted to enter your WiFi password. This allows the app to nd your heater using your
WiFi.
9 The app will then display its connecting screen. NOTE: if the heater is failing to connect, press and Hold the button for three
further seconds. It will then switch to its secondary connection mode. The heater has two connection modes: one where the WiFi icon
ashes slowly (once per second) and one where the WiFi icon ashes fast (three times per second). Most devices will connect on the
fast ashing mode.
9 The heater will beep and display a solid WiFi icon when the device is connected. The app will conrm that the heater has been added.
You can now name the device, share it with family members, or proceed to scheduling your heating.
App Operation
9 You can use the app to control multiple devices. The status of your devices is shown on the device list:
• Oine (device is turned o at wall / rocker switch).
• Turned O (device is in standby mode).
• Turned On (device is in heating mode).
9 When the heater is online, tap the device name to go to the control interface. NOTE: when the heater is oine, you will not be able to
control it with the app.
9 You can change the heater’s current mode by tapping the mode buttons. You can adjust the mode’s temperature using the + and –
buttons when you’re on that mode.
Scheduling Heating
9 You can program your heating by creating a schedule of “events”, where the heater switches on or o. These events can be temporary,
like setting a timer, or they can be recurring, so the heater switches on at the same time every week. You can set an unlimited number
of events, switching the heater on and o across the week.
9 For every event, you must set a start time. Then, choose whether you want it to repeat. Select “Only Once” if you just want to set a
timer for now. If you want the event to repeat, select which days you want it to occur. Finally, choose whether you want the heater to
switch on or o. Make sure you conrm your settings at every stage and press save to keep the event.
9 Each event will appear in your schedule. You can activate and de-activate events using the toggle. You can also delete events by
swiping left and tapping Delete.
9 The heater will beep when it begins a new heating event. The heater will heat at whatever mode it was last set to: you cannot schedule
mode changes. NOTE: if you change the heater’s setting during an event – i.e. turning it on when it is scheduled to be o – the heater
will remain as it is until the next scheduled event.
Smart Features
9 The “Smart” section of the SmartLife app allows you to add functions that make your heating easier and more intuitive to control. The
Smart section can be reached be pressing the Smart icon at the bottom of the app.
9 Scenarios: Scenarios are customisable commands that bring all your devices together to perform set actions. They appear as
shortcuts on the app which you can trigger by tapping the image, oering a quick and easy means of co-ordinating your heating. For
example, you could create a “Heat Boost” scenario that, at one tap, switches all your panel heaters on, at high power mode, at 30 °C.
To create new scenarios, press the + button while on the Scenario screen. You can add as many heaters as you want to a scenario.
You can control whether they switch on or switch o, what mode they run on, and what temperature they are set to. Any device
controlled by the SmartLife app can be added to a scenario.
9 Automation: Automation allows you to set up actions that are triggered by external events. Triggers include the weather, temperature,
humidity, sunset, sunrise and your location. You can add multiple actions and multiple triggers for each automation event, so you could,
for example, set all your heaters to come on at 21°C if you arrive home when it’s snowing! To create new scenarios, press the button
while on the Scenario screen.
Voice Integration:
9 Smart Life is compatible with both Amazon Alexa and Google Home.
9 To connect, rst download the SmartLife skill onto your Alexa or Google home app. You can then link your Alexa or Google home app
with your SmartLife app. Depending on your device, your voice control app may discover your devices automatically, or you may need
to prompt it to do so.
9 Once the SmartLife skill is enabled and linked with your SmartLife app, you should get notications whenever you add a new heater or
scenario. The notication will tell you what to say to control the heater or scenario by voice.
9 You can nd quick guides and FAQs to connecting the app to both Google Home and Alexa in the FAQ section. Press then
9 Sharing: You can share control of your devices with family members. Go to then Family Management then Add Member.
9 Add your new family member’s email address or phone number to send an invitation. NOTE: you can only share to numbers and email
addresses that are connected to app-compatible devices: smart phones or tablets.
9 When you add new members you can choose whether or not to set them as an administrator. Members added as administrators will
have all family permissions, including the facility to delete the family. Members not set to administrator can control scenarios and
devices but cannot add or remove them.

Environment Protection and Waste Protection and Electrical Equipment Regulations (WEEE)
Recycle unwanted packaging materials. When this product is no longer required, or has reached the end of it’s useful life, please dispose of it
in an environmentally friendly way. Drain any fluids (if applicable) into approved containers, in accordance with local waste regulations. Under
the Waste Batteries and Accumulators Regulations 2009, Dellonda would like to inform the user that this product contains one or more batteries.
It is our policy to continually improve products and we reserve the right to alter data, specifications and parts without prior notice. No liability is
accepted for incorrect use of this product. Guarantee is 12 months from purchase date, proof of which is required for any claim.
Dellonda Limited
Kempson Way, Suffolk Business Park, Bury St Edmunds, Suffolk. IP32 7AR
01284 757575 [email protected] www.dellonda.co.uk
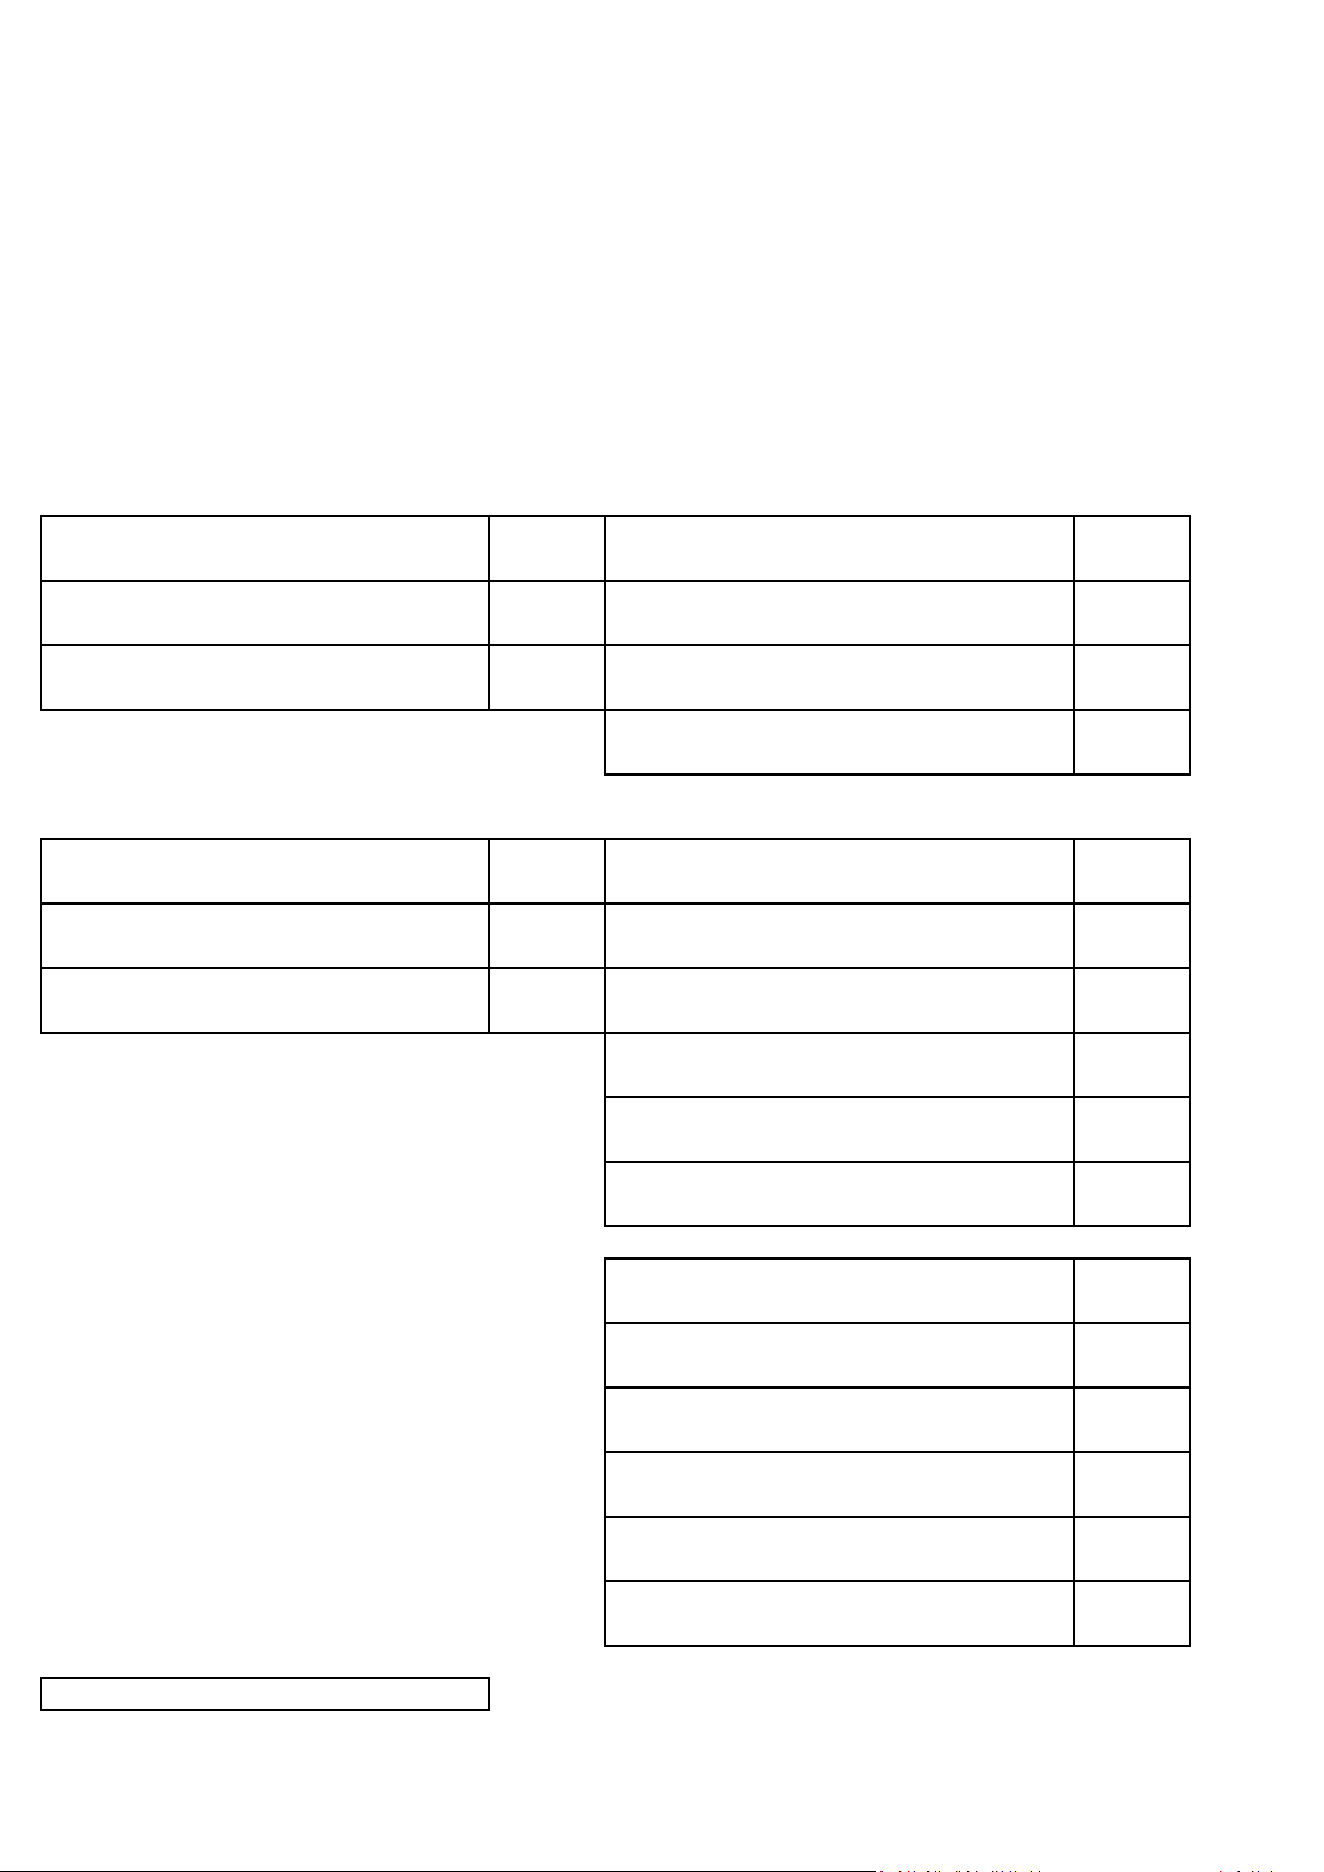
Product Information Sheet. Local Space Heaters, Electric.
SUPPLIER_NAME_OR_TRADEMARK Dellonda EU Ltd.
DELEGATED_ACT 2015/1188/EU
MODEL_IDENTIFIER DH137
ADDRESS
Farney Street, Carrickmacross, Co. Monaghan, A81 PK68 Ireland
PHONE_NUMBER 01284 757 500
EMAIL_ADDRESS TechnicalCompliance@dellonda.co.uk
Heat output
Nominal heat output kW 1.500 No
Minimum heat output (indicative) kW
0.750 No
Maximum continuous heat output kW 1.500 No
No
Auxiliary electricity consumption
Nominal heat output kW
0 No
Minimum heat output (indicative) kW
0 No
In standby mode kW
0.00136 No
No
No
Yes
No
Yes
Yes
No
Yes
No
Suppliers website https://www.dellonda.co.uk/
with black bulb sensor
Other control options
Room temperature control, with presence
detection
Room temperature control, with open
window detection
with distance control option
with adaptive start control
with working time limitation
Electric Glass Panel Heater, 1500W, Wi-Fi Enabled, Black
With electronic room temperature control
plus day timer
With electronic room temperature control
plus week timer
Single stage heat output, no room
temperature control
Other control options
With mechanical thermostat room
temperature control
With electronic room temperature control
Two or more manual stages, no room
temperature control
manual heat charge control with room and/or
outdoor temperature feedback
fan assisted heat output
manual heat charge control, with integrated
thermostat
electronic heat charge control with room
and/or outdoor temperature feedback
Type of heat input, for electric storage local
space heaters only