1
/
5
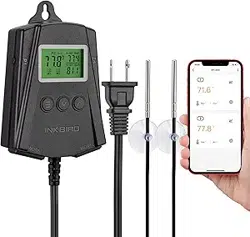
THERMOSTAT TIMING SOCKET T01
USER MANUAL
1. Introduction
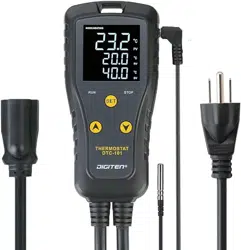
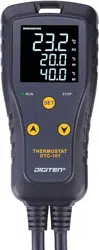
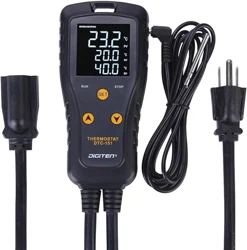
This timing socket comes with an external detecting probe to detect the temperature. It can set
the opening temperature and closing temperature, and has the functions of cycle timing, timing
opening, timing closing, timing opening and closing. It is widely used in the intelligent control of
carbon crystal heating, aquaculture, greenhouse, home life, and other places.
2. Screen Display Precautions
Real-Time Temperature Range: -40℃~120℃
When the circuit is open (or when the temperature is less than -45℃), the first line of the
screen flashes and displays "E1", and it displays -40 ℃ when the temperature is between
-40℃ to -45℃.
When the circuit is short (or when the temperature is more than 120℃), the first line of the
screen flashes and displays "E2", and it displays 120℃ when the temperature is between
121℃ to 129℃.
When the temperature is low than -10℃ or higher than 100℃, it will not display the value
after the decimal point.
When the set start temperature is higher than the stop temperature, the device is in cooling
mode, and the corresponding icon will be displayed as .
When the set start temperature is lower than the stop temperature, the device is in heating
mode, and the corresponding icon will be displayed as .
2
/
5
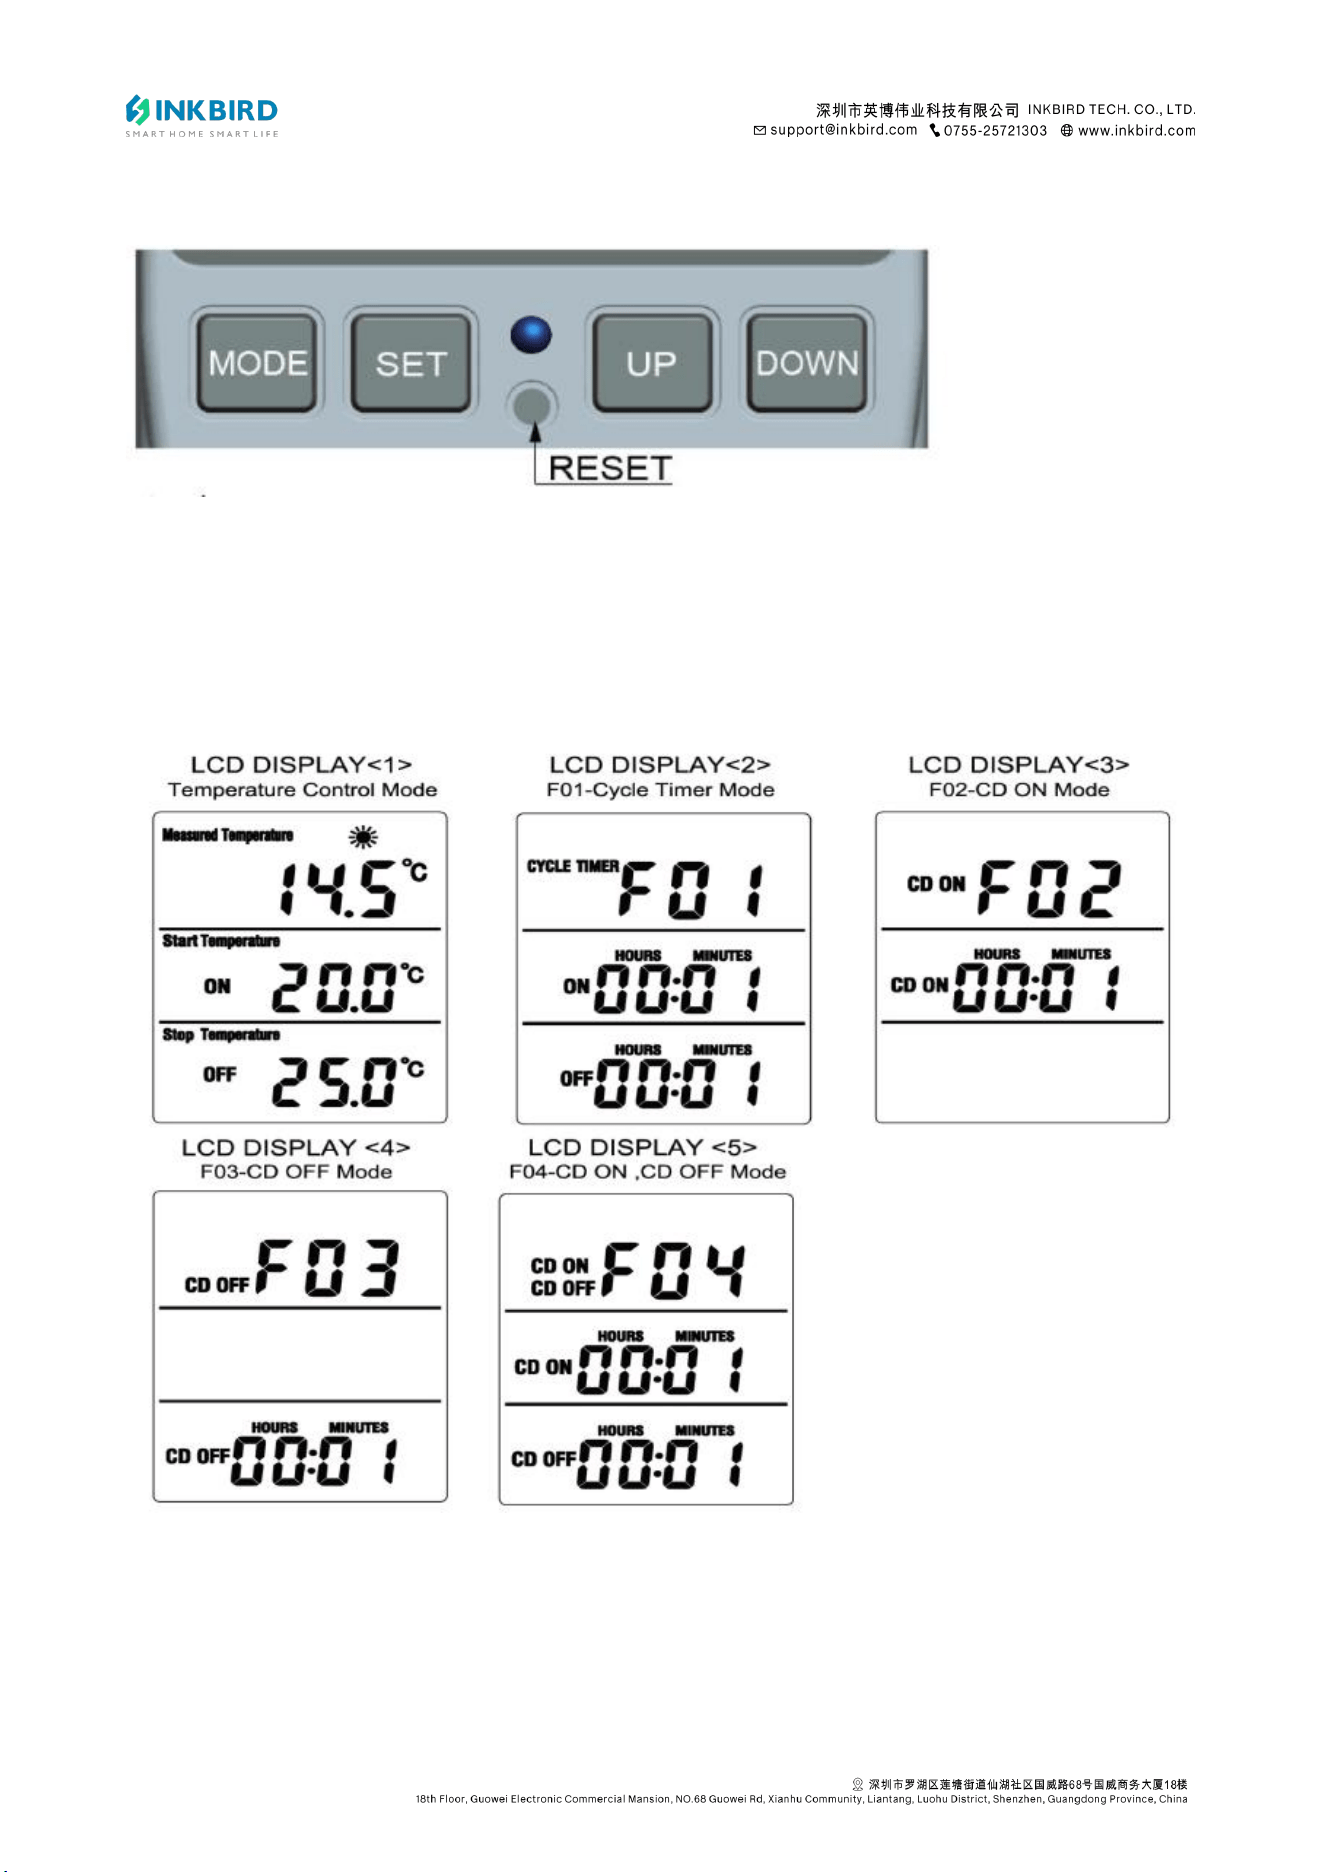
3. Operation Instruction
MODE Button (MODE):
Press the MODE button to switch between Temperature Control Mode and Timing Mode
F01~F04.
F01 Cyclic Timing Mode: Cycle by start time (ON) and stop time (OFF).
F02 Count Down ON Mode: It’s currently in the OFF state, and the delay is on.
3
/
5
F03 Count Down OFF Mode: It’s currently in the ON state, and the delay (stop time) is off.
When the stop time countdown is complete, turn off the output and exit the running state.
F04 Count Down ON & OFF Mode: It’s currently in the OFF state, and the delay (start time) is
on. After starting, the delay (stop time) is turned off. When the stop time countdown is complete,
turn off the output and exit the running state.
Note:
1) In the timing mode, when the start time/stop time is 0, no opening or closing will occur, and
the corresponding time will flash to alarm.
2) The running state prohibits switching the timing mode.
Press and hold the MODE button for 3 seconds to switch between Startup and Shutdown,
and the corresponding mode icon will flash after power on.
1) In temperature control mode, the or icon blinks (depending on whether it is in
heating or cooling mode).
2) In the timing mode, the ON/OFF character of the current running mode blinks, the time
symbol ":" blinks, and the time runs at the same time. After the device starts and runs to ON,
the relay closes and the socket output indicator lights up. When it runs to OFF, the relay is
disconnected and the indicator light is off.
SET Button (SET)
1) In temperature control mode, press the SET button to set the start temperature and stop
temperature, ranging from -40℃ to 120℃. (The default start temperature is 20℃, and the
stop temperature is 25℃.)
2) In timing mode F01~F04, press the SET button to set start hours/minutes and stop
hours/minutes, ranging from 0 to 99 hours and 59 minutes.
4
/
5
3) Under the running state, temperature and time can be adjusted through the SET button.
UP/DOWN Button
1) When the numeric value is flashing, press the UP or DOWN button to adjust the value.
2) Press the UP or DOWN button to add or subtract one value. Long pressing will automatically
add and subtract values.
3) Under the non-running state, press and hold the UP and DOWN buttons simultaneously for
3 seconds to restore the factory settings.
4. Temperature Calibration Function
1) After power on, press and hold the MODE button for 2 seconds to calibrate the real-time
temperature. The first line of the screen will display "CALIBRATION" and the real-time
temperature, and the calibration value on the second line will flash. Press the UP or DOWN
button to adjust the calibration value. (After adjusting the calibration value, the real-time
temperature will change accordingly.)
2) Real-Time Temperature Calibration Range: -9.9℃~9.9℃.
3) Long pressing the SET button to exit (or automatically exiting after 5 seconds of no
operation) will not save the modification. Long press the MODE button to exit and save the
modification.
5. ℃ or ℉ Selection
Press and hold the SET button for more than 5 seconds to switch between ℃ or ℉.
6. Backlight Mode (This feature is limited to the backlit version)
Turn on the AC power, and the backlight will turn on immediately. If no button is pressed, the
backlight will turn off after 10 minutes. Press any button to turn the backlight on again.
7. Memory Function: All current settings will be saved after power off.

5
/
5
8. Factory Test
Press the RESET button with a sharp point to turn on the screen for one second and restore the
factory settings.
9. Technical Parameters:
EU FR PLUG: 16(2)A 230V~ Max.3680W.u
UK PLUG: 13(2)A 230V~ Max.2900W.u
AU PLUG: 10(2)A 240V~ Max.2400W.u
US PLUG: 15(2)A 120V~ Max.1800W.u
Temperature Range: -40℃~120℃
Temperature Control Accuracy: ±1%
Timing Accuracy: Max. 10 minutes