
Loading ...
Loading ...
Loading ...
49-5000712 Rev. 3 15
Installation Instructions
INSTALLATION INSTRUCTIONS
White-Westinghouse/Frigidaire/Carrier
52F Series (16” + 17-1/2” Deep)
4
4
3
8
3
8
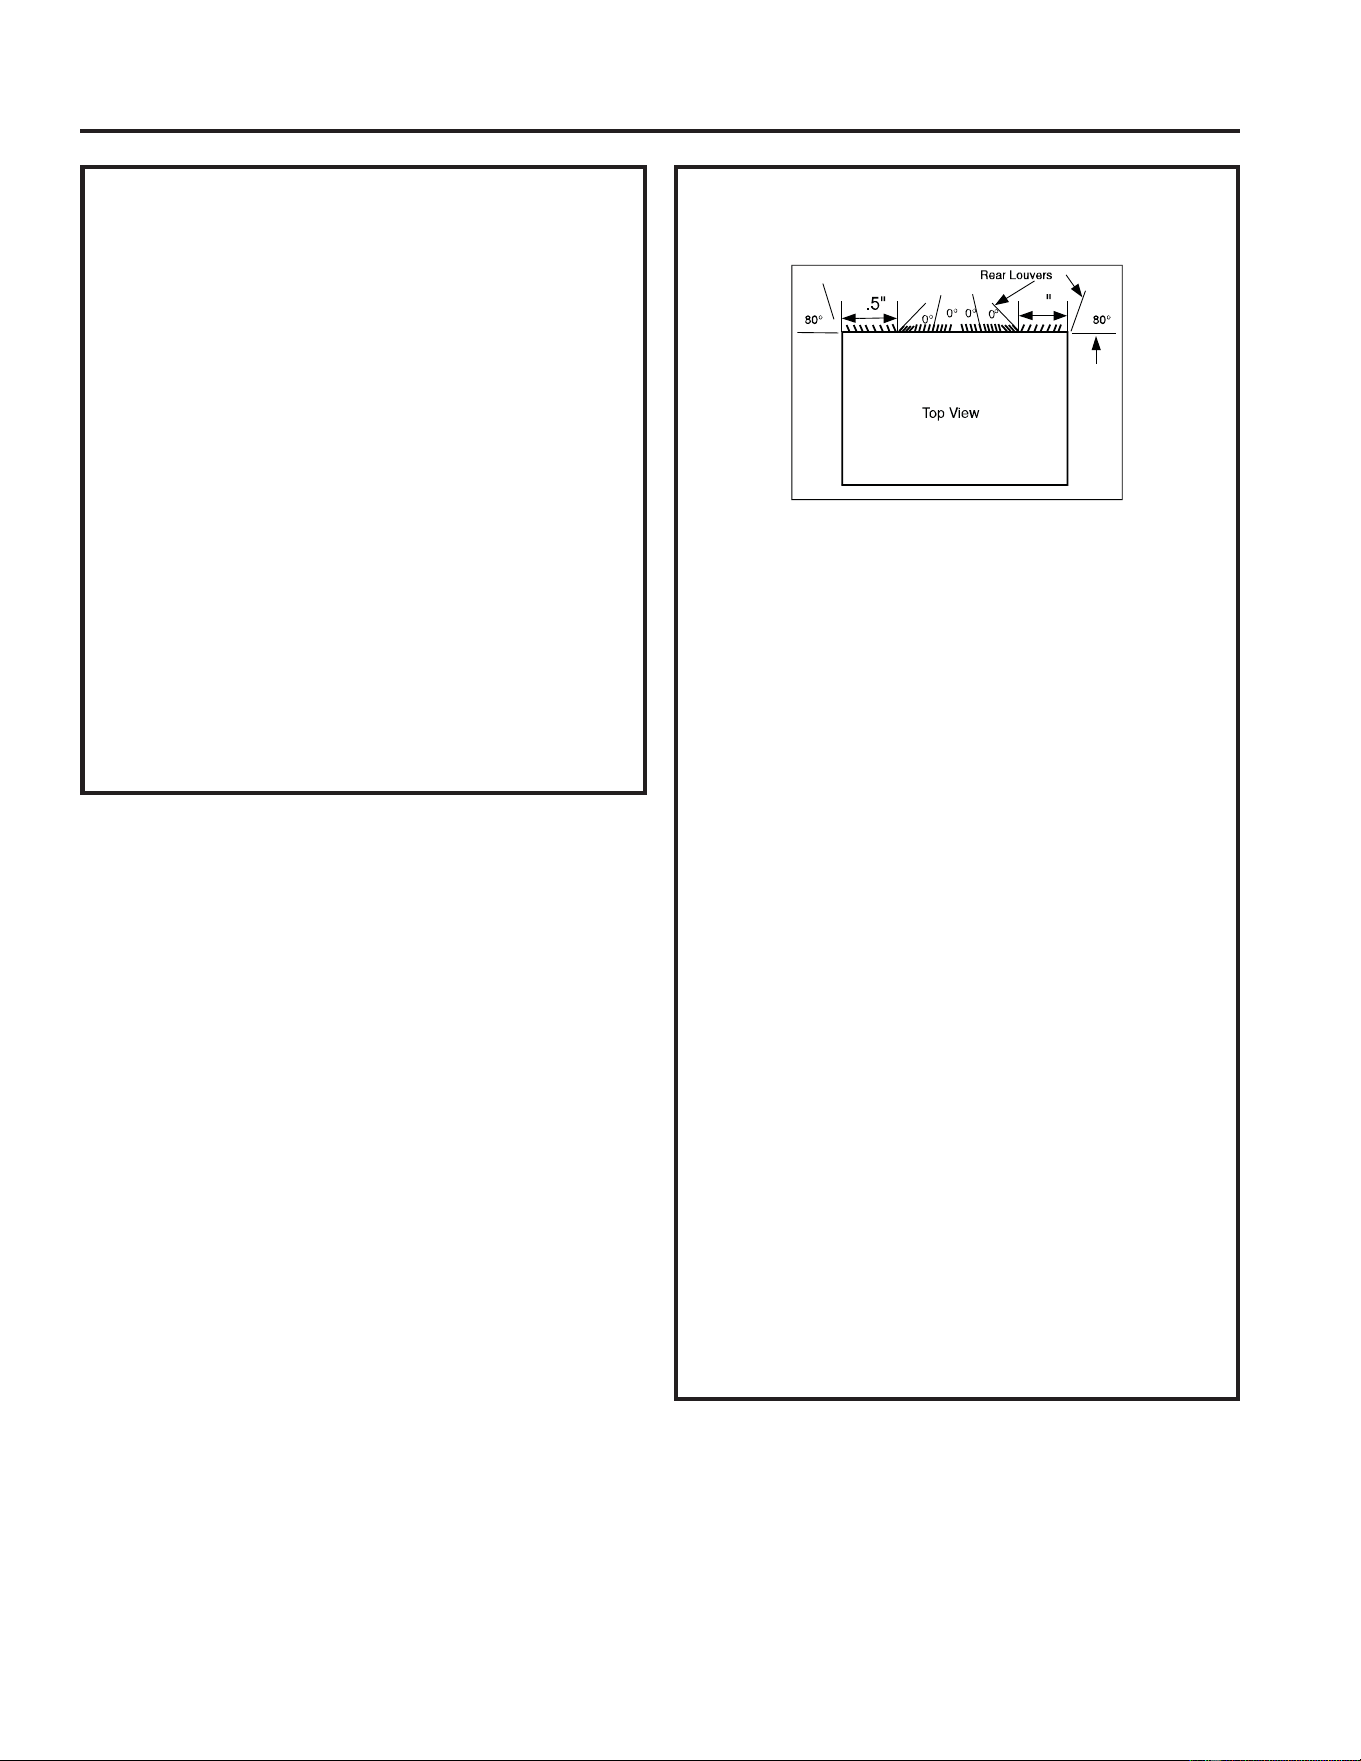
1. Remove existing rear grille as shown on page
9 of this manual and replace with provided
louvered rear panel.
NOTE: You may need to drill holes in flange of
existing sleeve to match new rear grille.
2. Attach (1) 1” x 3/8” x 25” long seal in the center
at the top of the sleeve. Remove the backing
paper and press into position.
3. Attach (2) 1” x 3/8” x 14” seals to the left and
right sides of the sleeve.
4. Attach (2) 1” x 3/4” x 14” long seals vertically 4.5”
from the left side of the sleeve and 4” from the
right side of the sleeve.
5. Center unit and gently slide unit into sleeve.
6. Before sliding all-the-way back, remove the
second screw from front on left side of unit.
7. Remove the plastic washer from the screw.
8. Screw and attach the other end of the ground
wire to the unit. Make sure that the toothed
washer is against the cabinet.
9. Slide the unit completely to the rear to ensure
a good seal, making sure the ground wire does
not become tangled.
10. If you have difficulty with mounting the grill to
the sleeve, follow the instructions for direct
mounting on page 15.
11. Seal and frame the unit as described on
page 16.
Whirlpool (23” Deep) (cont)
15. Center unit and gently slide unit into sleeve.
16. Before sliding all-the-way back, remove the first
screw from front on left side of unit.
17. Remove the plastic washer from the screw.
18. Screw and attach the other end of the ground wire
to the unit. Make sure that the toothed washer is
against the cabinet.
19. Slide the unit completely to the rear to ensure a
good seal, making sure the ground wire does not
become tangled.
20. If you have difficulty with mounting the grill to the
sleeve, follow the instructions for direct mounting
on page 15.
21. Seal and frame the unit as described on page 16.
Loading ...
Loading ...
Loading ...