American International by PAC
Tech Support in Spanish/Para servicio técnico en español,
llame al +1 727 205-0436
Find vehicle applications and additional information at
pac-audio.com
VEHICLE APPLICATION
RAM
2014-2021 PROMASTER
©2018 AMERICAN INTERNATIONAL INDUSTRIES, INC.
TECH Ver. 7/18 PRINT Ver. 7/18
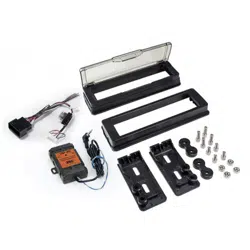
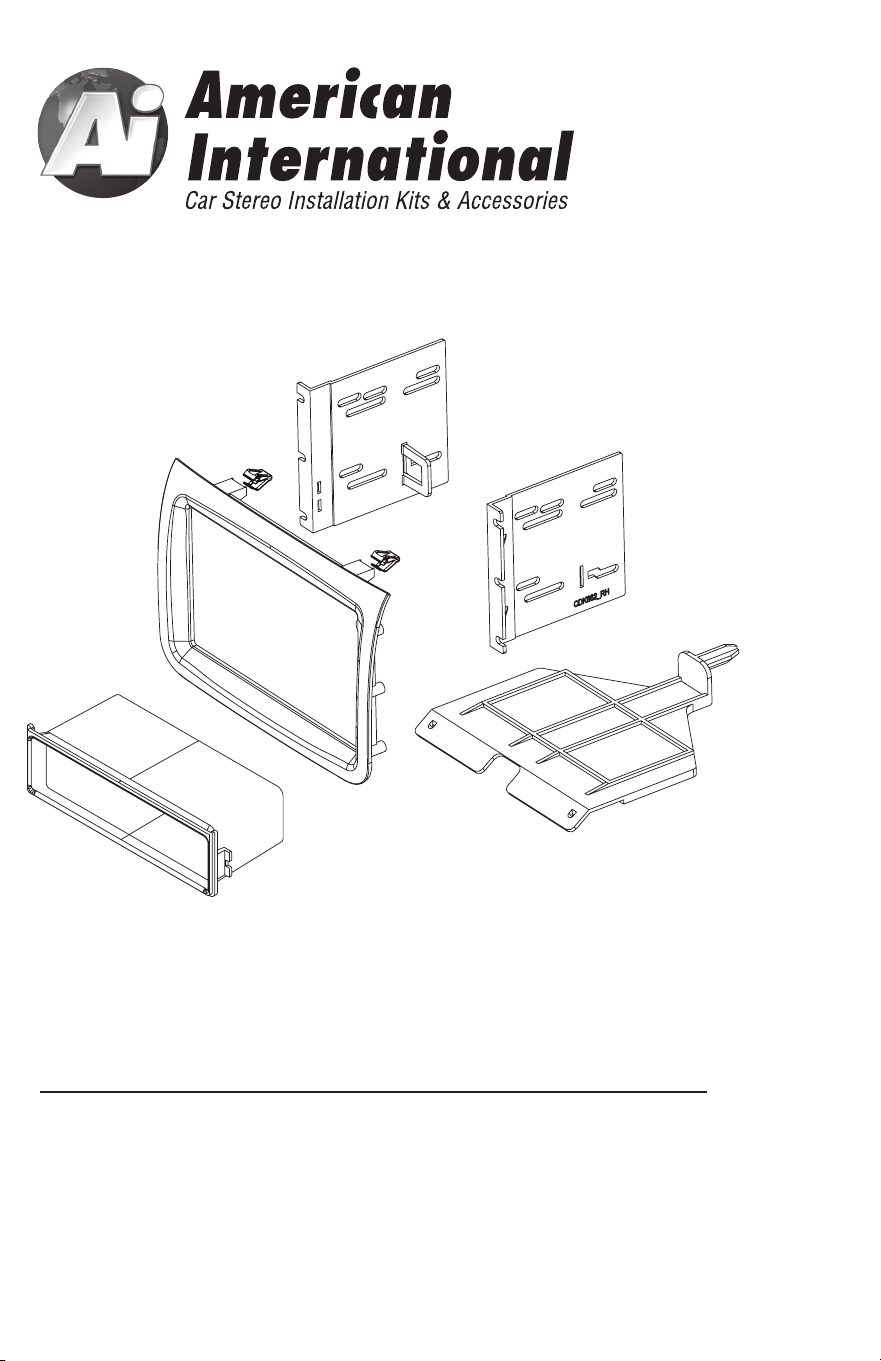
CDK662 Mounting Kit
iCDK662
DASH DISASSEMBLY INSTRUCTIONS
1. Using radio release keys, insert keys into the 2 holes on each side of the head unit
and pull keys outwards. Then, remove.
2. The (2) metal brackets on both the right and left sides of the now exposed radio
opening need to be taken out by removing the (2) Phillips heads screws
from each side.
2
3
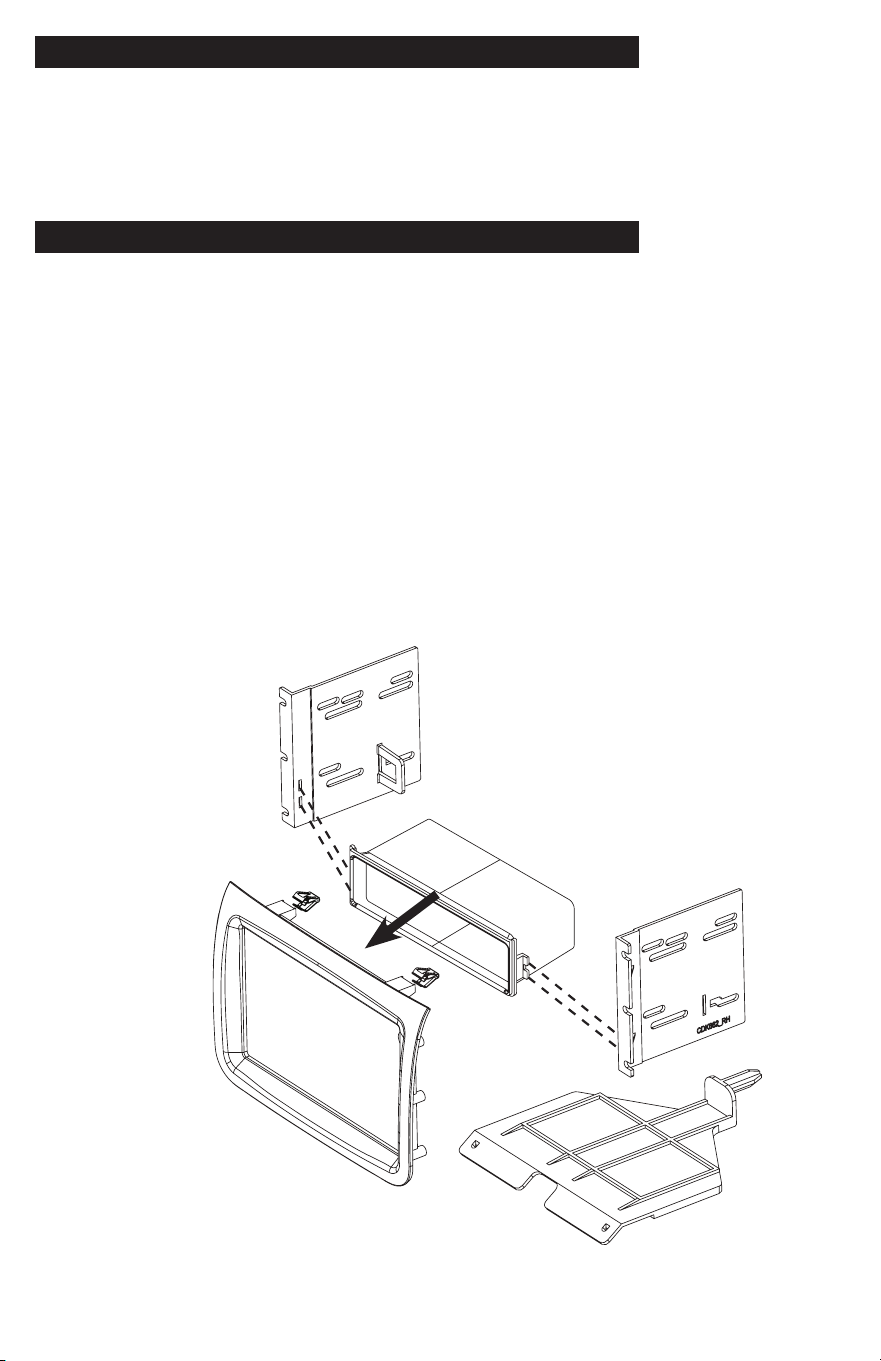
DOUBLE DIN INSTALLATION INSTRUCTIONS
Figure A
KIT ASSEMBLY INSTRUCTIONS
Single ISO Mount Application
1. Install the (2) supplied metal clips to the rear of the CDK662 main frame.
2. Install the bottom support bracket to the lower radio opening by inserting the rear post
to the small opening in the sub dash. Then using the (2) Phillips screws supplied, in the
front left and right corners mount to dash..
3. Insert pocket into lower section of the brackets and snap into rear pocket support tabs.
4. Install brackets to rear of main frame using the (6) screws provided
5. Insert ISO mountable radio between ISO mount brackets and loosely attach to sides of
radio using screws provided with radio when possible, or screws supplied with kit.
6. Using the main frame of the as a guide, slide radio forward or backward for desired
look and then tighten screws to the radio.
Double DIN ISO Mount Application
See Fig B for bracket tab removal.
1. Install the (2) supplied metal clips to the rear of the CDK662 main frame.
2. Install the bottom support bracket to the lower radio opening by inserting the rear post
to the small opening in the sub dash. Then using the (2) Phillips screws supplied, in the
front left and right corners mount to dash.
3. Remove rear pocket support tabs.
4 Install brackets to rear of main frame using the (6) screws provided
5. Insert ISO mountable radio between ISO mount brackets and loosely attach to sides of
radio using screws provided with radio when possible, or screws supplied with kit.
6. Using the main frame of the as a guide, slide radio forward or backward for desired
look and then tighten screws to the radio.
Figure B
Remove shaded tabs
on left and right sides
of the brackets
(Right side not shown)

DASH DISASSEMBLY INSTRUCTIONS
1. Using radio release keys, insert keys into the 2 holes on each side of the head unit
and pull keys outwards. Then, remove.
2. The (2) metal brackets on both the right and left sides of the now exposed radio
opening need to be taken out by removing the (2) Phillips heads screws
from each side.
2
3
DOUBLE DIN INSTALLATION INSTRUCTIONS
Figure A
KIT ASSEMBLY INSTRUCTIONS
Single ISO Mount Application
1. Install the (2) supplied metal clips to the rear of the CDK662 main frame.
2. Install the bottom support bracket to the lower radio opening by inserting the rear post
to the small opening in the sub dash. Then using the (2) Phillips screws supplied, in the
front left and right corners mount to dash..
3. Insert pocket into lower section of the brackets and snap into rear pocket support tabs.
4. Install brackets to rear of main frame using the (6) screws provided
5. Insert ISO mountable radio between ISO mount brackets and loosely attach to sides of
radio using screws provided with radio when possible, or screws supplied with kit.
6. Using the main frame of the as a guide, slide radio forward or backward for desired
look and then tighten screws to the radio.
Double DIN ISO Mount Application
See Fig B for bracket tab removal.
1. Install the (2) supplied metal clips to the rear of the CDK662 main frame.
2. Install the bottom support bracket to the lower radio opening by inserting the rear post
to the small opening in the sub dash. Then using the (2) Phillips screws supplied, in the
front left and right corners mount to dash.
3. Remove rear pocket support tabs.
4 Install brackets to rear of main frame using the (6) screws provided
5. Insert ISO mountable radio between ISO mount brackets and loosely attach to sides of
radio using screws provided with radio when possible, or screws supplied with kit.
6. Using the main frame of the as a guide, slide radio forward or backward for desired
look and then tighten screws to the radio.
Figure B
Remove shaded tabs
on left and right sides
of the brackets
(Right side not shown)

American International by PAC
Tech Support: [email protected] or 727-592-5991
Tech Support in Spanish/Para servicio técnico en español,
llame al +1 727 205-0436
Find vehicle applications and additional information at
pac-audio.com
VEHICLE APPLICATION
RAM
2014-2021 PROMASTER
©2018 AMERICAN INTERNATIONAL INDUSTRIES, INC.
TECH Ver. 7/18 PRINT Ver. 7/18
CDK662 Mounting Kit
iCDK662