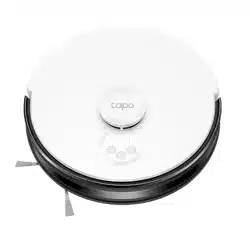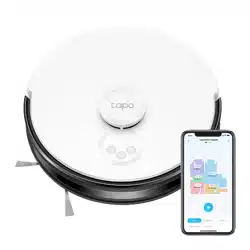

Robot Vacuum Cleaner
App Guide
© 2024 TP-Link 1910013740 REV1.1.0

Contents
Set Up Robot Vacuum ··························································1
Cleaning ···················································································· 3
Whole House Cleaning ··························································4
Room Cleaning ··········································································7
Zone Cleaning ·········································································10
Point and Go Cleaning ························································11
Furniture-Focused Cleaning ···········································12
Remote Control Cleaning ··················································13
Maps·························································································14
Add Virtual Wall ·······································································15
Set No-Go Zones ··································································17
Divide, Merge, and Edit Room ·········································19
Manage Carpets ····································································22
Add Furniture ···········································································25
Set Cleaning Direction ························································ 26
Rotate Map ················································································27
Lock/Unlock Map ··································································28
Back Up/Restore Map ·························································29
Switch Map ···············································································30
Schedules ··············································································32
Voice Control ········································································35
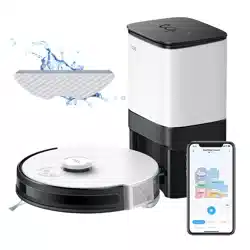
Set Up Robot Vacuum
Follow step-by-step instructions in the Tapo app to power on your robot vacuum, connect to your home Wi-Fi, and custom settings like name and
location.
2
* Features available in Tapo may vary by product model, rmware version, and app version. Images are for demonstration only.
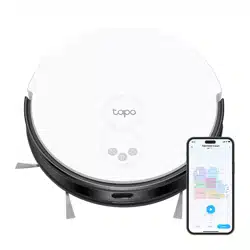
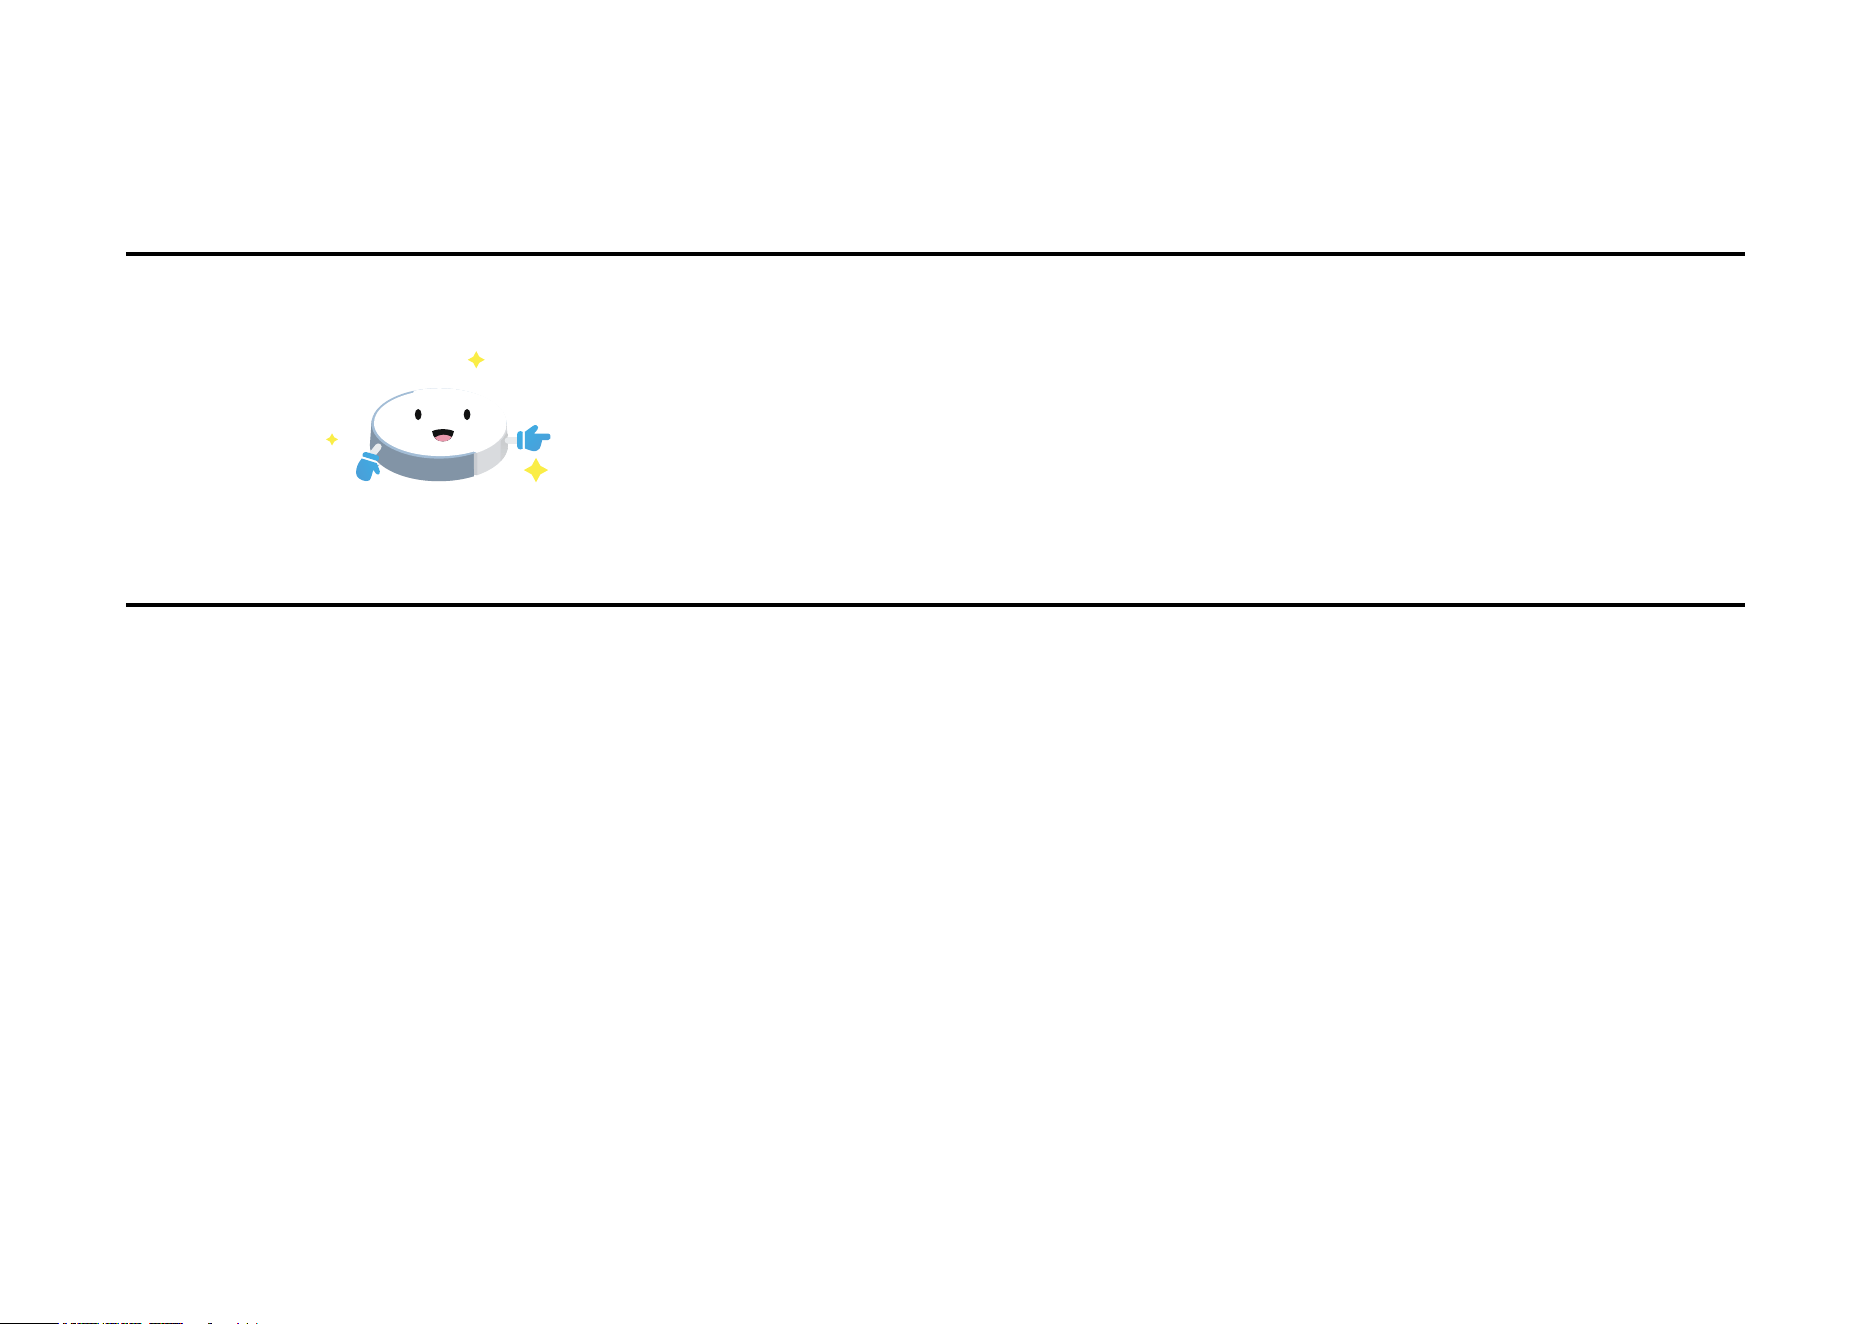
Set Up Your Robot Vacuum
Setup & Maintenance Videos: https://www.tp-link.com/support/setup-video/#robot-vacuum
1. Download the Tapo app from the App Store or Google Play,
then log in with TP-Link ID. If you don't have an account, create
one rst.
Install the Tapo App and Log In
2. Open the Tapo app, tap + icon and select "Add Device". Select
"Robot Vacuums" and then your model. Follow the step-by-step
instructions to easily complete setup.
OR
Set Up with the Tapo App
Cleaning
There are 3 kinds of cleaning patterns provided, including Whole House Cleaning, Room Cleaning, and Zone Cleaning.
You can also use Furniture-Focused Cleaning, Point and Go Cleaning, and Remote Control Cleaning to meet more cleaning needs.
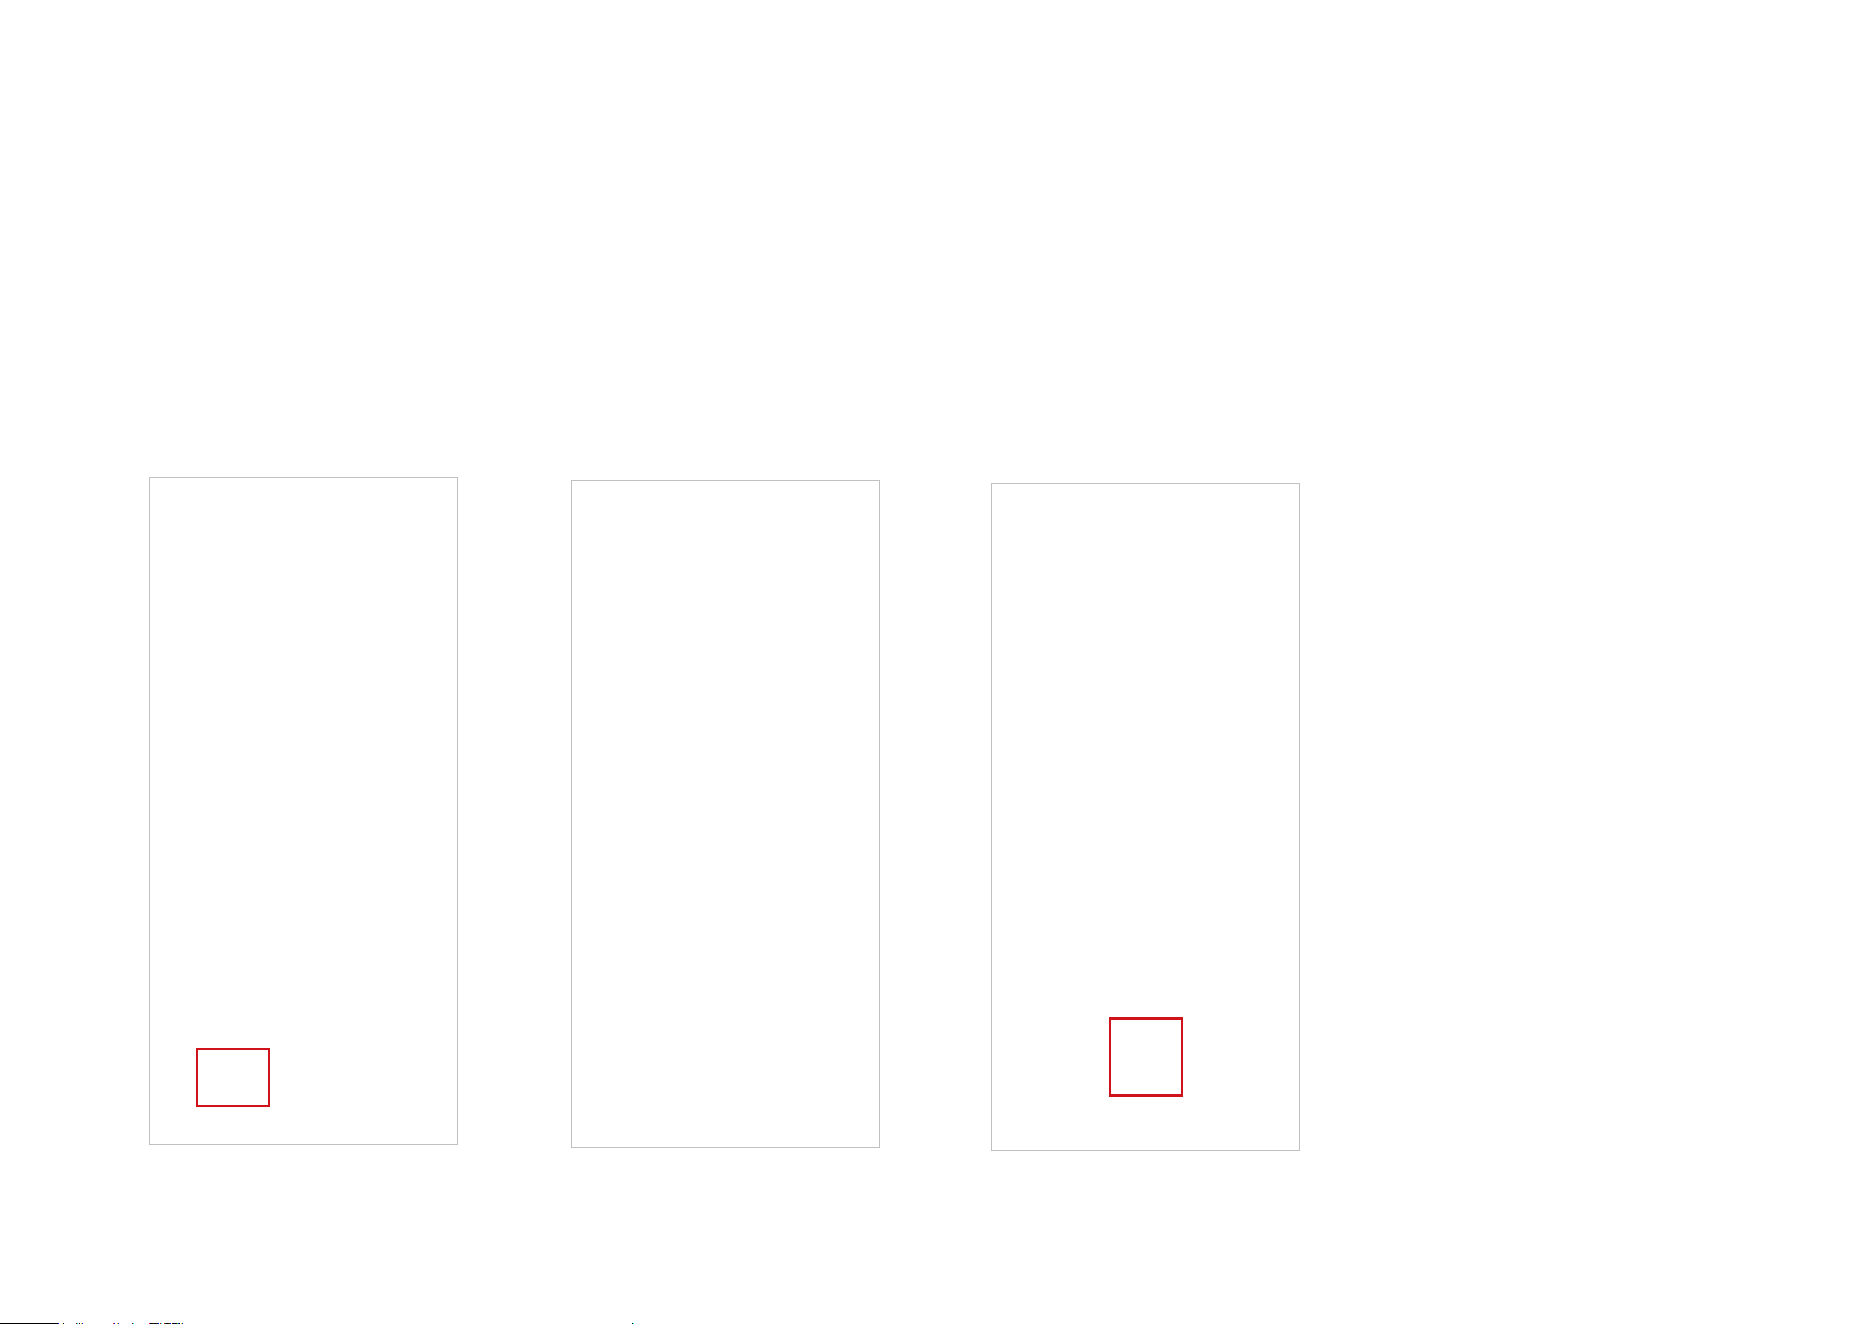
• Whole House Cleaning: Clean whole house in Standard Cleaning or Advanced Cleaning mode
• Room Cleaning: Clean rooms in Fast Cleaning or Custom Cleaning mode
• Zone Cleaning: Clean specic zones
• Furniture-Focused Cleaning: Clean areas around and under the furniture
• Point and Go Cleaning: Navigate to the designated area and clean
• Remote Control Cleaning: Use the remote control to control the robot vacuum move and clean
4
* Features available in Tapo may vary by product model, rmware version, and app version. Images are for demonstration only.
Whole House Cleaning
The optimal cleaning path is followed, and all rooms are cleaned
according to the same cleaning preferences.
Whole House Standard Cleaning
You can customize the vacuum power, cleaning times, and water
level for each room and set the cleaning order for your home.
Whole House Advanced Cleaning
5
* Features available in Tapo may vary by product model, rmware version, and app version. Images are for demonstration only.
1. Go to the home page and pull
up the panel.
How to Set Whole House Advanced Cleaning
2. Tap the Switch icon to switch
to “Advanced Cleaning”.
3. Customize the cleaning order
for your home. We recommend
cleaning heavily oiled areas,
such as kitchens, last.
4. Tap to choose a room and
customize cleaning preferences
such as cleaning times and vacuum
power. Repeat for each room.
6
* Features available in Tapo may vary by product model, rmware version, and app version. Images are for demonstration only.
5. Tap "Save" to complete
settings.
6. Done! You can tap the Start button on
the home page to start cleaning your whole
house with custom settings.
7
* Features available in Tapo may vary by product model, rmware version, and app version. Images are for demonstration only.
Room Cleaning
Your rooms are cleaned according to the same cleaning preferences.
Fast Cleaning
You can choose rooms you want to clean, set the cleaning order,
and customize cleaning preferences for each room, then save your
cleaning settings as a Preset and quickly start cleaning with a single
tap or voice command.
Custom Cleaning
8
* Features available in Tapo may vary by product model, rmware version, and app version. Images are for demonstration only.
1. Tap “Custom” under “Rooms”.
How to Set Custom Cleaning
2. Choose the order of rooms you
want to clean. We recommend
cleaning heavily oiled areas, such
as kitchens, last.
3. Tap a room to modify cleaning
preferences such as cleaning
times and vacuum power.
Repeat for each room.
4. Name your preset to help you
easily identify it.
9
* Features available in Tapo may vary by product model, rmware version, and app version. Images are for demonstration only.
5. Done! You can start the custom cleaning quickly on the Home page and
“Rooms” on the status page. If you have linked to a voice assistant like
Alexa or Google Assistant, you can use your voice to start the cleaning job.
10
* Features available in Tapo may vary by product model, rmware version, and app version. Images are for demonstration only.
1. Tap to add zones and adjust the size of the zones to be cleaned. 2. Swipe up to modify the cleaning preferences. And tap the Start
button to start cleaning specic areas.
Zone Cleaning
11
* Features available in Tapo may vary by product model, rmware version, and app version. Images are for demonstration only.
1. Touch and hold on the map for quick controls. 2. Choose actions you want.
· Go to this location: Go to the designated location.
· Clean this area: Go to the designated location and start Spot Cleaning.
· Cleaning "XXX": Go and clean the designated room.
Point and Go Cleaning
Direct the robot vacuum to specic location or room that requires cleaning.
12
* Features available in Tapo may vary by product model, rmware version, and app version. Images are for demonstration only.
1. Go to “Map > Edit Map > Furniture” to add furniture to the map
based on your home. Refer to Add Furniture section for instructions.
2. Tap on the furniture on the map, tap "Clean XXX", and adjust the area
size you want to clean
.
Repeat steps for more furniture. Then tap the
Clean button to start cleaning.
Furniture-Focused Cleaning
Simply tap on the furniture on the map to quickly start cleaning the furniture area and its surrounding area. The robot vacuum can also clean
the area under the furniture.
13
* Features available in Tapo may vary by product model, rmware version, and app version. Images are for demonstration only.
1. Tap the three dot and choose "Remote Control".
Note that this feature is only available when your phone and robot
vacuum are connected to the same network
.
With Remote Control, you can navigate the robot vacuum in dierent directions, such as forward, left, and right.
Additionally, you can enable Turn On Cleaning to eortlessly clean your home as you control its movement.
2. Enable "Turn On Cleaning" to eortlessly clean your home as you
control its movement. You can also tap the Settings icon and adjust
the cleaning preferences of moving.
Remote Control Cleaning

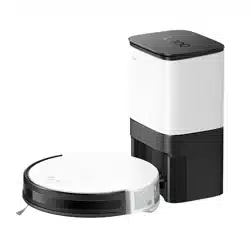
Maps
The robot vacuum can learn, map, and adapt to your home. Dock your robot vacuum to the charging station and map out your home for smarter
cleaning! After mapping, you can edit and manage maps to improve the cleaning eciency in your home.
Map Editing
• Add Virtual Wall
• Set No-Go Zones
• Merge Room
• Divide Room
• Edit Room
Map Management
• Lock/Unlock Map
• Back Up Map
• Restore Map
• Switch Map
• Mange Carpets
• Add Furniture
• Set Cleaning Direction
• Rotate Map

15
* Features available in Tapo may vary by product model, rmware version, and app version. Images are for demonstration only.
1. Tap the Map icon and tap "Edit Map" to edit the current map. 2. Tap "Virtual Wall/No-Go Zones" and there are two features available.
Add Virtual Wall
Create an invisible barrier that your robot vacuum won't cross, which will conne it to a particular area, and prevents it from getting too close to
anything delicate or dangerous like the stairs.

16
* Features available in Tapo may vary by product model, rmware version, and app version. Images are for demonstration only.
3. Tap “Virtual Wall” to add virtual walls
so your robot vacuum will not cross.
4. Drag the ends to adjust the length
and position as needed.
NOTE: The virtual wall cannot pass through the
charging station.
5. Tap “Save” to apply settings

17
* Features available in Tapo may vary by product model, rmware version, and app version. Images are for demonstration only.
1. Tap the Map icon and tap "Edit Map" to edit the current map. 2. Tap "Virtual Wall/No-Go Zones" and there are two features available.
Set No-Go Zones
Add rectangular zones to your map, which is ideal for keeping your robot vacuum away from pet bowls, carpet, clutter, or other areas where your
robot vacuum has diculty navigating.
18
* Features available in Tapo may vary by product model, rmware version, and app version. Images are for demonstration only.
3. Tap “No-Go Zones” to add zones in
areas you want your robot vacuum to
avoid.
4. Adjust the size and position of the
rectangles.
NOTE: The no-go zone cannot pass through the charging
station and should not be too close to the charging station.
5. Tap “Save” to apply settings
19
* Features available in Tapo may vary by product model, rmware version, and app version. Images are for demonstration only.
2. Tap "Room" and there are 3 features available for Rooms: Divide,
Merge, and Edit (the Edit icon next to the room name on the map).
Divide, Merge, and Edit Room
You can divide a room into two rooms (Divide), combine two adjacent rooms into one room (Merge)
,
or modify the name and color of your
rooms (Edit).
1. Tap the Map icon and tap "Edit Map" to edit the current map.
20
* Features available in Tapo may vary by product model, rmware version, and app version. Images are for demonstration only.
1. Tap “Divide” and choose a
room you want to divide on the
map.
How to Divide Room
2. There will be a line to help you
divide the room. You can drag
two ends of the line to adjust.
3. Tap the conrm button to
divide the room into 2 rooms.
21
* Features available in Tapo may vary by product model, rmware version, and app version. Images are for demonstration only.
1. Tap “Merge”.
How to Merge Room
2. Choose the rooms next to
each other and tap the conrm
button to merge rooms into one.
1. Tap a room on the map, then
tap the “Edit” icon to edit room.
2. Modify the name and choose a
color for the room. Tap "Save" to
apply settings.
How to Edit Room
22
* Features available in Tapo may vary by product model, rmware version, and app version. Images are for demonstration only.
2. Tap "Carpet" to add/edit carpets and manage your carpet
preferences.
Manage Carpets
Add carpet areas to the map and customize cleaning preferences for the carpet areas. You can set your robot vacuum to avoid, move over, or
clean the carpets.
1. Tap the Map icon and tap "Edit Map" to edit the current map.
23
* Features available in Tapo may vary by product model, rmware version, and app version. Images are for demonstration only.
· Tap “Rectangle Carpet” to add a carpet to your map. Adjust
the size and move it to the position you want. Tap "Save".
How to Add/Edit Carpets
· Tap “Room Carpet” and choose the rooms where you
want to lay the carpet. Tap "Done" to apply settings.
24
* Features available in Tapo may vary by product model, rmware version, and app version. Images are for demonstration only.
1. Tap “Carpet Preferences”
after adding carpets.
How to Manage Carpets Carpet Boost
2. Tap a carpet area and customize
the cleaning preferences.
When enabled, it automatically
increases the suction power by one
level during carpet cleaning for a
more thorough cleaning.
· No Cleaning
The robot vacuum will avoid carpets.
If unavoidable, it will cross carpets
quickly.
· Vacuum Only
The robot will vacuum carpets
but not mop. With the mopping
attachment, it will avoid carpets or
cross them quickly if unavoidable.
· Vacuum & Mop
The robot vacuum will vacuum and
mop carpets.
25
* Features available in Tapo may vary by product model, rmware version, and app version. Images are for demonstration only.
2. Tap "Furniture", choose desired furniture and place them in the
right positions based on your actual home. Tap the furniture to
adjust, move, or delete it.
Add Furniture
Add furniture to the map and simply tap on the furniture on the map to quickly clean area around and under the furniture.
1. Tap the Map icon and tap "Edit Map" to edit the current map.
26
* Features available in Tapo may vary by product model, rmware version, and app version. Images are for demonstration only.
2. Tap "Cleaning Direction", choose a room and set the desired
cleaning direction. Tap "Save" to apply settings.
Set Cleaning Direction
You can set a designated cleaning direction for your robot vacuum to follow. To eectively clean oor gaps on wooden or plank-shaped oors, let
the robot vacuum clean along the oor direction. Note that the set cleaning direction will be applied to all cleaning jobs.
1. Tap the Map icon and tap "Edit Map" to edit the current map.
27
* Features available in Tapo may vary by product model, rmware version, and app version. Images are for demonstration only.
2. Tap "Rotate Map" and tap to adjust the map orientation. Tap
"Save" to apply settings.
Rotate Map
You can rotate the map clockwise, anticlockwise, or 180° to meet your actual home layout.
1. Tap the Map icon and tap "Edit Map" to edit the current map.
28
* Features available in Tapo may vary by product model, rmware version, and app version. Images are for demonstration only.
1. Tap the Map icon and tap "Map Management" to manage the
current map.
2. Tap "Locked/Unlocked" to lock/unlock your map. If you unlock the
map, it is recommended to back up your map to prevent map loss.
Lock/Unlock Map
Lock your map to protect it from unintended updates that could lead to map loss and errors. To update the map, unlock it from the map list.
Ensure your robot vacuum completes one whole-house cleaning for a complete map.
29
* Features available in Tapo may vary by product model, rmware version, and app version. Images are for demonstration only.
1. Tap the Map icon and tap "Map Management" to manage the
current map.
2. Tap "Map Backup & Restore". Tap "Back Up" to back up your current
map. Restore will not work until you complete one backup. Tap
"Restore" to use the backup map to replace the current map.
Back Up/Restore Map
The map will update automatically when unlocked. Back up your map and restore to the backup version if any issues occur, such as misalignment,
overlapping, and map loss.
NOTE: Each map is limited to a single backup. Once restored, the current map will be deleted, and the schedules, custom tasks, and smart actions refer to the map may become unavailable.
30
* Features available in Tapo may vary by product model, rmware version, and app version. Images are for demonstration only.
Tap the Map icon and then the switch icon. Choose another map and tap "Done".
Switch Map
If you have multiple maps, you can switch between them manually. If you want to clean other maps, like another oors, you will need to switch maps
manually. Alternatively, you can turn on Auto-Switch to allow robot vacuum recognize its location and switch to the current map.
Option 1: Switch Manually
31
* Features available in Tapo may vary by product model, rmware version, and app version. Images are for demonstration only.
1. Tap the Map icon and tap "Edit Map" to edit the current map.
Option 2: Auto-Switch
2. Toggle on "Auto-Switch" and your robot vacuum will switch to
the corresponding map automatically.

Schedules
Add cleaning schedules to have your robot vacuum clean your house regularly.

33
* Features available in Tapo may vary by product model, rmware version, and app version. Images are for demonstration only.
Add Schedules
1. Tap the menu icon on the top
right corner. Tap “Schedules”.
2. Tap the + icon to add
schedules.
3. Set the time when your robot
vacuum starts cleaning.
34
* Features available in Tapo may vary by product model, rmware version, and app version. Images are for demonstration only.
5. If you want to receive a
notication before the cleaning
job starts, you can set the alert
time.
6. Choose days you want to
repeat the cleaning. Tap “Save”
to apply all settings.
4. Customize the cleaning preferences as needed. Choose cleaning
you want. Tap "Done".
Voice Control
Pair with Amazon Alexa or Google Assistant to control the robot vacuum with simple voice commands. A series of Alexa custom skills are specially
built to easily control how and when to start cleaning. Enjoy hands-free living.
36
* Features available in Tapo may vary by product model, rmware version, and app version. Images are for demonstration only.
Voice Control via Amazon Alexa & Google
Assistant
Link Tapo with Amazon Alexa or Google Assistant, then you can use you voice to control your robot vacuum.
1. Go to "Me > Third-Party Services". 2. Choose "Amazon Alexa" or "Google Assistant" and follow
the in-app instructions to complete the pairing process.
37
Authentication
FCC Compliance Information Statement
Product Name: Tapo Robot Vacuum
Responsible party:
TP-Link USA Corporation
Address: 10 Mauchly, Irvine, CA 92618
Website: http://www.tp-link.com/us/
Tel: +1 626 333 0234
Fax: +1 909 527 6804
E-mail: [email protected]om
This equipment has been tested and found to comply with the limits for a Class B digital device, pursuant to part 15 of the FCC Rules. These limits are
designed to provide reasonable protection against harmful interference in a residential installation. This equipment generates, uses and can radiate
radio frequency energy and, if not installed and used in accordance with the instructions, may cause harmful interference to radio communications.
However, there is no guarantee that interference will not occur in a particular installation. If this equipment does cause harmful interference to radio or
television reception, which can be determined by turning the equipment o and on, the user is encouraged to try to correct the interference by one or
more of the following measures:
• Reorient or relocate the receiving antenna.
• Increase the separation between the equipment and receiver.
• Connect the equipment into an outlet on a circuit dierent from that to which the receiver is connected.
• Consult the dealer or an experienced radio/ TV technician for help.
This device complies with part 15 of the FCC Rules. Operation is subject to the following two conditions:
1. This device may not cause harmful interference.
2. This device must accept any interference received, including interference that may cause undesired operation.
Any changes or modications not expressly approved by the party responsible for compliance could void the user’s authority to operate the
equipment.
Note: The manufacturer is not responsible for any radio or TV interference caused by unauthorized modications to this equipment. Such modications

38
could void the user’s authority to operate the equipment.
FCC RF Radiation Exposure Statement
This equipment complies with FCC RF radiation exposure limits set forth for an uncontrolled environment. This device and its antenna must not be co-
located or operating in conjunction with any other antenna or transmitter.
“To comply with FCC RF exposure compliance requirements, this grant is applicable to only Mobile Congurations. The antennas used for this
transmitter must be installed to provide a separation distance of at least 20 cm from all persons and must not be co-located or operating in conjunction
with any other antenna or transmitter.”
We, TP-Link USA Corporation, has determined that the equipment shown as above has been shown to comply with the applicable technical
standards, FCC part 15. There is no unauthorized change is made in the equipment and the equipment is properly maintained and operated.
Issue Date: 2024.07.09
39
CE Mark Warning
This is a class B product. In a domestic environment, this product may cause radio interference, in which case the user may be required to take
adequate measures.
Operating Frequency:
For EU/UK Region
2400MHz~2483.5MHz / 20dBm (Wi-Fi)
2402~2480MHz / 10dBm (Bluetooth)
EU declaration of conformity
TP-Link hereby declares that the device is in compliance with the essential requirements and other relevant provisions of directives 2014/53/EU,
2009/125/EC, 2011 /65/EU and (EU) 2015/863.The original EU declaration of conformity may be found at https://www.tapo.com/en/support/ce/
RF Exposure Information
This device meets the EU requirements (2014/53/EU Article 3.1a) on the limitation of exposure of the general public to electromagnetic elds by way of
health protection.
The device complies with RF specications when the device used at 20 cm from your body.
Restricted to indoor use.
UKCA Mark
UK Declaration of Conformity
TP-Link hereby declares that the device is in compliance with the essential requirements and other relevant provisions of the Radio Equipment
Regulations 2017.
The original UK declaration of conformity may be found at https://www.tapo.com/support/ukca/

40
Canadian Compliance Statement
This device contains licence-exempt transmitter(s)/receiver(s) that comply with Innovation, Science and Economic Development Canada’s licence-
exempt RSS(s). Operation is subject to the following two conditions:
(1) This device may not cause interference.
(2) This device must accept any interference, including interference that may cause undesired operation of the device.
L’émetteur/récepteur exempt de licence contenu dans le présent appareil est conforme aux CNR d’Innovation, Sciences et Développement
économique Canada applicables aux appareils radio exempts de licence. L’exploitation est autorisée aux deux conditions suivantes :
1) L’appareil ne doit pas produire de brouillage;
2) L’appareil doit accepter tout brouillage radioélectrique subi, même si le brouillage est susceptible d’en compromettre le fonctionnement.
Radiation Exposure Statement:
This equipment complies with IC radiation exposure limits set forth for an uncontrolled environment. This equipment should be installed and operated
with minimum distance 20cm between the radiator & your body.
Déclaration d’exposition aux radiations:
Cet équipement est conforme aux limites d’exposition aux rayonnements IC établies pour un environnement non contrôlé. Cet équipement doit être
installé et utilisé avec un minimum de 20 cm de distance entre la source de rayonnement et votre corps.
Industry Canada Statement
CAN ICES-3 (B)/NMB-3(B)
Korea Warning Statements:
당해 무선설비는 운용중 전파혼신 가능성이 있음 .
NCC Notice
注意!
取得審驗證明之低功率射頻器材,非經核准,公司、商號或使用者均不得擅自變更頻率、加大功率或變更原設計之特性及功能。
低功率射頻器材之使用不得影響飛航安全及干擾合法通信;經發現有干擾現象時,應立即停用,並改善至無干擾時方得繼續使用。
前述合法通信,指依電信管理法規定作業之無線電通信。
低功率射頻器材須忍受合法通信或工業、科學及醫療用電波輻射性電機設備之干擾。
41
限用物質含有情況標示聲明書
單元
Unit
限用物質及其化學符號
Restricted substances and its chemical symbols
鉛
Lead
(Pb)
汞
Mercury
(Hg)
鎘
Cadmium
(Cd)
六價鉻
Hexavalent
chromium (Cr
+6
)
多溴聯苯
Polybrominated biphenyls
(PBB)
多溴二苯醚
Polybrominated diphenyl
ethers (PBDE)
內外殼 ○ ○ ○ ○ ○ ○
電路板 − ○ ○ ○ ○ ○
馬達 − ○ ○ ○ ○ ○
線材、配件、組裝零件 ○ ○ ○ ○ ○ ○
充電座、電源供應器 − ○ ○ ○ ○ ○
集塵桶 − ○ ○ ○ ○ ○
備考 1.〝○〞係指該項限用物質之百分比含量未超出百分比含量基準值。
Note 1: “○” indicates that the percentage content of the restricted substances does not exceed the percentage of reference value of presences.
備考 2.〝−〞係指該項限用物質為排除項目。
Note 2: The “−” indicates that the restricted substance corresponds to the exemption.
Продукт сертифіковано згідно с правилами системи УкрСЕПРО на відповідність вимогам нормативних документів та вимогам,
що передбачені чинними законодавчими актами України.
Explanation of the symbols on the product label
Symbols may vary from products

42
Symbol Explanation
A specic detachable supply unit is required for connecting the equipment to the supply mains.
Class III equipment
Tropical climate
Read operator's manual
Class II equipment
Class II equipment with functional earthing
Alternating current
DC voltage
Polarity of output terminals
Indoor use only
Dangerous voltage
Caution, risk of electric shock
Energy eciency Marking
43
Symbol Explanation
Protective earth
Earth
Frame or chassis
Functional earthing
Caution, hot surface
Caution
Operator’s manual
Stand-by
“ON”/”OFF” (push-push)
Fuse
Fuse is used in neutral N
44
Symbol Explanation
RECYCLING
This product bears the selective sorting symbol for Waste electrical and electronic equipment (WEEE). This means
that this product must be handled pursuant to European directive 2012/19/EU in order to be recycled or dismantled to
minimize its impact on the environment.
User has the choice to give his product to a competent recycling organization or to the retailer when he buys a new
electrical or electronic equipment.
Caution, avoid listening at high volume levels for long periods
Disconnection, all power plugs
m Switch of mini-gap construction
µ
Switch of micro-gap construction (for US version)
Switch of micro-gap / micro-disconnection construction (for other versions except US)
ε Switch without contact gap (Semiconductor switching device)