THIS INSTRUCTION BOOKLET CONTAINS IMPORTANT SAFETY INFORMATION. PLEASE READ AND KEEP FOR FUTURE REFERENCE.
EN DE FR ES IT PL
USER'S MANUAL/HANDBUCH
/MANUEL DE L'UTILISATEUR/MANUAL DEL USUARIO
/MANUALE UTENTE/INSTRUKCJA OBSŁUGI
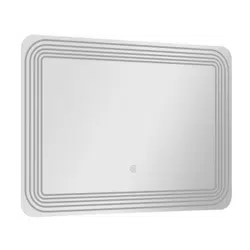
JV10298BK
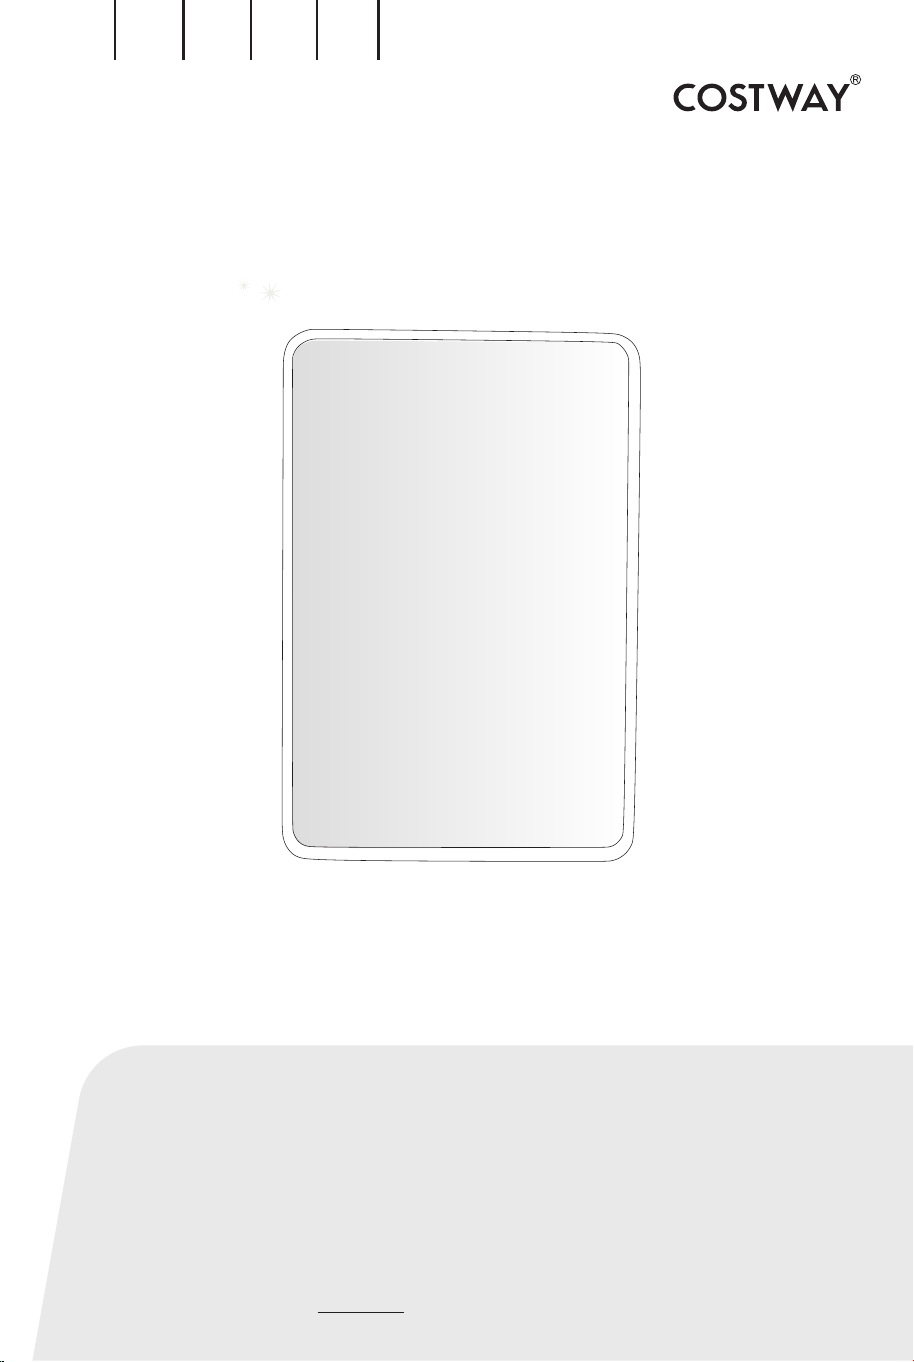
Wall Mirror / Wandspiegel
/ Miroir Mural / Espejo de Pared / Specchio da Parete
/ Lustro naścienne
02
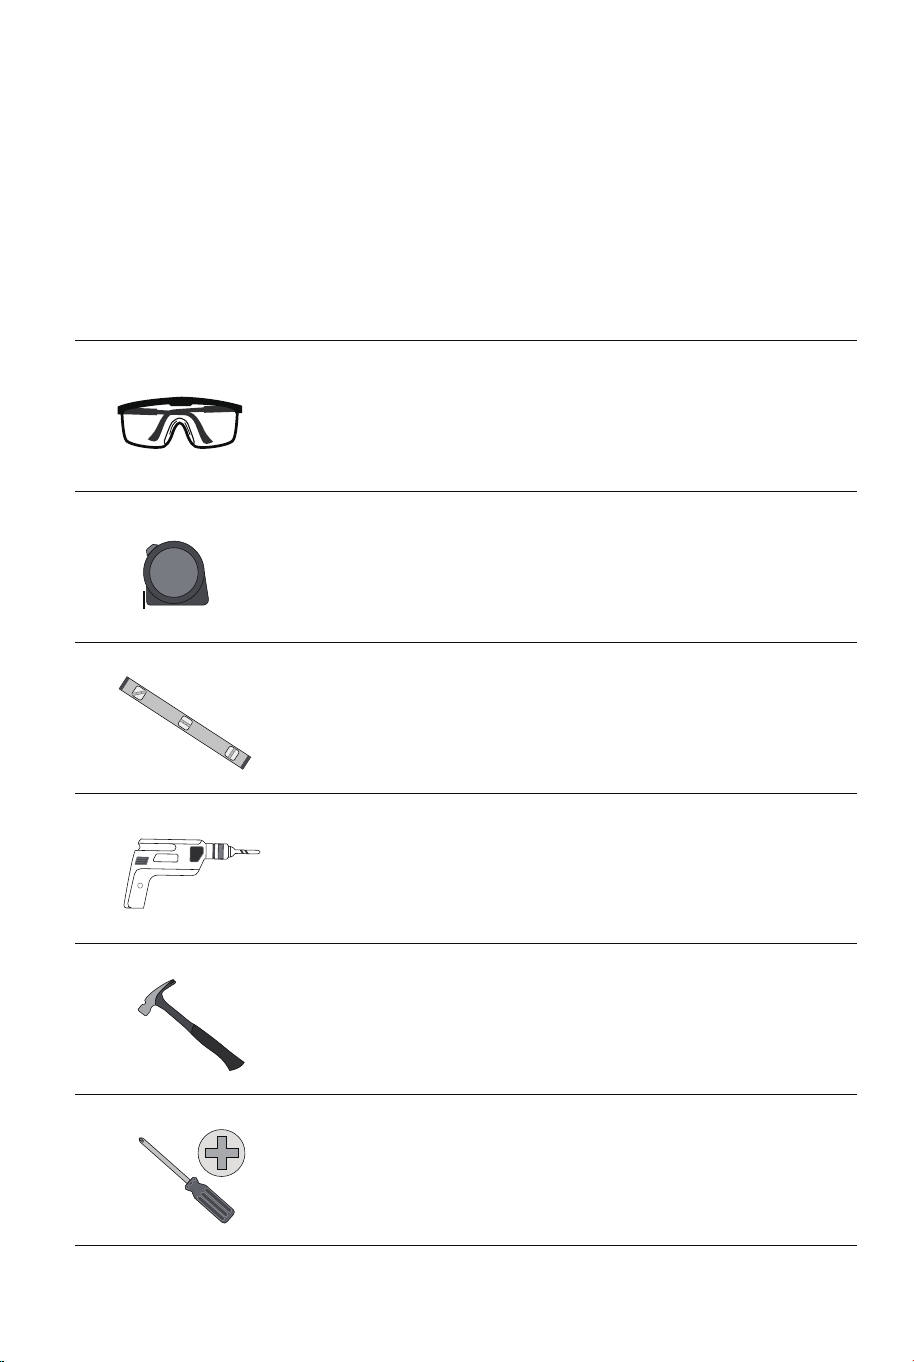
TOOLS REQUIRED/
ERFORDERLICHES WERKZEUG/
OUTILS REQUIS/
HERRAMIENTAS NECESARIAS/
Utensili Richiesti/
WYMAGANE NARZĘDZIA/
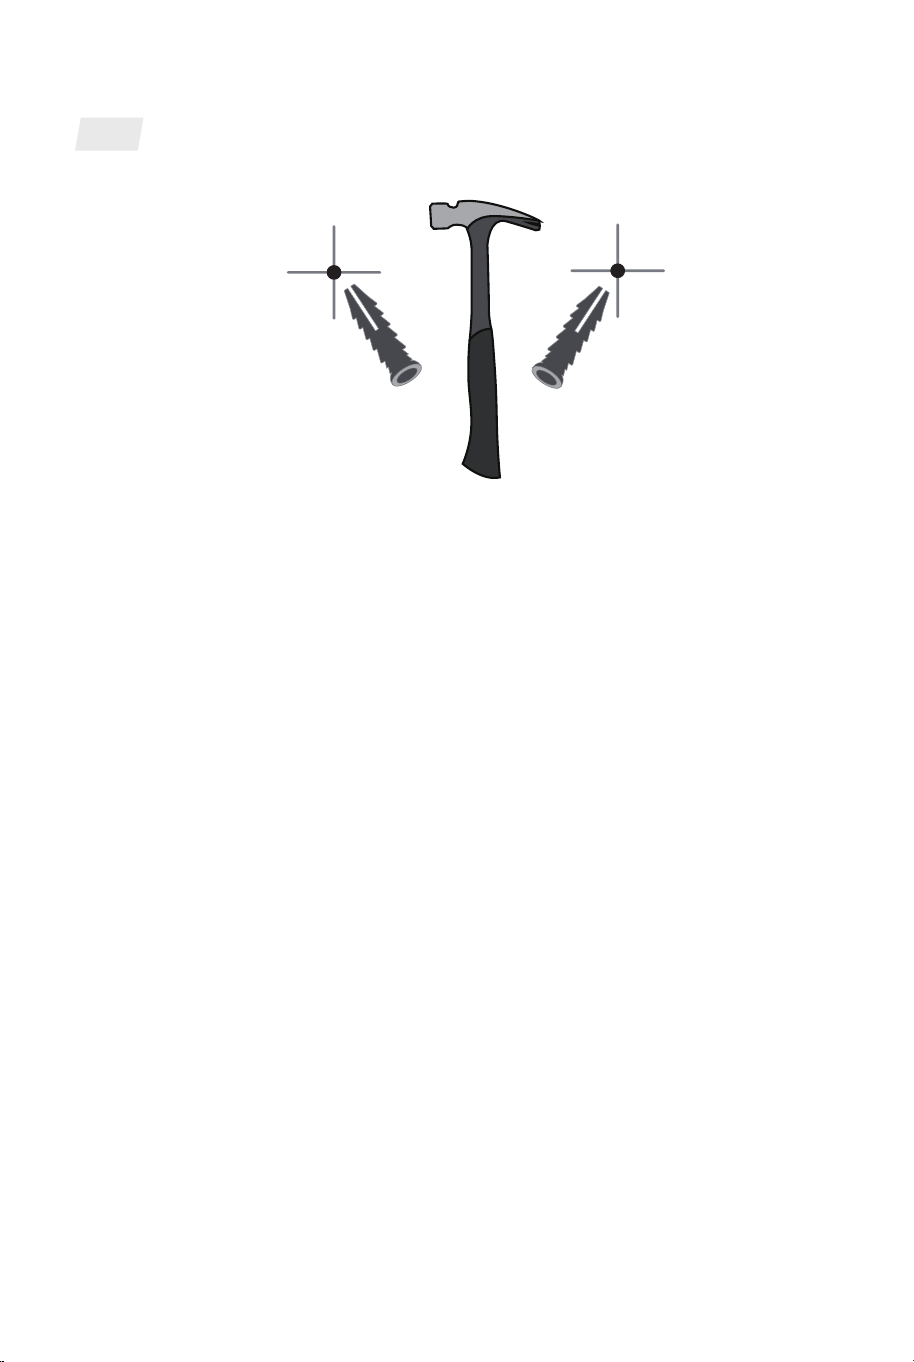
Hammer/ Hammer/ Marteau/
Martillo/ Martello/ Młotek
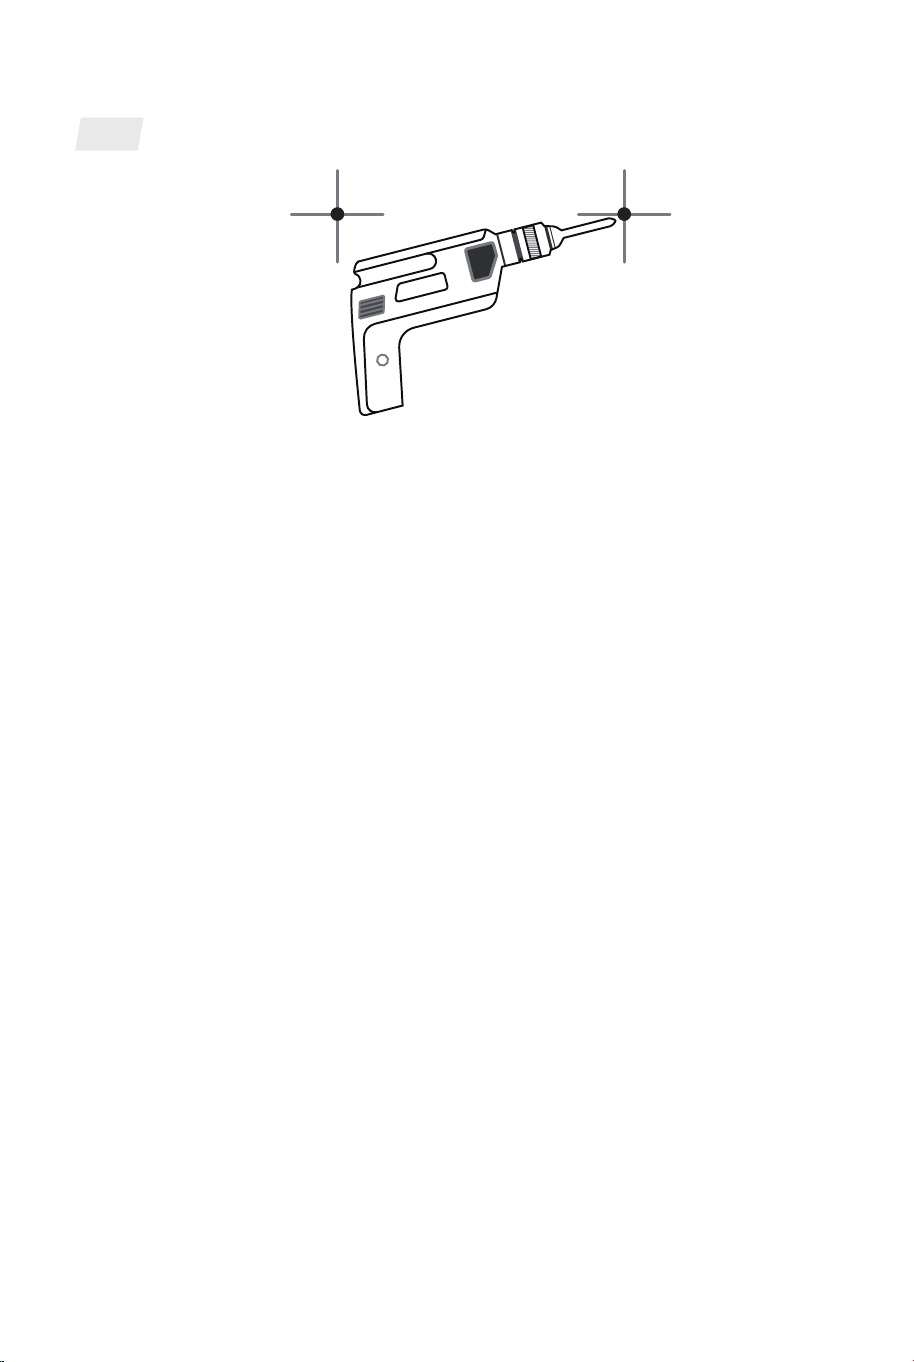
Power Drill/ Bohrmaschine/ Perceuse/
Taladro eléctrico/ Trapano Elettrico/Wiertarka
Tape Measure/ Bandmaß/ Mètre à Ruban/
Cinta métrica/ Metro a Nastro/
Taśma miernicza
Leve/ Wasserwaage/ Niveau à Bulle/
Nivel/ Livella/ Poziomica
Safety Glasses/ Schutzbrille/ Lunettes de Sécurité/
Gafas de seguridad/ Occhiali di Sicurezza/
Okulary ochronne
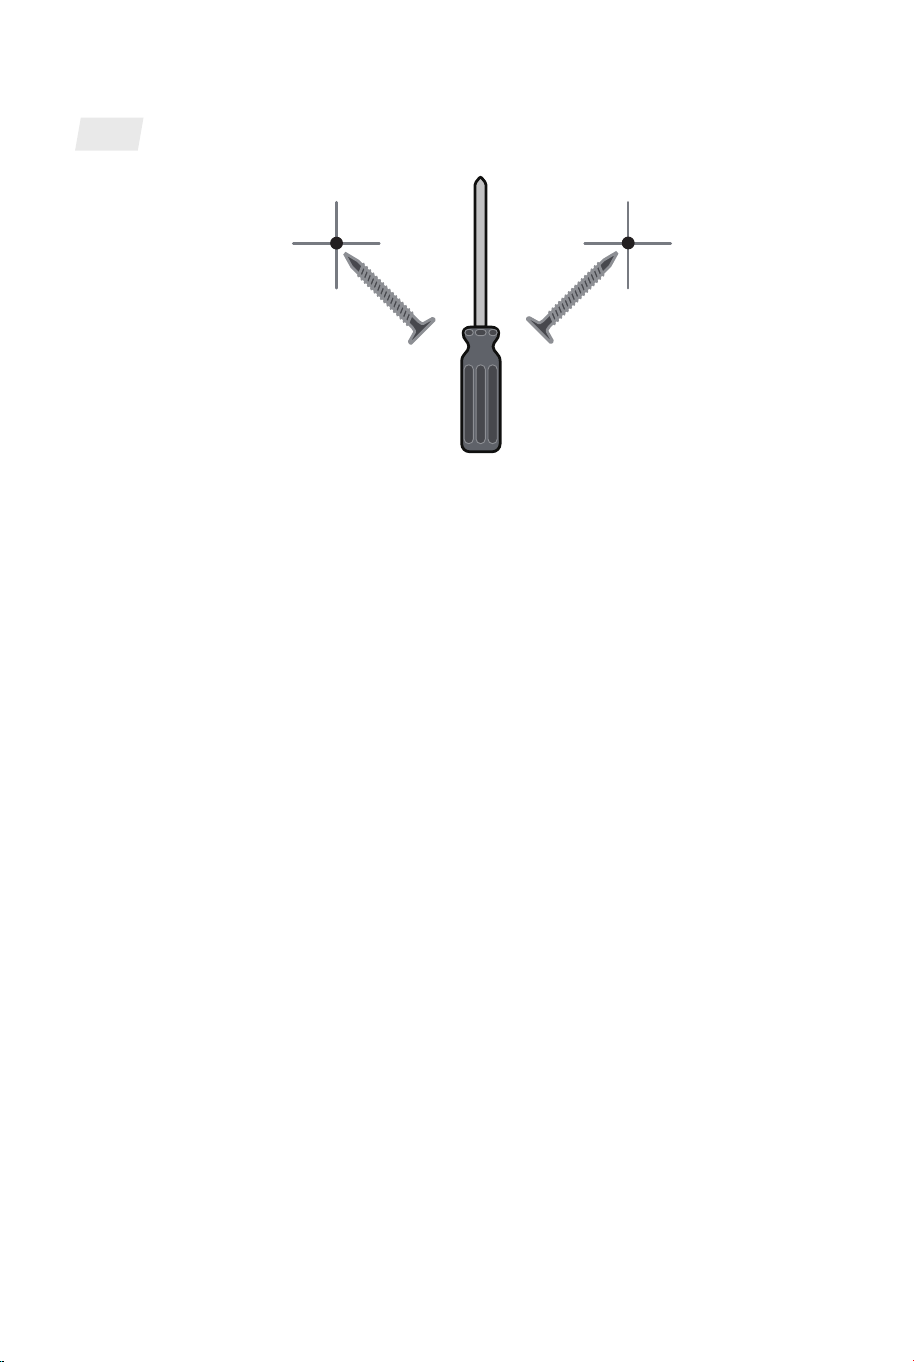
Phillips Head Screwdriver/
Kreuzschlitzschraubendreher/
Tournevis Cruciforme/ Destornillador Phillips/
Cacciavite a Croce/ Śrubokręt krzyżakowy
03
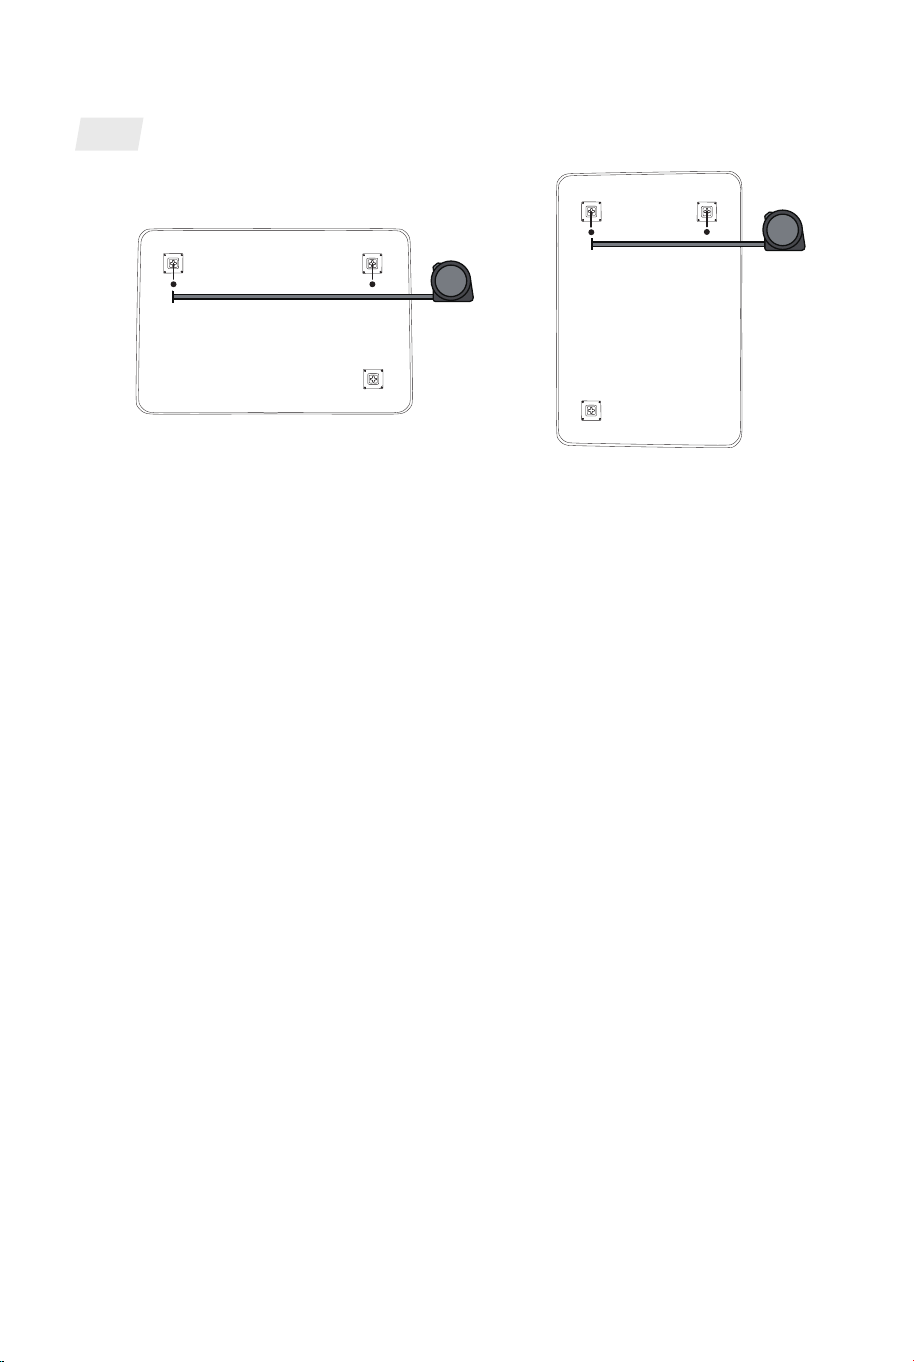
1
(A) (B)
EN: There are 2 ways to hang this mirror, horizontal (A ) and
vertical (B).
Measure the distance between the mounting hardware on the back
of the frame with a tape measure.
DE: Es gibt 2 Möglichkeiten, diesen Spiegel aufzuhängen:
horizontal (A) und vertikal (B). Messen Sie den Abstand zwischen
den Befestigungselementen auf der Rückseite des Rahmens mit
einem Maßband.
FR: Il y a 2 façons d'accrocher ce miroir, horizontalement (A) et
verticalement (B).
Mesurez la distance entre les accessoires de montage à l'arrière du
cadre avec un ruban à mesurer.
ES: Hay dos maneras de colgar este espejo, horizontal (A) y
vertical (B).
Mida la distancia entre los accesorios de montaje en la parte
posterior del marco con una cinta métrica.
IT: Ci sono 2 modi per appendere questo specchio, orizzontalità (A
) e verticalità (B).
Misurare la distanza fra gli accessori di montaggio sul retro del
telaio con un metro a nastro.
PL: Są 2 sposoby na zawieszenie lustra - horyzontalnie (A) i
wertykalnie (B). Zmierz odległość między elementami
montażowymi z tyłu lustra za pomocą miarki.
04
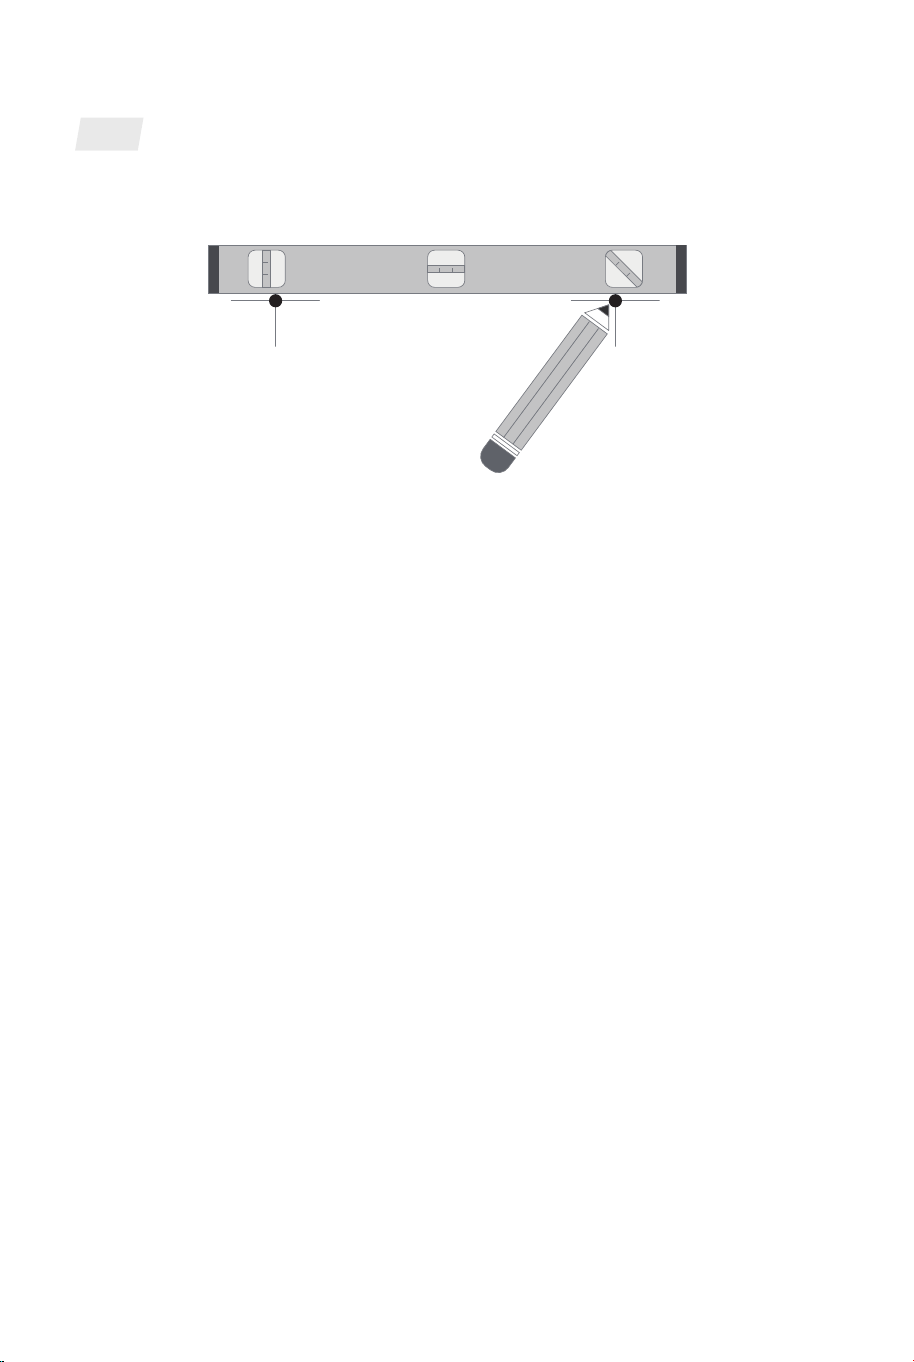
2
EN: Use a pencil, mark the mounting hardware distance on your
wall. Use a level to ensure that the two points are straight and
level.
DE: Markieren Sie den Abstand der Befestigungselemente mit
einem Bleistift an Ihrer Wand. Verwenden Sie eine Wasserwaage,
um sicherzustellen, dass die beiden Punkte gerade und waagerecht
sind.
FR: Utilisez un crayon, marquez la distance des pièces de montage
sur votre mur. Utilisez un niveau à bulle pour vous assurer que les
deux points sont droits et horizontaux.
ES: Con un lápiz, marque la distancia entre los accesorios de
montaje en la pared. Utilice un nivel para asegurarse de que los
dos puntos estén rectos y nivelados.
IT: Segnare la distanza fra gli accessori di montaggio sulla parete
usando una matita. Usare una livella per assicurare che i due punti
siano diritti e livellati.
PL: Za pomocą przyrządu pisarskiego zaznacz na ścianie dwa
punkty oddalone od siebie na wcześniej odmierzoną odległość.
Użyj poziomicy, aby uniknąć krzywego zaznaczenia.
05
3
EN: If using drywall anchors, use a power drill to pre-drill pilot
holes in each point.
DANGER: Ensure that you are not drilling into utility lines within
the wall.
DE: Wenn Sie Dübel verwenden, bohren Sie mit einer
Bohrmaschine an jedem Punkt Vorbohrungen vor.
GEFAHR: Achten Sie darauf, dass Sie nicht in
Versorgungsleitungen in der Wand bohren.
FR: Si vous utilisez des ancrages pour cloisons sèches, utilisez une
perceuse électrique pour pré-percer des avant-trous à chaque
point.
DANGER : Assurez-vous que vous ne percez pas dans les lignes
électriques à l'intérieur du mur.
ES: Si utiliza tacos de anclaje para paneles de yeso, utilice un
taladro eléctrico para preperforar los agujeros piloto en cada
punto.
PELIGRO: Asegúrese de no perforar las líneas de servicios públicos
dentro de la pared.
IT: Se si utilizzano tasselli per cartongesso, utilizzare un trapano
elettrico per preforare i fori pilota in ogni punto.
Pericolo: Assicurati di non perforare le linee di servizio all'interno
del muro.
PL: Jeśli używasz kotwy do płyt gipsowo-kartonowych, użyj
wiertarki aby nawiercić otwory pilotażowe w obu miejscach.
NIEBEZPIECZEŃSTWO: Upewnij się, że w tym miejscu w ścianie
nie przebiegają żadne przewody.
06
4
EN: Lightly tap the drywall anchors into the pilot holes with a
hammer until anchor head is flush with the wall.
DE: Klopfen Sie die Dübel mit einem Hammer leicht in die
Vorbohrungen, bis der Dübelkopf bündig mit der Wand ist.
FR: Tapez légèrement les ancrages pour cloisons sèches dans les
avant-trous avec un marteau jusqu'à ce que la tête d'ancrage
affleure le mur.
ES: Golpee ligeramente los tacos de anclaje para paneles de yeso
en los agujeros piloto con un martillo hasta que la cabeza del taco
esté al ras de la pared.
IT: Battere leggermente i tasselli per cartongesso nei fori pilota
con un martello fino a quando la testa del tassello è a filo con il
muro.
PL: Delikatnie wbij kotwy w otwory pilotażowe za pomocą młotka
aż do końca kotwy.
07
5
EN: Use a phillips head screwdriver to insert the screws into the
drywall anchors. Leave a gap between the screw head and wall to
catch the frame mounting hardware.
DE: Verwenden Sie einen Kreuzschlitzschraubendreher, um die
Schrauben in die Dübel einzuschrauben. Lassen Sie einen Spalt
zwischen dem Schraubenkopf und der Wand, um die
Befestigungselemente des Rahmens aufzunehmen.
FR: Utilisez un tournevis cruciforme pour insérer les vis dans les
ancrages pour cloison sèche. Laissez un espace entre les têtes de
vis et le mur pour installer les accessoires de montage du cadre.
ES: Utilice un destornillador de cabeza phillips para insertar los
tornillos en los tacos de anclaje para paneles de yeso. Deje un
espacio entre la cabeza del tornillo y la pared para sujetar los
accesorios de montaje del marco.
IT: Usare un cacciavite a croce per inserire le viti nei tasselli per
cartongesso. Lasciare un intervallo fra la testa delle viti e la
parete per incastrare gli accessori di montaggio del telaio.
PL: Za pomocą śrubokrętu krzyżakowego wkręć wkręty w kotwy.
Zostaw przerwę pomiędzy główką wkrętu a ścianą, aby mieć
przestrzeń do powieszenia lustra.
08
6
EN: Insert frame mounting hardware onto the screws and finish
installation.
DE: Setzen Sie die Befestigungselemente des Rahmens auf die
Schrauben und beenden Sie die Montage.
FR: Insérez les accessoires de montage du cadre sur les vis et
terminez l'assemblage.
ES: Inserte los accesorios de montaje del marco en los tornillos y
termine la instalación.
IT: Inserire gli accessori di montaggio del telaio sulle viti e finire il
montaggio.
PL: Zawieś lustro na ścianie dzięki elementom montażowym.
Montaż zakończony.
09
WARNING
• Read and follow instructions carefully.
• Keep small parts away from children.
• Consult a qualified professional if you are unsure about your
wall type, whether utility lines are behind your wall or if you’re
unsure what mounting hardware to use.
THANK YOU
We appreciate the trust and confidence you have placed in this
product. We strive to continually create quality products designed to
enhance your home.
WARNUNG
• Lesen und befolgen Sie die Anleitung sorgfältig.
• Halten Sie Kleinteile von Kindern fern.
• Wenden Sie sich an einen qualifizierten Fachmann, wenn Sie
sich nicht sicher sind, wie Ihre Wand beschaffen ist, ob sich
Versorgungsleitungen hinter Ihrer Wand befinden oder wenn
Sie sich nicht sicher sind, welche Montageteile Sie verwenden
sollen.
DANKE
Wir danken Ihnen für das Vertrauen, das Sie in diesem Artikel
gesetzt haben. Wir bemühen uns, kontinuierlich Qualitätsprodukte zu
entwickeln, die Ihr Zuhause verschönern.

10
AVERTISSEMENT
• Lisez et suivez attentivement les instructions.
• Gardez les petites pièces hors de portée des enfants.
• Consultez un professionnel qualifié si vous n'êtes pas sûr du
type de mur, si les lignes électriques sont derrière le mur ou si
vous n'êtes pas sûr des accessoires de montage à utiliser.
MERCI
Nous apprécions la confiance que vous avez placée dans ce produit.
Nous nous efforçons de créer continuellement des produits de qualité
conçus pour améliorer votre maison.
ADVERTENCIA
• Lea y siga cuidadosamente las instrucciones.
• Mantenga las piezas pequeñas fuera del alcance de los niños.
• Consulte a un profesional cualificado si no está seguro del
tipo de pared, si hay líneas de servicios públicos detrás de su
pared o si no está seguro de qué accesorio de montaje debe
utilizar.
GRACIAS
Agradecemos la confianza que ha depositado en este producto. Nos
esforzamos por crear continuamente productos de calidad diseñados
para mejorar su hogar.

11
AVVERTENZA
• Leggere e seguire le istruzioni con attenzione.
• Rimanere le parte piccole lontano dai bambini.
• Consulta un professionista qualificato se non sei sicuro del
tipo di parete, se le linee elettriche sono dietro il muro o se
non sei sicuro di quale gli accessori di montaggio utilizzare.
Ringraziamento
Apprezziamo la fiducia che hai riposto in questo prodotto. Ci
sforziamo di creare continuamente prodotti di qualità progettati per
migliorare la tua casa.
OSTRZEŻENIE
• Przeczytaj uważnie instrukcję obsługi i zastosuj się do jej
zaleceń.
• Trzymaj małe części z dala od dzieci.
• Jeśli masz jakiekolwiek wątpliwości co do rodzaju ściany,
linii przewodów w ścianach oraz zastosowaniu odpowiednich
akcesoriów montażowych, skonsultuj się ze specjalistą.
DZIĘKUJEMY
Doceniamy zaufanie, jakim obdarzyliście ten produkt. Staramy się
nieustannie tworzyć produkty wysokiej jakości, które mają na celu
ulepszenie Twojego domu.
EN
DE
FR
ES
IT
PL
With your inspiring rating, COSTWAY will be more consistent to offer you EASY
SHOPPING EXPERIENCE, GOOD PRODUCTS and EFFICIENT SERVICE!
Mit Ihrer inspirierenden Bewertung wird COSTWAY konsistenter sein, um Ihnen EIN
SCHÖNES EINKAUFSERLEBNIS, GUTE PRODUKTE und EFFIZIENTEN SERVICE zu
bieten!
Avec votre évaluation inspirante, COSTWAY continuera à fournir une EXPÉRIENCE
D’ACHAT PRATIQUE, des PRODUITS DE QUALITÉ e
t un SERVICE EFFICACE !
Con su calificación inspiradora, COSTWAY será más consistente para ofrecerle
EXPERIENCIA DE COMPRA FÁCIL, BUENOS PRODUCTOS y SERVICIO EFICIENTE.
Con la tua valutazione incoraggiante, COSTWAY sarà più coerente per offrirti ESPE-
RIENZA DI ACQUISTO FACILE, BUONI PRODOTTI e SERVIZIO EFFICIENTE!
US office: Fontana UK AU office: Truganina
DE office: FDS GmbH, Neuer Höltigbaum 36, 22143 Hamburg, Deutschland
FR office: Saint Vigor d'Ymonville
PL