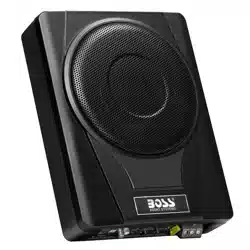
Loading ...
Loading ...
Loading ...
- 6 -
Protection Mode
When protection mode triggers, the red LED on the subwoofer turns on and the subwoofer shuts down.
One of the following reasons can trigger protection mode: input overload, short circuit and extremely high
temperature.
When the red LED turns on, take the following measures.
• Check the system carefully to determine what has caused the protection mode to trigger.
• Reset the subwoofer. Turn off the subwoofer (by turning off the head unit or other audio source which feeds
the subwoofer) and turn it on again.
• If the shut down was due to either an input overload or a short circuit, correct the conditions which cause
the overload or short circuit then turn on the subwoofer again.
Mounting
See the section “Installation precautions” on page 3.
Before you drill or cut any holes, investigate your car’s layout very carefully. Take special care when
you work near the gas tank, fuel lines, hydraulic lines and electrical wiring.
Make sure there is sufcient air circulation around the intended mounting location.
Mount the subwoofer in the location away from moisture, and where connection cables are not
pinched or damaged by sharp objects.
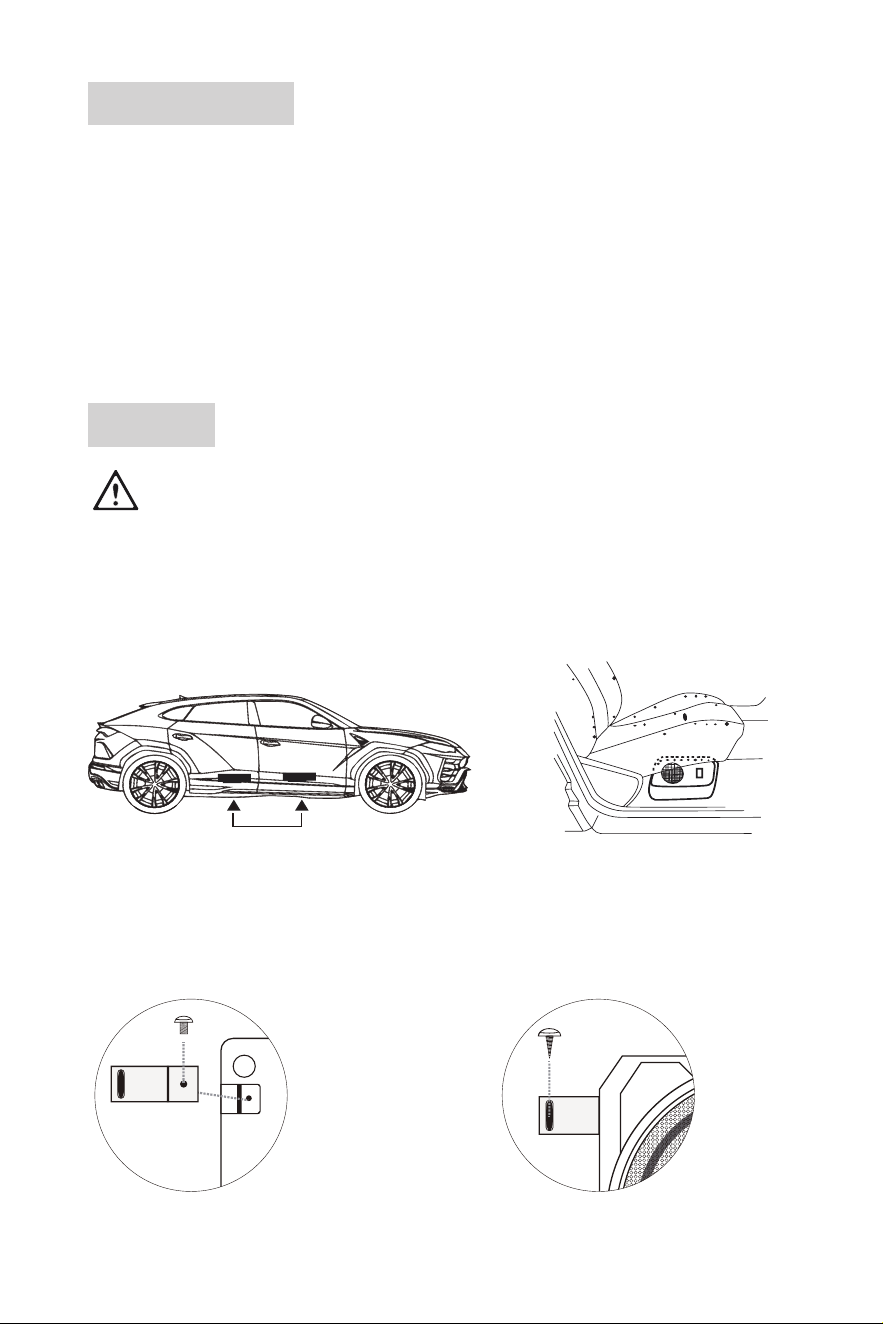
1. Find a suitable location in the vehicle to mount the subwoofer. A typical location is under the front or rear
seat of the vehicle, as shown below.
2. Locate four screw holes on the bottom of the subwoofer. Then x the correct end of a supplied bracket to
the bottom of the subwoofer, using a supplied screw with at point. Repeat the step to x the other three
supplied brackets to the bottom of the subwoofer.
3. Ensure the subwoofer is correctly oriented and placed on the mounting surface.
Secure the other end of a xed bracket on the mounting surface, using a supplied screw with tapered point.
Repeat the step to secure the other xed brackets on the mounting surface. The mounting completes.
Bracket
Fixed to the bottom
of the subwoofer
Fixed to the
mounting surface
Bracket
Loading ...
Loading ...
Loading ...