Loading ...
Loading ...
Loading ...
Source Selection
Click or tap the
Source drop-down button to select CH1-CH4. For details, refer to
Trigger Source
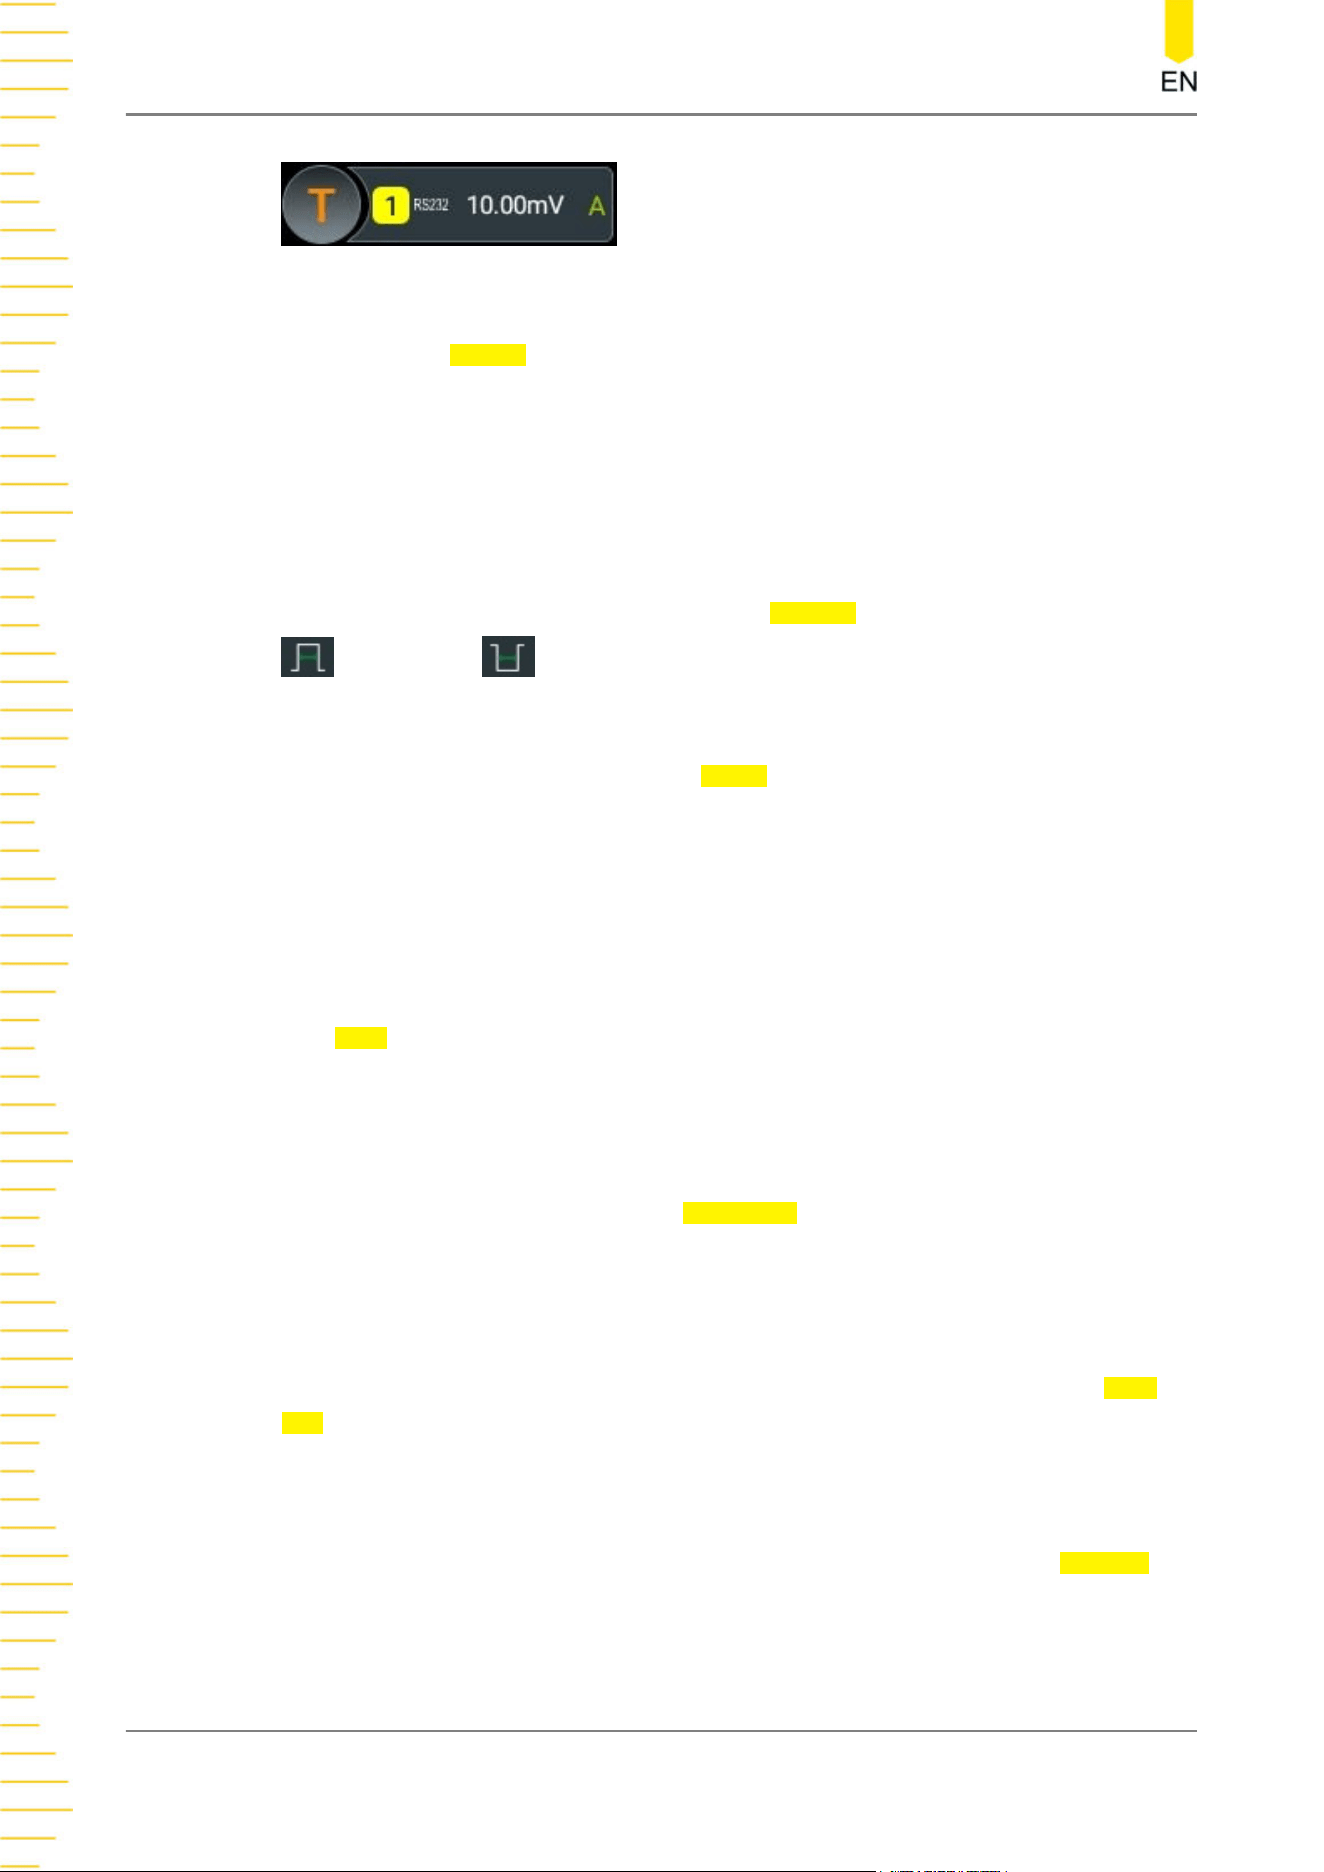
. The selected trigger source is indicated in the trigger information
label at the top of the screen.
Only when you select the channel that has signal inputs as the trigger source, can you
obtain a stable trigger.
Polarity
Select the polarity of data transmission in the
Polarity item. It can be set to "Positive"
or "Negative" .
Trigger Condition
Set the desired trigger condition in the
When item.
• Start: triggers on the start frame position.
• Error: triggers when an error frame is detected.
• Check Error: triggers when a check error is detected.
• Data: triggers on the last bit of the preset data bits. Click or tap the input field of
Data, and then use the pop-up numeric keypad to set the data of RS232 trigger.
You can also use the corresponding multipurpose knob to set the value.
Baud Rate
You can select the baud rate of data transmission (i.e. specifies a clock frequency).
Click or tap the drop-down button of
Baud Rate, then select the preset baud rate.
The available baud rates include 50 bps, 75 bps, 110 bps, 134 bps, 150 bps, 300 bps,
and etc. You can also self-define the baud rate.
Data Bits
Indicates the number of bits per frame. Click or tap the drop-down button of
Data
Bits to select the desired data bits. The available data bits include "5 Bits", "6 Bits", "7
Bits", and "8 Bits".
Stop Bit
Indicates when to stop outputting data. Select the desired stop bit in the
Stop Bit
item. The available data bits include 1 Bit, 1.5 Bits, and 2 Bits.
Triggering the Oscilloscope
DHO800 User Guide
96
Copyright ©RIGOL TECHNOLOGIES CO., LTD. All rights reserved.
Loading ...
Loading ...
Loading ...