Loading ...
Loading ...
Loading ...
en Basic operation
6
6 Basic operation
6.1 Opening the appliance
1.
Press on the centre of the drawer front.
a The vacuum-sealing drawer pops out gently.
2.
Reach in and pull out the vacuum-sealing drawer by
the edge.
6.2 Closing the appliance
▶
Touch the middle of the vacuum-sealing drawer and
push it back.
6.3 Switching on the appliance
▶
Press
.
6.4 Switching off the appliance
If you do not perform any actions on the appliance for
10minutes, the appliance automatically switches off.
▶
Press
.
7 Vacuum-sealing in the bag
In the bag, vacuum-sealed food has a longer shelf life.
You can therefore marinate the food or prepare for
sous-vide cooking.
7.1 Suitable vacuum-sealing bags
Use suitable vacuum-sealing bags in order to achieve
an optimum result.
Use the original vacuum-
sealing bags that are en-
closed with the appliance
or can be ordered as ac-
cessories.
¡ These bags are suit-
able for a temperature
range of -40°C–
100°C.
¡ The optimum heat-
sealing time for these
bags is level 2.
¡ The bags are suitable
for use in the mi-
crowave. Pierce the
bags before you heat
them up in the mi-
crowave.
Only use bags that are
suitable for vacuum-seal-
ing food.
Commercially available
products are different
when it comes to the
quality of the food, tem-
perature resistance, ma-
terial and surface.
The heat-sealing time for
the vacuum-sealing bag
always depends on the
material from which it is
made.
¡ Thin-walled bag: Heat-
sealing level1
¡ Thicker material: Heat-
sealing level2 or
higher
Use bags with a max-
imum width of 240mm.
The length of the heat-
sealing bar limits the size
of the vacuum-sealing
bag that can be used.
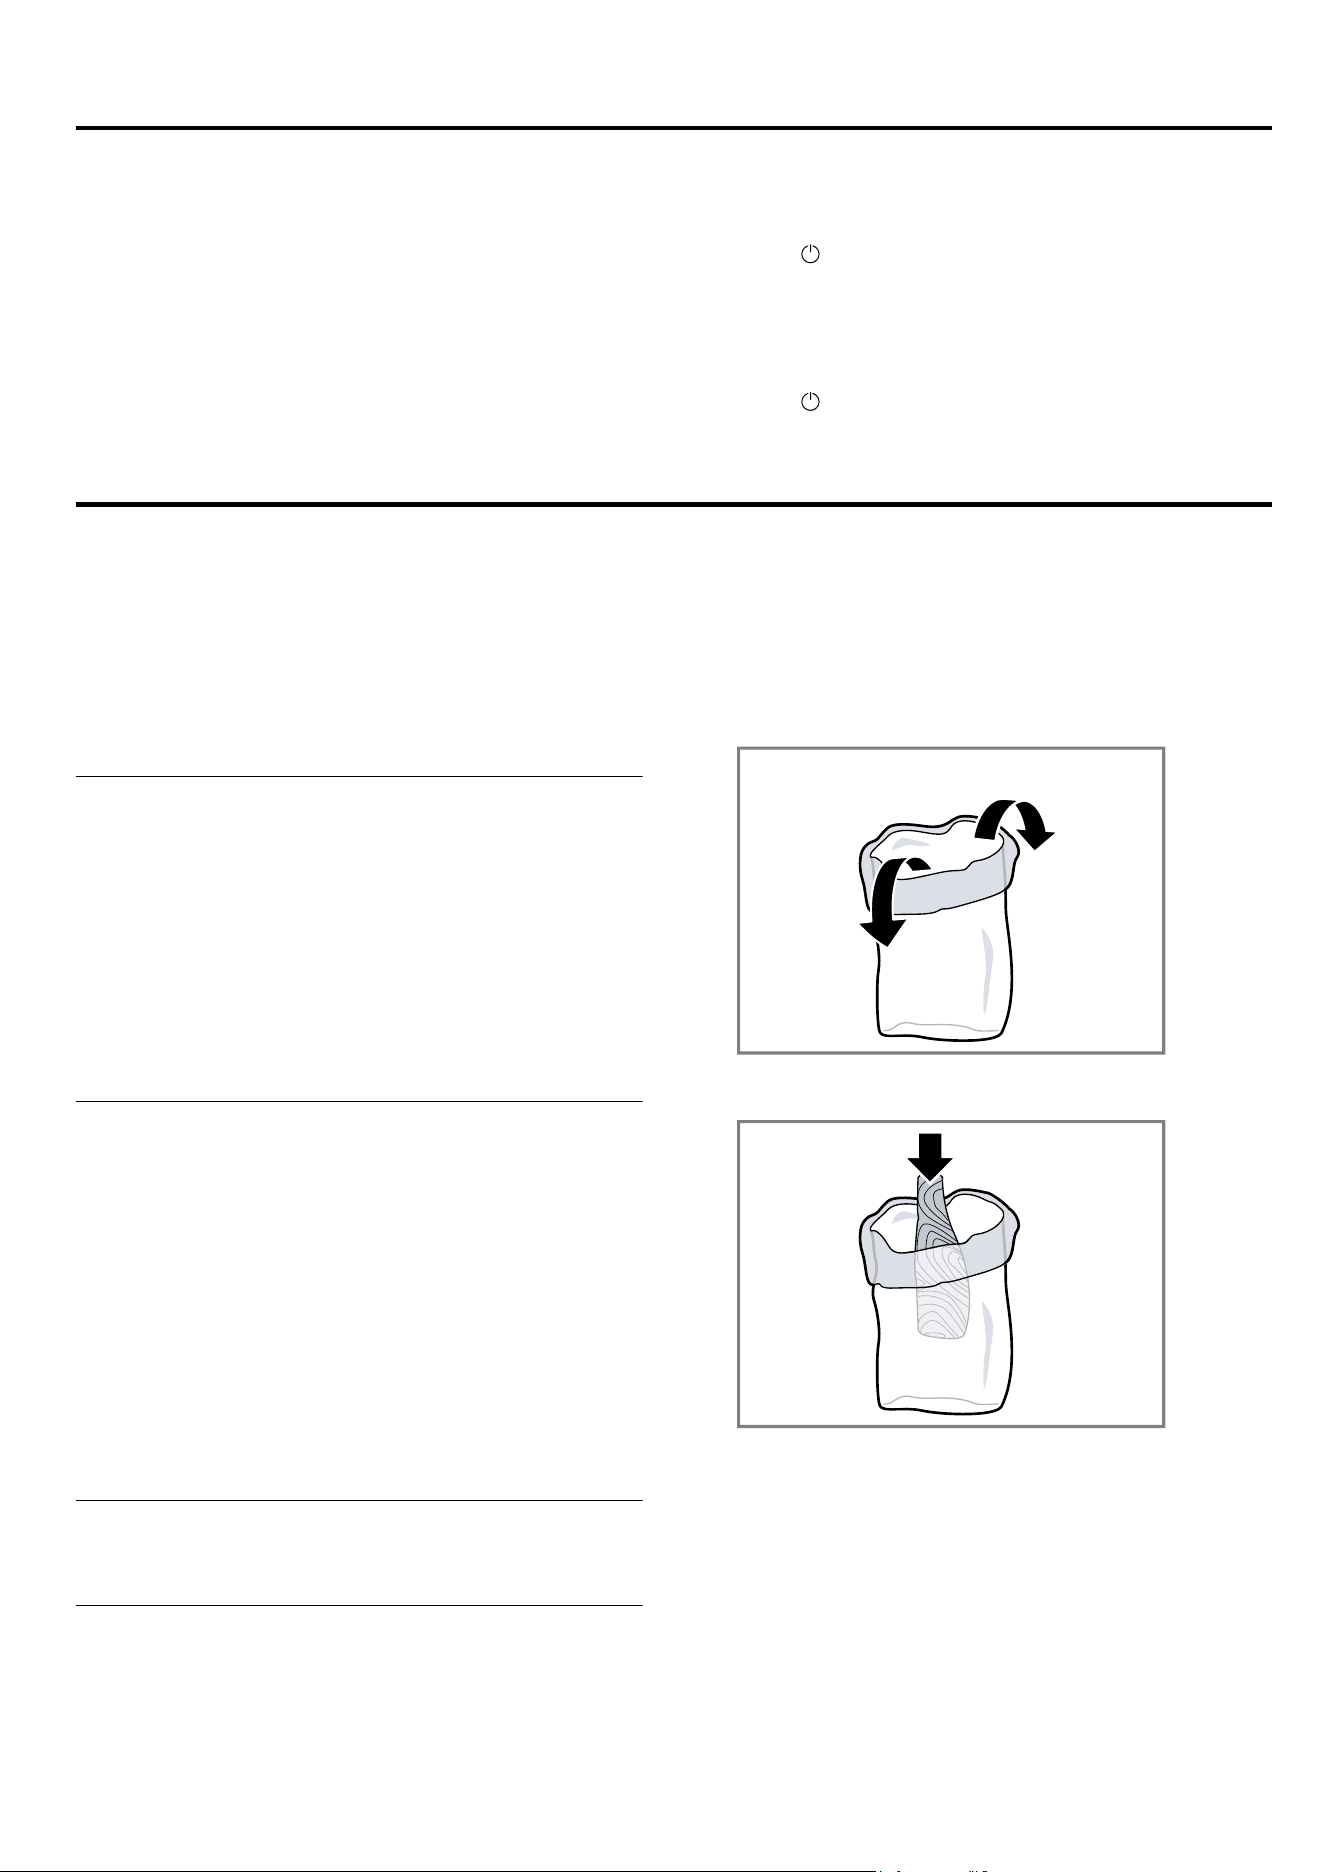
7.2 Filling the bag
Requirements
¡ The edge of the bag is clean and dry.
¡ There is no food residue around the edge of the bag
in the area around the seam.
1.
Fold over the edge of the bag by approx. 3cm.
2.
Where possible, position the items of food in the va-
cuum-sealing bag next to each other.
Loading ...
Loading ...
Loading ...