Loading ...
Loading ...
Loading ...

Professional Series Thermal Imagers
Menus
29
Fluke Connect Tools
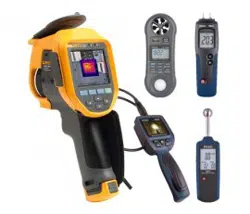
Use the Imager to wirelessly connect to Fluke-Connect-supported tools to:
• View the live measurement of each tool.
• Capture the measurement of each tool in .is2 and .is3 images.
To discover a Fluke Connect-supported tool:
1. Turn on each wireless tool and make sure the wireless feature is enabled. See the documentation of each
tool for more information about how to use the tool.
2. Turn on the Imager.
3. Select Menu > Fluke Connect > Pair to Fluke Connect Tools.
4. Push
to set selection.
The Fluke Connect button on the wireless tool starts to flash. The Imager starts to scan and presents a list
with the ID and name of available tools found within 20 m without obstructions (open air) or within 6.5 m with
obstructions (sheetrock wall). You can expect a short delay before the scan is complete.
5. Select the tool name.
6. Push
or touch Select to select the tool.
7. Repeat to select each tool.
8. Select Done.
The labels change to include an Edit function. By default, the Imager shows and saves the data for the
selected tools.
To edit the selection:
1. On the Imager, select the tool name.
2. Push
or touch the Edit target. The Edit menu shows the option to show the measurement data and
save it with the image to the memory location selected in the Settings menu.
The display on the Imager updates to show the wireless icon and the live measurement for each selected
wireless tool.
1.888.610.7664 sales@GlobalTestSupply.com
Fluke-Direct.com
Loading ...
Loading ...
Loading ...
