
LTH-EDGE™
adjustable laptop tray
INSTALLATION AND ADJUSTMENT INSTRUCTIONS

Page 2
Read and follow all instructions and warnings before use. Save these
instructions for future reference.
• Use this product only in the manner intended by the manufacturer. If you
have questions, contact the manufacturer.
• This product contains small items that could be a choking hazard if
swallowed. Keep away from children.
• Make sure the desk or mounting surface can support the combined weight
of the mount and the screens.
• Do not extend monitors behind the base.
• Never exceed the maximum load capacity.
• Minimum load capacity must be reached for each motion arm.
• Load capacity may vary depending on the type of installed monitor or
accessory.
• Hand tighten screws only. Do not use power tools.
• When connecting and routing monitor cables and power cords, make sure
the cables and cords are long enough to accommodate the full range of
motion of the monitor arms.
• Check joint parts every two months to make sure the screws have not
loosened.
• This product is only compatible with Fellowes Edge monitor arm accessories.
• This product is intended for indoor use only.
IMPORTANT SAFETY INSTRUCTIONS AND WARNINGS
Read before using!
Lth-Edge Components and tools
Page 3
Additional tools required
• Phillips screw driver
• Pliers
CAUTION: Hand-tighten screws only. Do not use power tools.
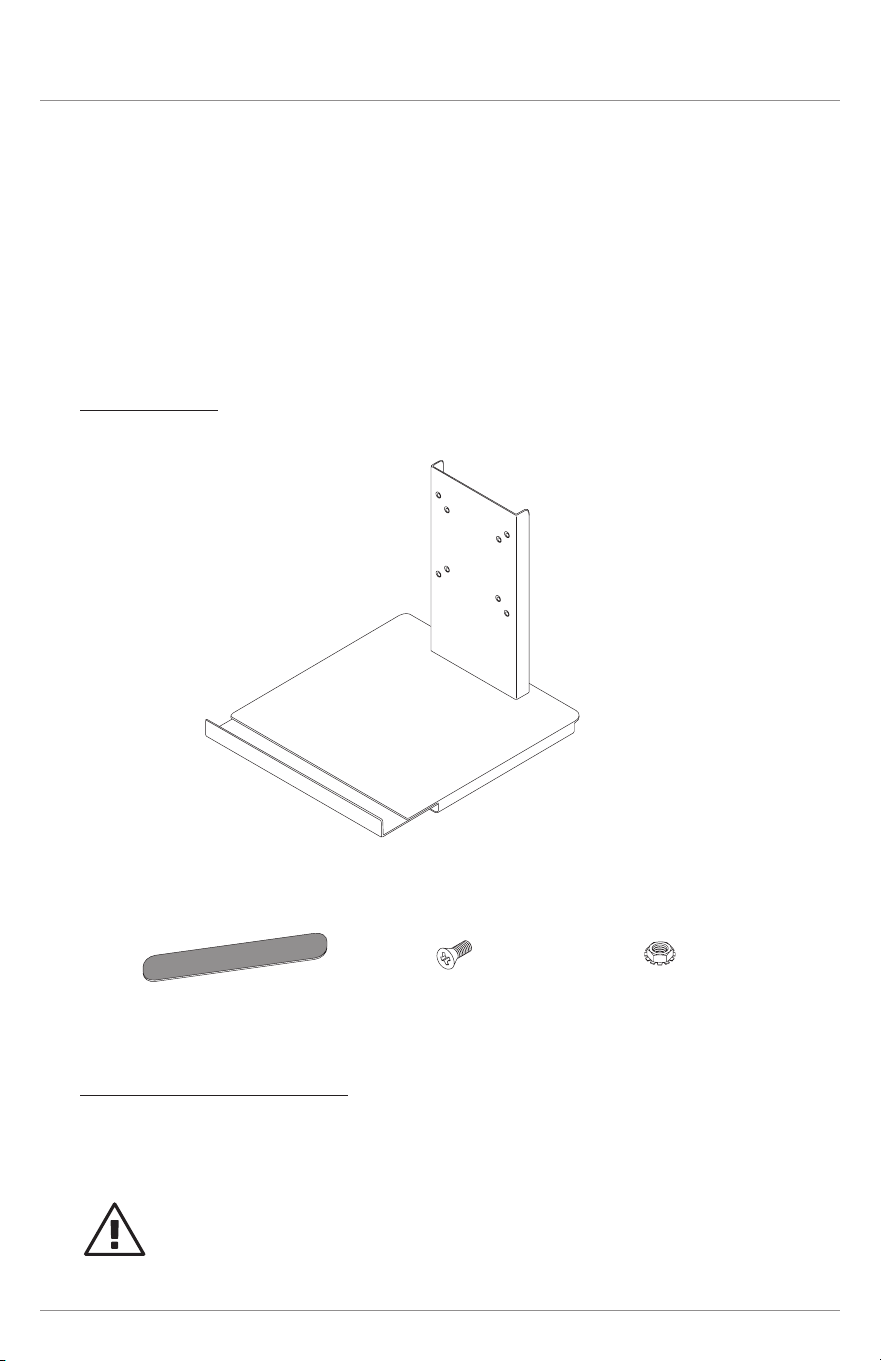
Components
Please review these instructions before beginning the installation. Check that all
components shown below were provided with your order. Contact your supplier
if any components are missing. Do not discard the packaging until satised that
the product operates to your satisfaction.
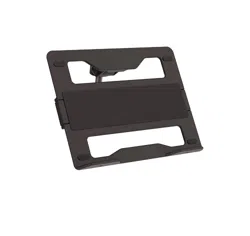
The LTH-EDGE adjustable laptop tray is used with an EDGE monitor arm. It
is installed in place of a monitor. Refer to the instructions that came with the
monitor arm for assembly and adjustment procedures for the EDGE system.
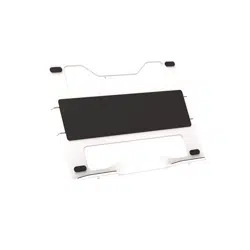
laptop tray (1)
laptop tray nonskid pads (2)
laptop tray screws (4)
3
/8 x
1
/4 -32
laptop tray locking nuts (4)
1
/8 x
1
/4 -32
Lth-Edge VESA mount
Page 4
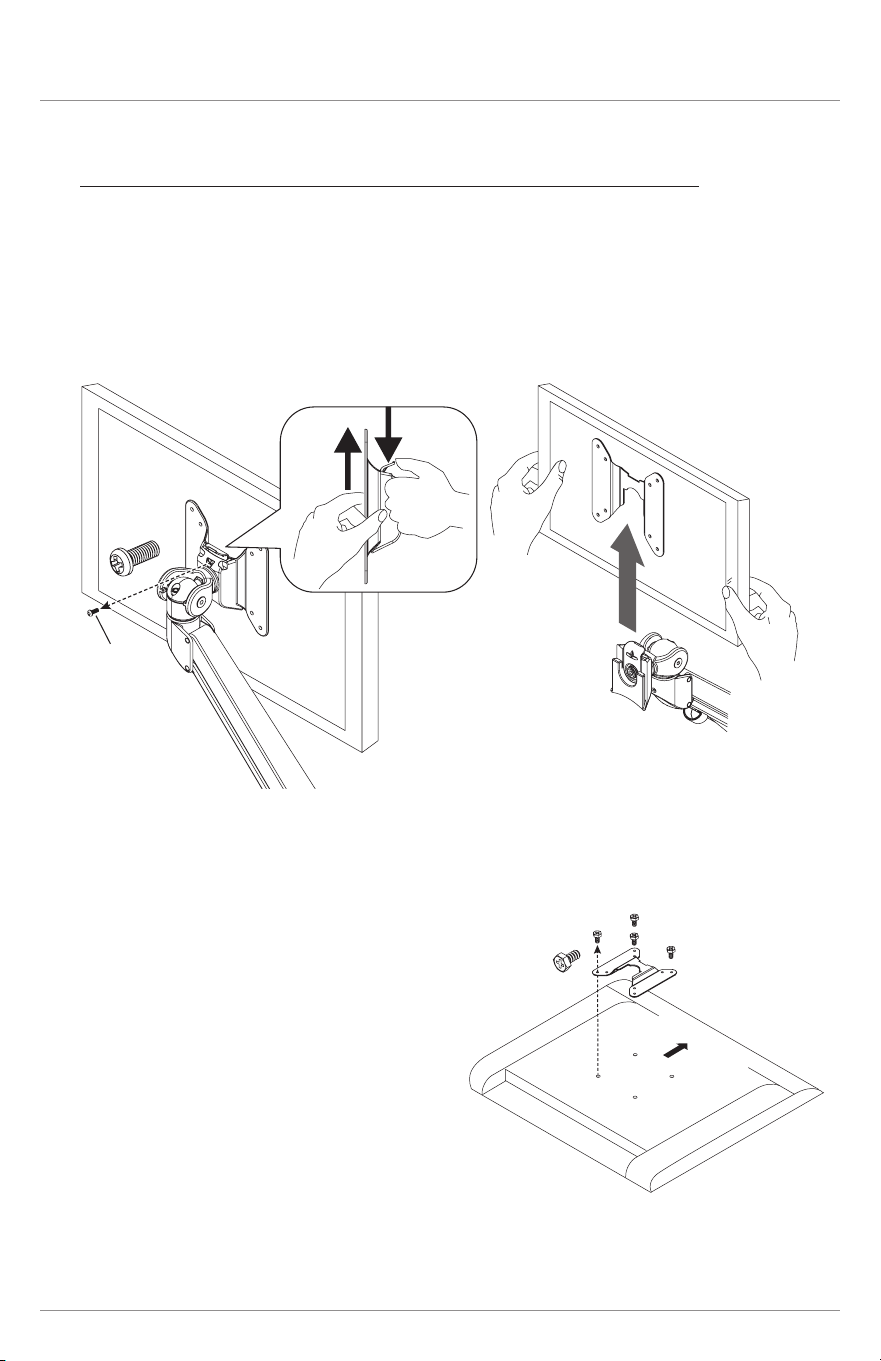
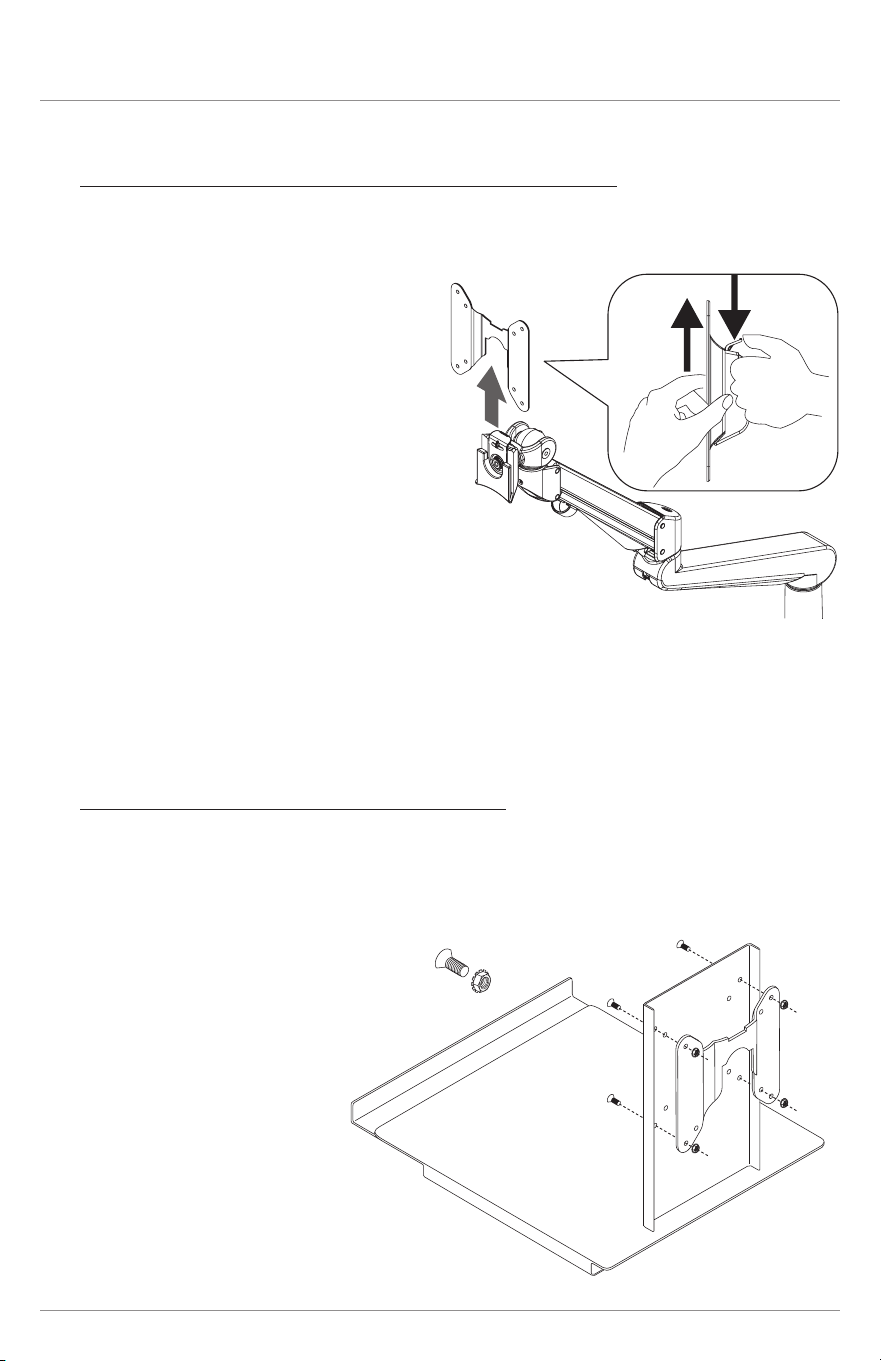
If the EDGE monitor arm currently has a monitor attached:
Remove the monitor
• Disconnect the monitor cables.
• If a VESA locking screw is installed, remove the screw.
• Press down on the plastic tab on the VESA mount to release the VESA plate.
• Lift the monitor and VESA plate from the VESA mount.
remove
VESA
locking
screw
VESA
plate
screw
VESA plate
monitor
(face down)
Upward
Remove the VESA plate from the monitor
• Place the monitor face down
on a at surface.
• Remove the four screws that attach
the VESA plate to the monitor.
• Remove the VESA plate
Proceed to “Attach the VESA Plate to the Laptop Tray” on page 5.
Lth-Edge VESA mount
Page 5
If no monitor is attached to the EDGE monitor arm:
Remove the VESA plate from the VESA mount
• Press down on the plastic tab to release the lock.
• Pull the plate upward to remove.
VESA
plate
VESA
plate
laptop
tray
1
/8x
1
/4 -32
3
/8x
1
/4 -32
Attach the VESA plate to the laptop tray
• Align the VESA plate holes with the holes on the back of the laptop tray. Attach
the VESA plate using the four laptop tray screws and locknuts provided.
— There are two sets of four holes on the VESA plate. One set has holes 3.9"
(100mm) apart, the other set has holes 3" (75mm) apart. Either set of holes
may be used.
Lth-Edge VESA Mount
Page 6
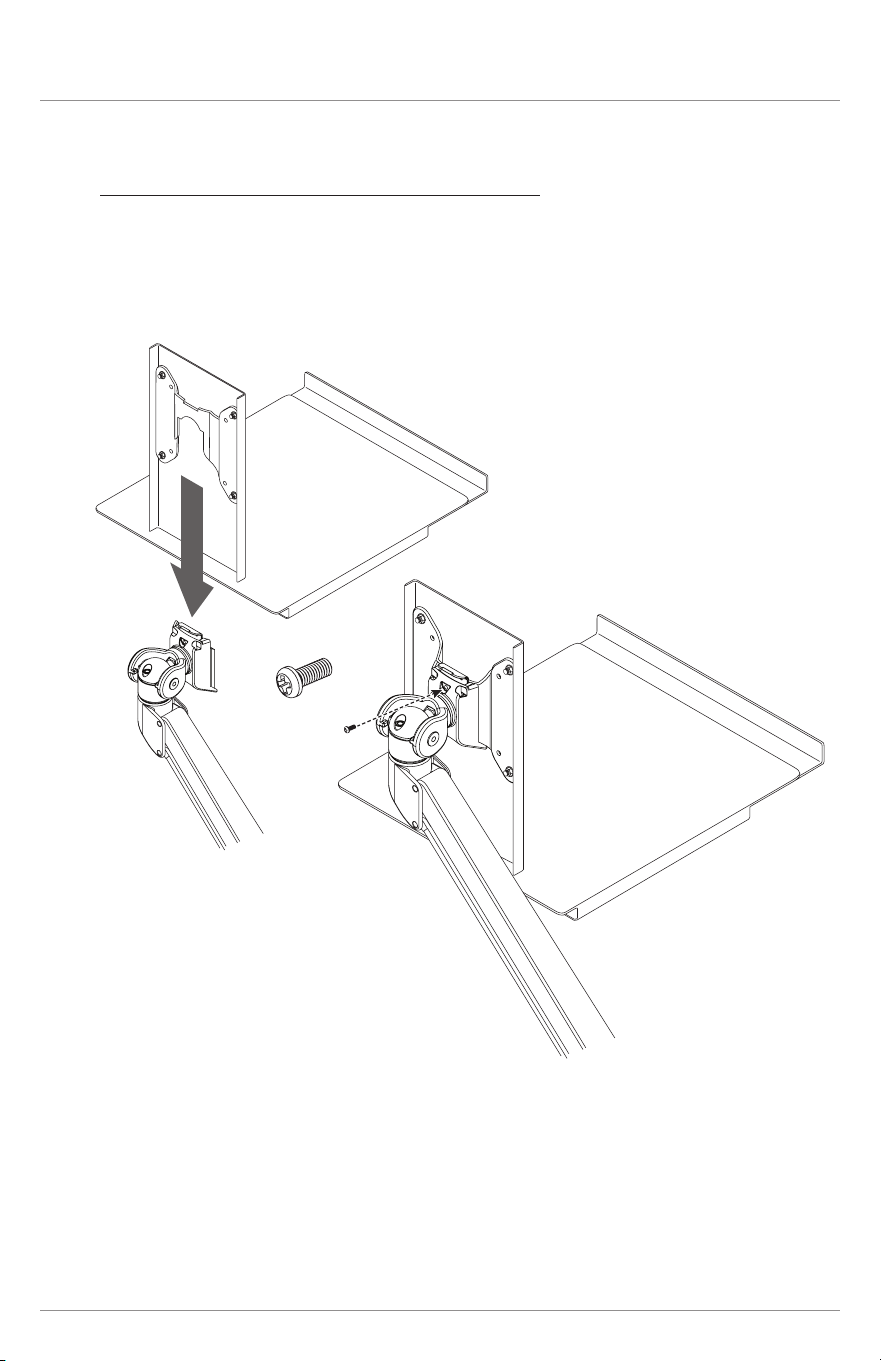
Attach the laptop tray to the VESA mount
• Slide the VESA plate and laptop tray onto the VESA mount. Make sure the
VESA plate clicks securely in place.
— Optional: Install a VESA locking screw behind the VESA plate to prevent
the tab on the VESA mount from releasing the laptop tray.
VESA
locking
screw
(optional)
Lth-Edge Adjustments
Page 7
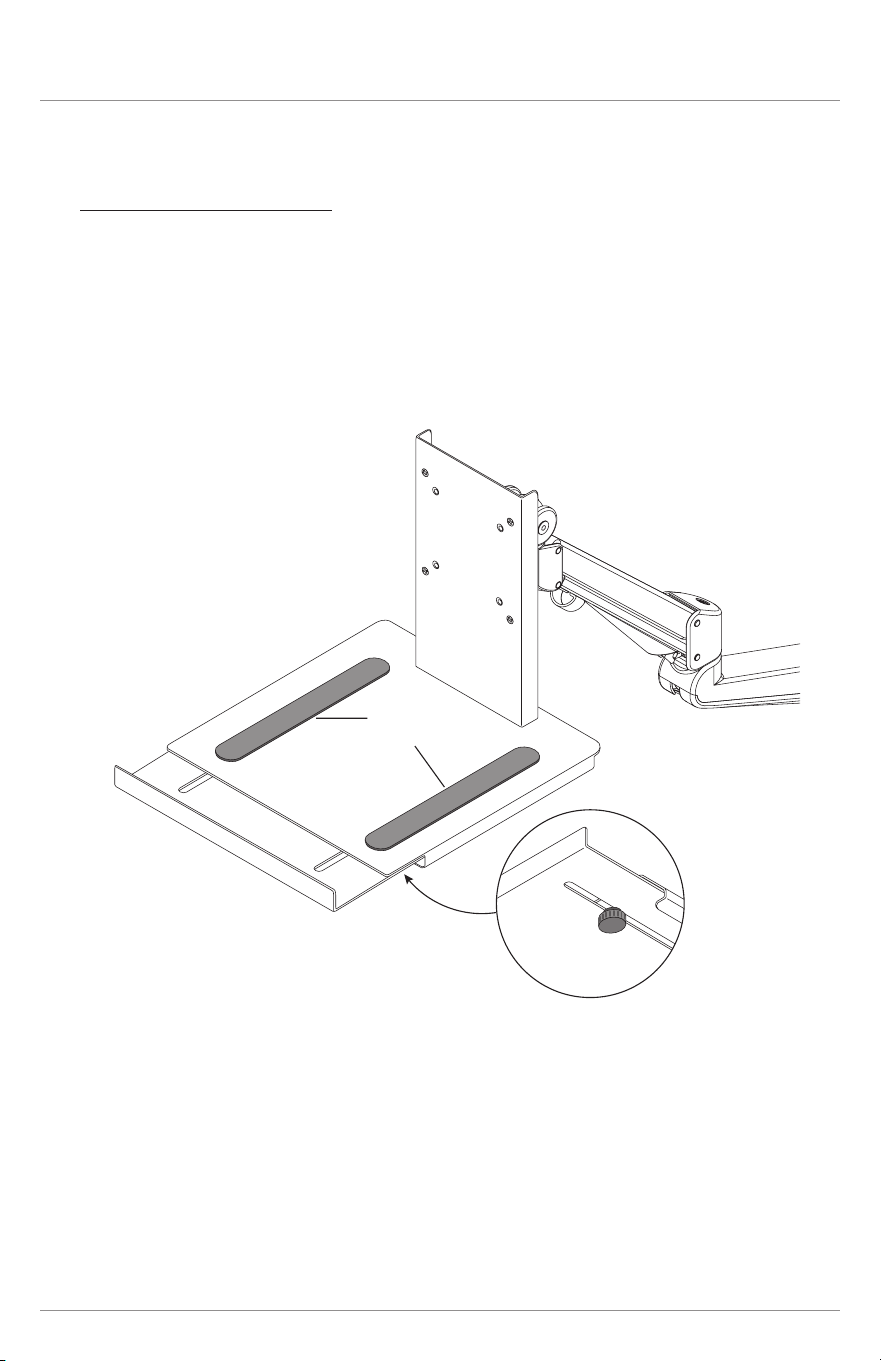
Laptop tray adjustment
• Loosen the two knobs on the underside of the laptop tray to adjust for the
desired depth.
— The laptop tray adjusts from 12" to 18¼" in depth to accommodate a laptop
alone or a laptop with docking station.
• Apply the two nonskid pads to the tray surface to help secure the laptop.
— Peel the adhesive packing from the pads and press them rmly in place.
nonskid
pads
loosen
knobs to
adjust

© 2022 Fellowes, Inc. | Part # 412825
To contact a Fellowes
®
service representative,
call 1-800-833-3746
Warranty information can be found by contacting customer service, your sales representative or by visiting www.fellowes.com