
BA8043GB
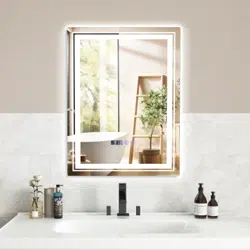
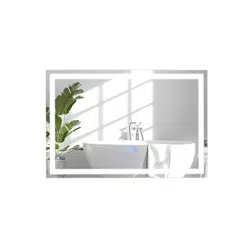
LED Vanity Bathroom Mirror
THIS INSTRUCTION BOOKLET CONTAINS IMPORTANT SAFETY INFORMATION. PLEASE READ AND KEEP FOR FUTURE REFERENCE.
USA office: Fontana GBR office: Ipswich AUS office: Truganina
If you're having difficulty, our friendly
customer team is always here to help.
AUS:cs.au@costway.com
GBR:cs.uk@costway.com
Before You Start
Please read all instructions carefully.
Retain instructions for future reference.
Separate and count all parts and hardware.
Read through each step carefully and follow the proper order.
We recommend that, where possible, all items are assembled near to the
area in which they will be placed in use, to avoid moving the product
unnecessarily once assembled.
Always place the product on a flat, steady and stable surface.
Keep all small parts and packaging materials for this product away from
babies and children as they potentially pose a serious choking hazard.
Item No.
Power
BA8043GB
45W
Please read this manual carefully before installation and keep it properly for
future correct use of this product.
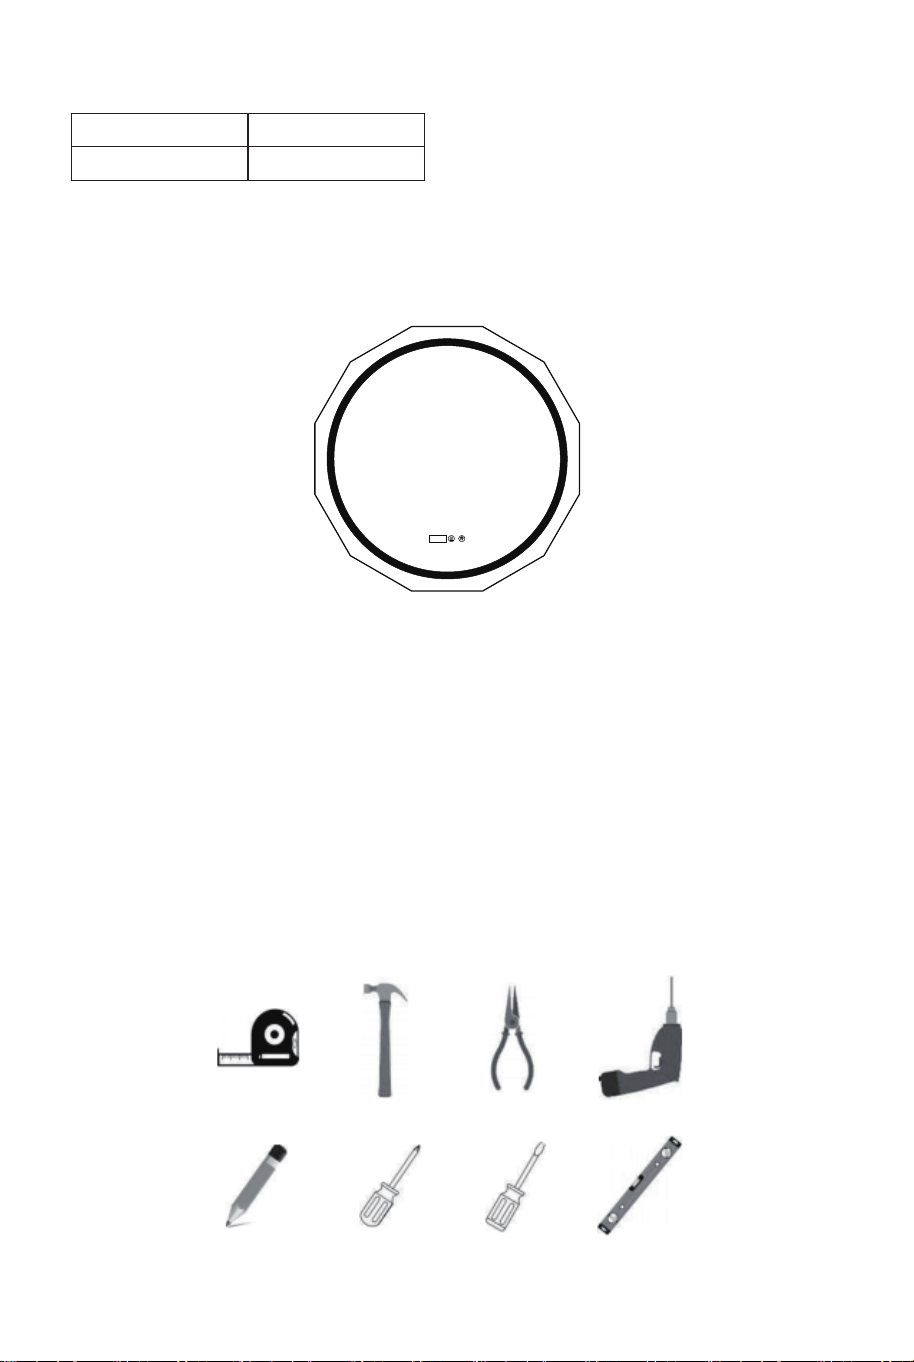
Product Diagram:
Packaging List
Tools You May Need (not included)
LED Mirror
Wall Screw
Plastic Anchor Bolt
Installation Instruction
Mounting Bar
Gloves
x1
x3
x3
x1
x1
x2
02 03
12:00
Before You Start
Please read all instructions carefully.
Retain instructions for future reference.
Separate and count all parts and hardware.
Read through each step carefully and follow the proper order.
We recommend that, where possible, all items are assembled near to the
area in which they will be placed in use, to avoid moving the product
unnecessarily once assembled.
Always place the product on a flat, steady and stable surface.
Keep all small parts and packaging materials for this product away from
babies and children as they potentially pose a serious choking hazard.
Item No.
Power
BA8043GB
45W
Please read this manual carefully before installation and keep it properly for
future correct use of this product.
Product Diagram:
Packaging List
Tools You May Need (not included)
LED Mirror
Wall Screw
Plastic Anchor Bolt
Installation Instruction
Mounting Bar
Gloves
x1
x3
x3
x1
x1
x2
02 03
12:00
12:00
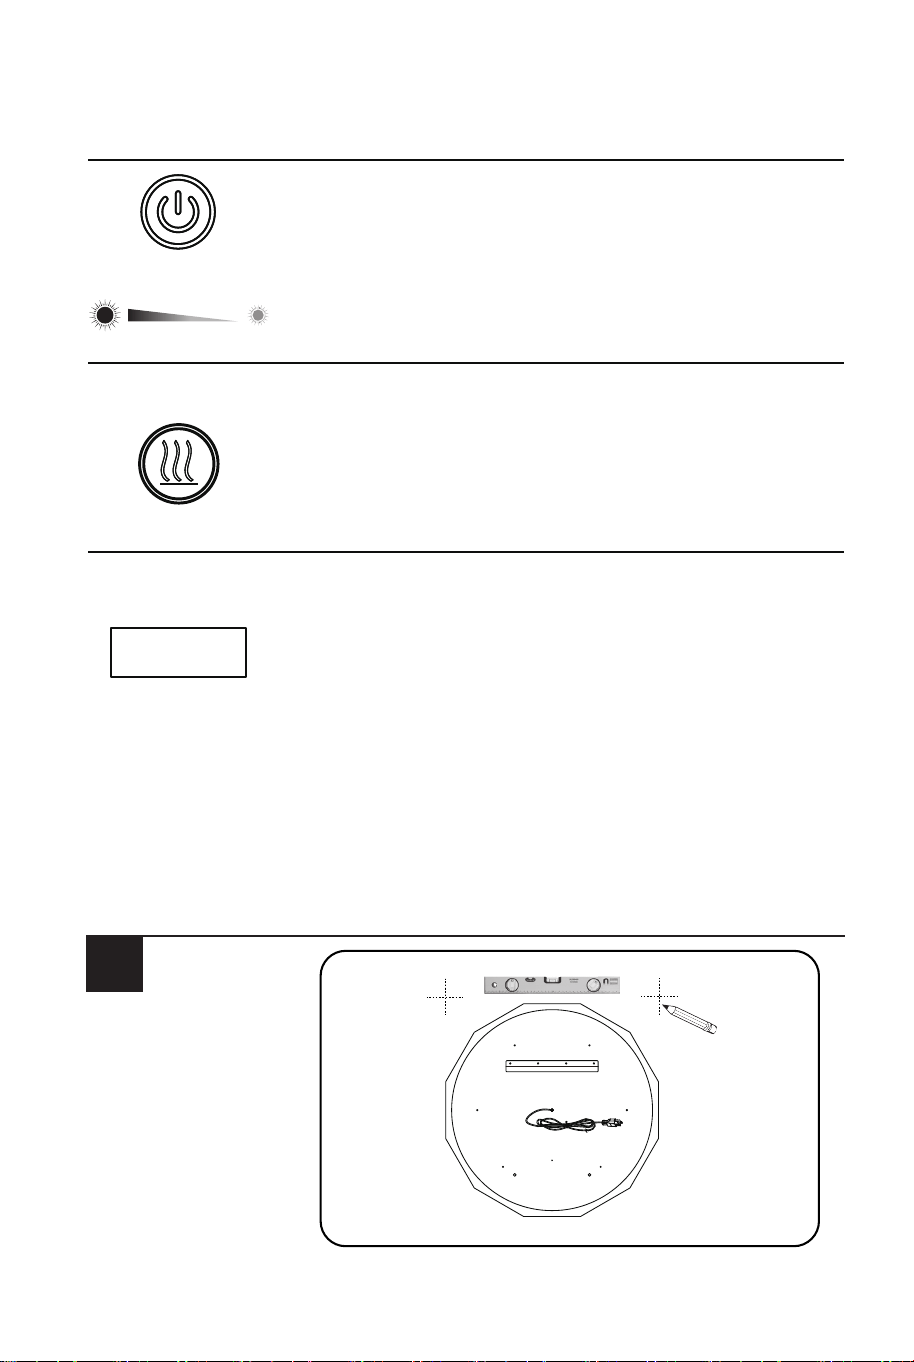
Function Description
Installation Steps
On/off button
Defog button
Time display
Anti-fog Function
● When connected to the main power supply, the button
turns blue.
● Shortly press the button to open and close the mirror.
● Long time touch to adjust brightness (dimming).
When the color reaches the desired color, retract your
fingers for finishing the setting.
● After pressing the defog button, the mirror starts to heat
up and defog. Press again to exit.
● Note: The mist eliminator will automatically stop after
continuous operation for 60 minutes to prevent prolonged
damage caused by high temperature over time.
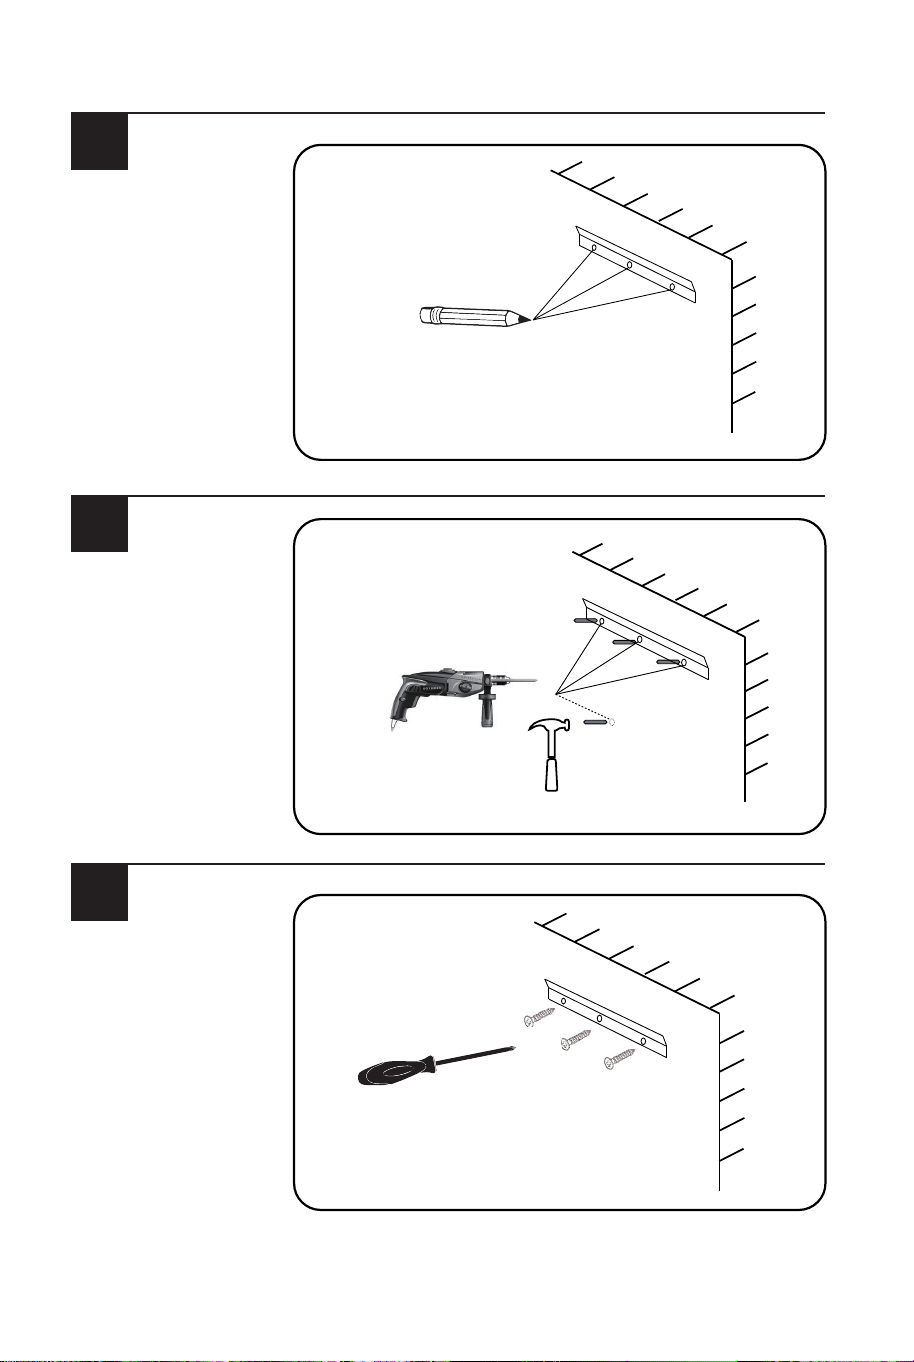
Measure the distance
between the hanging
holes of the lamp.
Mark the position of
the hole on the wall.
Drill holes and
install plastic
anchor bolts.
Arrange the screws
on the wall and
ensure stability.
● Press and hold the defog button for about 3 seconds,
and the number of minutes will start flashing. Release
your fingers, and briefly press the defog and on buttons
to adjust the minutes to increase/decrease.
● Hold the defog button again for about 3 seconds, and
the clock will start flashing, and briefly press the defog
and on buttons to adjust the clock to increase/decrease.
● After adjusting to the accurate time, complete the
operation and the time display will automatically stop
after flashing about 3 seconds.
1
2
3
4
04 05
12:00
Function Description
Installation Steps
On/off button
Defog button
Time display
Anti-fog Function
● When connected to the main power supply, the button
turns blue.
● Shortly press the button to open and close the mirror.
● Long time touch to adjust brightness (dimming).
When the color reaches the desired color, retract your
fingers for finishing the setting.
● After pressing the defog button, the mirror starts to heat
up and defog. Press again to exit.
● Note: The mist eliminator will automatically stop after
continuous operation for 60 minutes to prevent prolonged
damage caused by high temperature over time.
Measure the distance
between the hanging
holes of the lamp.
Mark the position of
the hole on the wall.
Drill holes and
install plastic
anchor bolts.
Arrange the screws
on the wall and
ensure stability.
● Press and hold the defog button for about 3 seconds,
and the number of minutes will start flashing. Release
your fingers, and briefly press the defog and on buttons
to adjust the minutes to increase/decrease.
● Hold the defog button again for about 3 seconds, and
the clock will start flashing, and briefly press the defog
and on buttons to adjust the clock to increase/decrease.
● After adjusting to the accurate time, complete the
operation and the time display will automatically stop
after flashing about 3 seconds.
1
2
3
4
04 05
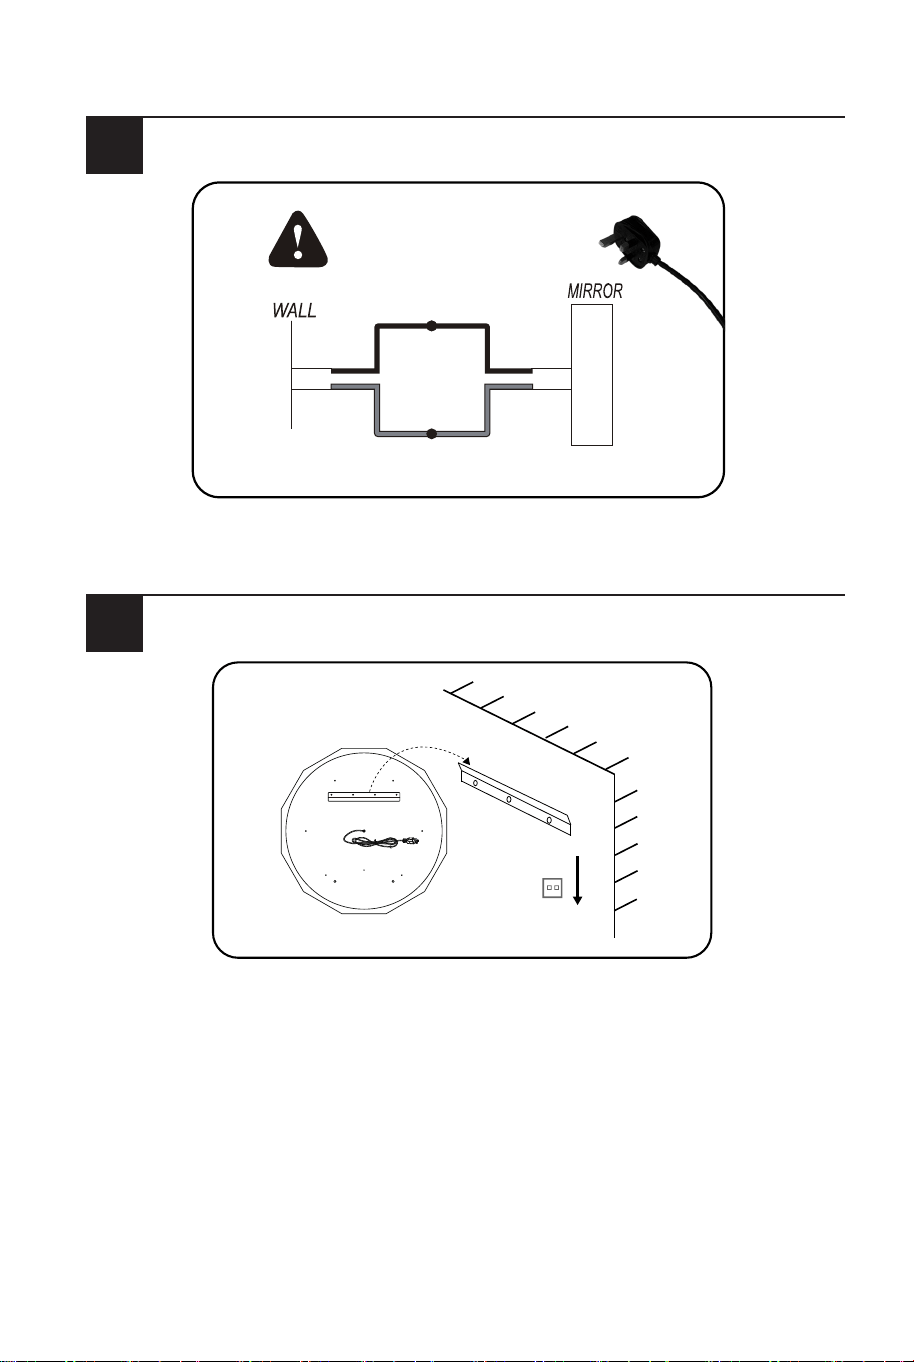
LIVE (usually BROWN)
GROUND(usually BLUE)
WARNING
Maintenance:
Connect the mirror body to the power supply.
● We provide a mirror with a plug.
● If a wall switch is used, the plug can be cut off and connected to the wire.
5
Hang the mirror on the mounting bar.
Attention:
● Please cut off the main power supply before wiring.
Turn off the power before using a soft dry cloth for cleaning. Do not use
cleaning agents or abrasive materials. Do not let moisture come into contact
with the lamp.
6
In case a return is required, the item must be returned in original
box. Without this your return will not be accepted.
DO NOT discard the box / original packaging.
Take a photo of the box markings.
Take a photo of the damaged part (if applicable).
Send us an email with the images requested.
A photo of the markings (text) on the side of the box is required in
case a part is needed for replacement. This helps our staff identify
your product number to ensure you receive the correct parts.
A photo of the damage is always required to file a claim and get
your replacement or refund processed quickly. Please make sure
you have the box even if it is damaged.
Email us directly from marketplace where your item was purchased
with the attached images and a description of your claim.
Return / Damage Claim Instructions
06 07
+
+
+

BA8043GB
LED Vanity Bathroom Mirror
THIS INSTRUCTION BOOKLET CONTAINS IMPORTANT SAFETY INFORMATION. PLEASE READ AND KEEP FOR FUTURE REFERENCE.
USA office: Fontana GBR office: Ipswich AUS office: Truganina
If you're having difficulty, our friendly
customer team is always here to help.
AUS:cs.au@costway.com
GBR:cs.uk@costway.com