1
Installation Instructions
Instrucciones de Instalación / Instructions d’installation /
Installationsanleitung / Istruzioni per l’installazione
N238-001-GY-TF
N238-001-GY-TFA
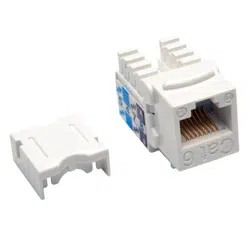
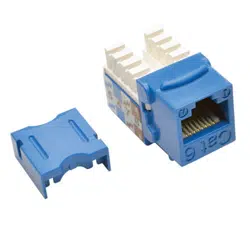
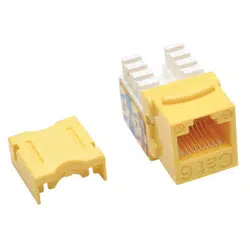
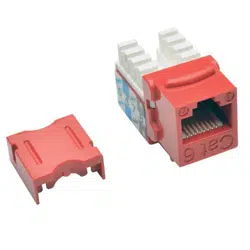
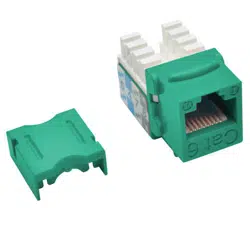
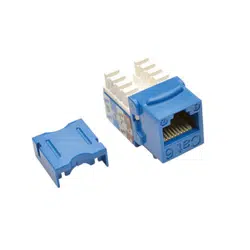
Toolless Cat6/Cat6a
Keystone Jack
Enchufe Keystone Cat6/Cat6a sin herramientas
Prise Keystone Cat6/Cat6a sans outil
Werkzeuglos Cat6/Cat6a Keystone Jack
Spinotto Keystone Cat6/Cat6a senza spina d’arresto
Purchased product may differ from image.
El producto comprado puede diferir de la imagen.
Le produit acheté peut différer de l’image.
Das gekaufte Produkt kann vom Bild abweichen.
Il prodotto acquistato potrebbe differire dall’immagine.
23-08-088-93486F-EN-ES-FRFR-DE-IT.indd 123-08-088-93486F-EN-ES-FRFR-DE-IT.indd 1 3/28/2024 9:31:23 AM3/28/2024 9:31:23 AM
2
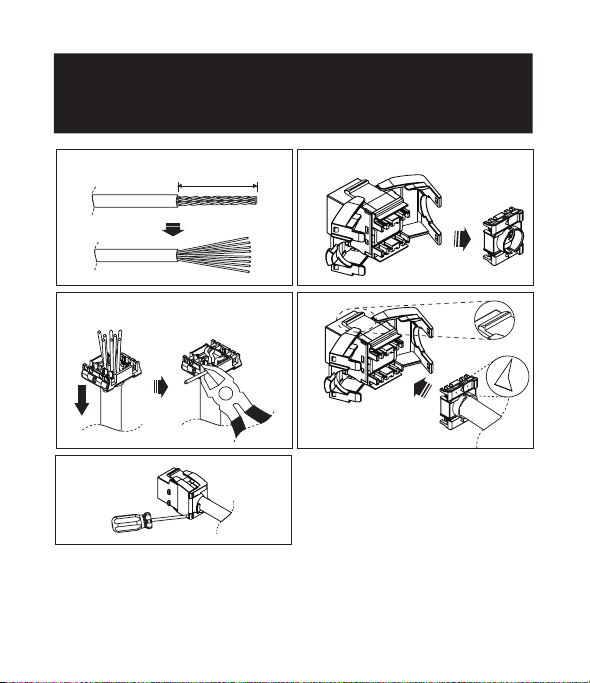
30 mm
Wire Cap
Latch Tab UP
Installation
Instalación / Installation /
Installation / Installazione
11
33
22
44
55
23-08-088-93486F-EN-ES-FRFR-DE-IT.indd 223-08-088-93486F-EN-ES-FRFR-DE-IT.indd 2 3/28/2024 9:31:23 AM3/28/2024 9:31:23 AM

3
Note: To maximize performance with Power over Ethernet (PoE) applications,
these keystone jacks are specifically designed to prevent spark gap erosion that
degrades the plug and jack contacts over time and can impact data and/or power
transmission capabilities.
1
Remove approximately 30 mm of cable sheath.
2
Release the keystone jack’s wire cap.
3
Pass the cable end through the wire cap. Set each color-coded
wire to its matching color position on the cap. Use wire cutters
to remove any excess wire.
4
Ensure the wire cap is correctly aligned with the connector’s
latch tab. Press the wire cap into the jack and lock it in place.
5
To disconnect, use a flat-head screwdriver to unlock the
keystone jack.
Español
Nota: A fin de maximizar el rendimiento con las aplicaciones PoE, Energía sobre la
Ethernet, estos enchufes keystone están diseñados específicamente para evitar la
erosión por chispas en los espacios entre electrodos que degrada los contactos
del tomacorriente y el enchufe con el paso del tiempo, y puede afectar las
capacidades de transmisión de datos o potencia.
1
Retire aproximadamente 30 mm del revestimiento del cable.
2
Retire el capuchón de alambres del enchufe keystone.
Installation
Instalación / Installation /
Installation / Installazione
23-08-088-93486F-EN-ES-FRFR-DE-IT.indd 323-08-088-93486F-EN-ES-FRFR-DE-IT.indd 3 3/28/2024 9:31:23 AM3/28/2024 9:31:23 AM

4
Installation
Instalación / Installation /
Installation / Installazione
3
Pase el extremo del cable a través del capuchón de alambres.
Ubique cada cable codificado por colores en su posición
correspondiente en el capuchón. Use un cortador para eliminar
cualquier exceso de alambre.
4
Asegúrese de que el capuchón de alambres esté alineado
correctamente con la pestaña del broche del conector.
Presione el capuchón de alambres adentro del enchufe y
asegúrelo en su posición.
5
Para desconectarlo, utilice un destornillador plano para liberar
el enchufe keystone.
Français
Remarque : Pour optimiser les performances avec les applications d’alimentation
électrique par câble Ethernet (PoE - Power over Ethernet), ces prises trapézoïdales
sont spécialement conçues pour empêcher l’érosion de l’éclateur qui dégrade les
contacts de la prise et de la prise au fil du temps et peut avoir un impact sur les
capacités de transmission de données et/ou de puissance.
1
Retirez environ 30 mm de gaine de câble.
2
Détachez le capuchon de fil de la prise trapézoïdale.
3
Faites passer l’extrémité du câble à travers le capuchon de fil.
Placez chaque fil codé par couleur dans la position de couleur
correspondante sur le capuchon. Utilisez une pince coupante
pour retirer l’excédent de fil.
23-08-088-93486F-EN-ES-FRFR-DE-IT.indd 423-08-088-93486F-EN-ES-FRFR-DE-IT.indd 4 3/28/2024 9:31:23 AM3/28/2024 9:31:23 AM

5
Installation
Instalación / Installation /
Installation / Installazione
4
Assurez-vous que le capuchon de fil est correctement aligné
avec la languette de verrouillage du connecteur. Enfoncez le
capuchon de fil dans la prise et verrouillez-le en place.
5
Pour déconnecter, utilisez un tournevis à tête plate pour
déverrouiller la prise trapézoïdale.
Deutsch
Hinweis: Um die Performance mit den PoE, Power over Ethernet Anwendungen zu
maximieren, wurden diese Keystone-Buchsen speziell entwickelt, um eine Erosion
der Funkenstrecke zu verhindern, die die Kontakte des Steckers und von dem Jack
im Laufe der Zeit verschlechtern, sowie die Übertragungsfähigkeit von Daten und/
oder der Leistung beeinträchtigen kann.
1
Entfernen Sie bitte etwa 30 mm des Kabelmantels.
2
Lösen Sie die Drahtkappe des Keystone Jacks.
3
Führen Sie bitte das Kabelende durch die Drahtkappe. Bringen
Sie jeden farbcodierten Draht an der entsprechenden
Farbposition auf der Kappe an. Verwenden Sie eine
Drahtschere, um jeglichen überschüssigen Draht zu entfernen.
4
Vergewissern Sie sich bitte, dass die Abdeckkappe korrekt auf
den Riegel Tab des Steckers ausgerichtet ist. Drücken Sie die
Drahtkappe in den Jack und verriegeln Sie diesen.
5
Um die Verbindung zu lösen, verwenden Sie bitte einen Flachkopf-
Schraubenzieher, sodass der Keystone-Jack entriegelt wird.
23-08-088-93486F-EN-ES-FRFR-DE-IT.indd 523-08-088-93486F-EN-ES-FRFR-DE-IT.indd 5 3/28/2024 9:31:23 AM3/28/2024 9:31:23 AM

6
Installation
Instalación / Installation /
Installation / Installazione
Italiano
Nota: per massimizzare le prestazioni con le applicazioni Power over Ethernet
(PoE), questi spinotti keystone sono progettati specificamente per evitare l’erosione
della distanza degli elettrodi che degrada i contatti della spina e dello spinotto nel
tempo e può influire sulle capacità di trasmissione dei dati e/o dell’energia.
1
Rimuovera circa 30 mm di guaina del cavo.
2
Rilasciare il cappuccio del filo dello spinotto keystone.
3
Fare passare l’estremità del cavo attraverso il coprifilo.
Posizionare ogni filo con codice colore nella posizione
corrispondente sul cappuccio. Utilizzare delle tronchesi per
rimuovere il filo in eccesso.
4
Assicurarsi che il cappuccio del filo sia allineato correttamente
con la linguetta di chiusura del connettore. Premere il coprifilo
nello spinotto e bloccarlo in posizione.
5
Per scollegare, utilizzare un cacciavite a testa piatta per
sbloccare lo spinotto keystone.
23-08-088-93486F-EN-ES-FRFR-DE-IT.indd 623-08-088-93486F-EN-ES-FRFR-DE-IT.indd 6 3/28/2024 9:31:23 AM3/28/2024 9:31:23 AM

7
23-08-088-93486F-EN-ES-FRFR-DE-IT.indd 723-08-088-93486F-EN-ES-FRFR-DE-IT.indd 7 3/28/2024 9:31:23 AM3/28/2024 9:31:23 AM

8
Eaton
1000 Eaton Boulevard
Cleveland, OH 44122
United States
Eaton.com
© 2024 Eaton
All Rights Reserved
Publication No.
23-08-088 / 93-486F_RevA
March 2024
Eaton is a registered
trademark.
All trademarks are
property of their
respective owners.
23-08-088-93486F-EN-ES-FRFR-DE-IT.indd 823-08-088-93486F-EN-ES-FRFR-DE-IT.indd 8 3/28/2024 9:31:23 AM3/28/2024 9:31:23 AM