Loading ...
Loading ...
Loading ...
12
Crisper Humidity Control (on some models)
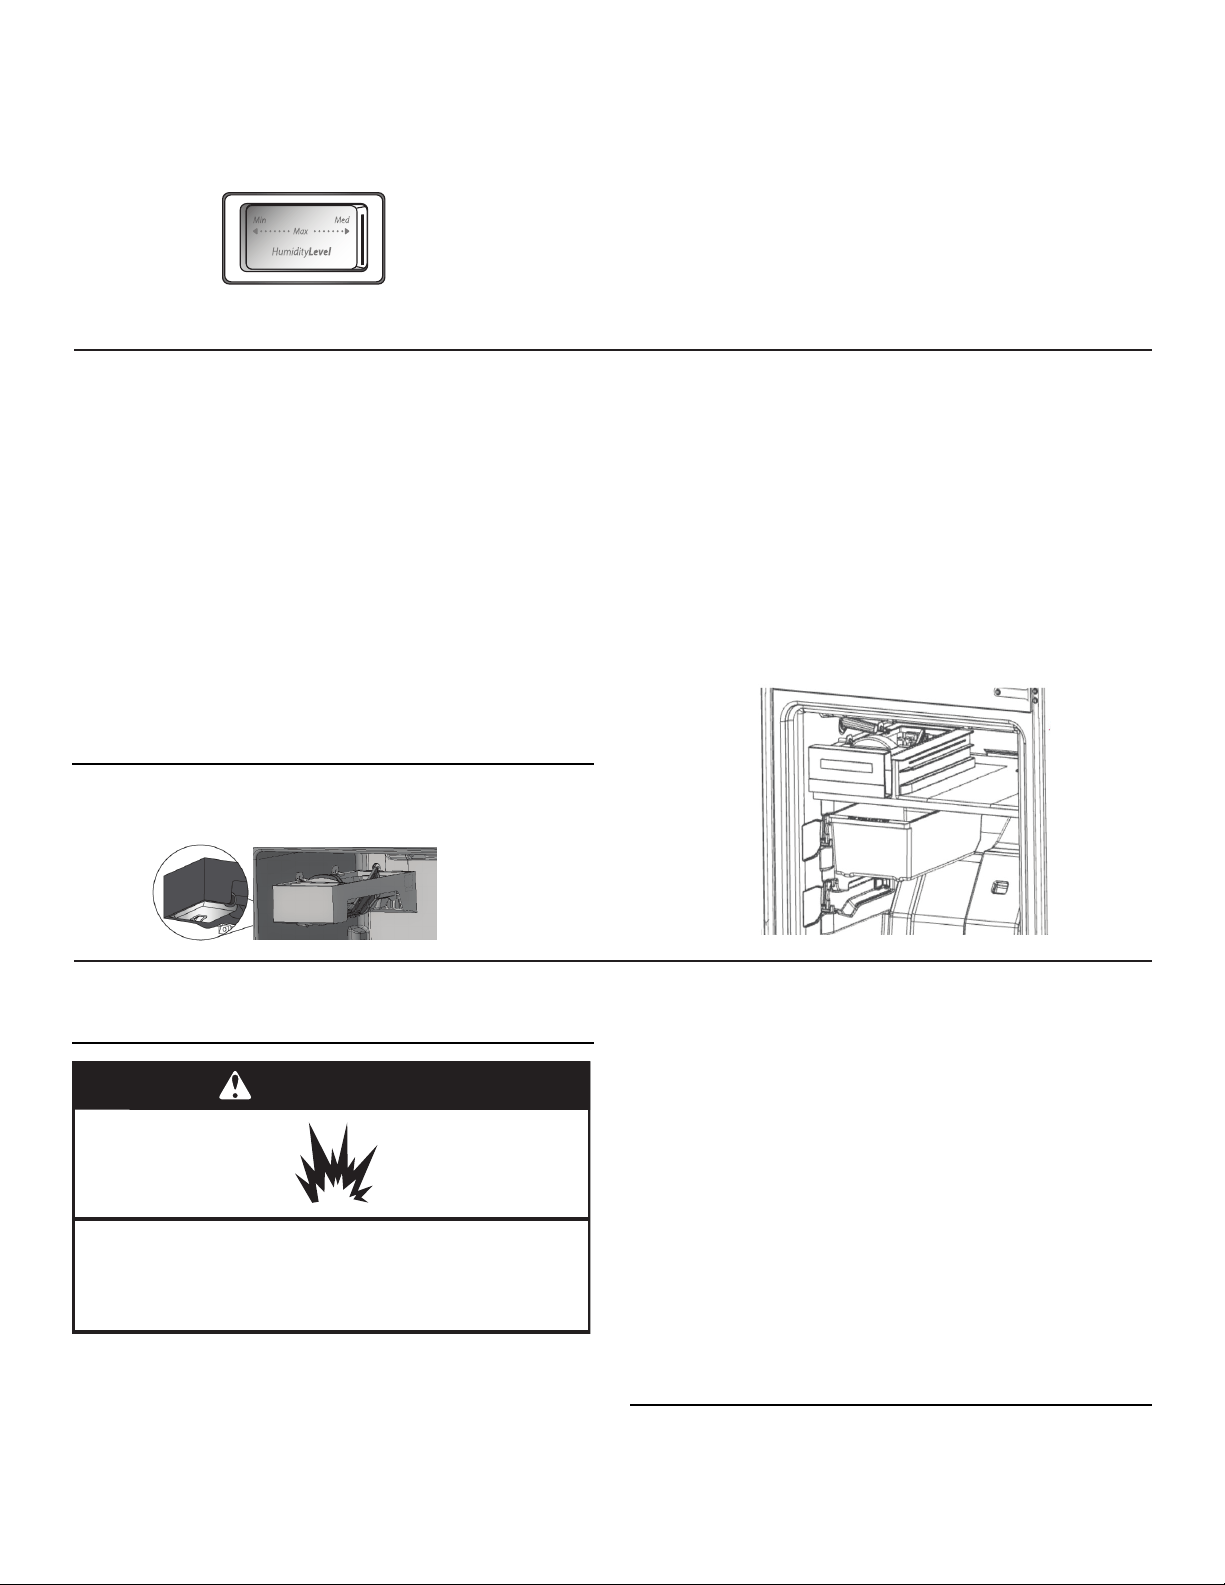
You control the amount of humidity in the moisture-sealed
crisper. Depending on the produce you are storing, select the
desired Humidity Level.
Humidity Level - Min Setting
MIN (open) lets moist air out of the crisper for best storage of
fruits and vegetables with skins.
■ Fruit: Wash, let dry and store in refrigerator in plastic bag
or crisper. Do not wash or cut berries until they are ready to
use. Sort and keep berries in original container in crisper, or
store in a loosely closed paper bag on a refrigerator shelf.
■ Vegetables with skins: Place in plastic bag or plastic
container and store in crisper.
Humidity Level - Max Setting
MAX (closed) keeps moist air in the crisper for best storage of
fresh, leafy vegetables.
■ Leafy vegetables: Wash in cold water, drain and trim or tear
off bruised and discolored areas. Place in plastic bag or
plastic container and store in crisper.
Ice Maker (on some models - Accessory)
■ Allow 24 hours to produce the first batch of ice. Discard the
first three batches of ice produced.
■ The quality of your ice will be only as good as the quality
of the water supplied to your ice maker. Avoid connecting
the ice maker to a softened water supply. Water softener
chemicals such as salt) can damage parts of the ice
maker and lead to poor quality ice. If a softened water
supply cannot be avoided, make sure the water softener is
operating properly and is well maintained.
■ Do not use anything sharp to break up the ice in the storage
bin. This can cause damage to the ice container and the
dispenser mechanism.
■ Do not store anything on top of or in the ice maker or storage
bin.
Turning the Ice Maker On/Off
The On/Off switch is located on the bottom of the Ice Maker, can
be accessed by lifting and opening the ice maker door.
■ To turn on the ice maker, lift open the ice maker door, flip the
switch to the On (right) position.
■ To manually turn off the ice maker, lift open the ice maker
door, flip, the switch to the Off (left) position. Ice can still be
dispensed, but no more can be made.
NOTE: Your ice maker has an automatic shutoff to keep the
storage bin from overfilling during normal operation. As ice
is made, the ice cubes will fill the ice storage bin, and the ice
cubes will raise the shutoff arm to the Off (arm up) position.
When the storage bin is at full capacity, the ice maker will
automatically stop ice production, but the ice maker On/Off
switch will remain in the On position.
ICE AND WATER
REFRIGERATOR CARE
Cleaning
Both the refrigerator and freezer sections defrost
automatically. However, clean both sections about once a month
to avoid buildup of odors. Wipe up spills immediately.
IMPORTANT: Because air circulates between both sections, any
odors formed in one section will transfer to the other. You must
thoroughly clean both sections to eliminate odors. To avoid odor
transfer and drying out of food, wrap or cover foods tightly.
To Clean Your Refrigerator:
NOTE: Do not use abrasive or harsh cleaners such as window
sprays, scouring cleansers, flammable fluids, cleaning waxes,
concentrated detergents, bleaches or cleansers containing
petroleum products on plastic parts, interior and door liners or
gaskets. Do not use paper towels, scouring pads, or other harsh
cleaning tools.
1. Unplug refrigerator or disconnect power.
2. Hand wash, rinse, and dry removable parts and interior
surfaces thoroughly. Use a clean sponge or soft cloth and a
mild detergent in warm water.
3. Wash painted metal exteriors with a clean sponge or soft
cloth and a mild detergent in warm water. Dry thoroughly
with a soft cloth.
4. Plug in refrigerator or reconnect power.
Vacation
If you installed an ice maker and connected it to your household
water line, turn off the water supply to the refrigerator if you will
be away from home for longer than a few days.
WARNING
Explosion Hazard
Use nonflammable cleaner.
Failure to do so can result in death, explosion, or fire.
Loading ...
Loading ...
Loading ...