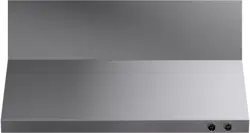
WALL MOUNTED HOOD
KUCHT.COM
APPLICABLE MODEL: KRH30SG, KRH36SG, KRH48SG, KRH30TG, KRH36TG, KRH48TG
INSTALLATION GUIDE AND USER MANUAL
BE A PRO IN YOUR KITCHEN

1) PLUG IN AND TEST CONTROLS, LIGHTS, AND FAN.
2) INSPECT FOR ANY DAMAGE CAUSED DURING
SHIPPING.
3) REPORT ANY DAMAGE TO KUCHT CUSTOMER
SERVICE BY CALLING 866-685-8248
PLAN WHERE YOUR DUCTWORK WILL BE LOCATED.
INSTALL THE PROPER SIZED DUCTWORK AND
EXTERIOR ROOF OR WALL CAP, DEPENDING ON
WHERE YOU WILL BE VENTING YOUR HOOD TO THE
EXTERIOR.
DUCTWORK SHOULD ALREADY BE PUNCHED
THROUGH THE CEILING (OR WALL IF THE CEILING IS
NOT AN OPTION) AND READY TO HOOK UP TO THE
RANGE HOOD BEFORE BEGINNING INSTALLATION.
PREPARE DUCTWORKINSPECT THE UNIT
READ ALL INSTRUCTIONS BEFORE INSTALLING AND OPERATING THIS APPLIANCE.
• The installation instructions in this manual are intended for qualified installers, service technicians, or persons with similar
qualified background. Installation and electrical wiring must be done by qualified professionals and in accordance with all
applicable codes and standards, including first-rated construction.
DO NOT attempt to install this appliance yourself. Injury could result from installing the unit due to lack of appropriate
electrical and technical background. Due to the size and weight of this range hood, two people installation is recommended.
• Range hood may have very sharp edges; please wear protective gloves if it is necessary to remove any parts for installing,
cleaning or servicing.
• Activating any switch ON before completing installation may cause ignition or an explosion.
TO REDUCE THE RISK OF FIRE, ELECTRIC SHOCK, OR INJURY TO PERSONS:
• For general ventilating use only. DO NOT use to exhaust hazardous or explosive materials and vapors. The combustion air
flow needed for safe operation of fuel-burning equipment may be affected by this unit’s operation. Follow the heating
equipment manufacturer’s guideline and safety standards such as those published by the National Fire Protection Association
(NFPA), and the American Society of Heating, Refrigeration and Air Conditioning Engineers (ASHRAE), and the local code
authorities.
Sufficient air is needed for proper combustion and exhausting of gases through the duct to prevent back drafting.
• Before servicing or cleaning unit, switch power OFF at service panel and lock service panel to prevent power from being
switched ON accidentally.
• Metal ductwork may be required based on local codes.
FOR MORE DETAILS AND INFORMATION, PLEASE VISIT OUR WEBSITE WWW.KUCHT.COM
INSTALLATION GUIDE AND USER MANUAL
BEFORE INSTALLING
• Read through the installation manual to understand the process.
• Check if your kitchen meets the electrical and ventilation requirements outlined in the manual.
• Before starting, plug in the hood to make sure it works properly - unplug after testing.
• Turn off the power to the installation area to prevent accidents.
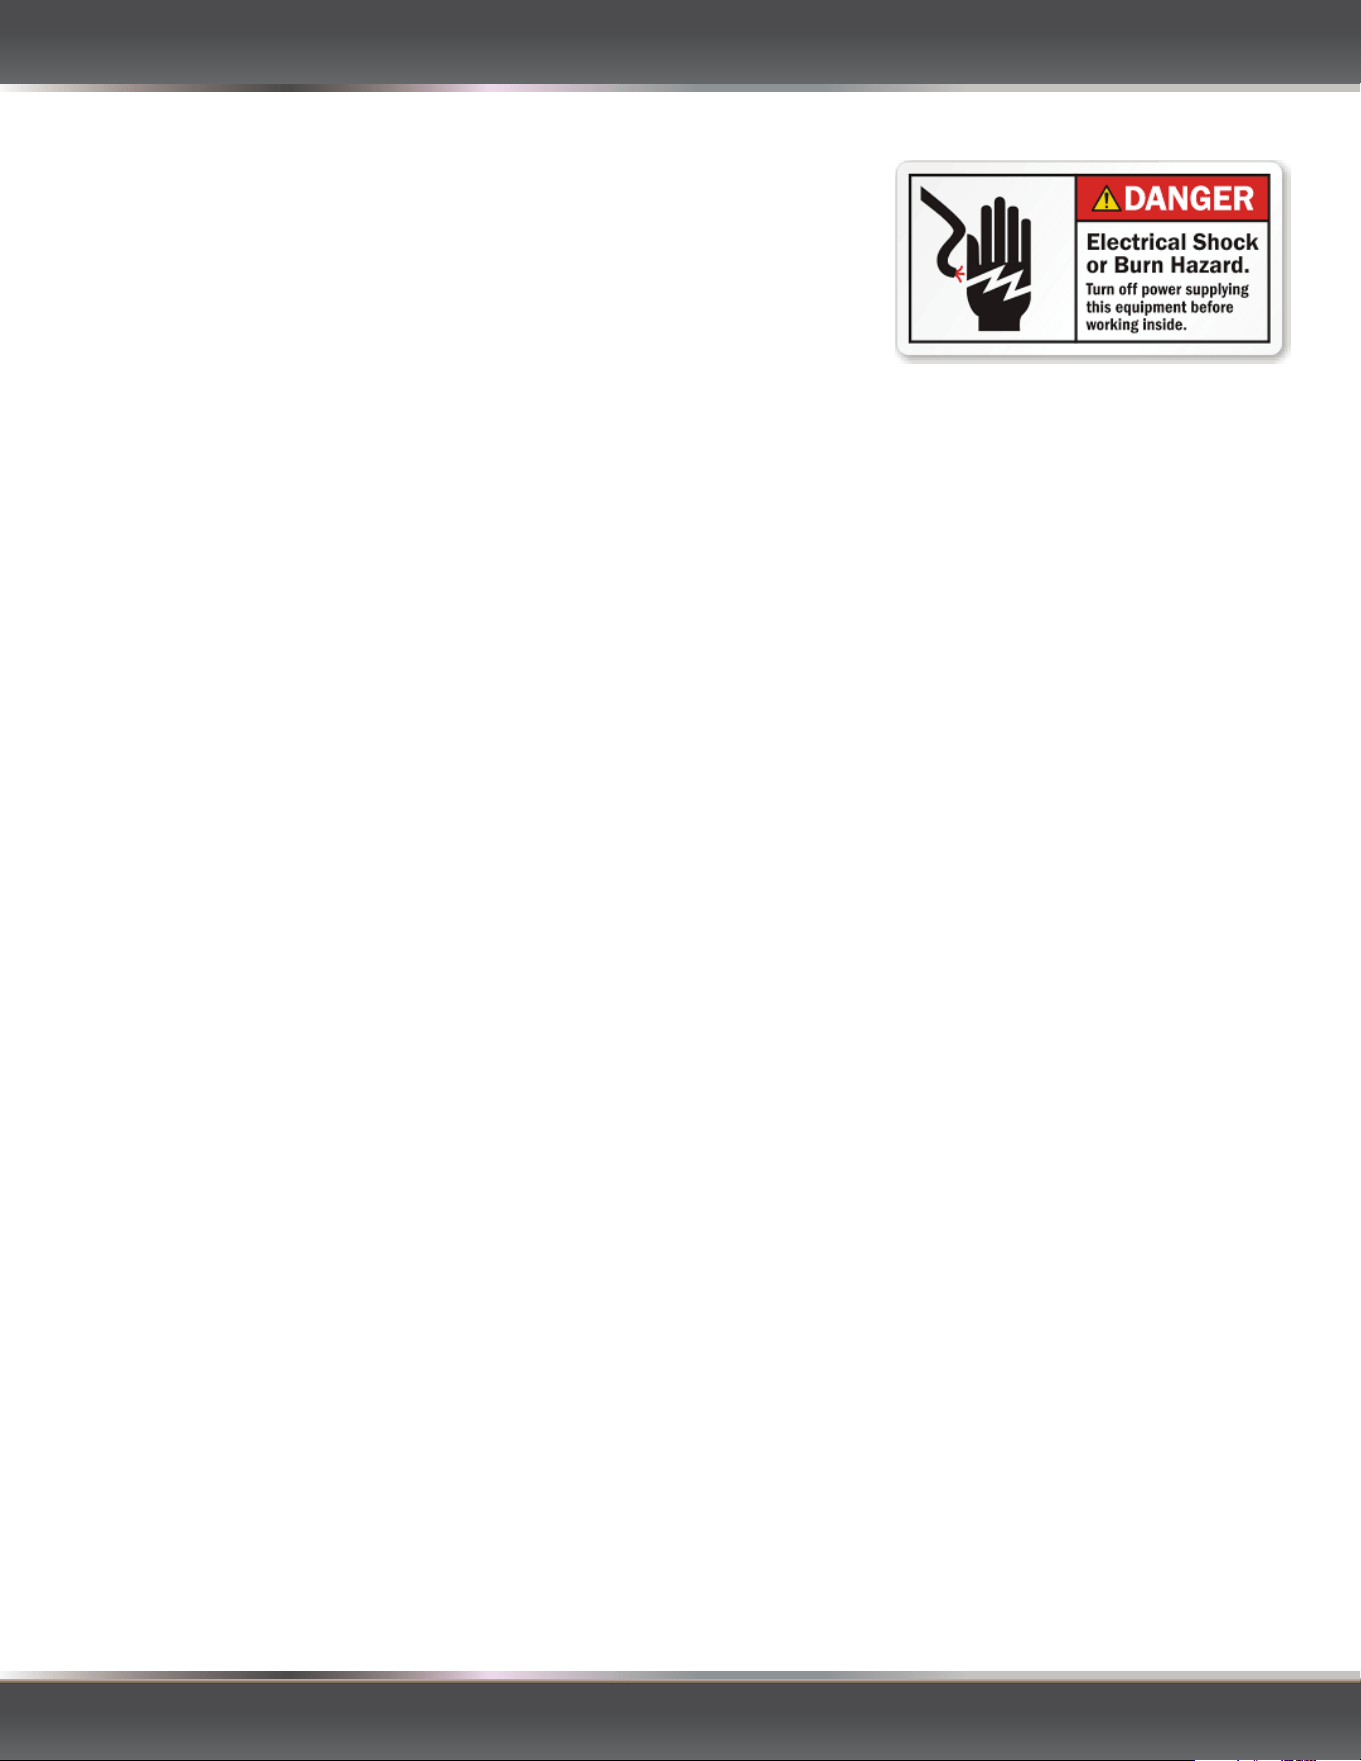
WARNING
TO REDUCE THE RISK OF FIRE,
ELECTRICAL SHOCK, OR INJURY
TO PERSONS
Rangehoods must be installed with the
ventilators that are specied on their
carton indicating suitability with this
model. Other ventilators cannot be substituted.
CAUTION
For general ventilating use only. Do not use to exhaust
hazardous or explosive materials and vapors.
WARNING
To reduce the risk of injury to persons in the event of a
rangetop grease re, observe the following. (Based on
“Kitchen Firesafety Tips,” published by NFPA.)
1. SMOTHER FLAMES with a close tted lid, cookie
sheet, or metal tray, then turn o the burner. BE
CAREFUL TO PREVENT BURNS. If the ames do not
go out immediately, EVACUATE AND CALL THE FIRE
DEPARTMENT.
2. NEVER PICK UP A FLAMING PAN. You may be
burned.
3. DO NOT USE WATER, including wet dishcloths or
towels a violent steam explosion will result.
4. Use an extinguisher ONLY if
• You know it is a Class ABC extinguisher, and you
already know how to operate it.
• The re is small and contained in the area where it
started.
• The re department is being called.
• You can ght the re with your back to an exit.
WARNING
This appliance is not to be used by persons (including
children) with reduced physical, sensory or mental
capabilities, or lack of experience and knowledge,
unless they have been given supervision or instruction
concerning the use of the appliance by a person
responsible for their safety. Children should be
supervised to ensure that they do not play with the
appliance.
FOR MORE DETAILS AND INFORMATION, PLEASE VISIT OUR WEBSITE WWW.KUCHT.COM
INSTALLATION GUIDE AND USER MANUAL
SAFETY PRECAUTIONS
• Don't attempt installation without the proper electrical and technical knowledge.
• Always turn off power switches before maintenance or replacing light bulbs.
• Be careful not to let detergent enter electrical components when cleaning.
• Avoid cooking with open flames under the hood to prevent fire hazards.
• The product might have sharp metal edges. Use adecuate glvoes while installing and cleaning

Range hoods must be ventilated to the outdoors, except for non-vented (recirculating) installations.
Do not ventilate the range hood into an attic or other enclosed areas.
Do not use 4” (10.2 cm) laundry-type wall caps.
Keep the length of the range hood exhaust and the number of elbows to a minimum to ensure maximum performance.
Use no more than three 90° elbows.
Ensure there is a minimum of 24” (61 cm) of straight duct between elbows if more than one elbow is used.
Do not install two elbows together.
Use clamps to seal all joints in the vent system.
The vent system must have a damper. If the roof or wall cap has a damper, do not use the damper supplied with the
range hood.
Use caulking to seal exterior wall or roof openings around the cap.
The size of the vents should be uniform.
Local building codes may require the use of makeup air systems when using ventilation systems that exceed a specied
CFM of air movement in your area.
MAKEUP AIR
An additional back draft damper should be installed to minimize backward cold air ow. To reduce the conduction of
outside temperatures, a thermal break should be included in the vent system. Position the damper on the cold air side
of the thermal break. The thermal break should be located as close as possible to where the vent system enters the
heated portion of the house.
COLD WEATHER INSTALLATIONS
The hood exhaust is located on top of the unit, and it is recommended to use a straight pipe through the roof for optimal
performance. If you prefer to vent through the back wall, you can do so by adding a 90° elbow. However, this may reduce
eciency and increase noise levels. Additionally, using exhaust ducting with a diameter of less than 5.91” (150 mm) or
opting for at ducting will further decrease the extraction eciency and increase the noise level.
VENTING METHOD
VENTILATION REQUIREMENTS
INSTALLATION GUIDE AND USER MANUAL
FOR MORE DETAILS AND INFORMATION, PLEASE VISIT OUR WEBSITE WWW.KUCHT.COM
FOR MORE DETAILS AND INFORMATION, PLEASE VISIT OUR WEBSITE WWW.KUCHT.COM
INSTALLATION GUIDE AND USER MANUAL
INSTALLATION MANUAL WALL-MOUNTED HOOD
Congratulations on your purchase of a wall-mounted hood!
KUCHT has developed a series of range hoods based on assimilating the advantages of high volume of air, lower
noise and elegant appearance.
Follow these instructions carefully to ensure a safe and successful installation.
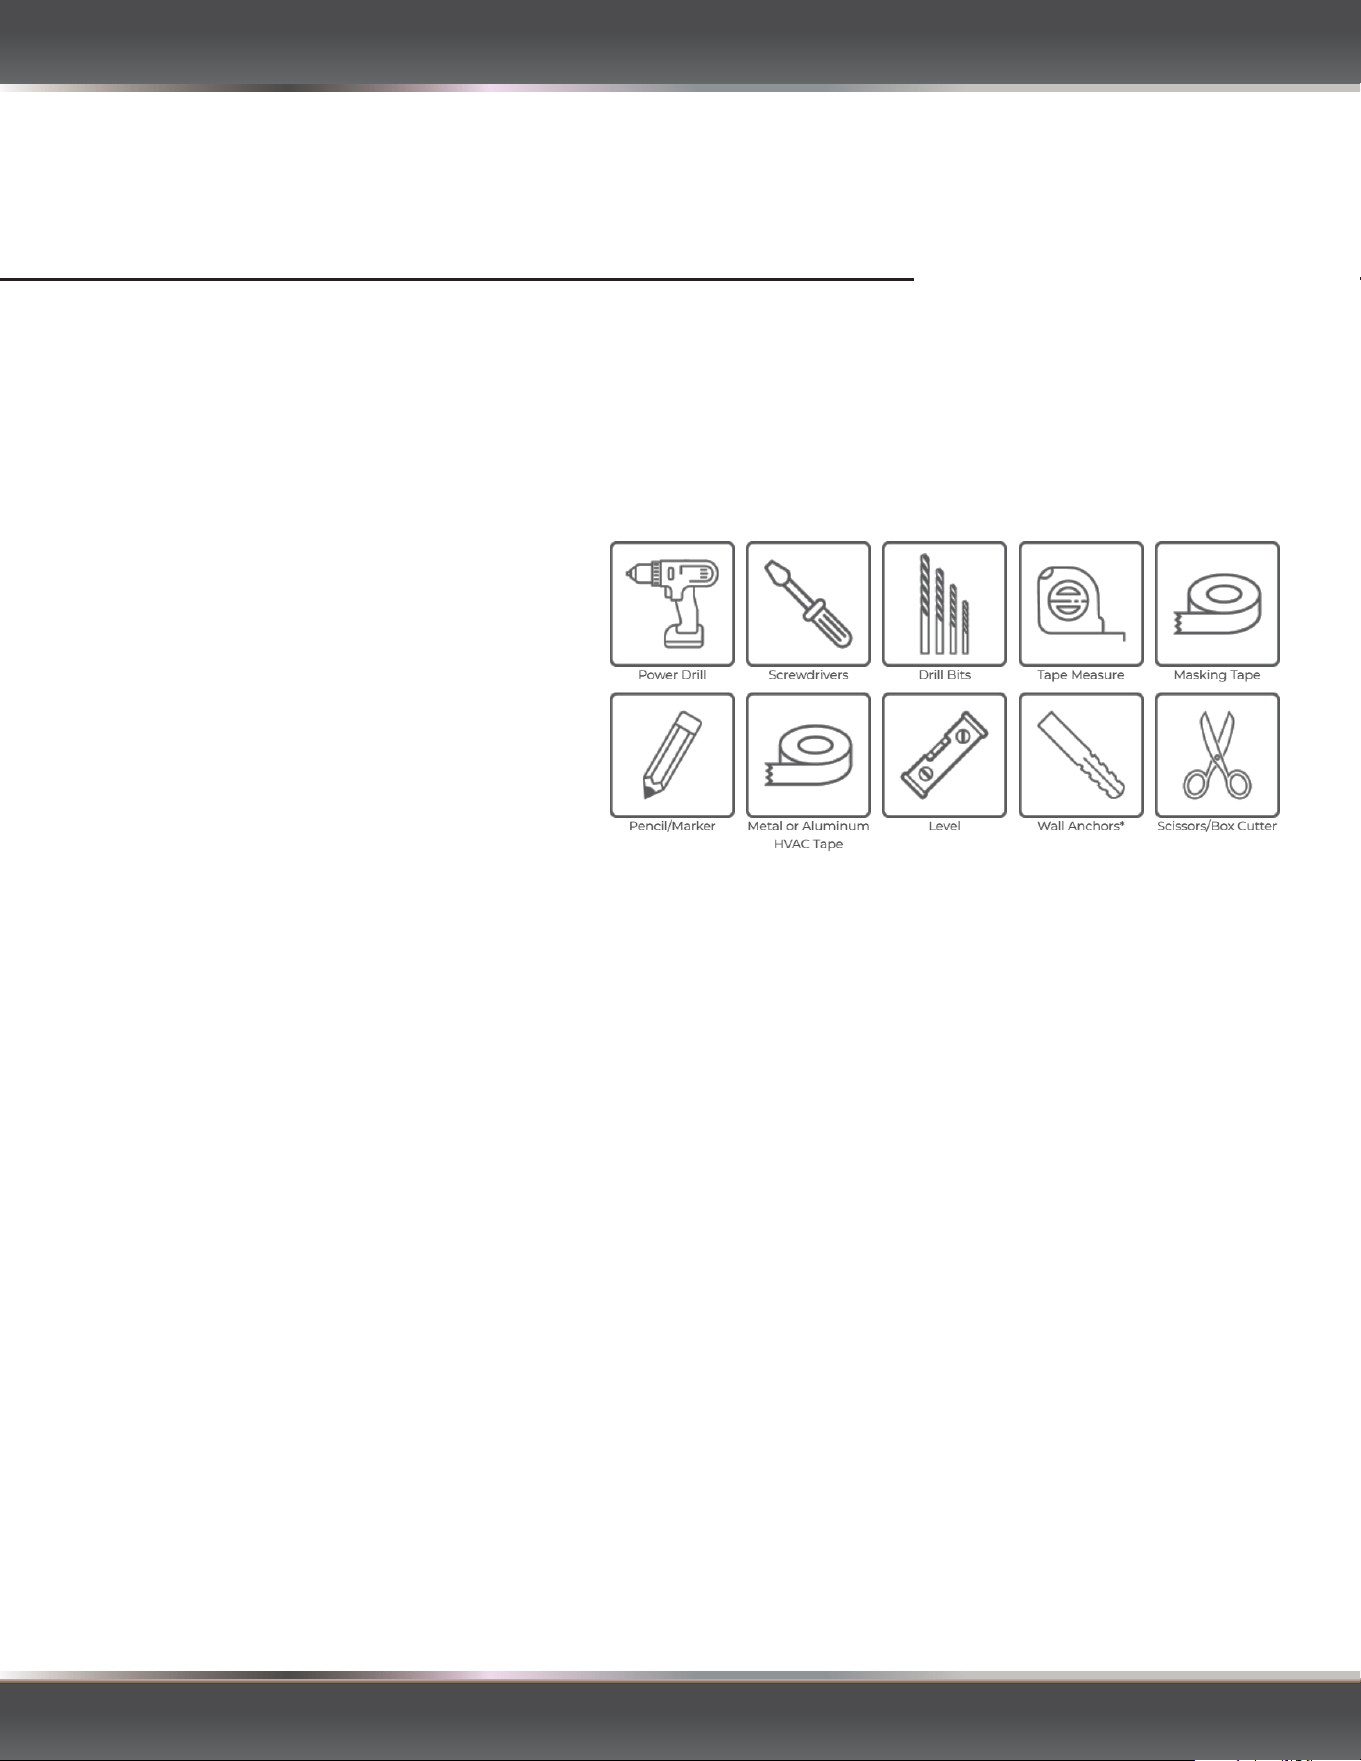
TOOLS AND MATERIALS NEEDED
• Power drill & drill bits
• Screwdriver
• Tape Measure
• Masking Tape
• Pencil
• Level
• Stud finder
• Ducting kit (not included)
• Metal or Aluminum HVAC Tape
• Mounting hardware provided with the hood and wall anchors
• You will need another person to help you to lift and hang the hood
IMPORTANT NOTE:
• Your range hood does not come with ducting. It's best to use solid ducting made of galvanized steel or
another suitable rigid metal for quiet operation and efficient airflow.
• Keep the length of ductwork under 40 feet and minimize the use of elbows to maintain airflow.
• Make sure there's at least 12 inches (305 millimeters) of vertical airflow above the hood before making any
90° turns. Avoid using more than 3 elbows, as each one reduces airflow.
• Do not use reducers on ducting smaller than the hood's specified diameter (usually 6", 7", or 8" depening
on your specific model).
• Check any existing or additional dampers to ensure they work correctly.
• It's recommended to consult an HVAC or installation professional to determine the best ducting option for
your kitchen, as each layout is unique.
FOR MORE DETAILS AND INFORMATION, PLEASE VISIT OUR WEBSITE WWW.KUCHT.COM
INSTALLATION GUIDE AND USER MANUAL
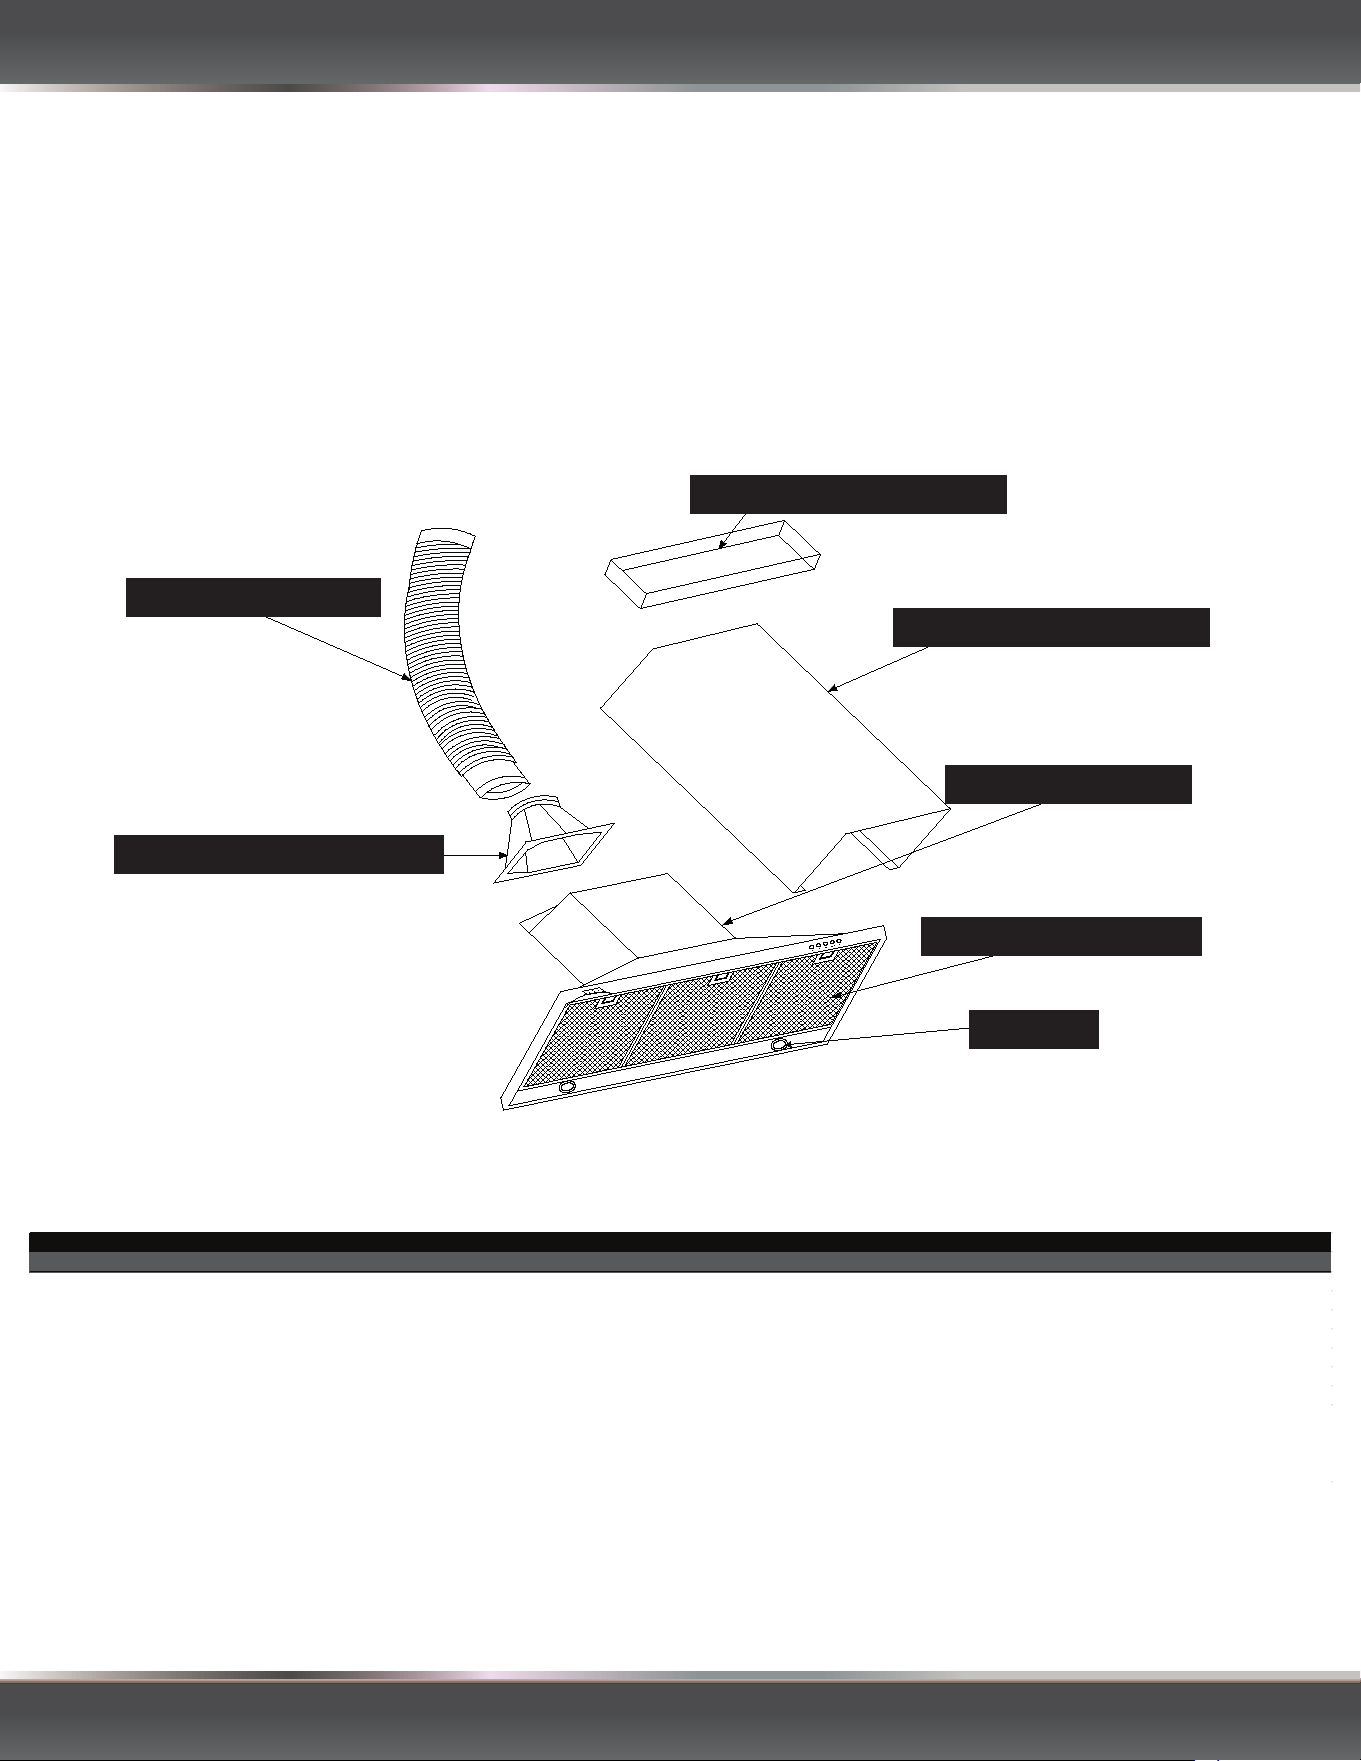
4 NON-RETURN VALVE
1 EXHAUST DUCT
2 DECORATIVE CHIMNEY
3 MAIN BLOWER
5 BAFFLE FILTER
7 LAMP
6 FIXATION BRACKET
Model Name KRH30SG KRH36SG KRH48SG KRH30TG KRH36TG KRH48TG
DIMENSIONS
Hood Depth (in) 24.02 24.02 24.02 24.02 24.02 24.02
Hood Height (in) 21.97 21.97 21.97 21.97 21.97 21.97
Hood Width (in) 29.53 35.75 47.83 29.53 35.75 47.83
Net weight (lb) 53 54 55 53 54 55
Chimney Depth (in) 11.97 11.97 11.97 11.97 11.97 11.97
Chimney Height (in) 15.75 15.75 15.75 19.06 15.75 15.75
Chimney Width (in) 20.06 25.31 25.31 20.06 25.31 25.31
Chimney Extension Height (in) 15.75 15.75 15.75 15.75 15.75 15.75
Duct Quantity 1 1 1 1 1 1
Duct
Lengh (in)
5.9 5.9 5.9 5.9 5.9
59
Duct Width (in) 5.8 5.8 5.8 5.8 5.8 5.8
STEP 1: GETTING READY
• Read through the installation manual to understand the process.
• Check if your kitchen meets the electrical and ventilation requirements outlined in the manual.
• Before starting, plug in the hood to make sure it works properly - unplug after testing.
• Turn off the power to the installation area to prevent accidents.
FOR MORE DETAILS AND INFORMATION, PLEASE VISIT OUR WEBSITE WWW.KUCHT.COM
INSTALLATION GUIDE AND USER MANUAL
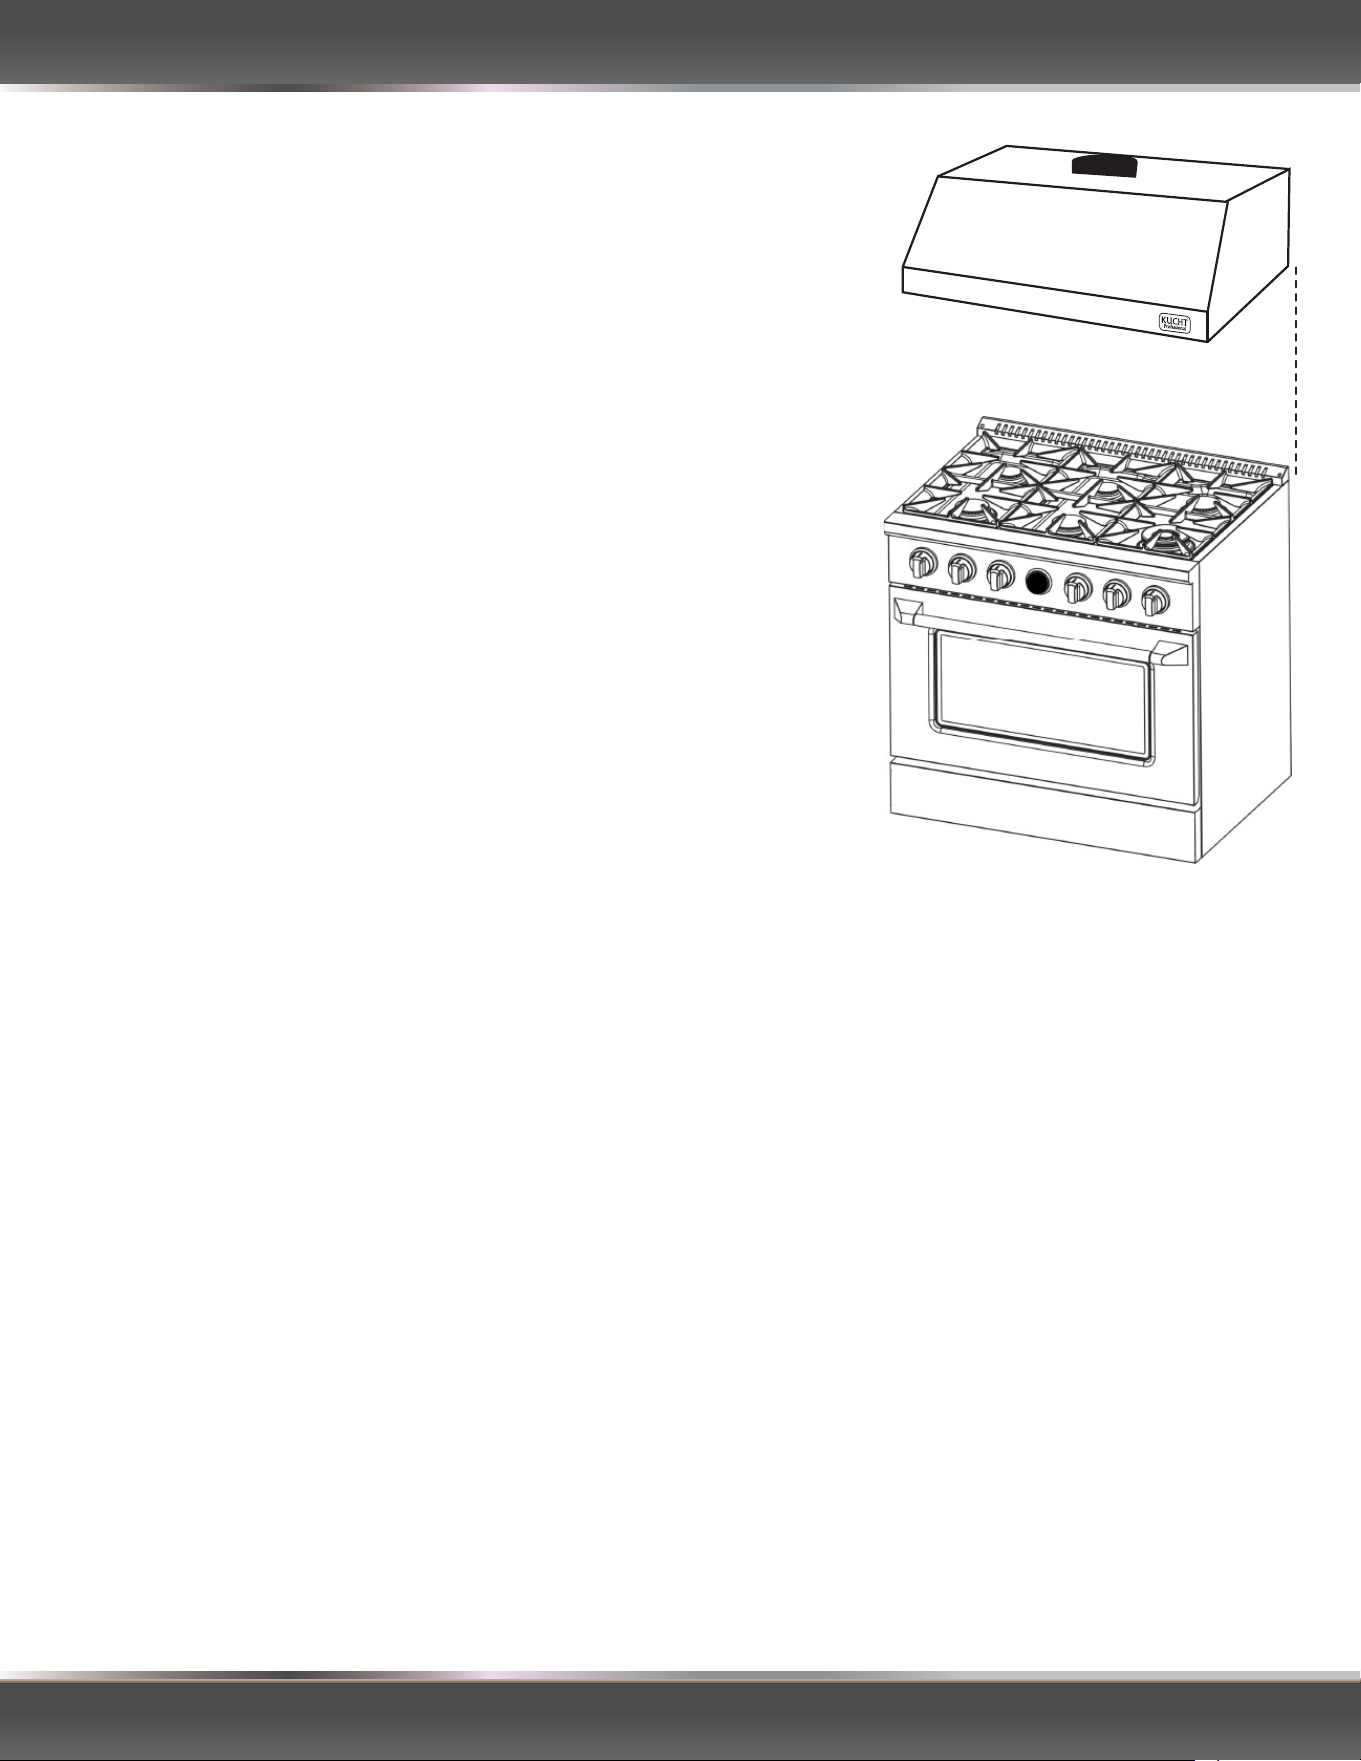
STEP 2: DETERMINE MOUNTING LOCATION
• For best results, the mounting height of the range hood should be
between 28”- 32” above the top of the range or cooktop.
• Position the included mounting template on the center of the cooking
stove wall.
• Use a pencil to mark the position of the holes where you'll need to drill
to mount the included mounting template.
• Ensure the marked holes align with the wall studs for secure
installation.
STEP 3: INSTALL WALL BRACKET
• Hold the wall bracket (if included) against the wall at the marked height.
• Use a pencil to mark the screw hole locations on the wall.
• Drill pilot holes at the marked locations.
• Secure the wall bracket to the wall using the provided screws, ensuring it is level.
STEP 4: MOUNT THE HOOD
• Lift the hood and carefully align it with the wall bracket.
• Secure the hood to the bracket using the provided screws.
• Double-check that the hood is level before tightening all screws securely
• Install the one-way valve on top of the range hood and assemble the exhaust pipe
and decorative cover.
28”- 32”
FOR MORE DETAILS AND INFORMATION, PLEASE VISIT OUR WEBSITE WWW.KUCHT.COM
INSTALLATION GUIDE AND USER MANUAL
STEP 5: CONNECT THE HOOD
• Ensure the ducting is routed properly to vent outside without any kinks or obstructions.
• Attach the appropriate ducting to the hood's exhaust outlet.
• Secure the ducting in place using clamps or HVAC aluminum duct tape.
• Run the electrical cord up the chimney, outside of the ducting, and plug into a dedicated power outlet on the
wall. An outlet behind the chimney, to either the left or right, is ideal.
• If you're not experienced with electrical work, consider hiring a licensed electrician for this step.
• Once connected, carefully tuck the wires into the hood's housing to prevent interference.
• Affix the decorative cover with two tapping screws on the hood body.
• Attach the baffle filters.
STEP 6: FINAL CHECK
• Double-check all connections and screws to ensure they are secure.
• Test the hood to ensure it functions properly.
• Try the different settings on the control panel
• Peel white or blue plastic protective film off the hood.
• Clean your fingerprints with a soft cloth.
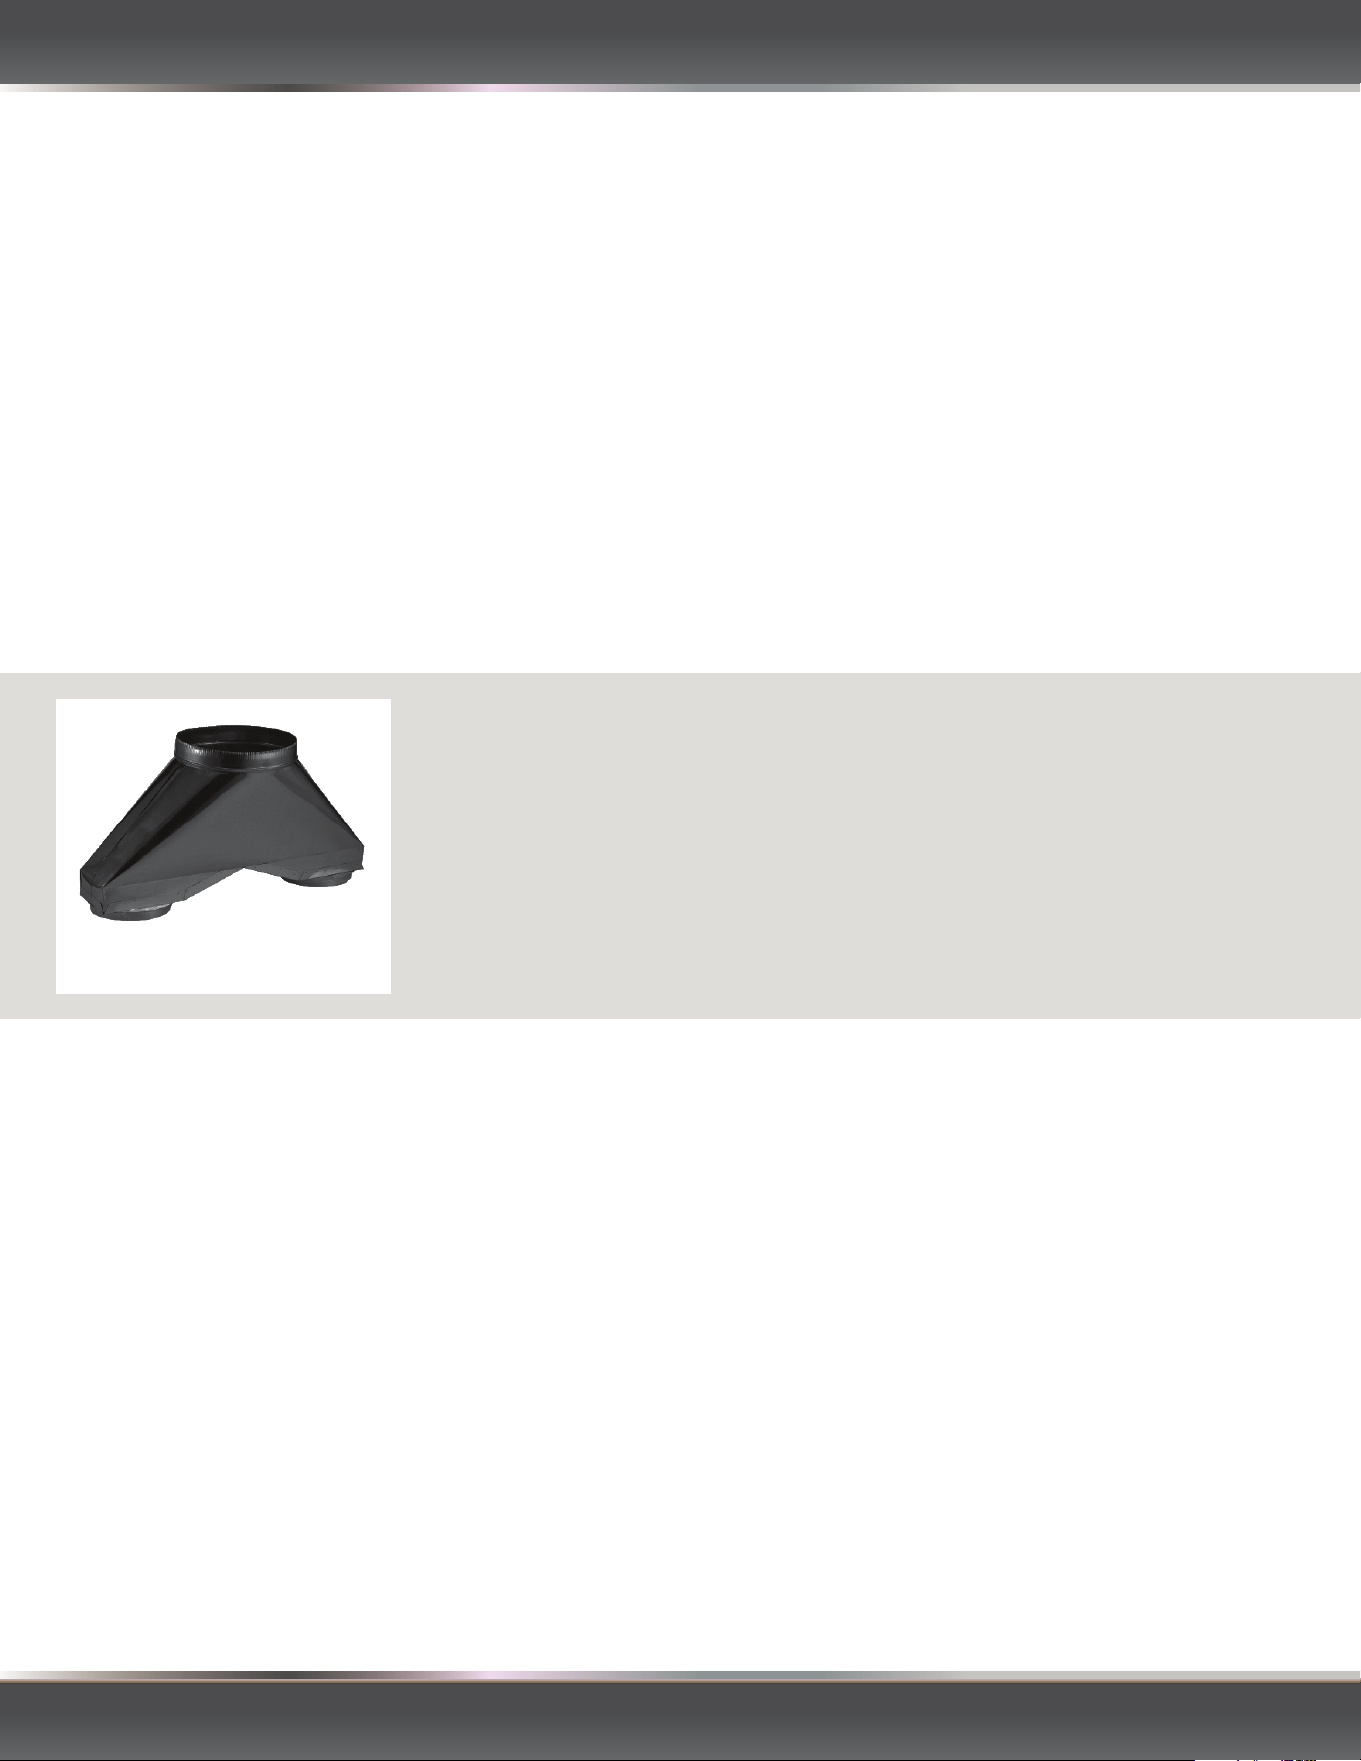
NOTE
FOR 48” AND 60” MODELS WITH DUAL MOTOR YOU WILL NEED A
TRANSITION PIECE TO CONNECT BOTH EXHAUST TO YOUR VENTING DUCT.
MEASURE THE SIZE OF EACH EXHAUST, AND THE VENTING DUCT DIAMETER TO
GET THE CORRECT PIECE. YOU CAN ALSO USE AN HVAC TEE OR WYE AT THE
EXPENSE OF SOME MINOR PERFORMANCE.
FOR THIS TYPE OF CONNECTION, ALWAYS USE GALVANIZED METAL, ALUMINUM
OR ANY HEAT RESISTANT MATERIAL.
MAINTENANCE
• Make sure to pull out the plug and cut off the power before maintenance to ensure your safety.
• Clean the inside and outside of the range hood with warm water containing neutral detergent, then dry them
with a piece of dry cloth. Do not scrub them with rough materials such as cleansing ball to avoid damages to
the surface. Put on gloves to avoid injuring your hands when cleaning the inside. The cleaning can be done
once half a month to a month.
• Do not crush the wind wheel when cleaning the inside of the wind track of the wind wheel to avoid the
deformation of the wind wheel. Otherwise, the movement will be increased, which will result in more noise and
influence the effect of absorbing the oil-smoke.
• CLEANING OF THE FILTER SHALL BE DONE. Compared to mesh or charcoal-based filters, baffle filters are
easy to clean and maintain. They don’t get clogged easily and do not require frequent cleaning or replacement.
They are also made with composite metal materials, which are relatively easy to clean. They can be easily
removed from the range hood, washed with soap and water, or placed in the dishwasher for easy cleaning. Do
not clean it with combustible detergent such as banana oil or gasoline.
• Final Check: Before turning the power back on, double-check that everything is properly reassembled and that
there are no loose or missing parts.
• Keep the user manual handy for future reference.
• Familiarize yourself with operational and maintenance instructions for optimal performance.
• By following these steps regularly, you can keep your range hood clean and functioning effectively for years to
come.
• You can get replacement parts such as lamps or filter on www.kuchtcare.com
FOR MORE DETAILS AND INFORMATION, PLEASE VISIT OUR WEBSITE WWW.KUCHT.COM
INSTALLATION GUIDE AND USER MANUAL

FOR MORE DETAILS AND INFORMATION, PLEASE VISIT OUR WEBSITE WWW.KUCHT.COM
INSTALLATION GUIDE AND USER MANUAL
HOOD OPERATION AND FUNCTIONS
This manual covers the installation procedure and some major maintenance tips. For operational instructional
videos, please scan this QR code:
Scan the QR code with your smartphone or tablet to access a library of instructional videos that will guide you
through the operation and additional maintenance of your range hood. These videos will provide you with visual
step-by-step instructions to ensure you get the most out of your appliance.
If you encounter any issues or have further questions, don't hesitate to contact our customer support team for
assistance (Phone number: 866-685-8248).
WARRANTY
This range hood is covered by the Kucht warranty for parts and labor. For more detailed information, please visit
kucht.com/online/warranty/.
Kucht stands behind the quality of its products and offers comprehensive warranty coverage to ensure your
satisfaction with your range hood. Visit the provided website for detailed terms and conditions of the warranty,
including coverage duration and any exclusions or limitations.
If you have any questions about warranty coverage or need assistance with a warranty claim, don't hesitate to
reach out to Kucht customer support for prompt assistance.
INSTALLATION GUIDE AND USER MANUAL
FOR MORE DETAILS AND INFORMATION, PLEASE VISIT OUR WEBSITE WWW.KUCHT.COM
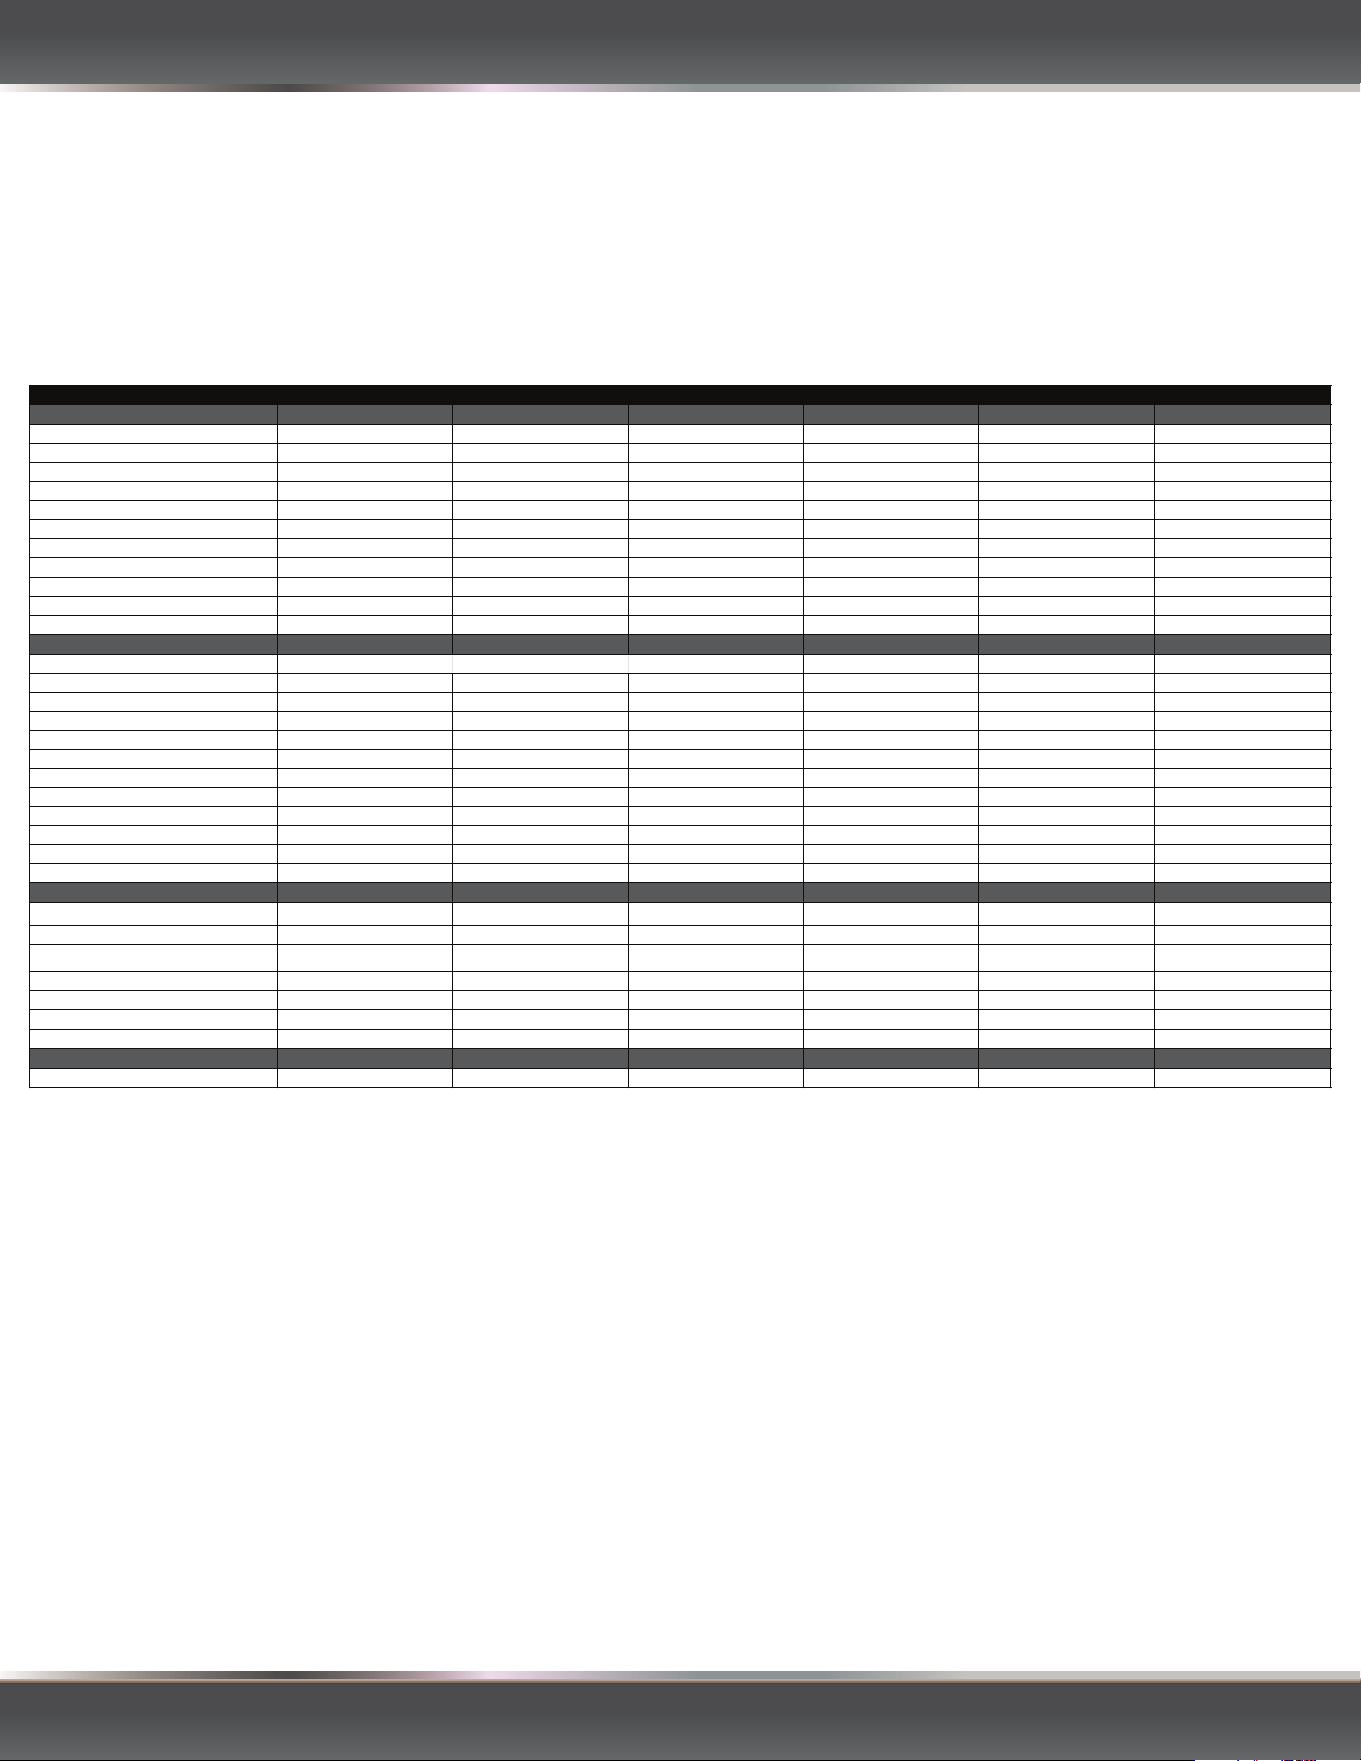
TECHNICAL SPECIFICATIONS
Model Name KRH30SG KRH36SG KRH48SG KRH30TG KRH36TG KRH48TG
DIMENSIONS
Hood Depth (in) 24.02 24.02 24.02 24.02 24.02 24.02
Hood Height (in) 21.97 21.97 21.97 21.97 21.97 21.97
Hood Width (in) 29.53 35.75 47.83 29.53 35.75 47.83
Net weight (lb) 53 54 55 53 54 55
Chimney Depth (in) 11.97 11.97 11.97 11.97 11.97 11.97
Chimney Height (in) 15.75 15.75 15.75 19.06 15.75 15.75
Chimney Width (in) 20.06 25.31 25.31 20.06 25.31 25.31
Chimney Extension Height (in) 15.75 15.75 15.75 15.75 15.75 15.75
Duct Quantity 1 1 1 1 1 1
Duct Lengh (in) 59 59 59 59 59 59
Duct Width (in) 5.8 5.8 5.8 5.8 5.8 5.8
MAIN CHARACTERISTICS
Color
Stainless Steel with Gold Stainless Steel with Gold Stainless Steel with Gold Gemstone with Gold Gemstone with Gold Gemstone with Gold
Control Type Digital With Display Digital With Display Digital With Display Digital With Display Digital With Display Digital With Display
Lights Quantity 2 2 4 2 2 4
Quantity of blowers 1 1 1 1 1 1
Blower Speeds 3 3 3 3 3 3
Minimum Air Flow Capacity (CFM) 275 280 284 275 280 284
Maximum Air Flow Capacity (CFM) 600 600 800 600 600 800
Noise Level in Decibels (dB) <65 <65 <65 <65 <65 <65
Mounting Type Wall-Mounted Wall-Mounted Wall-Mounted Wall-Mounted Wall-Mounted Wall-Mounted
Vent Install Type (ex. Ducted) Ducted Ducted Ducted Ducted Ducted Ducted
Duct Shape Round Round Round Round Round Round
Exhaust Vent Location Top of the Hood Top of the Hood Top of the Hood Top of the Hood Top of the Hood Top of the Hood
TECHNICAL DATA
Power supply voltage (V) 110 110 110 110 110 110
Frequency (Hz) 60 60 60 60 60 60
Total power of product (kW) 150 150 152 150 150 152
Amperage (A) 1.36 1.36 1.38 1.36 1.36 1.38
Light power (W) 2x1 2x1 4x1 2x1 2x1 4x1
Connection Cable Length (in.) 70.9 70.9 70.9 70.9 70.9 70.9
Type of Plug or Cable US 3-Prong Standar Plug US 3-Prong Standar Plug US 3-Prong Standar Plug US 3-Prong Standar Plug US 3-Prong Standar Plug US 3-Prong Standar Plug
CERTIFICATIONS AND LISTINGS
Listings (ETL) ETL ETL ETL ETL ETL ETL

FOR MORE DETAILS AND INFORMATION, PLEASE VISIT OUR WEBSITE WWW.KUCHT.COM
WE TRANSFORM A SIMPLE KITCHEN INTO A PRO ONE.
THIS IS WHY WE CARE ABOUT MAKING VERY HIGH PERFORMANCE
RANGES AND HOODS, TO MAKE YOU FEEL LIKE A PRO AND STYLISH COOKER.
DESIGN: LONDON DC - WWW.LONDON-DC.COM