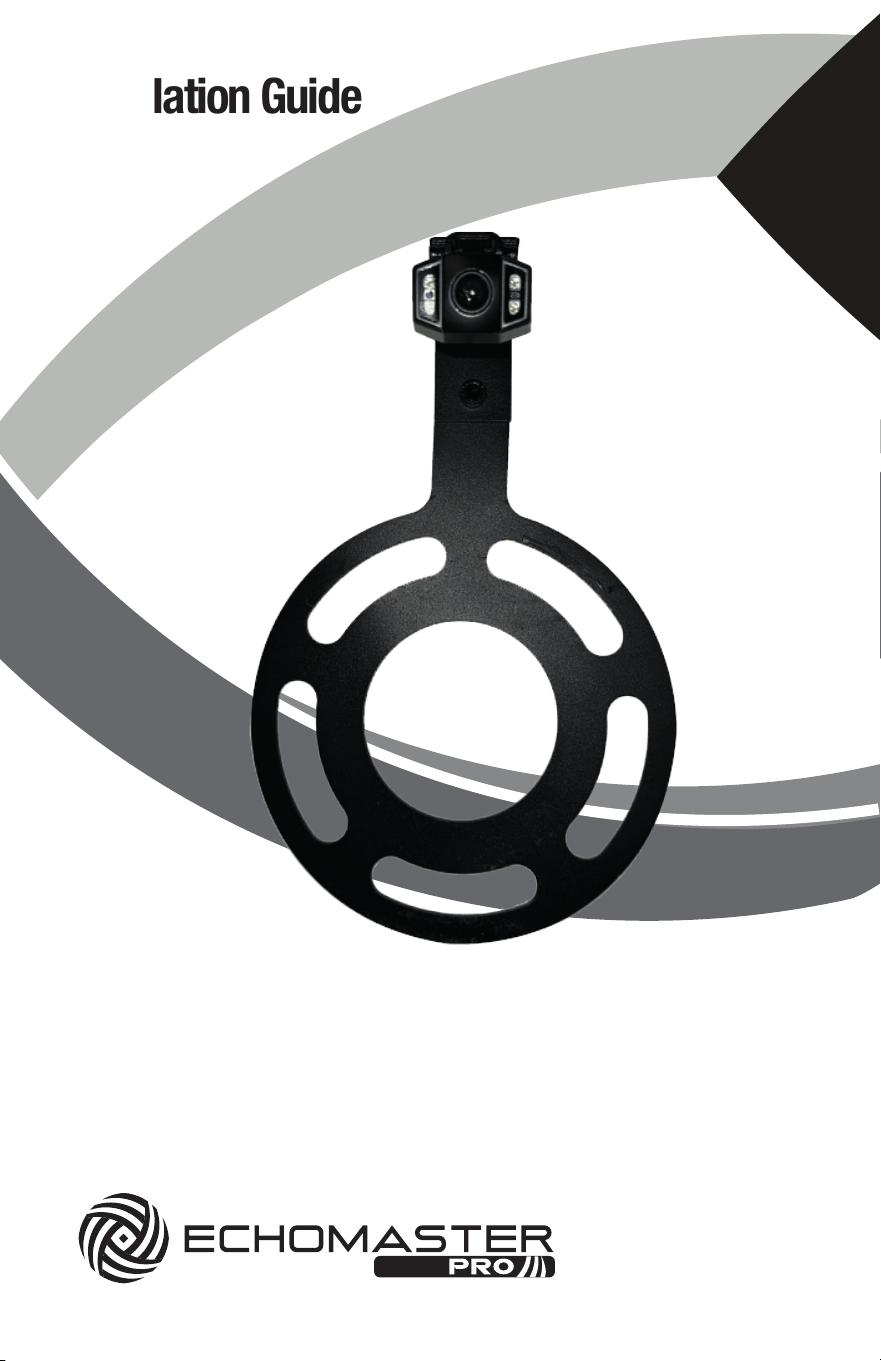
for 2007-2018 Jeep Wrangler JK
Spare Tire Mount Camera
Installation Guide
PHD-MOUNT
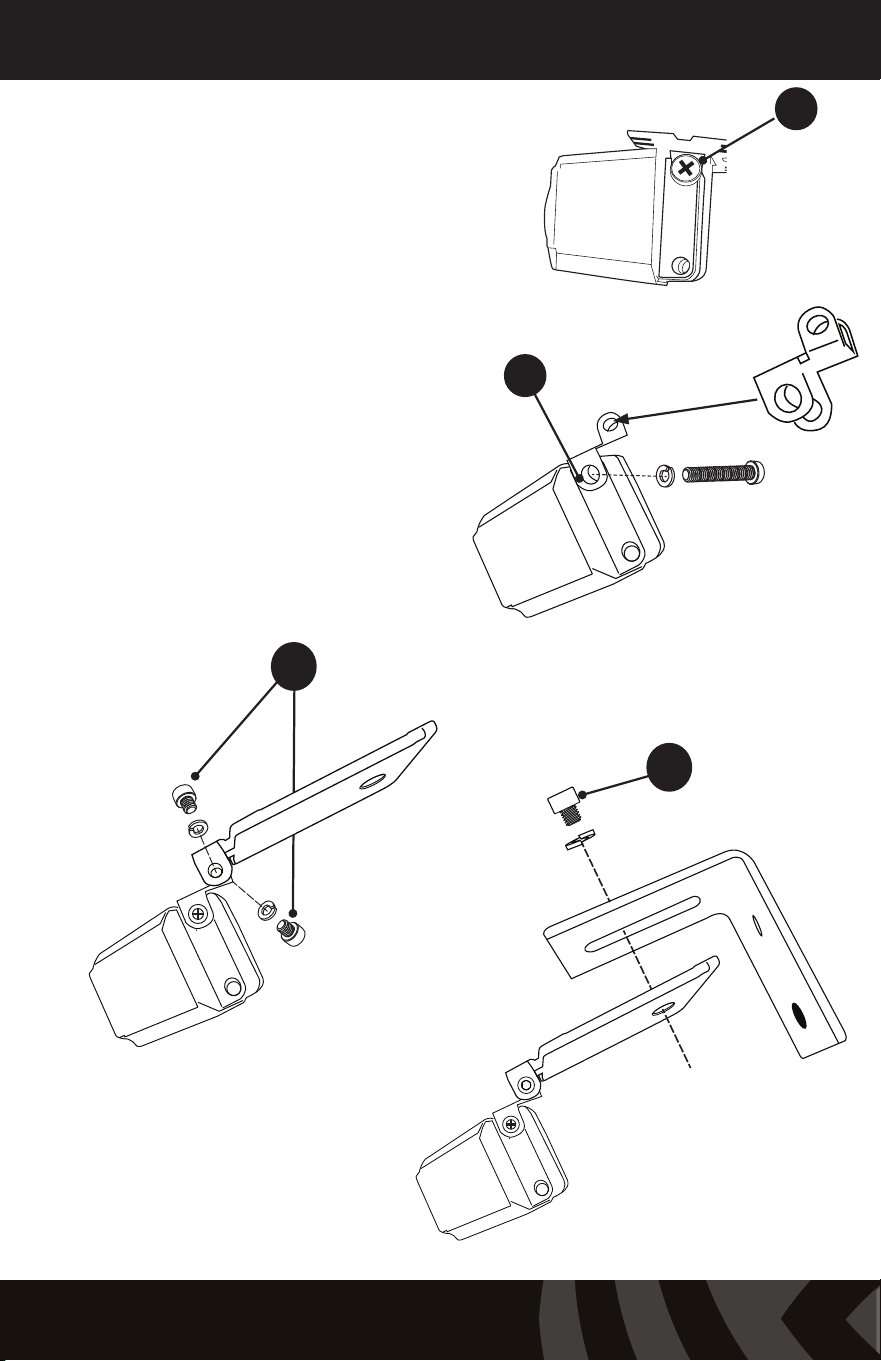
2
Installation Guide
1
3
4
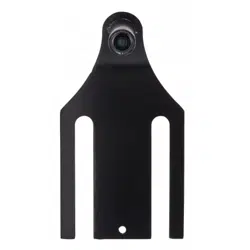
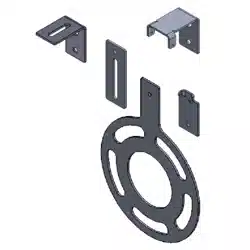
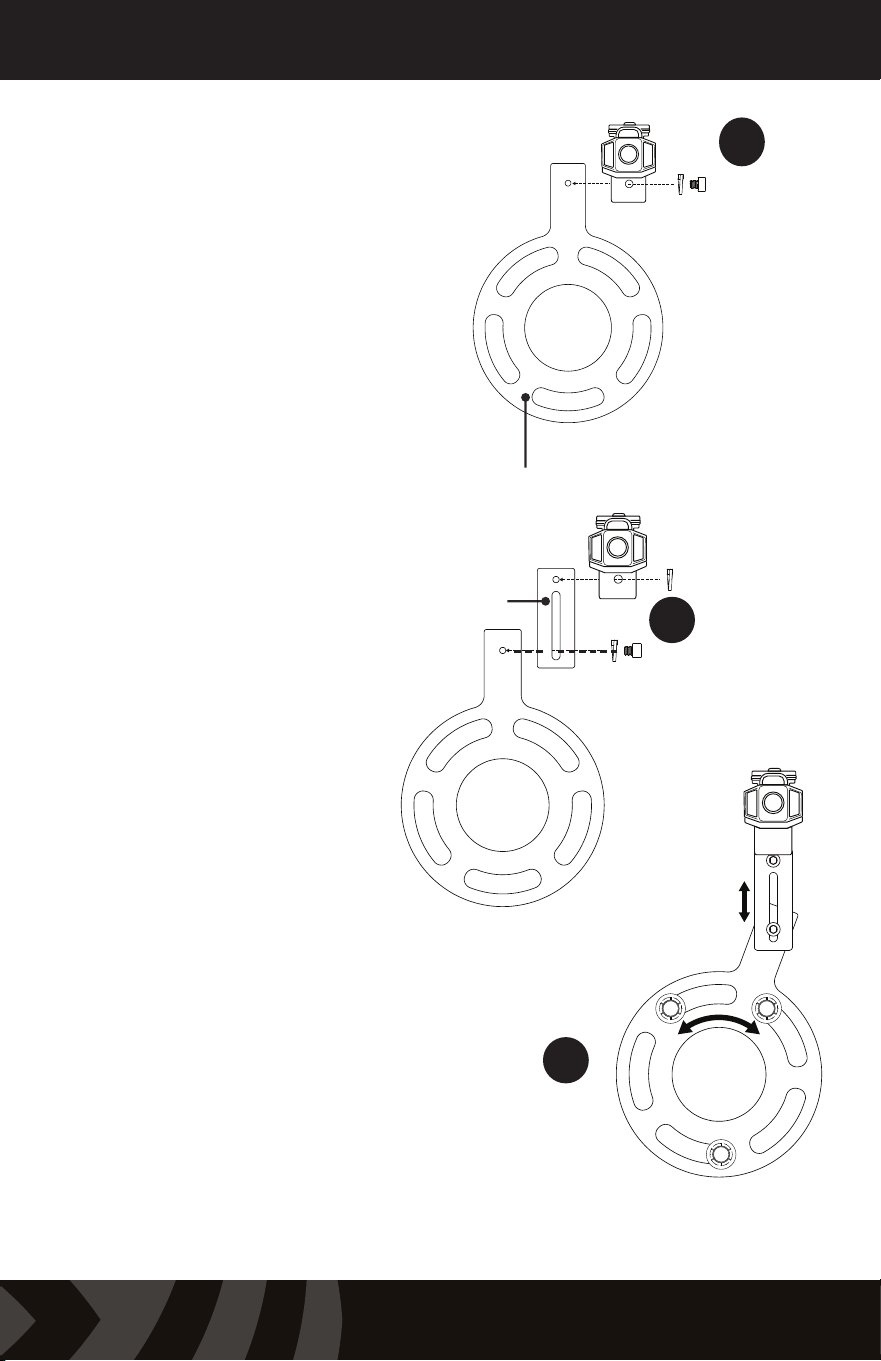
Camera Mounting Plate
Small Bracket
Right Angle Bracket
1. Remove the Phillips screw and
washer from the camera, releasing
the buttery bracket.
2. Using the Phillips screw and
washer attach the small bracket from
the PHD-Mount to the camera.
3. Using two M3 x .50 screws and lock
washers, attach the camera to the
Camera Mounting Plate.
4. Using a M6 x 1 screw and lock
washer, attach the Camera Mounting
Plate to the Right Angle Bracket as
shown.
2
3
PHD-MOUNT
Spare Tire Mount Camera Mount
5B
6
5A
Riser Plate
Wheel Bracket
Once positioned, tighten all camera bracket hardware and lug nuts.
5A. For most appliacations with
stock/standard wheels, attach
the camera bracket assembly to
the Wheel Bracket using a M6 x 1
screw and lock washer.
For applications with larg-
er wheels and/or o-center
wheel openings, see step 5B.
Assembly
5B. For larger wheels,
attach the Riser Plate to the
Wheel Bracket and attach the
camera assembly to the Riser
plate using M6 x 1 screws and
lock washers.
Assembly
6. Place the completed assem-
bly on the tire carrier wheel
studs and install the supplied
push nut retainers on the
wheel studs.
Replace the spare tire.
Position the camera as close
to center as possible. This may
require removing and rotating
the wheel until a usable open-
ing in the wheel is located at
or near center and adjusting
the pieces of the mount to
achieve the desired view.
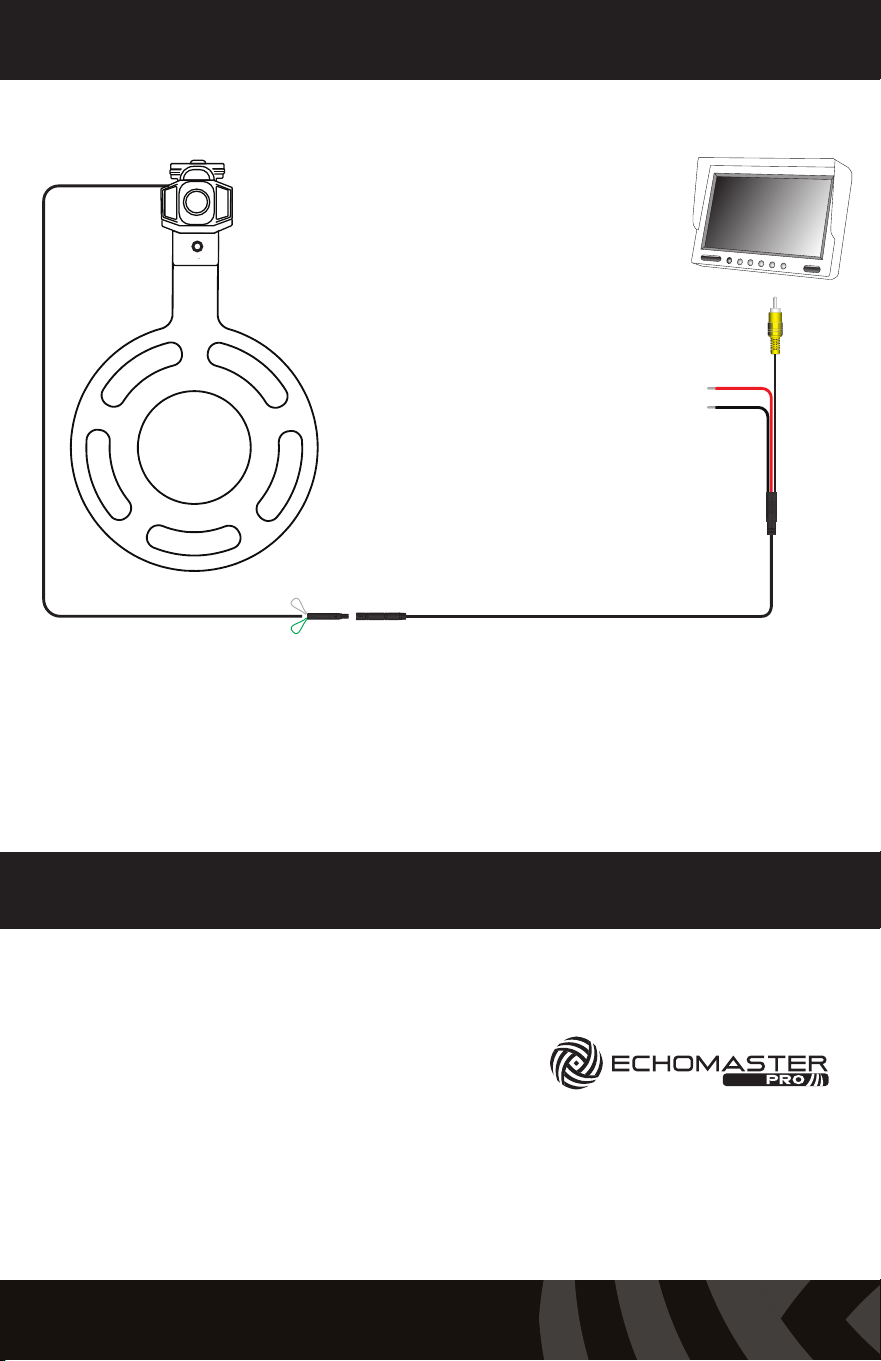
Parking Lines (Green) On - Joined (Default)
Ground (Black)
Switched +12V (Red)
Video Signal
O - Cut
Technical Support:
email - [email protected]
tel - 1-800-477-2267
web - EchoMaster.com
15500 Lightwave Drive, Suite 202, Clearwater, Florida 33760
EchoMaster is a Power Brand of AAMP Global.
IG-PHD-MOUNT REV. 011023
Wiring Diagram