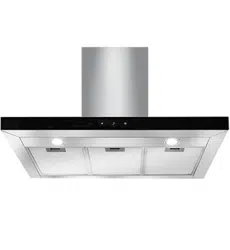

ATH601
OPERATION MANUAL
APPLIANCES
FOR LIVING

Congratulations, you are now the proud owner of an ARTUSI cooking appliance.
Thank you for purchasing ARTUSI and welcome to the ARTUSI Family.
This instruction manual has been specially created to inform you of the
full range of features your ARTUSI appliance has to offer and serves as an
introduction to getting the very best out of your ARTUSI appliance.
We present detailed information on each of the features your ARTUSI appliance
consists of. Once you have read this section you will be able to choose the
most appropriate settings for your appliance when cooking different types of
food.
We ask you to read the instructions in this booklet very carefully as this
will allow you to get the best results from using your appliance. KEEP THE
DOCUMENTATION OF THIS PRODUCT FOR FUTURE REFERENCE.
TO REGISTER YOUR PRODUCT WITH ARTUSI, PLEASE FILL OUT THE WARRANTY CARD
AT THE END OF THIS BOOKLET AND POST IT TO: REPLY PAID 83617
LEICHHARDT NSW 2040
Dear Artusi Customer, please read this user manual carefully before using the
product and, keep it permanently at your disposal.
Note: This user manual is prepared for more than one model. Some of the
features specified in this Manual may not be available on your appliance.
All our appliances are only for domestic use, not for commercial use. Products
marked with (*) are optional.
“THIS APPLIANCE SHALL BE INSTALLED IN ACCORDANCE WITH THE
REGULA TIONS FORCE AND ONLY USED IN A WELL VENTILATED
SPACE. READ THE INSTRUCTIONS BEFORE INSTALLING OR USING THIS
APPLIANCE”
“Conforms with the WEEE Regulations.”

In certain circumstances electrical appliance may be a danger hazard.
G) Disconnect the electrical plug prior to any maintenance.
F)Constantly check food frying to avoid overheated oil splashing and becoming a
fire hazard.
E)Avoid opening gasometer when there is no pan on the stove, as it is damaging
for the filters and a fire hazard.
D)Do not light a flame under the cooker hood.
C)Do not touch the light bulb within half an hour after appliance has been use.
B)Do not check the status of the filters while the cooker hood is operating.
A) There must be adequate ventilation of the room when the cooker hood is used
at the same time as appliances burning gas or other fuels.
H) Regulations concerning the discharge of air have to be fulfilled.
I) When the range hood and appliances supplied with energy Other than electricity
are simultaneously in operation.The negative pressure in the room must not
exceed 4 Pa (4x10 bar)
¯
5
CAUTION:Accessible parts may become hot when used with cooking appliances.
J)If the supply cord is damaged,it must be replaced by the manufacturer,its service
agent or similarly qualified persons in order to avoid a hazard.
K)This appliance can be used by children aged from 8 years and above and persons
with reduced physical, sensory or mental capabilities or lack of experience and
knowledge if they have been given supervision or instruction concerning use of the
appliance in a safe way and understand the hazards involved. Children shall not
play with the appliance. Cleaning and user maintenance shall not be made by
children unless they are older than 8 and supervised.
L)the range hood is intended to be installed over a hob having no more than four hob
elements.
M) Indoor use and household use only
O) Attention ! Observe the warning in the instruction sheet concerning the operation
of the appliance when air is discharged from the room
N)When the appliance is not in use and before cleaning, unplug the appliance from
the outlet.
CAUTION:Accessible parts may become hot when used with cooking appliances.
P) There is a fire risk if cleaning is not carried out in accordance with the instructions.

CAUTION:Accessible parts may become hot when used with cooking appliances.
Q) The air must not be discharged into a flue that is used for exhausting fumes
from appliances burning gas or other fuels (not applicable to appliances that only
discharge the air back into the room.
I)Children should be supervised to ensure that they do not play with the appliance.
S)Warning: Failure to install the screws or fixing device in accordance with these
instructions may result in electrical hazards.
T)The installation height of hood shall not be less than 60cm.
U)The filter screen must be cleaned regularly, otherwise there is a danger of fire.
V)The installation must be carried out according to the screws and positions
required by the instructions, which will easily damage the connecting wires.
W)If the supply cord is damaged, it must be replaced by the manufacturer, its
service agent or similarly qualified persons in order to avoid a hazard.

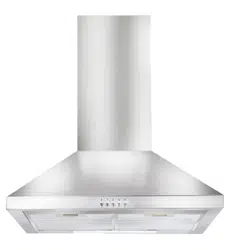
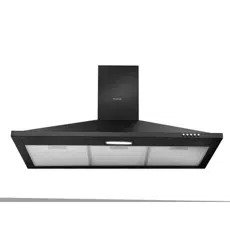
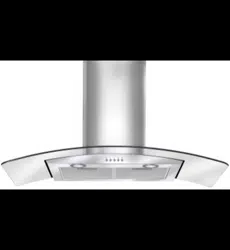
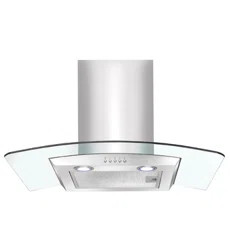
Know your cook
er hood
Please read these instructions
Before using your cooker hood
Congratulations on the
purchase of our Cooker hood,
which is
designed to include
many superior features that
permit you the fullest
expression of your living.
Before installing and/or using
the cooker hood carefully read
all the instructions.
1
1.Filter assembly
2.Air duct assembly
3.Main body assembly
4.LED light
5.Bellows
6.Outside chimney
7.Inner chimney
2
3
5
6
7
1
4
We recommend that after
installation the bottom of
the hood should be no less
600mm to 750mm
than 600mm and no more
than 750mm above the
stove's heating elements
and burners.
Check voltage and
Frequency given on the
rating plate located on the
inside of the hood.
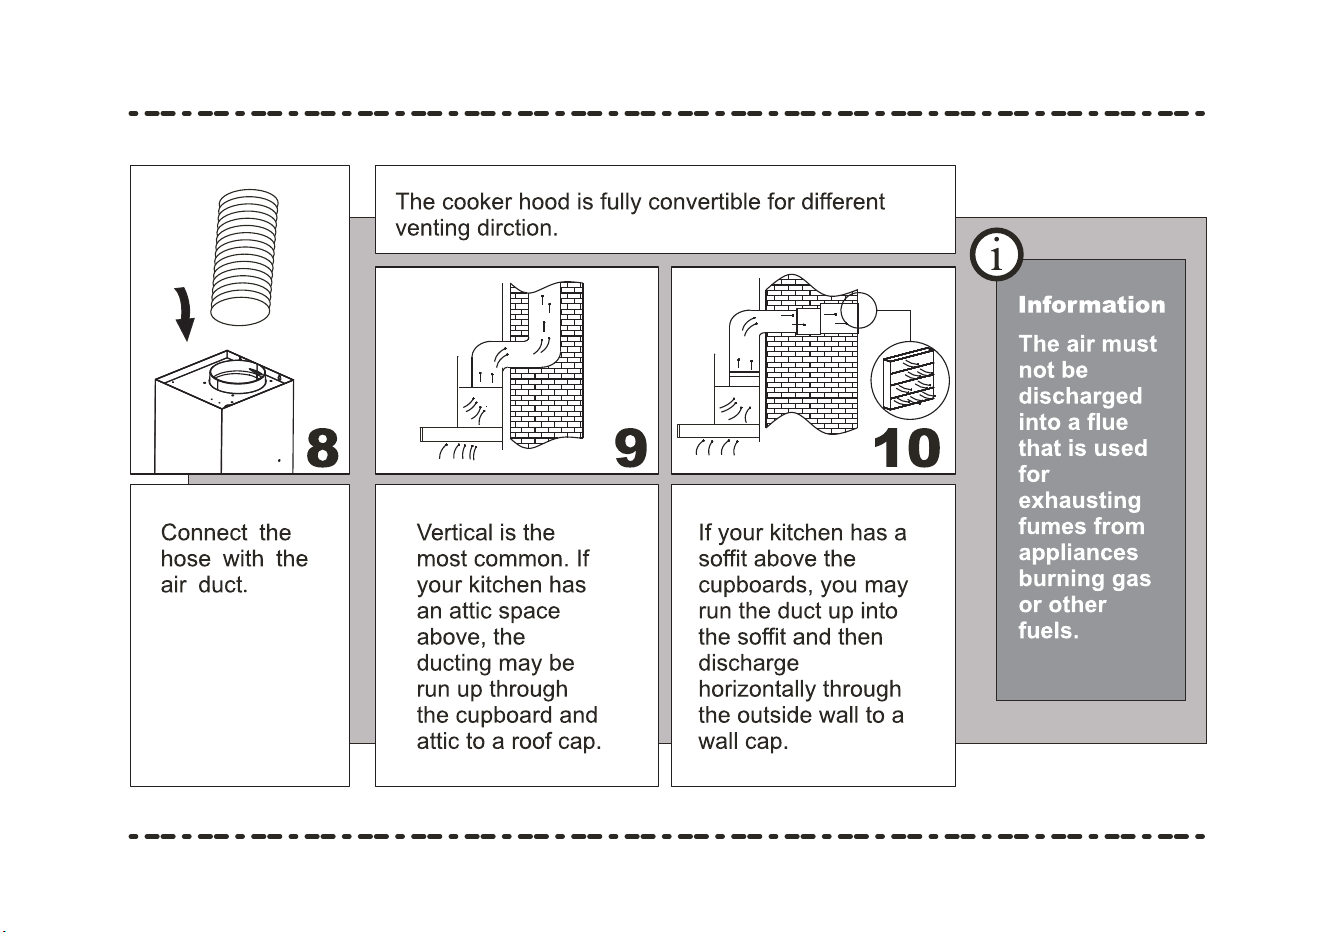
The air must
not be discharged into
a flue that is used for
exhausting fumes from
appliances burning gas or
other fuels (not applicable
to appliances that only
discharge the air back into
the room)
Rating plate
Information
and advice
Information
2
3
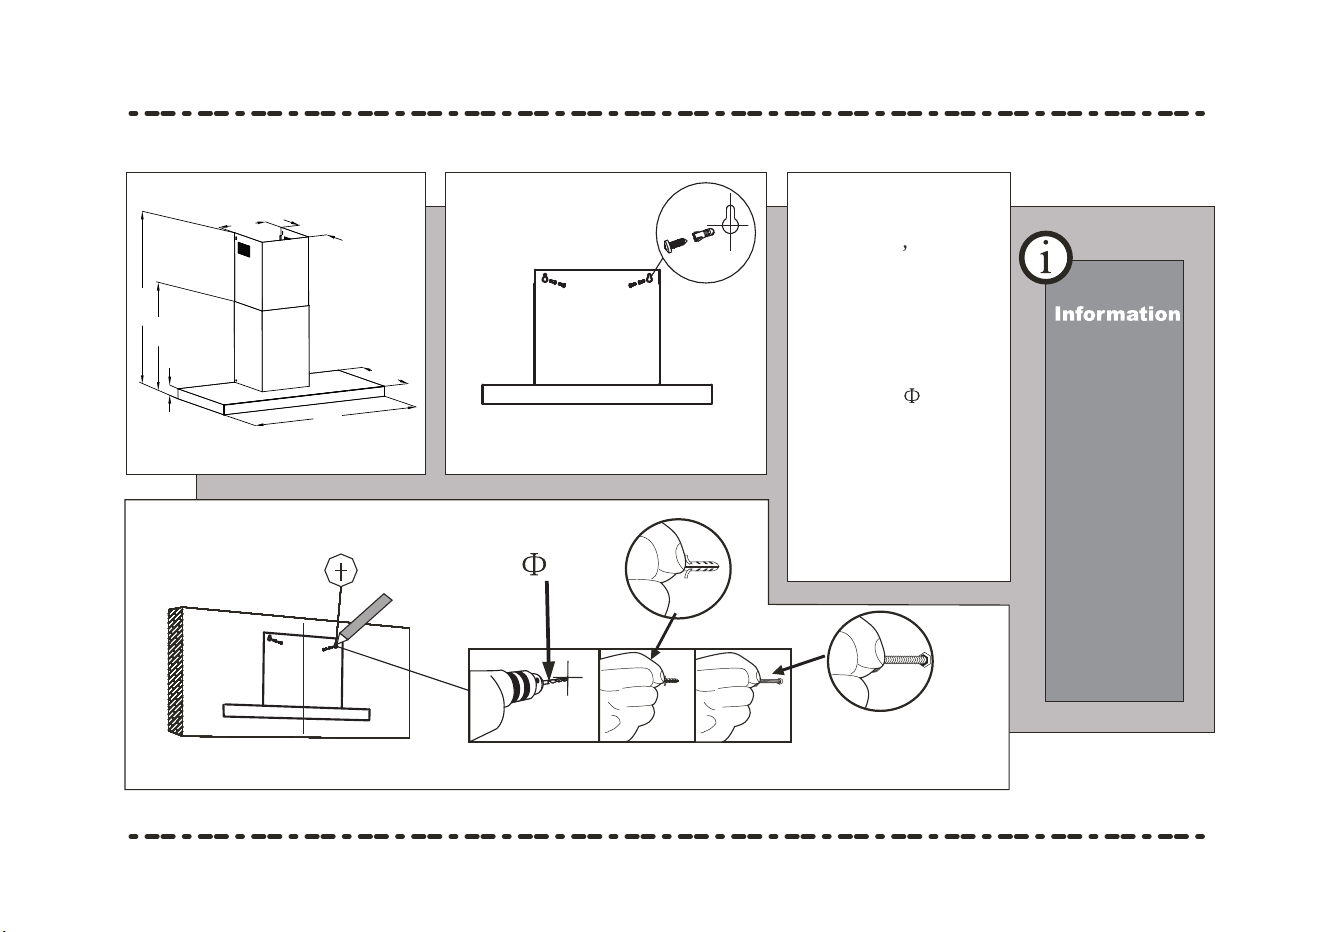
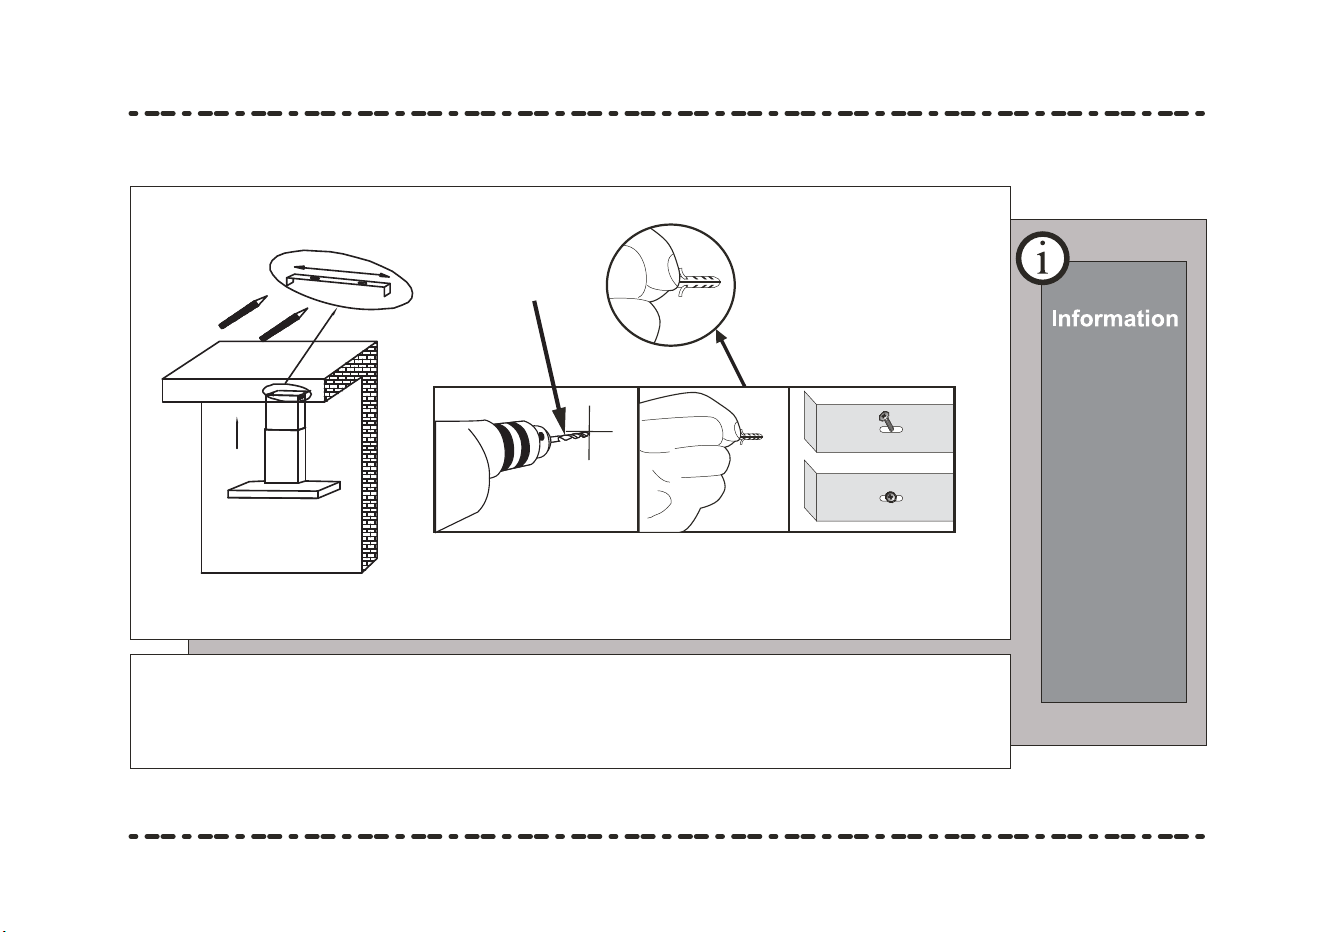
According to
the Fig.4
make sure the
position of the
hoods on the
wall. Then use
the stencil to
drill four
8
holes on the
wall. Fix four
sets expanding
plugs
screws
at the four
holes.
8
4
5
When
cutting or
drilling
into wall
or ceiling,
do not
damage
electrical
wiring or
other
hidden
utilities.
o o
o
o
50
600
263
450
272
550
1020
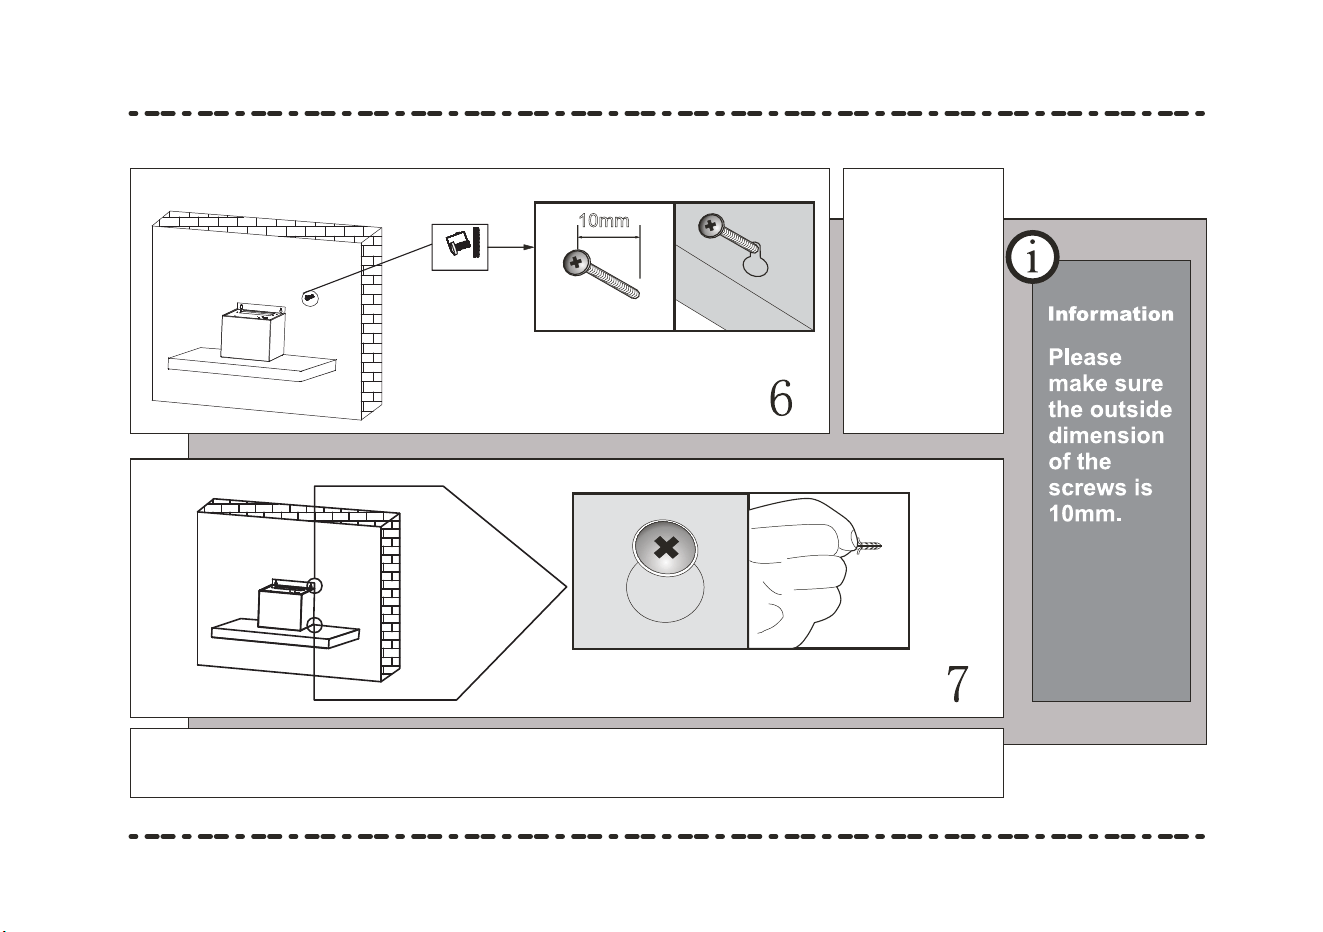
Screw down the four screws. first screw down the upper two screws, then
screw down the others.
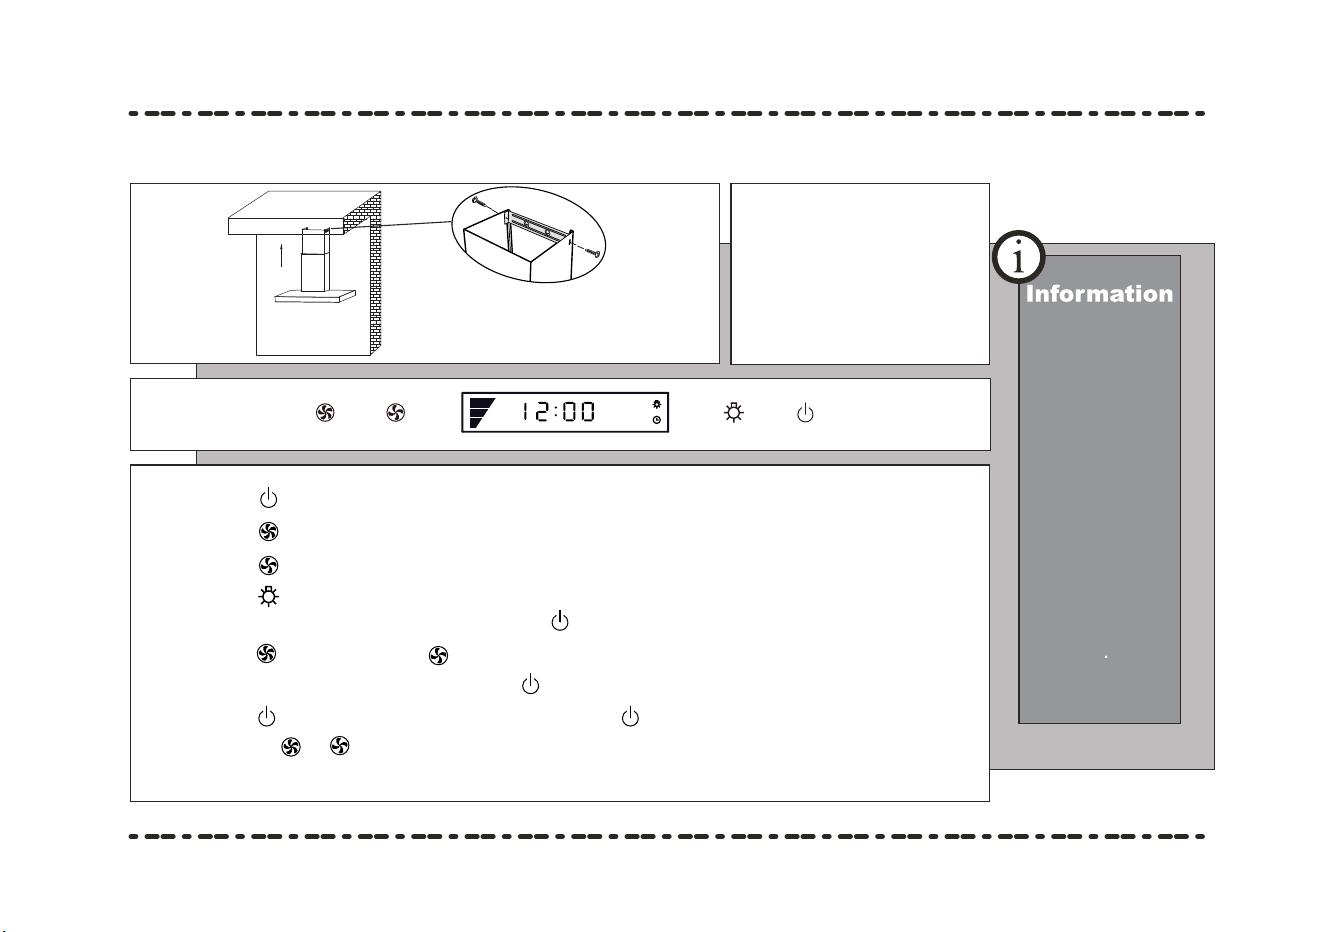
Hang the
hood and
let it's two
installation
holes aim at
two screws,
adjust it to
setting
position.
10mm
Installation
work and
electrical
wiring must
be done by
qualified
person(s) in
accordance
with all
applicable
codes and
standards,
including
fire-rated
construction.
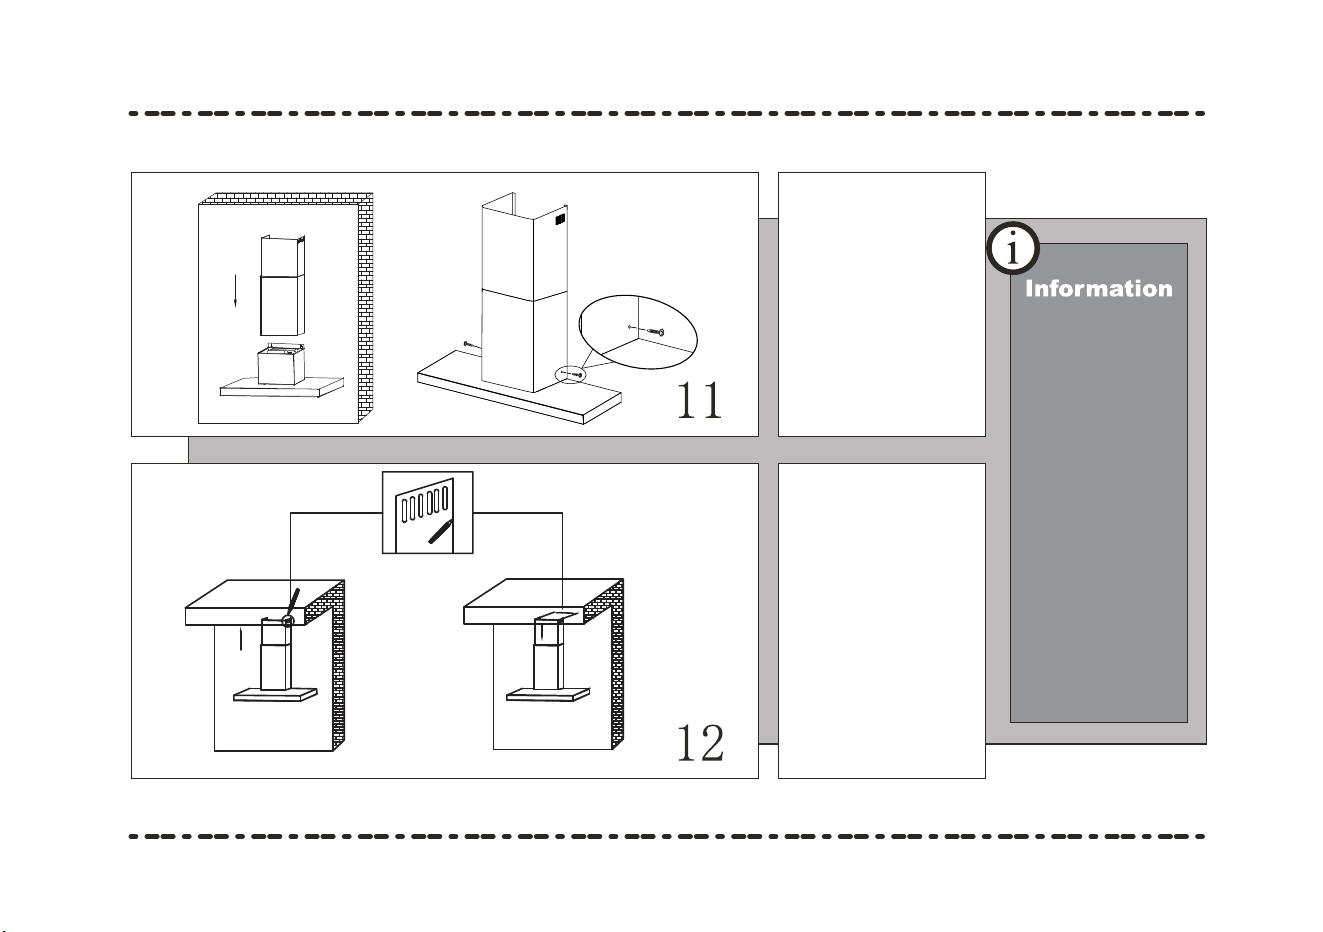
According to
the dimension
of the chimney
fixed bolster,
make sure the
position of the
two chimneys.
Put the outer
chimney and
inner chimney
together on the
windshield.
Install the chimney fixed bolster on the corresponding position on
the wall.
8
13
To install
this hood
you will
require
two
assistants
Use the Screw
ST4*10 to connect
the chimney fixed
bolster and the
upper chimney.
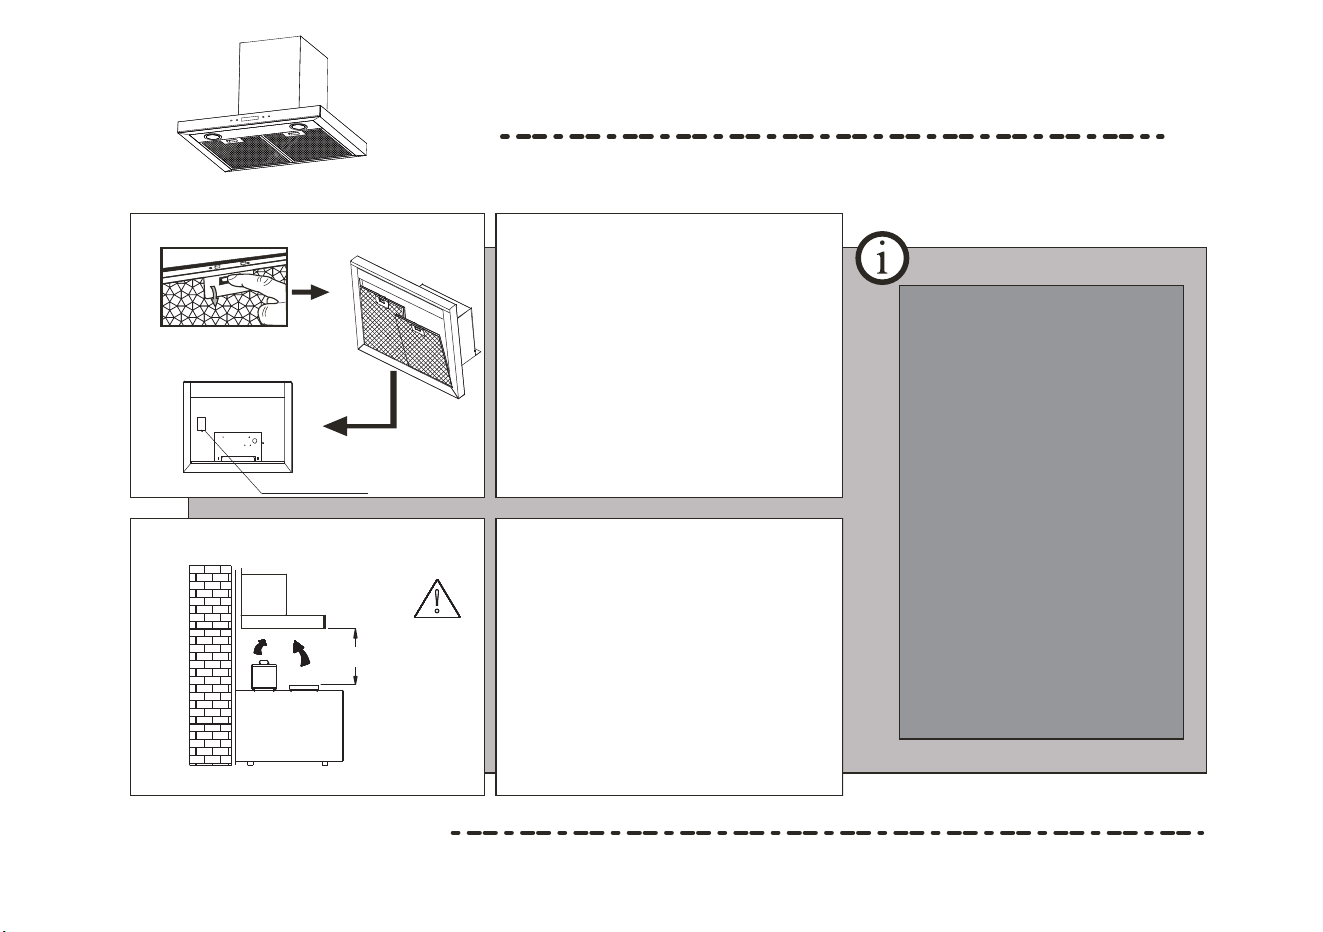
Do not
touch the
light bulb
within half
an hour
after
appliance
use.
The lamp
shall not be
covered
with thermal
insulation or
other
material
14
Controls:
15
Press the button and the hood will go into standby mode.
Press the button and the fan speed will change: Low - Med - High - Stop.
Press the button and the fan speed will change: High - Med - Low - Stop.
Press the light button to turn on the lights and press again to turn off the lights.
press the button and the button to set the timer to turn off the hood between
1 and 9 minutes after use. Press the button to exit.
When the button is turned on, long press the button for 3 seconds to set the
clock, press or to set the time.
When the motor run, you can press the button to set the time-off, then
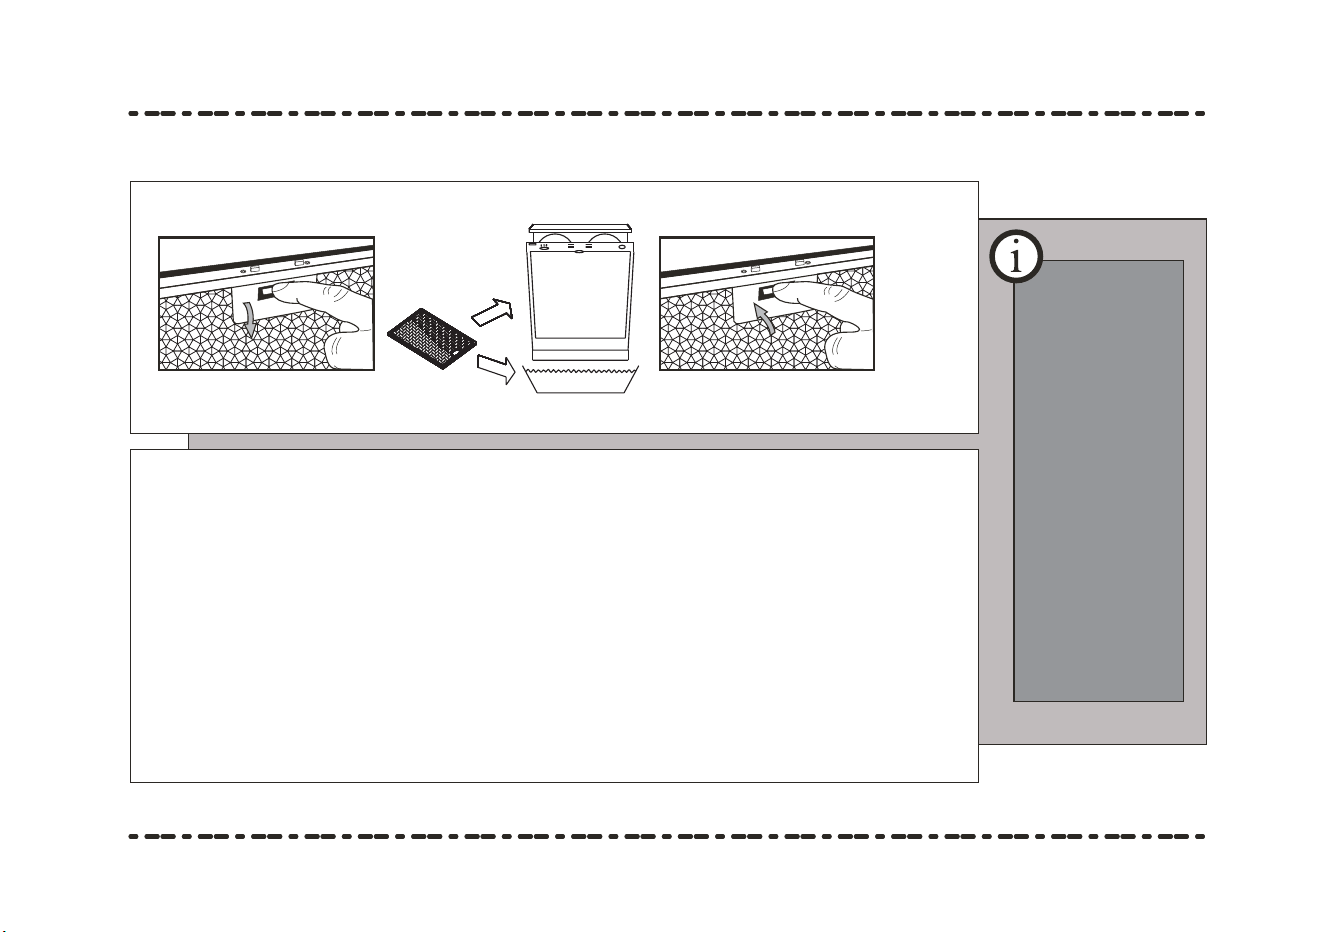
Replacement and maintenance
Information
The
power of
bulb
must not
be more
than
2W .
18
Replacing
lamp
16
12V 2X2W Max
1.Disconnect the electrical plug.
2.Use the“ ”type screwdriver to remove the damaged lamp from lamp hole.
3.Disconnect the connectors between damaged lamp and lamp wire.
4.Connect the connectors between new lamp and lamp wire. Put the lamp click
into place of lamp hole.
Warning: Lamp replacement must be done by qualified after-sales service maintenance
personnel.
Only self shielded lamps can be used in order to prevent
undue hot parts, fire hazards and exposure to UV
radiation.
If the supply cord is damaged, it must be replaced by the manufacturer
,
its service agent or similarly qualified persons in order to avoid a hazard
17
Required min. distance to surfaces (such as lids, oven
cloth or the like) in order to prevent hot parts and fire
hazards.
(- - - to be "0 45 m”)
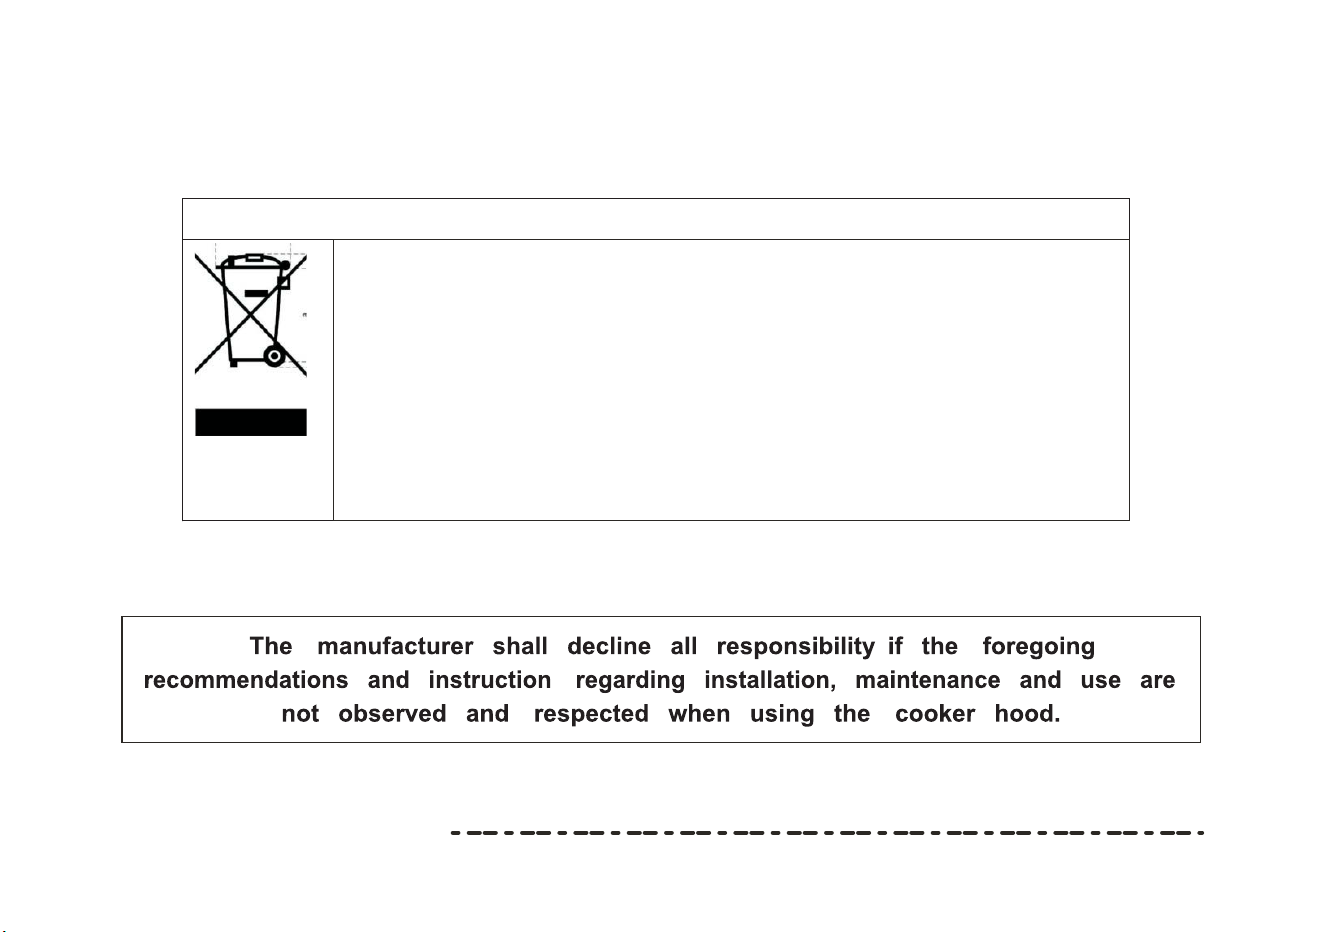
Correct Disposal of this product
This marking indicates that this product should not be disposed with
other household wastes throughout the EU. To prevent possible harm
to the environment or human health from uncontrolled waste disposal,
recycle it responsibly to promote the sustainable reuse of material
resources. To return your used device, please use the return and
collection systems or contact the retailer where the product was
purchased. They can take this product for environmental safe
recycling.
artusi.com.au

ARTUSI.COM.AUP: 1300 649 583
NSW & ACT (HEAD OFFICE)
48-50 MOORE STREET
LEICHHARDT
F 02 8569 4699
QLD
1/42 CAVENDISH ROAD
COORPAROO
F 07 3397 0850
VIC, TAS & SA
1211 TOORAK ROAD
CAMBERWELL
F 03 9809 2155
WA & NT
UNIT 10/55 HOWE STREET
OSBORNE PARK
F 08 9201 9188
NZ
PO BOX 11.160
SOCKBURN CHRISTCHURCH
F 03 344 5906
ARTUSI OFFICES ARE OPEN DAILY FROM 9AM–5PM AND SATURDAYS 10AM–4PM
DISCLAIMER
Worldwide Appliances PTY LTD, trading as ARTUSI, is continually seeking ways to improve the design specifications, aesthetics and production techniques of its products. As a result alterations to our products and
designs take place continually. Whilst every effort is made to produce information and literature that is up to date, this brochure should not be regarded as an infallible guide to the current specifications, nor does it
constitute an offer for the sale of any particular product. Product dimensions indicated in our literature is indicative only. Actual product only should be used to define dimension cutouts. Distributors, and retailers
are not agents of ARTUSI and are not authorised to bind ARTUSI by any express or implied undertaking or representation.