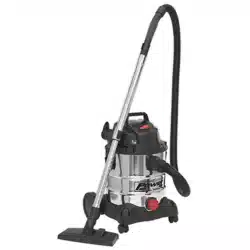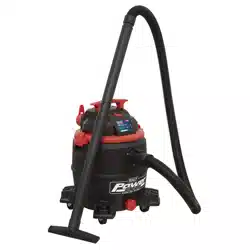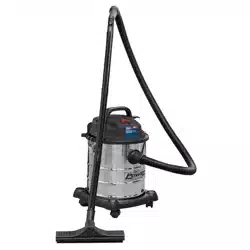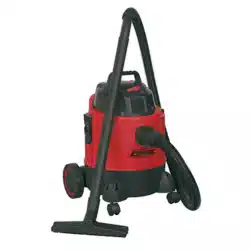

20L WET & DRY VACUUM CLEANER 1250W
MODEL NO: PC200.V3
Thank you for purchasing a Sealey product. Manufactured to a high standard, this product will, if used according to these instructions,
and properly maintained, give you years of trouble free performance.
IMPORTANT: PLEASE READ THESE INSTRUCTIONS CAREFULLY. NOTE THE SAFE OPERATIONAL REQUIREMENTS, WARNINGS & CAUTIONS. USE
THE PRODUCT CORRECTLY AND WITH CARE FOR THE PURPOSE FOR WHICH IT IS INTENDED. FAILURE TO DO SO MAY CAUSE DAMAGE AND/OR
PERSONAL INJURY AND WILL INVALIDATE THE WARRANTY. KEEP THESE INSTRUCTIONS SAFE FOR FUTURE USE.
1. SAFETY
1.1. ELECTRICAL SAFETY
WARNING! It is the user’s responsibility to check the following:
Check all electrical equipment and appliances to ensure that they are safe before using.
Inspect power supply leads, plugs and all electrical connections for wear and damage.
Ensure that the insulation on all cables and on the appliance is safe before connecting it to the power supply.
8 DO NOT use worn or damaged cables, plugs or connectors.
9 Ensurethatanyfaultyitemisrepairedorisreplacedimmediatelybyaqualiedelectrician.
9 Ifthecableorplugisdamagedduringuse,switchotheelectricitysupplyandremovefromuse.
Ensurethatrepairsarecarriedoutbyaqualiedelectrician.
9 SealeyrecommendthatanRCD(ResidualCurrentDevice)isusedwithallelectricalproducts.
Important:Ensurethatthevoltageratingontheappliancesuitsthepowersupplytobeusedandthattheplugisttedwiththe
correct fuse.
8 DO NOT pull or carry the appliance by the power cable.
8 DO NOT pull the plug from the socket by the cable.
9 If an extension reel is used it should be fully unwound before connection. A reel with an RCD fitted is preferred
since any appliance plugged into it will be protected. The cable core section is important and should be at least 1.5mm
²,
but to be
absolutely sure that the capacity of the reel is suitable for this product and for others which may be used in the other output sockets, we
recommend the use of 2.5mm
²
section cable.
1.2. GENERAL SAFETY
9 Disconnectthecleanerfromthepowersupplybeforeservicing,changingaccessories,orperforminganymaintenance.
9 Useonlygenuinepartsandaccessories.Unauthorisedpartsandaccessoriesmaybedangerousandwillinvalidateyourwarranty.
9 Maintainthecleaneringoodcondition.Useanauthorisedagentforservicing.Keepmachineclean,butDONOTusesolvents.
9 Fordryvacuumingensurethecartridgefilterisfirmlyinplacebeforeoperatingthecleaner.
8 DO NOToperatetheunitwithoutthecartridgefilterinplace(exceptwhenwetvacuuming).Using the cleaner without a cartridge filter
may cause damage to the vacuum cleaner and will invalidate your warranty.
9 Wearprotectiveclothingandgloves.
8 DO NOT allow children or untrained persons to operate the cleaner.
8 DO NOTplaceattachmentsclosetoyourface(especiallyeyes,ears,etc).Donotpointthehoseendatotherpersonsoranimals.
▲ DANGER! DO NOTvacuumhotorglowingash,cigaretteends,inflammable,explosive,corrosiveorotherdangeroussubstances.
8 DO NOToperatetheunitwithoutthedustbagoroptionalcartridgefilter(exceptwhenwetvacuuming).
8 DO NOTleavemachinerunningunattended.TurnpowersupplyOFF,andDO NOTleavethevicinityuntilmotorhascometoacomplete
stop.
8 DO NOT operate the cleaner while under the influence of drugs, alcohol or impairing medication, or if you are tired.
8 DO NOTusethecleanerintherainorinverydampconditions.
8 DO NOT use the cleaner for a task it is not designed to perform.
9 When not in use, store the cleaner in a safe, dry, childproof location.
NOTE: Thisappliancecanbeusedbychildrenagedfrom8yearsandaboveandpersonswithreducedphysical,sensoryormental
capabilitiesorlackofexperienceandknowledgeiftheyhavebeengivensupervisionorinstructionconcerninguseoftheappliance
inasafewayandunderstandthehazardsinvolved.Childrenshallnotplaywiththeappliance.Cleaningandusermaintenanceshallnot
bemadebychildrenwithoutsupervision.
Read before
first use
Wear
protective
clothing
Wear
protective
gloves
Wear
eye
protection
Original Language Version
© Jack Sealey Limited
PC200.V3Issue:4(3)06/06/24
Original Language Version
© Jack Sealey Limited
fig.
1
2. INTRODUCTION
Highpowered,lightweightunitwithblowerfacility.Constructedfromhighimpactplastic,thedrumunitismountedontwocastorandtwoxed
wheels.Toolstoragepointsonheadandbase.Suppliedwith4mcablewith3-pinplug,toolkit,cartridgelterandwet-usefoamlter.
3. SPECIFICATION
Model no ................................................................PC200.V3
Airow ......................................................................120m³/hr
Drum size .........................................................................20L
Filter type ................................................................ Cartridge
Maxvacuumpressure ..............................................140mbar
Motor power ................................................................ 1250W
Optional accessories
Dustbags(packof5) ........................................... PC200PB5
Replacement parts
Cartridgelter .......................................................PC200CFL
Foamlters(packof10) .....................................PC200FF10
Supply ............................................................................ 230V
Vacuum accessories diameter .................................. Ø35mm
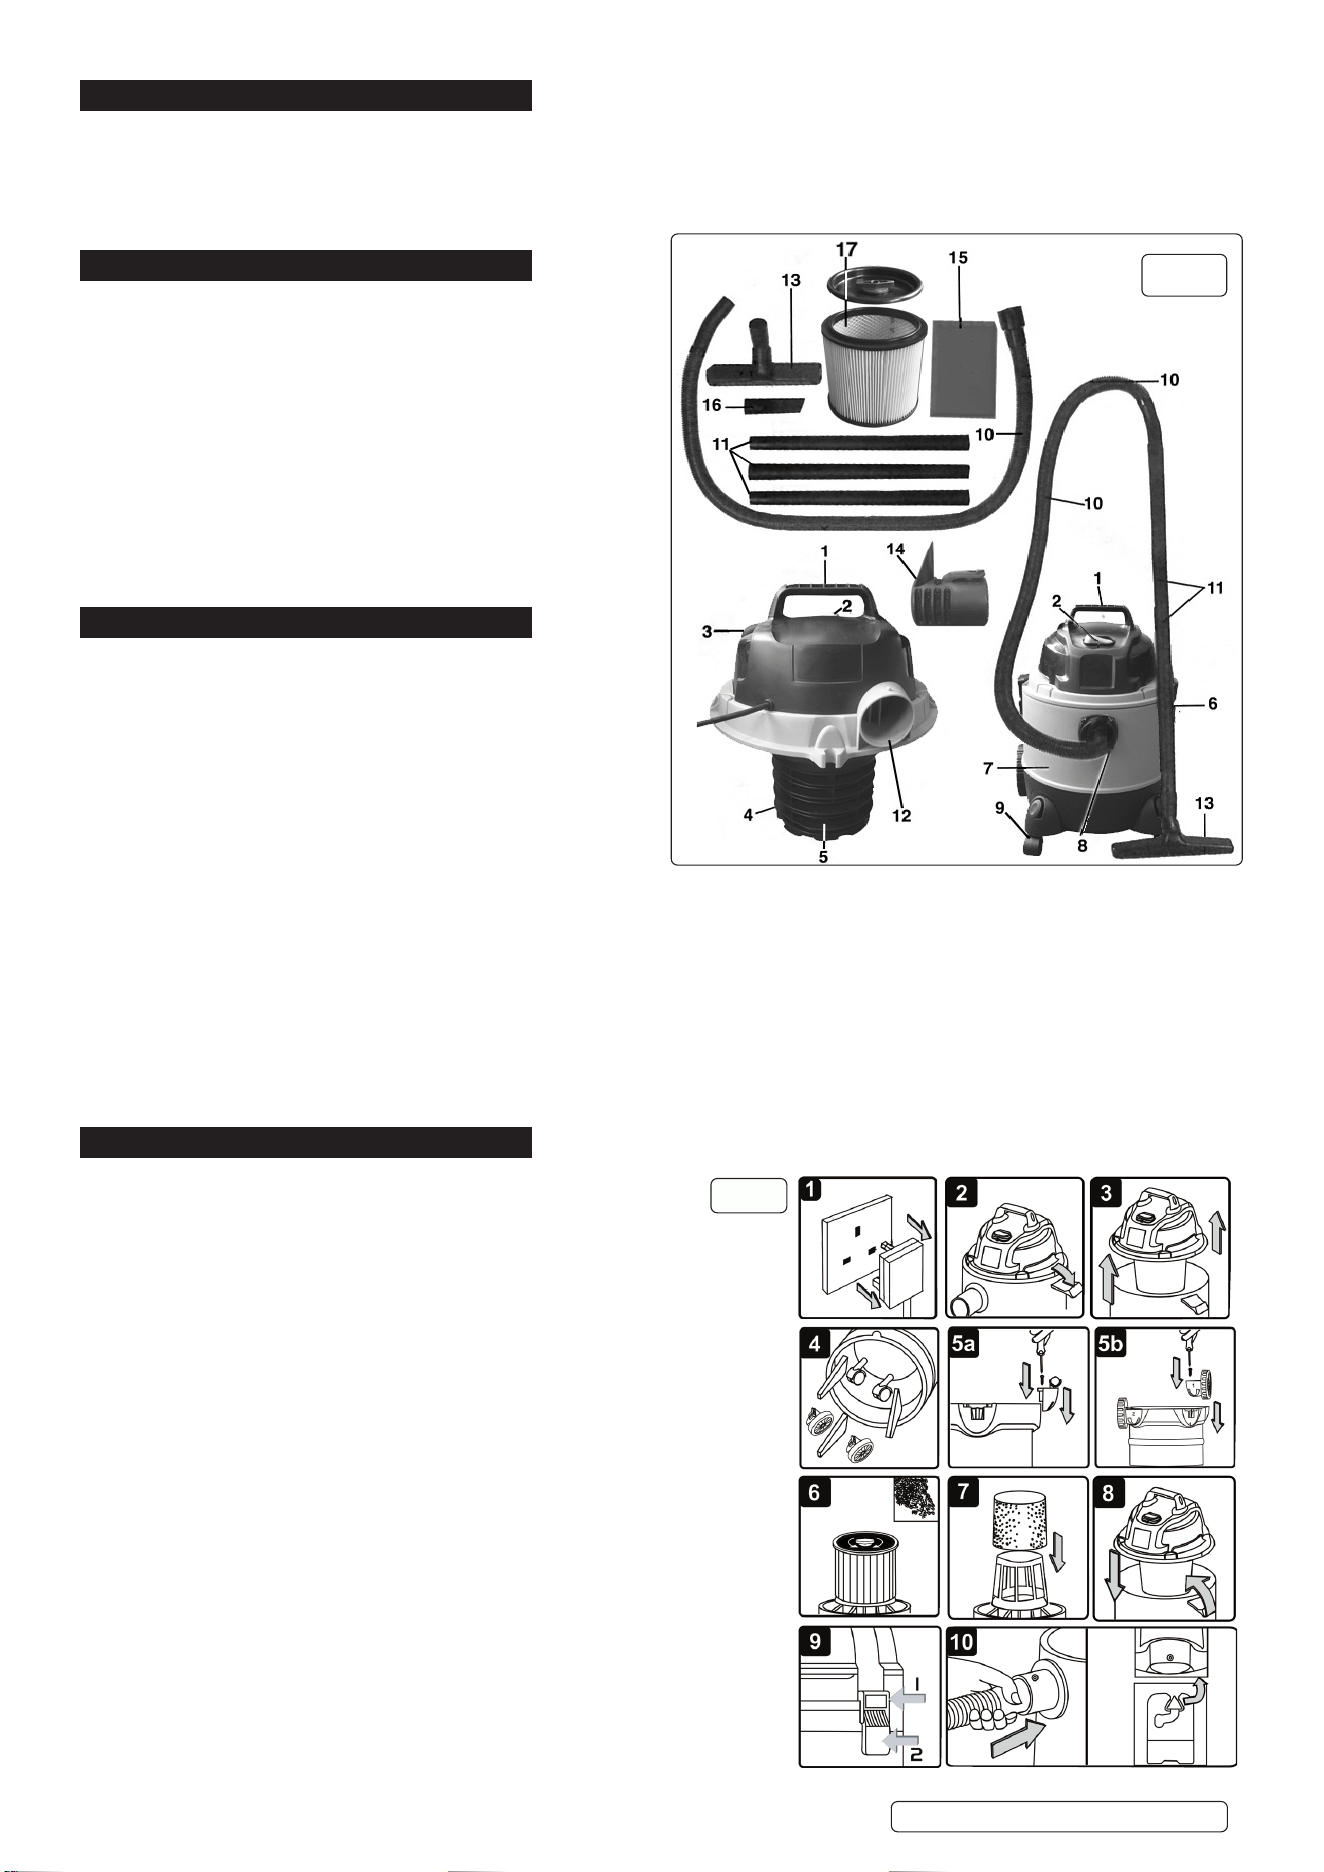
4. CONTENTS
4.1. CARTON CONTENT
4.1.1. Carefully unpack the carton.
4.1.2. Locatethetwosideclasps(g.1.6)whichholdthetopsection
(g.1.3)inplace.
4.1.3. Undotheclasps,removethetopsectionandtakeoutthe
items in the container.
4.1.4. Check and identify each component as listed below. If anything
is missing or damaged please contact your supplier immediately.
1 ....................................................................................Handle
2 .......................................................................ON/OFFswitch
3 ............................................................................. Top section
4 ............................................................................Filter basket
5 ....................................................................Safetyfloatvalve
6 ...................................................................................... Clasp
7 ................................................................................Container
8 ....................................................... Vacuum hose connection
9 ...................................................................................Castors
10 ........................................................................Vacuum hose
5. ASSEMBLY
5.1. Ensurethemainsplugisdisconnected.(fig.2.1)
5.2. Undoclasps.(fig.2.2)
5.3. Liftoffthetopsectionassembly.(fig.2.3)
5.4. Removecontentsfrominsidethecontainer.(fig.2.4)
a)Turnthecontainerupsidedownandinsertthecastorassembliesand
securewithascrew.(fig.2.5a)
b)Inserttherearwheelassemblyandsecurewithscrew.(fig.2.5b)
5.5. Fordryvacuumcleaningusethelockingcartridgefiltersupplied.(fig.2.6)
5.6. Forwetvacuumcleaningfitthesuppliedfoamfilter.(fig.2.7)
NOTE: DO NOT operate the cleaner without a filter fitted as this will damage
thevacuumcleanerandinvalidateyourwarranty.
5.7. Replacethetopsectionontothecontainer.(fig.2.8)
5.8. Align up the top section with the clasps and snap into place, by applying
pressureatthemidpointoftheclasps.(fig.2.9)
5.9. Insert the large end of the hose into the front inlet of the container and lock in
placebyturningclockwiseaquarterturn.(fig.2.10)
5.10. Choose the desired nozzle and push it onto the telescopic suction tube.
11 ....................................................................... Extension tube
12 ................................................................... Blow connection
13 ........................................................... Largevacuumnozzle
14 ........................................................................ Noise muffler
15 ............................................................. Foamed plastic filter
16 ...........................................................................Crevicetool
17 ..........................................................Locking Cartridge filter
.................................................................................(Supplied)
g.2
PC200.V3Issue:4(3)06/06/24
Original Language Version
© Jack Sealey Limited
6. DRY VACUUM CLEANING
WARNING! Ensure you read, understand and apply Section 1 ‘Safety
Instructions’.
Reminder: DO NOT vacuum hazardous substances. Use of an incorrect
cartridge filter will invalidate your warranty.
6.1. Ensurethemachineisunpluggedfromthepowersupply.(fig.3.1)
6.2. Removethetopsectionandwiththeraisedrimuppermostfitthe
cartridgefiltertubedownoverthefilterbasketandpushfullyhome.
6.3. Place the locking disc onto the top of the filter and turn the locking bar until the
latch drops into the slot in the top of the filter cage. Continue turning
untilthefilterisfullylockeddown.(fig.3.2)
6.4. Repositiontheheadontothedrumbody,andclipinplace.(fig.3.3)
6.5. Insert the larger end of the flexible hose into the front inlet on the
container and lock in place. Push the required attachment onto the
freeendofthehose.(fig.3.4)
6.6. Pluginthepowersupply.(fig.3.5)
6.7. Switchtothe‘On’(position‘I’).(fig.3.6)
6.8. Whenyouhavecompletedvacuuming,presstheswitchto‘Off’.
7. WET VACUUM CLEANING
WARNING! Ensure you read, understand and apply Section 1 ‘Safety Instructions’. Reminder: Remove plug from power supply
before opening unit. DO NOT vacuum solvents, explosives, inflammable and/or hazardous liquids such as petrol, oil, spirits,
paint, thinners, acids etc.
7.8.1. Ensurethemachineisunpluggedfromthepowersupply.(fig.4.1).
7.8.2. Make sure the tank is clean and free from dust and dirt.
7.8.3. Removethecartridgefilterandfitafoamfilteroverthefilterbasket
(fig.4.2)Replacethetopsectionontothecontainer.
7.8.4. Fitthedesirednozzletotheflexiblehose.(fig.4.3)
7.8.5. Ensuretheswitchis‘Off’(position‘0’)beforepluggingintothepower
supply.
7.8.6. Presstheswitchto‘On’(position‘I’).(fig.4.5)
7.8.7. Tovacuumlargequantitiesofliquid,fromasinkortanketc,donot
immerse thenozzlecompletelyintheliquid,leaveagapatthe
top of the nozzle opening to allow an air inflow. The machine is
fittedwithafloatvalvewhich stopsthesuctionactionwhenthetankhas
reached its maximum capacity.
7.8.8. The user will notice an increase in motor speed. When this happens, turn
offthemachine,disconnectfrompowersupply,removetheheadfromthe
container and empty the liquid into a suitable receptacle or drain.
7.8.9. Tocontinuevacuuming,refittheheadandproceed.Afterwetvacuuming,turnthemachineoffandunplugfrompowersupply.Emptythe
container, clean and dry the inside and outside before storage.
Remember!Afterwetvacuumingthefoamfiltermustberemovedandacartridgefiltermustbefittedbeforedryvacuumingagain.
WARNING! Not designed for liquid storage. Always empty liquids after use and before storing.
8. BLOWING
8.1. Push the large end of the flexible hose into the blow connection in the top
section.(fig.5.1)
8.2. Ensurethepowerswitchisturnedoff(fig.5.2)andpluginthepowersupply(fig.5.3)
8.3. Switchonthepower(position‘I’).(fig.5.4)
8.4. The unit will now blow through the hose and can be used to clear
obstructionswithinthepipe.(fig.5.5)
WARNING! If after a few seconds the hose is still blocked turn of the unit
and clear the hose manually.
9. MAINTENANCE
9.1. GENERAL MAINTENANCE
9.1.1. Ensure the machine is unplugged from the power supply.
9.1.2. Disconnect the hose from the container.
9.1.3. Undotheclaspsandremovemotorheadfromthecontainer.
9.1.4. Clear out any dirt or debris from the container and hose.
9.1.5. Clean the foam filter by washing it in a mild soapy solution.
9.1.6. Check the power cable to make sure that it is not damaged.
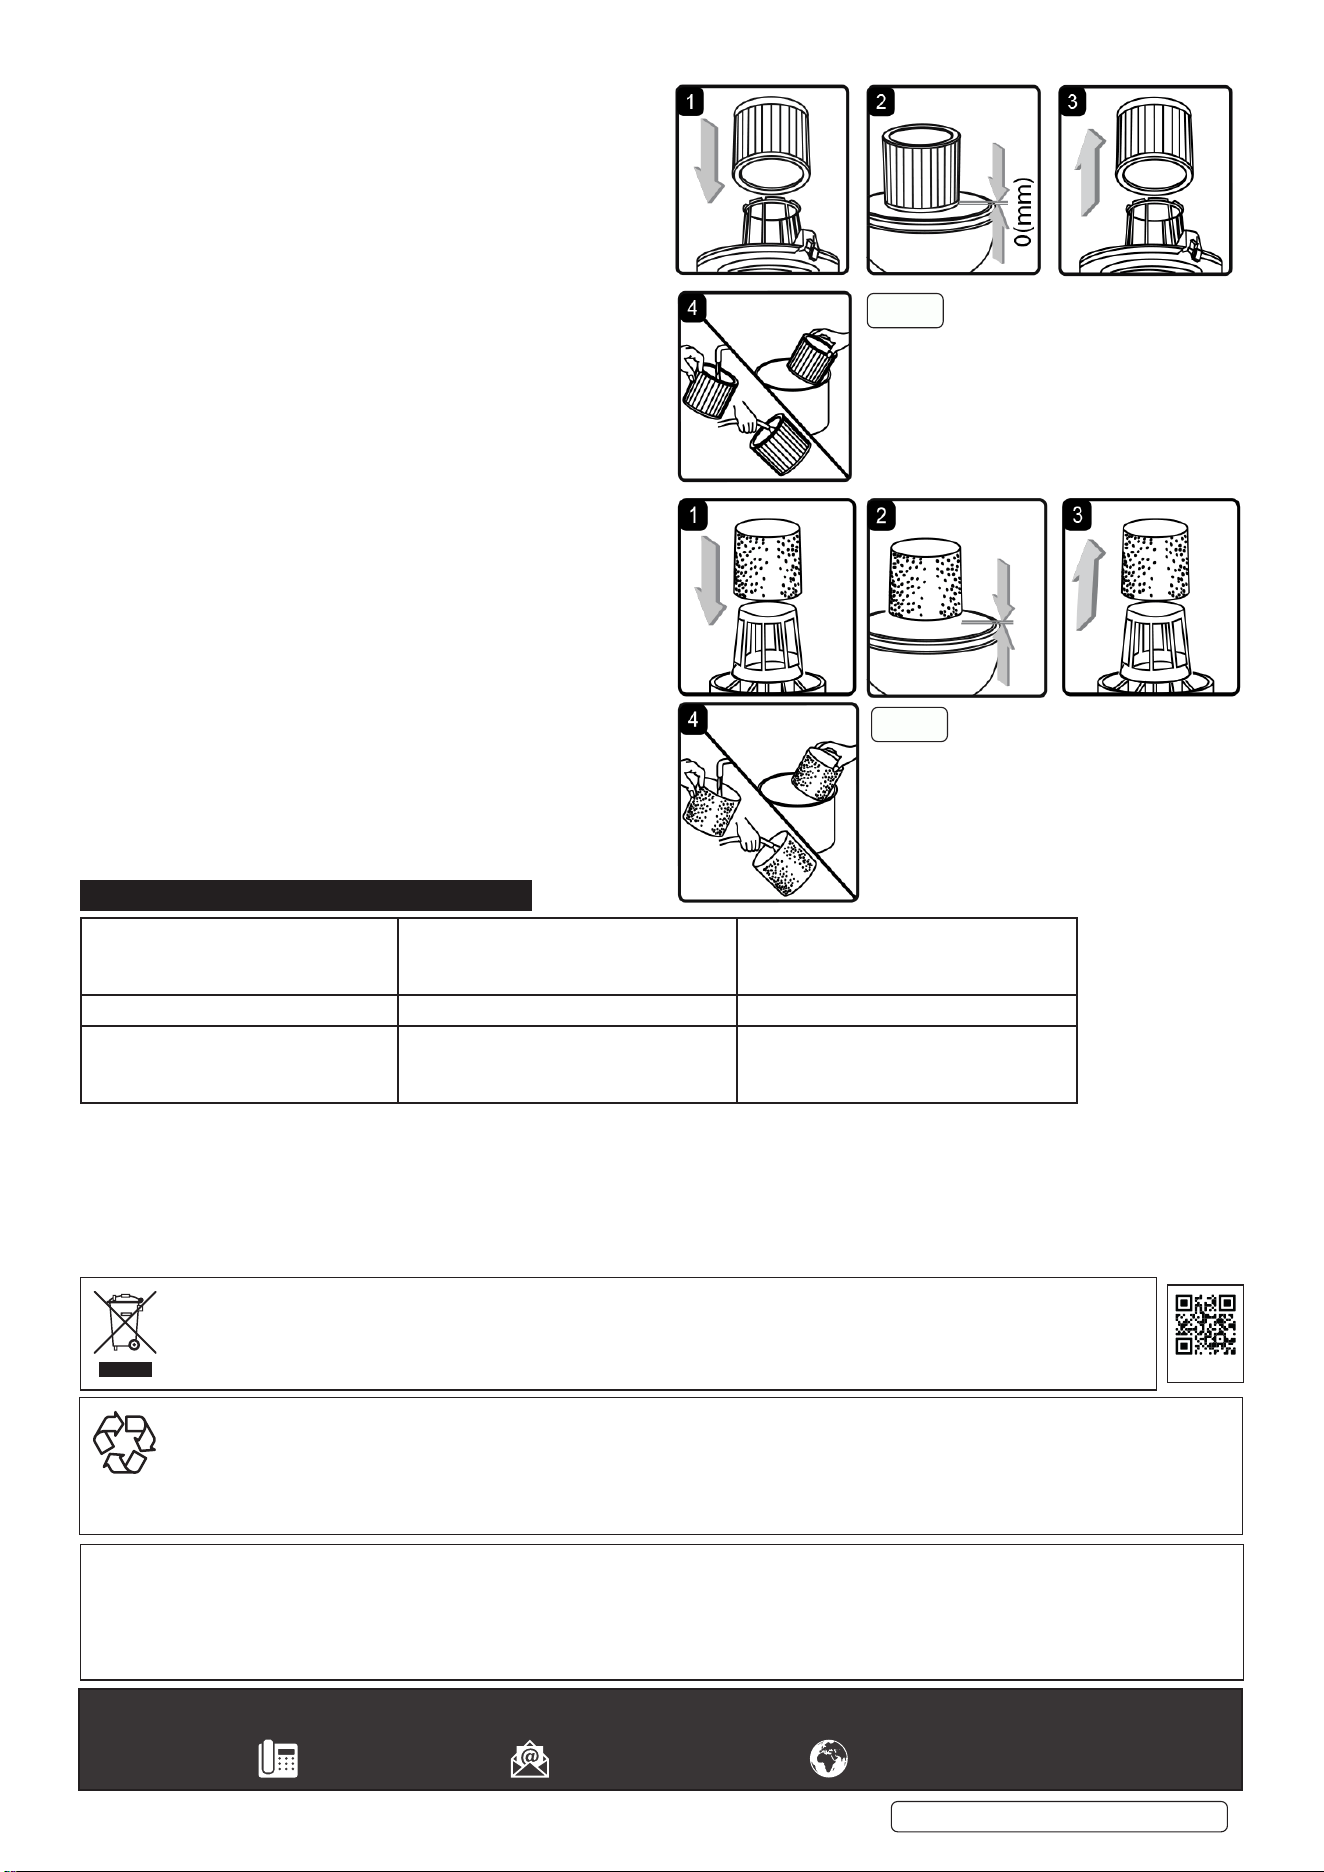
9.2. CARTRIDGE FILTER MAINTENANCE
9.2.1. Installing cartridge filter
9.2.1.1. Removepowerheadandplaceinupsidedownposition.
9.2.1.2. Slidethecartridgedownoverthefiltercageandcarefullypushthefilter
inuntilitstopsagainstthepowerhead.(figs6.1,6.2).
9.2.1.3. Place filter retainer on top of cartridge filter and tighten down by turning
retainer handle clockwise.
9.2.2. Removing and cleaning cartridge filter
9.2.2.1. Unlockandremovethefilterretainerbyturningretainerhandleanticlockwise.
g.4
g.3
g.5
PC200.V3Issue:4(3)06/06/24
Sealey Group, Kempson Way, Suffolk Business Park, Bury St Edmunds, Suffolk. IP32 7AR
01284 757500 sales@sealey.co.uk www.sealey.co.uk
ENVIRONMENT PROTECTION
Recycle unwanted materials instead of disposing of them as waste. All tools, accessories and packaging should be sorted, taken to
arecyclingcentreanddisposedofinamannerwhichiscompatiblewiththeenvironment.Whentheproductbecomescompletely
unserviceableandrequiresdisposal,drainanyfluids(ifapplicable)intoapprovedcontainersanddisposeoftheproductandfluids
according to local regulations.
Note:Itisourpolicytocontinuallyimproveproductsandassuchwereservetherighttoalterdata,specificationsandcomponentpartswithoutprior
notice. notice. Pleasenotethatotherversionsofthisproductareavailable.Ifyourequiredocumentationforalternativeversions,pleaseemail
or call our technical team on technical@sealey.co.uk or 01284 757505.
Important: No Liability is accepted for incorrect use of this product.
Warranty: Guarantee is 12 months from purchase date, proof of which is required for any claim.
WEEE REGULATIONS
DisposeofthisproductattheendofitsworkinglifeincompliancewiththeEUDirectiveonWasteElectricalandElectronic
Equipment(WEEE).Whentheproductisnolongerrequired,itmustbedisposedofinanenvironmentallyprotectiveway.
Contact your local solid waste authority for recycling information.
9.2.2.2. Carefullyholdandpullthecartridgefilterupandremove.
(fig.6.3).
9.2.2.3. Clean the cartridge filter by gently tapping or brushing dirt off.
(fig.6.4).
9.2.2.4. Cleaningshouldnotbeperformedinindoors,inlivingareas.
For optimal performance a new filter is recommended.
9.2.2.5. Installcleanedornewfilterasabove.
9.2.2.6. Wetfiltersshouldberemovedandallowedtoairdryfor24
hours before installing onto the filter cage.
9.2.3. FOAM FILTER MAINTENANCE
9.2.4. Installing foam sleeve filter
9.2.4.1. Removepowerheadandplaceinupsidedownposition.
Followinstructionstoremovecartridgefilter.
9.2.4.2. Carefullyslidefoamsleevefilterdownoverthefiltercage
makingsurethewholecageiscovered.(fig.7.1,7.2).
9.2.5. Cleaning foam sleeve filter
9.2.5.1. Withtheremovedpowerheadintheupsidedownposition,
carefullyremovethefoamsleevefilter.(fig.7.3).
9.2.5.2. Useamildsoapandwatersolutiontowashthefoamsleeve
filterandrinsewithcleanwater.(fig.7.4).
9.2.5.3. Allow filter to air dry before installing and using again.
10. TROUBLESHOOTING
IMPORTANT! IF THE MACHINE IS USED WITHOUT A FILTER THIS MAY CAUSE DAMAGE TO THE MOTOR AND THE GUARANTEE
WILLBEINVALIDATED.ALWAYSKEEPASPAREFILTERHANDY.
Cleaner will not operate No power supply
Faulty power cable
Container full of liquid
Check power supply
Check and repair or replace faulty item
Empty container
Dustcomesfromthemotorcover Cartridgeltermissingordamaged Fitorreplacecartridgelter
Reducedeciencyandincreased
motorspeed/vibration
Container full
Filter clogged
Nozzle, hose or container inlet blocked
Original Language Version
© Jack Sealey Limited
g.6
g.7
PC200.V3Issue:4(3)06/06/24
REGISTER YOUR
PURCHASE HERE