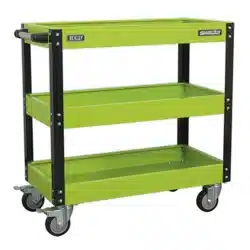
2/3 LEVEL HEAVY DUTY WORKSHOP TROLLEY -
HI-VIS GREEN
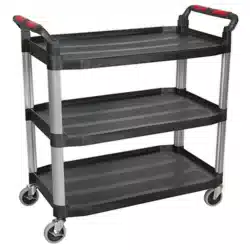
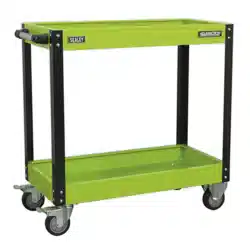
MODEL NO: CX109HV & CX110HV
Thank you for purchasing a Sealey product. Manufactured to a high standard, this product will, if used according to these instructions,
and properly maintained, give you years of trouble free performance.
IMPORTANT: PLEASE READ THESE INSTRUCTIONS CAREFULLY. NOTE THE SAFE OPERATIONAL REQUIREMENTS, WARNINGS & CAUTIONS. USE
THE PRODUCT CORRECTLY AND WITH CARE FOR THE PURPOSE FOR WHICH IT IS INTENDED. FAILURE TO DO SO MAY CAUSE DAMAGE AND/OR
PERSONAL INJURY AND WILL INVALIDATE THE WARRANTY. KEEP THESE INSTRUCTIONS SAFE FOR FUTURE USE.
1. SAFETY
WARNING! Ensure Health & Safety, local authority, and general workshop practice regulations are adhered to when using this trolley.
9 Always load evenly with the centre of gravity of the load as near centre of the trolley as possible.
8 DO NOT overload the trolley - see specifications.
9 Use the trolley in a suitable work area.
9 Keep the work area clean, uncluttered and ensure there is adequate lighting.
9 Keep the trolley clean and tidy in accordance with good workshop practice.
8 DO NOT use the trolley for any purpose other than that for which it is designed.
8 DO NOT stand on the trolley, use it as a ladder or allow others to ride on the trolley.
9 Use the wheel locks to prevent the trolley from inadvertently moving.
8 DO NOT leave unattended, especially when loaded, unless the wheels are locked, chocked or the trolley otherwise secured.
8 DO NOT use trolley on uneven ground and do not run over curbs or steps - use a ramp.
8 DO NOT use trolley if any part is significantly damaged, paying particular attention to the wheels.
9 Keep children and unauthorised persons away from the work area.
2. INTRODUCTION
Ideal for regularly used workshop items such as body repair kits, power tools and bulky equipment too big for a traditional tool chest.
Features 14 tool holes ideal for keeping small tools on hand. Strong build quality and heavy-duty PU 4” castors, two of which are
locking, makes an excellent dismantling trolley for smaller vehicle components.
3. SPECIFICATIONS
4. ASSEMBLY
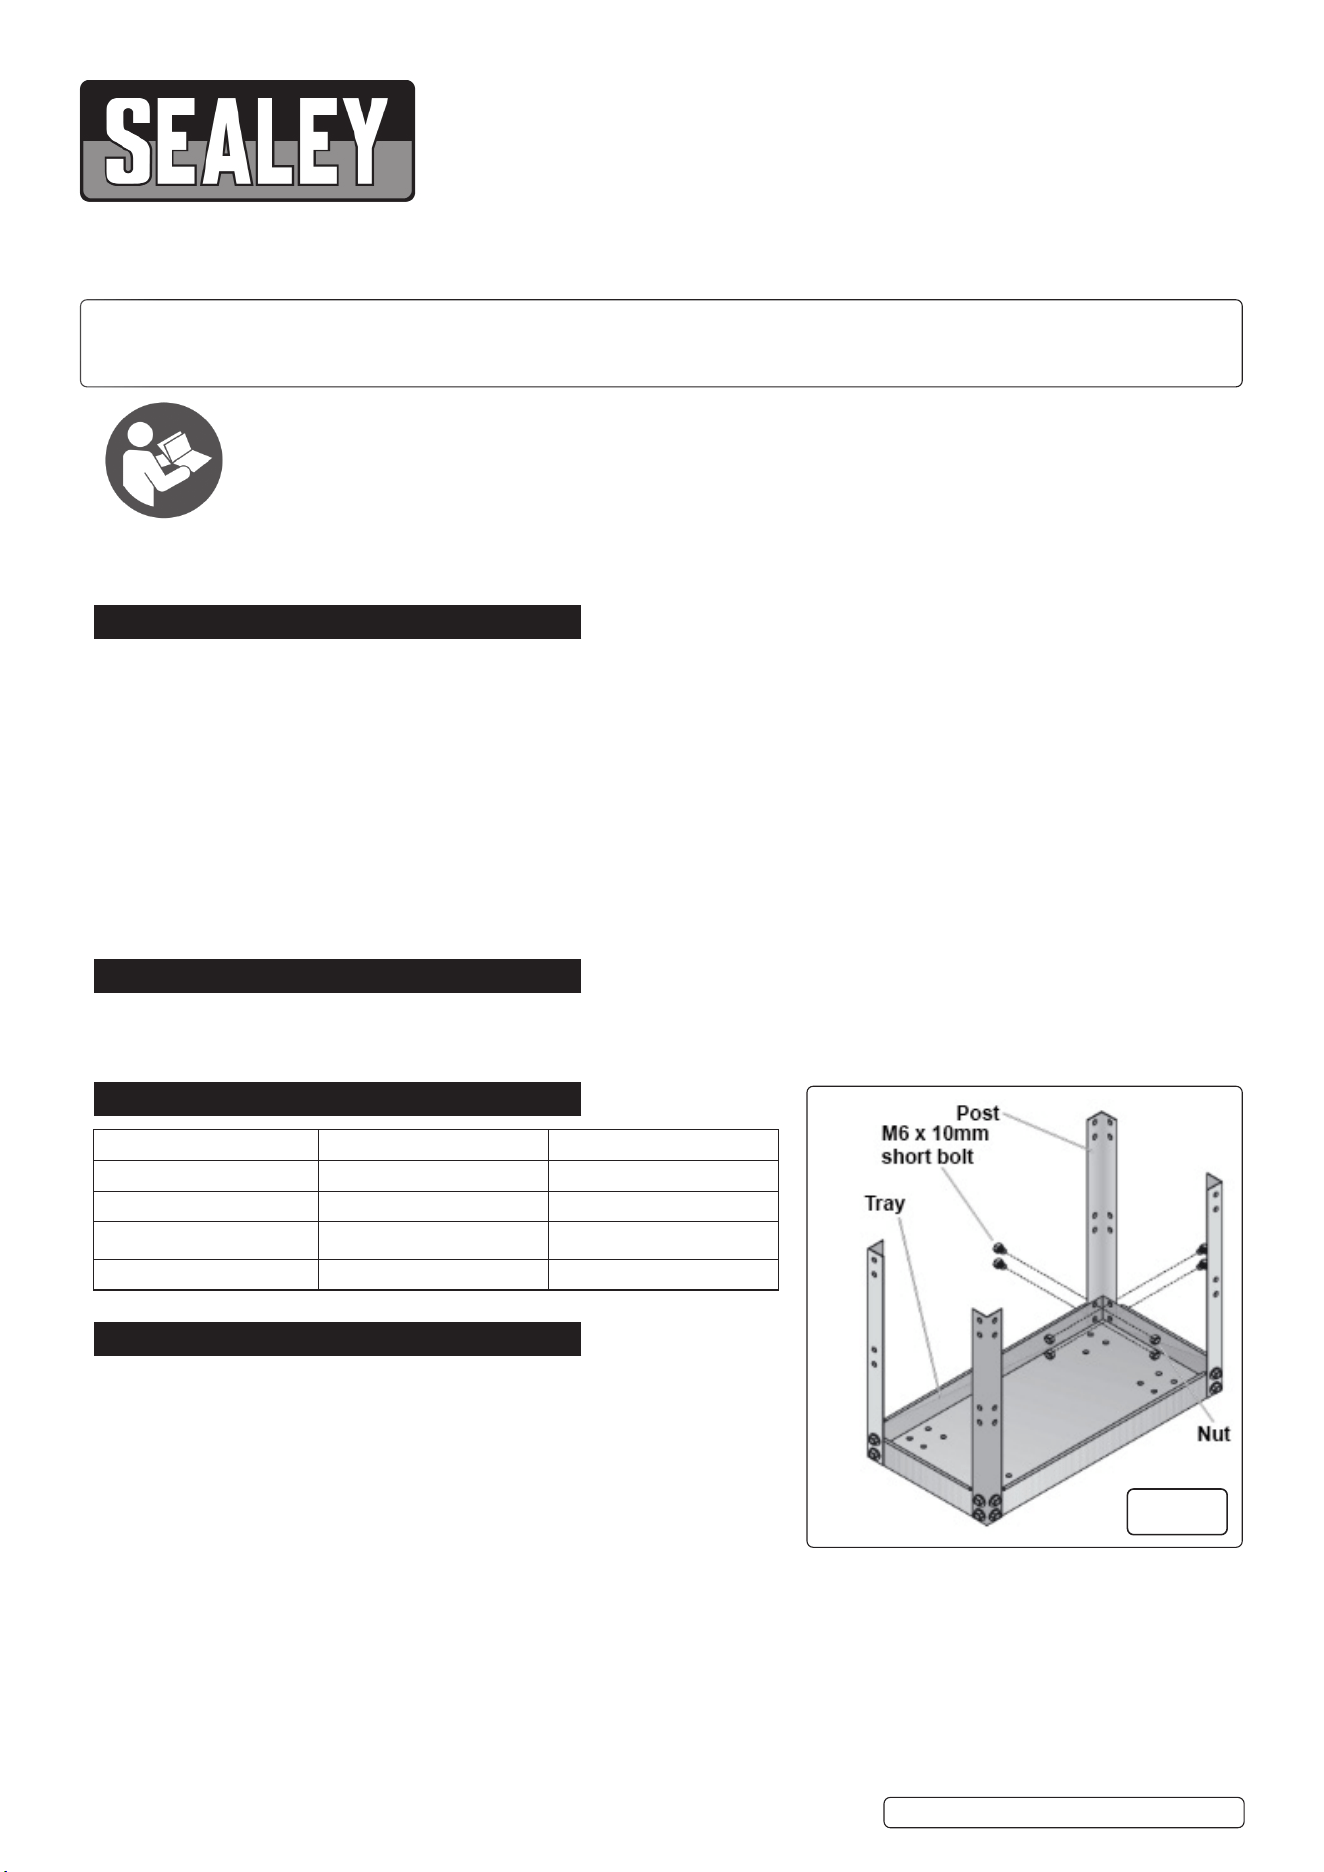
Fig.1
4.1. Attach posts to trays.
4.1.1. Lay one tray (the one with the four sets of castor holes on the bottom) on
The oor and attach posts to the outside corners of the tray using 32 x M6
short bolt and nut sets.
CX109HV, CX110HV Issue:2 (3) 20/09/23
Original Language Version
© Jack Sealey Limited
Refer to
instructions
Fig.1
Model no’s: CX109HV CX110HV
Overall size (W x D x H): 835 x 410 x 815mm 835 x 410 x 815mm
Shelf size (W x D x H): 785 x 405 x 80mm 785 x 405 x 80mm
SEO Title 2 Levels 3 Levels
Capacity: 160kg, 80Kg/level 160kg (Evenly distributed)
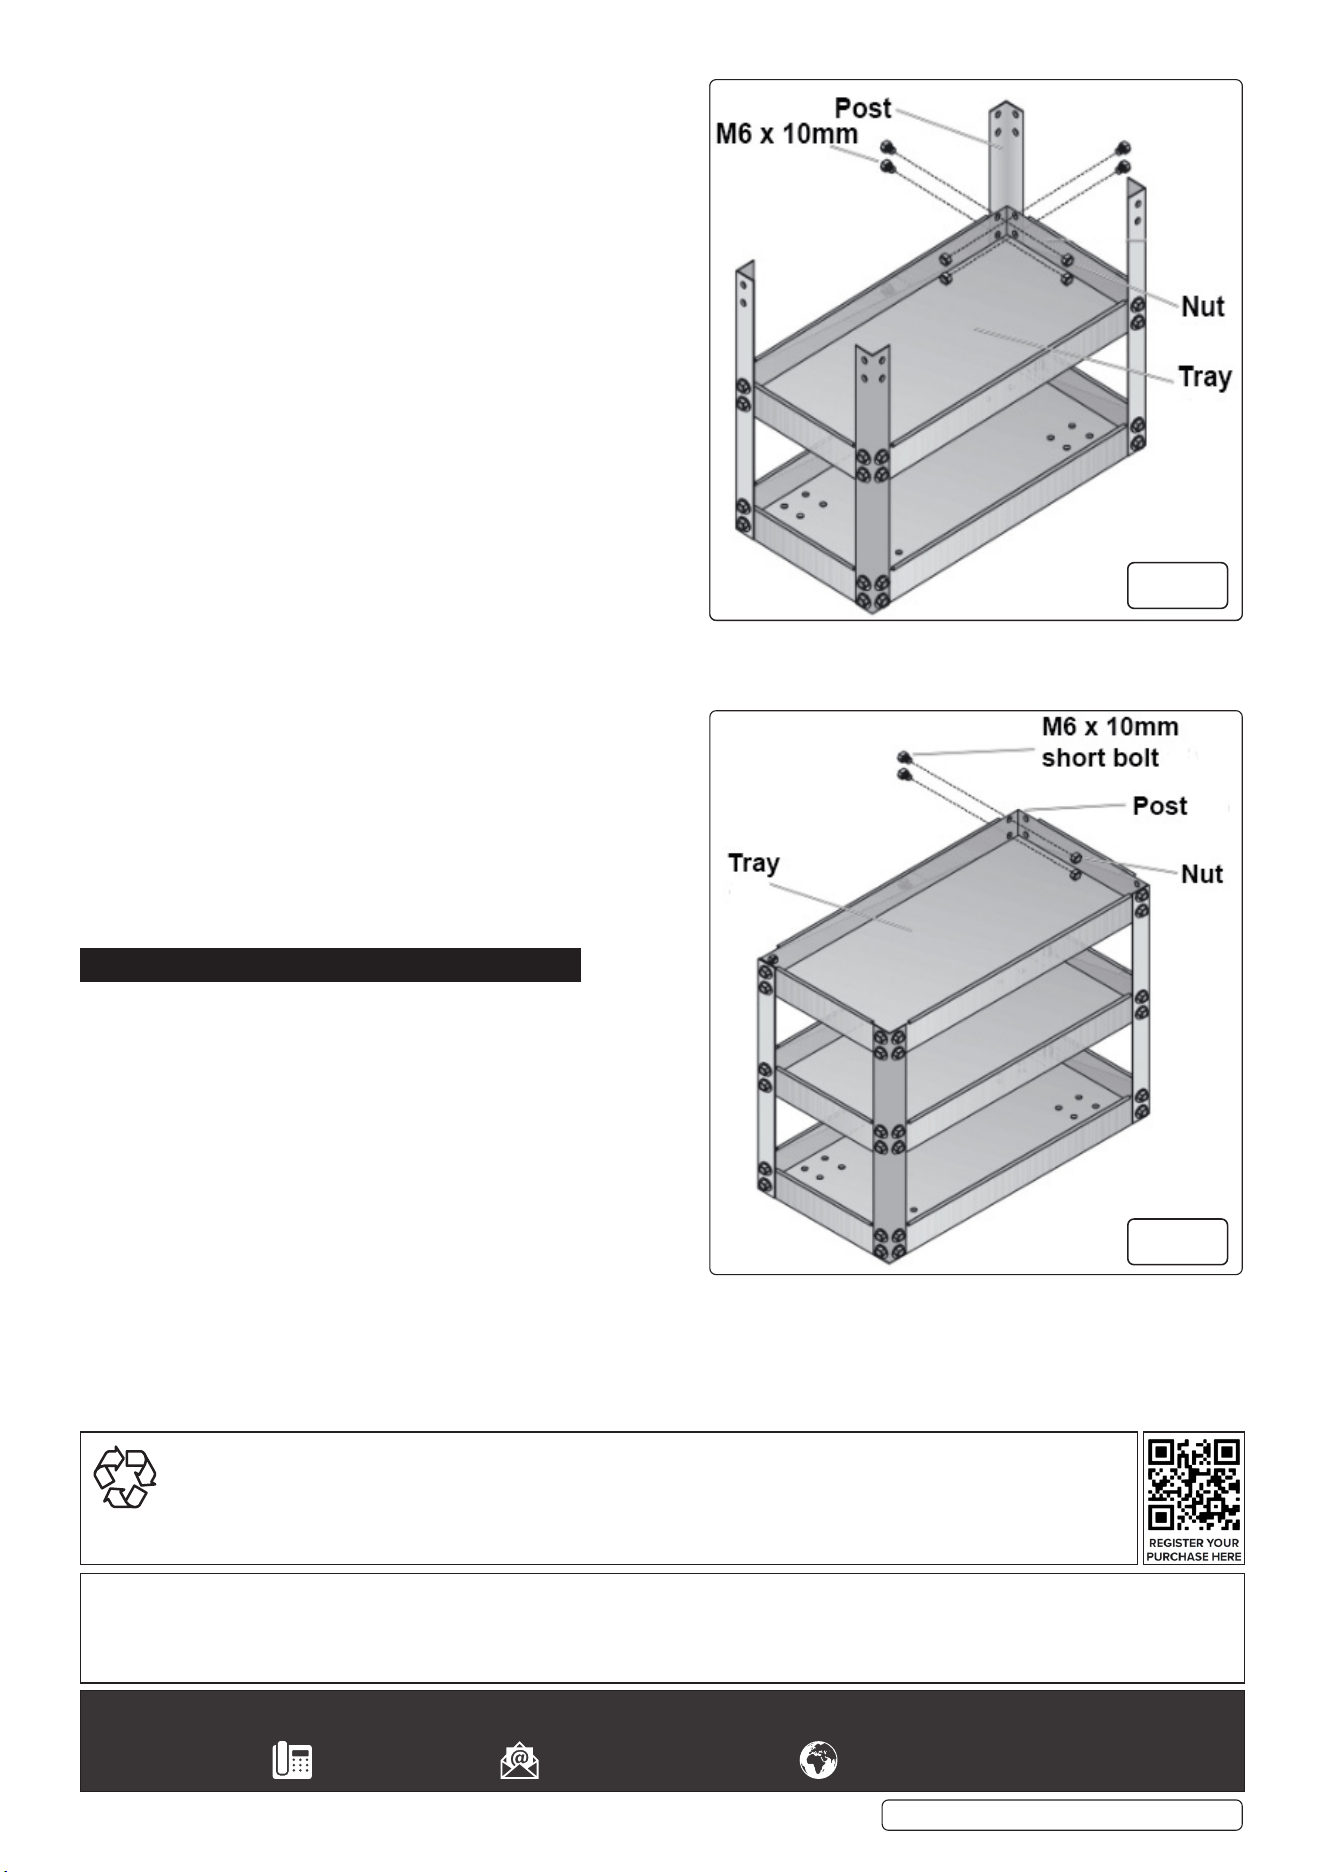
Fig.2
This step is NOT applicable for CX109HV go to g.3
4.2. Attach the other tray to the inside top of the posts using 32 x M6
short bolt and nut sets.
4.3. Put the trolley on its side and work on two posts at a time, for ease
of assembly.
Fig.3
4.4. Attach the last tray to the inside top of the posts using 32 x M6 short
bolt and nut sets.
4.5. The two holes on one end of this top tray are reserved for attaching
the tubular steel handle using 2 x M5 long bolt and nuts.
4.6. Set the trolley on its side and work on two posts at a time for ease of
assembly.
4.7. Bolt the castors to the trolley using 16 x M8 x 10mm wheel bolt and
nut sets.
4.8. The braked castor needs to be at the handle end.
4.9. Check all xings are tight before use.
5. MAINTENANCE
5.1. Oil the castors periodically with a light oil. Clean with a damp cloth.
DO NOT use solvent based cleaners.
Original Language Version
© Jack Sealey Limited
Fig.2
CX109HV, CX110HV Issue:2 (3) 20/09/23
Fig.3
Sealey Group, Kempson Way, Suffolk Business Park, Bury St Edmunds, Suffolk. IP32 7AR
01284 757500 sales@sealey.co.uk www.sealey.co.uk
NOTE: It is our policy to continually improve products and as such we reserve the right to alter data, specications and component parts
without prior notice.
IMPORTANT: No Liability is accepted for incorrect use of this product.
WARRANTY: Guarantee is 60 months from purchase date, proof of which is required for any claim.
ENVIRONMENT PROTECTION
Recycle unwanted materials instead of disposing of them as waste. All tools, accessories and packaging should be
sorted, taken to a recycling centre and disposed of in a manner which is compatible with the environment. When
the product becomes completely unserviceable and requires disposal, drain any uids (if applicable) into approved
containers and dispose of the product and uids according to local regulations.