
Loading ...
Loading ...
Loading ...
13
1. If necessary, loosen the 2 (T-6) SD card cover screws with a T-6 torx star wrench (supplied), and then remove the SD
card cover to insert a micro SD card (not supplied) into the slot. After that, use the T-6 torx star wrench to tighten the 2
(T-6) SD card cover screws and complete insertion. NOTE: The recommended torque of the screw is 0.3 Nm
(Newton meter).
2. Before mounting the camera, please make sure that the network cable, power cable and digital I/O cables have been
passed through a Pelco mount (IWM) series (not supplied). Refer to the instructions supplied with the mount.
3. If using the supplied waterproof gland (recommended), puncture a round hole(s) in the gland that is smaller than the
diameter of the cable that will be passed through the gland. Feed an unterminated cable thru the hole in the gland.
Terminate the cable with the appropriate connector.
4. Apply anti-seize lubricant (supplied) to the camera’s pendant cap threads before attaching the camera to the mount.
After that, mount the camera on a Pelco mount (IWM) series (not supplied).
NOTES:
a. Mounts must be sealed to prevent condensation in the camera.
b. Please install the camera carefully to avoid dropping the camera and injuring the installer.
c. Do not fully tighten the camera to the mount. Thread the camera onto the mount ensuring the T-20 screws
on the top of the camera are accessible.
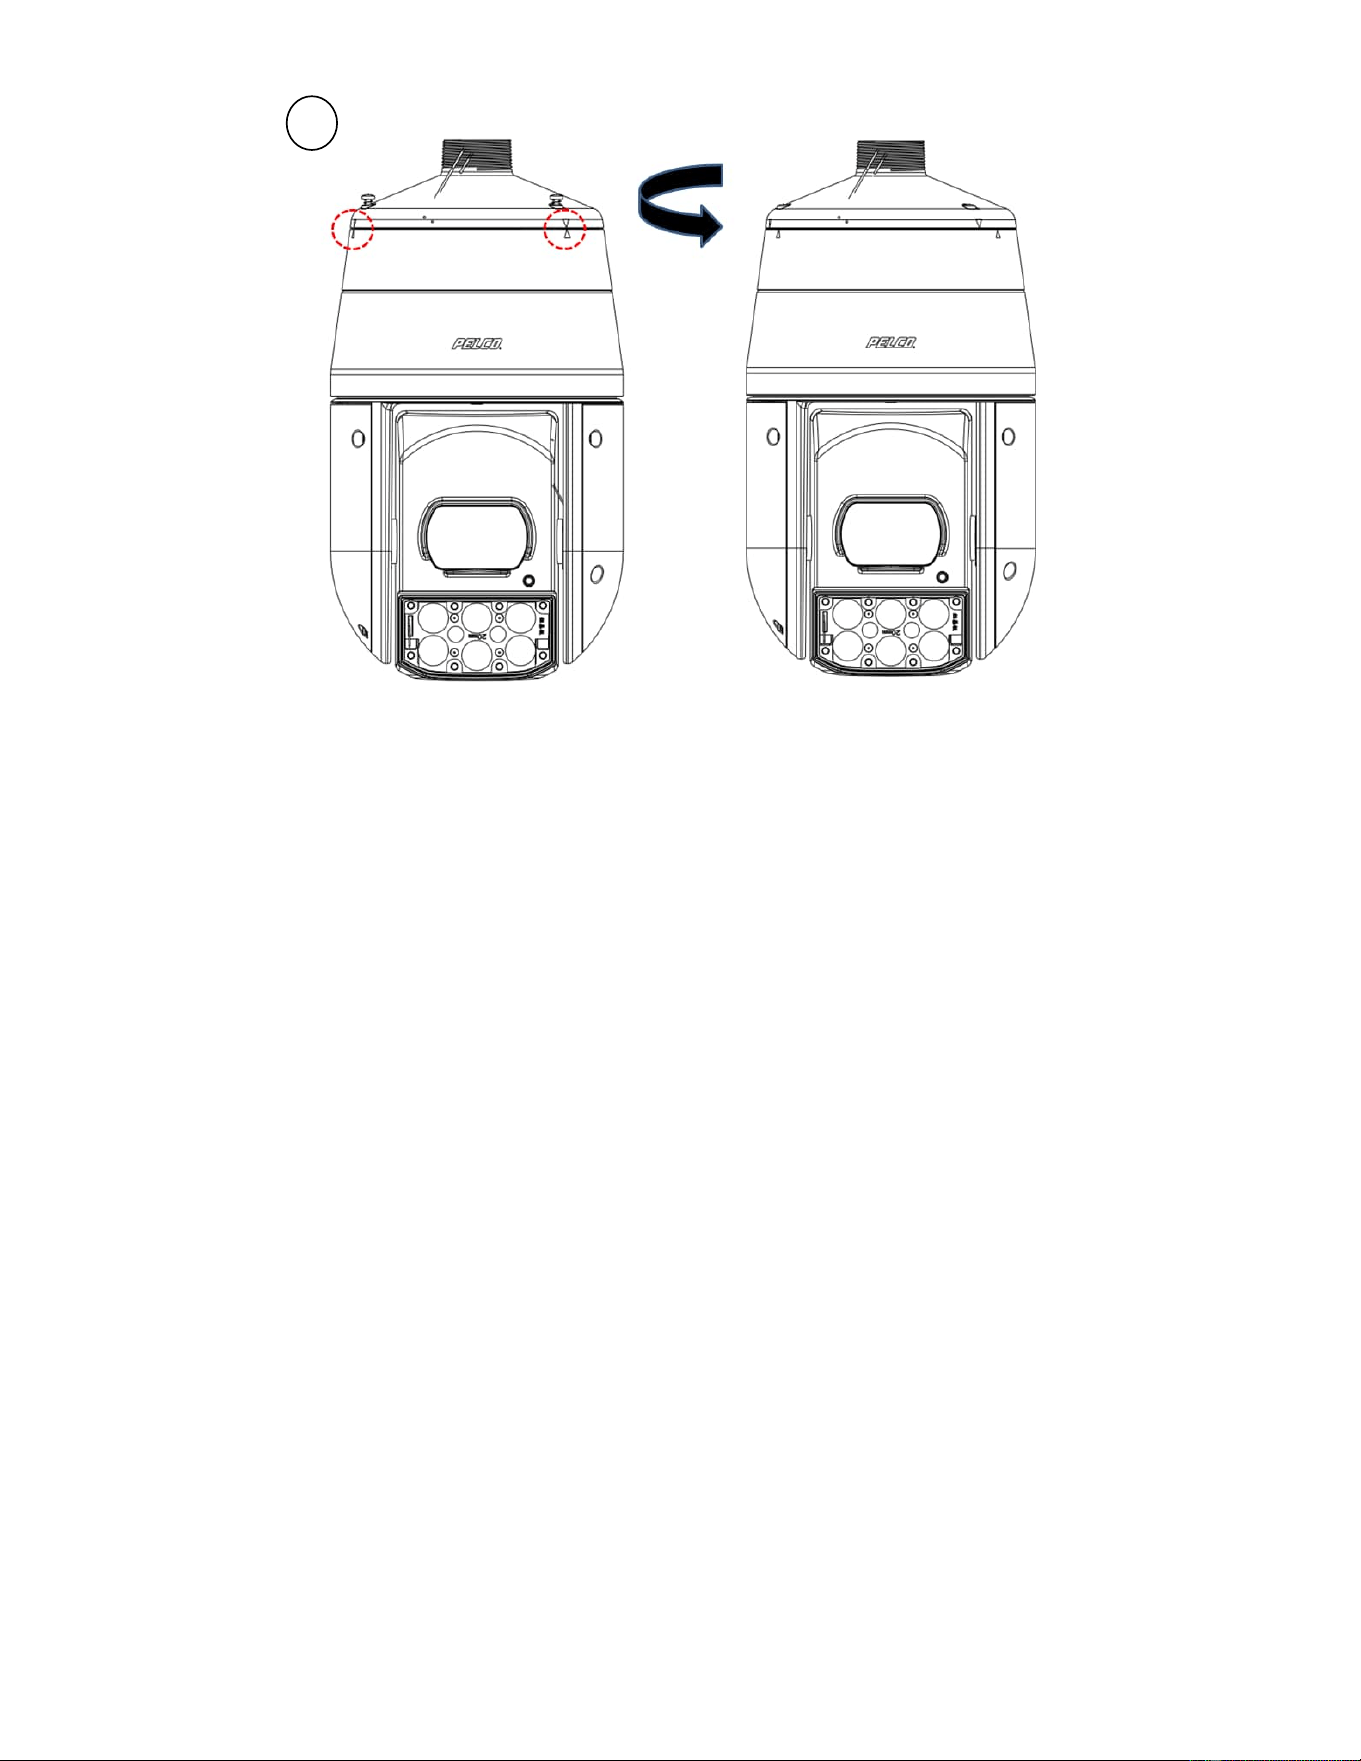
5. Loosen the 3 (T-20) pendant cap screws with a T-20 torx star wrench (supplied) and let the camera’s body shift
downward.
NOTES:
a. Be careful when letting the camera’s body shift downward to avoid it hitting someone or something.
b. The recommended method of locking and unlocking 3 screws is as follows. Please follow these
introductions. Also, the recommended torque of the screw is 2.0 ±0.2 Nm (Newton meter).
Unlocked: To loosen the pendant cap screws in the counterclockwise direction (Steps 1-2-3).
Locked: To tighten the pendant cap screws in the clockwise direction (Steps 1-2-3).
x 3
7
Loading ...
Loading ...
Loading ...