1. SAFETY
9 Maintain the light in good condition.
9 Ensure the light is installed correctly in accordance with these instructions.
9 Only install the light on a vertical surface.
8 DO NOT x the light on any horizontal surface i.e. ceiling, or overhang.
9 Install away from ammable or combustible materials.
8 DO NOT direct the light into a persons eyes.
8 DO NOT install the light where it is likely to be knocked or hit.
8 DO NOT install in bathrooms, shower rooms, sauna or such locations.
8 DO NOT install near an exhaust outlet. e.g. Boiler ue, dryer outlet etc, or mirrored
surfaces.
8 DO NOT put the light in an area that is well lit at night, e.g., near a street light. This may
stop the sensor from determining when it is night time and will stop the light from operating.
9 The light must be securely xed to the mounting surface. The screws and wall plugs
supplied are suitable for masonry only.
9 Mount the light level and horizontal to the ground.
9 Turn the light o if it is not to be used for long periods.
9 Locate the light away from obstructions that block the light from reaching the solar panel
such as overhanging tree branches, fences or buildings.
Note: If you have solar-powered LED lights, it’s essential to charge them up completeley
before using them. Most solar lights need about 8 to 12 hours of direct sunlight for the initial charge.
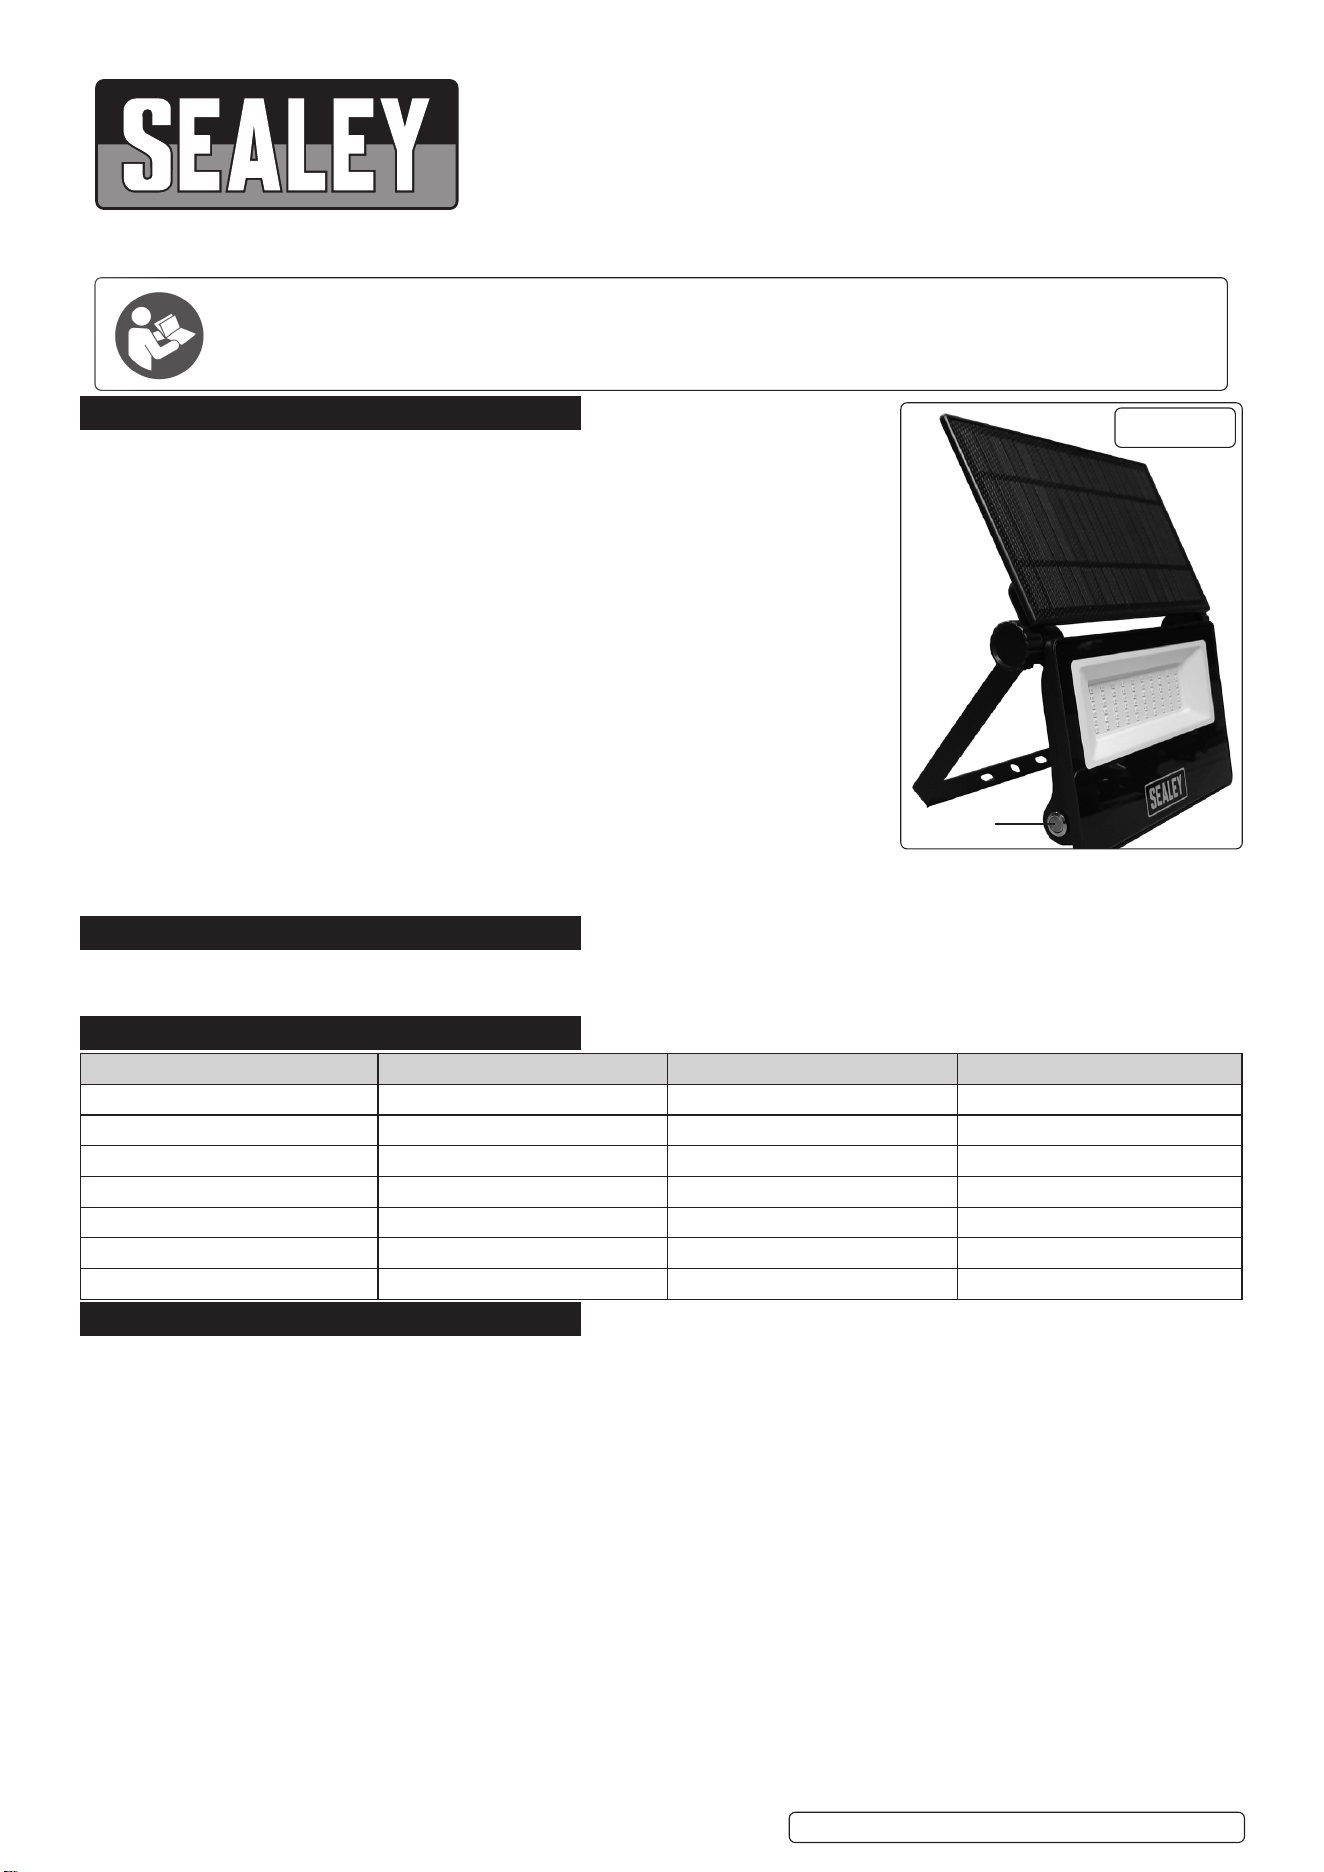
2. INTRODUCTION
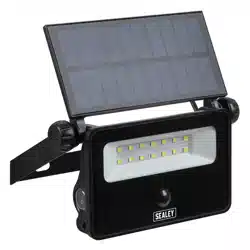
Extra-Slim Solar oodlights with Wall Bracket. Features both daylight (CDS) and motion (PIR) sensors to switch on automatically.
Motion sensors can detect up to 6m. 30 second timer upon sensing motion.
3. SPECIFICATION
4. ASSEMBLY
4.1. Unpack the product and check contents. Should there be any damaged or missing parts contact your supplier immediately.
4.2. Give careful consideration to the position of solar-powered LED lights to ensure maximum direct sunlight.
4.3. With care remove the wall bracket from the light assembly by unscrewing the retaining thumb screws (g 1).
4.4. Locate the thumb screws, solar panel and light in a secure location.
4.5. Place the wall bracket at your desired location and spot mark through the slots onto the xing surface (g 2).
4.6. Secure wall bracket with appropriate xings, wall plugs, to suit mounting surface.
4.7. Reassemble the light assembly (g 3).
WARNING! If working at height take adequate safety precautions to prevent injury from falling.
LED30S
ON/OFF
Button
EXTRA-SLIM SOLAR FLOODLIGHT WITH
WALL BRACKET
Thank you for purchasing a Sealey product. Manufactured to a high standard, this product will, if used according to these
instructions, and properly maintained, give you years of trouble free performance.
IMPORTANT: PLEASE READ THESE INSTRUCTIONS CAREFULLY. NOTE THE SAFE OPERATIONAL REQUIREMENTS, WARNINGS &
CAUTIONS. USE THE PRODUCT CORRECTLY AND WITH CARE FOR THE PURPOSE FOR WHICH IT IS INTENDED. FAILURE TO DO SO
MAY CAUSE DAMAGE AND/OR PERSONAL INJURY AND WILL INVALIDATE THE WARRANTY. KEEP THESE INSTRUCTIONS SAFE FOR
FUTURE USE.
LED16S, LED20S, LED30S Issue 4 (4) 15/04/24
Original Language Version
© Jack Sealey Limited
Model No: LED16S.V2 LED20S LED30S
Battery: 3.7V 2.6Ah 3.7V 3Ah 2 x 3.7V 2.6Ah
IP Rating: IP54 IP54 IP54
LED Type: 16W SMD 20W SMD 30W SMD
Lumen Output: 1600lm 2000lm 3000lm
Nett Weight: 0.275kg 0.38kg 0.71kg
PIR Motion Sensor: Yes Yes Yes
Power: 16W 20W 30W
MODEL NO: LED16S.V2, LED20S, LED30S
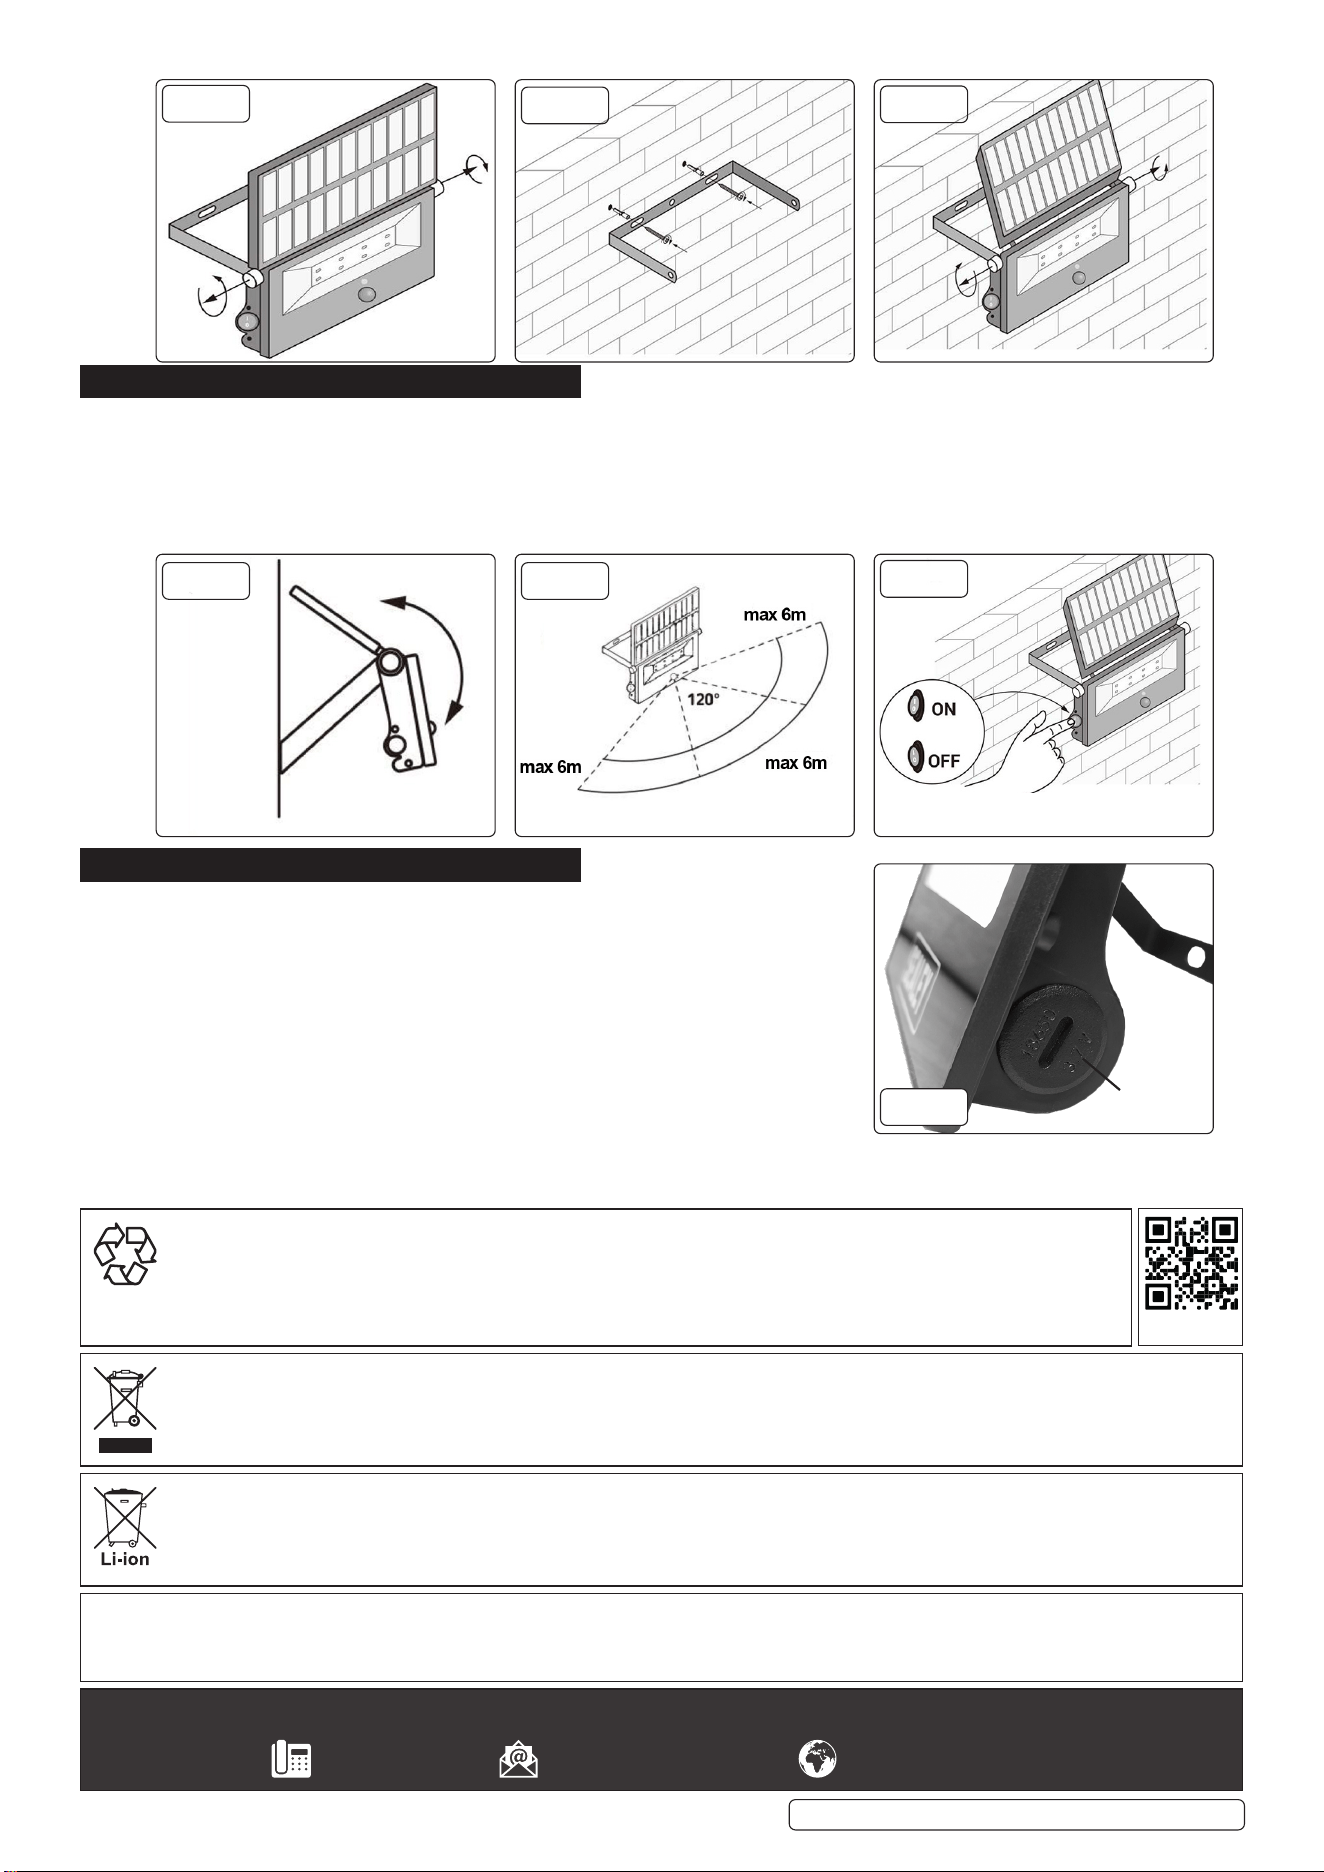
FIG.1
FIG.2
FIG.3
5. OPERATION
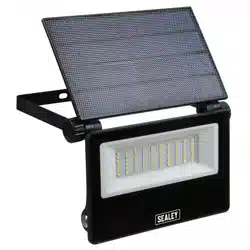
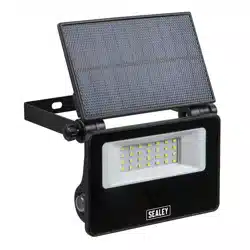
5.1. Adjust the solar panel upwards to maximise the amount of direct sunlight collected (g 4).
5.2. Rotate the light downwards to obtain maximum coverage (gs 4 & 5).
5.3. Push the power button to switch on the light (g 6).
WARNING! To avoid unwanted activation ensure that the light is not positioned so it detects unwanted objects such as road trac or
people using nearby footpaths.
5.4. Green light illumination indicates that the oodlight is charging.
FIG.4 FIG.5
FIG.6
6. MAINTENANCE
6.1. Wipe clean with soft dry cloth.
8 DO NOT use solvents.
NOTE: The light is a fully sealed unit with no serviceable parts on the
LED16S, however the LED20S, LED30S (g.7) have 18650 lithium batteries that are
charged from the solar panel. A single battery in the LED20S, and two in the LED30S.
Simply unscrew the battery cap (anticlockwise) and replace when required. Battery
orientation is marked on the rear of the lamp, adjacent to the battery access cap.
Sealey Group, Kempson Way, Suffolk Business Park, Bury St Edmunds, Suffolk. IP32 7AR
01284 757500 sales@sealey.co.uk www.sealey.co.uk
BATTERY REMOVAL
Under the Waste Batteries and Accumulators Regulations 2009, Jack Sealey Ltd are required to inform potential purchasers of products
containing batteries (as defined within these regulations), that they are registered with Valpak’s registered compliance scheme. Jack
Sealey Ltd’s Batteries Producer Registration Number (BPRN) is BPRN00705.
WEEE REGULATIONS
Dispose of this product at the end of its working life in compliance with the EU Directive on Waste Electrical and Electronic Equipment
(WEEE). When the product is no longer required, it must be disposed of in an environmentally protective way. Contact your local solid
waste authority for recycling information.
ENVIRONMENT PROTECTION
Recycle unwanted materials instead of disposing of them as waste. All tools, accessories and packaging should be sorted,
taken to a recycling centre and disposed of in a manner which is compatible with the environment. When the product
becomes completely unserviceable and requires disposal, drain any fluids (if applicable) into approved containers and
dispose of the product and fluids according to local regulations.
Note: It is our policy to continually improve products and as such we reserve the right to alter data, specifications and component parts without prior notice.
Important: No Liability is accepted for incorrect use of this product.
Warranty: Guarantee is 12 months from purchase date, proof of which is required for any claim.
LED16S, LED20S, LED30S Issue 4 (4) 15/04/24
Original Language Version
© Jack Sealey Limited
REGISTER YOUR
PURCHASE HERE
BATTERY
CAP
FIG.7
NOTE: LED30S features a button instead
of a switch.