
Loading ...
Loading ...
Loading ...
16
Installation
The minimum distance between the supporting surface for the
cooking equipment on the hob and the lowest part of the
range hood must be not less than 50cm from electric cookers
and 65cm from gas or mixed cookers.
If the instructions for installation for the gas hob specify a
greater distance, this must be adhered to.
Electrical connection
The mains power supply must correspond to the rating
indicated on the plate situated inside the hood. If provided with
a plug connect the hood to a socket in compliance with current
regulations and positioned in an accessible area, after
installation. If it not fitted with a plug (direct mains connection)
or if the plug is not located in an accessible area, after
installation, apply a double pole switch in accordance with
standards which assures the complete disconnection of the
mains under conditions relating to over-current category III, in
accordance with installation instructions.
Warning! Before re-connecting the hood circuit to the mains
supply and checking the efficient function, always check that
the mains cable is correctly assembled.
The hood is provided with a special power cable ; if the cable
is damaged, request a new one from Technical Service.
Mounting
Before beginning installation:
• Check that the product purchased is of a suitable size for
the chosen installation area.
• Remove the charcoal (*) filter/s if supplied (see also
relative paragraph). This/these is/are to be mounted only
if you want lo use the hood in the filtering version.
• Check (for transport reasons) that there is no other
supplied material inside the hood (e.g. packets with
screws (*), guarantees (*), etc.), eventually removing
them and keeping them.
Expansion wall plugs are provided to secure the hood to most
types of walls/ceilings. However, a qualified technician must
verify suitability of the materials in accordance with the type of
wall/ceiling. The wall/ceiling must be strong enough to take
the weight of the hood. Do not tile, grout or silicone this
appliance to the wall. Surface mounting only.
Operation
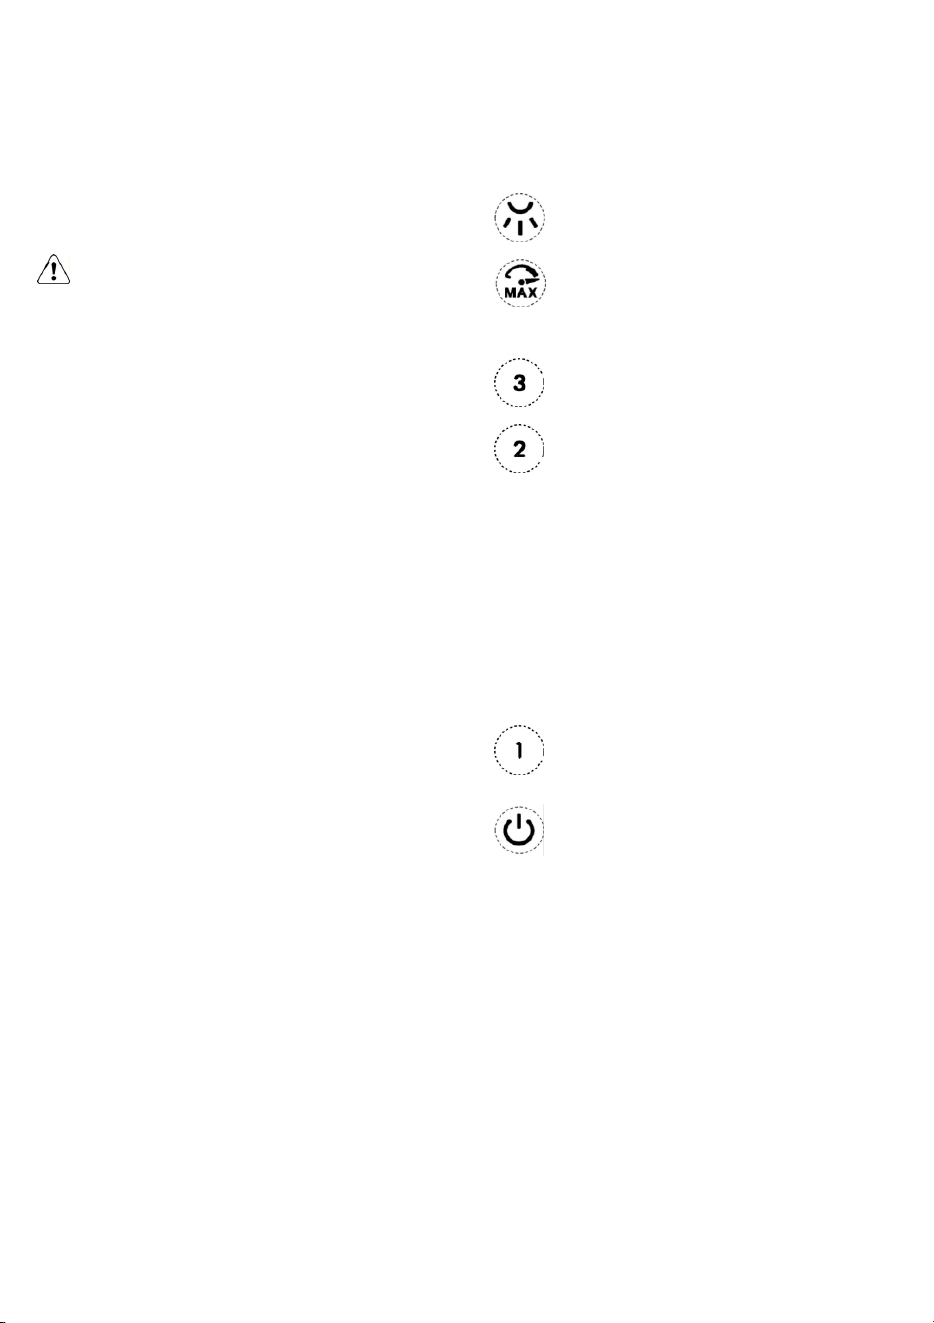
Control panel with 6 buttons
To select the functions of the hood just touch the commands.
Light key ON/OFF
Intensive speed selection key (suction
power) - duration 5 minutes: the hood sets this
power and at the end of the 5 minutes returns
to the previous setting.
High-speed selection key (suction power).
Medium-speed selection key (suction power)
- when flashing it indicates the need to wash or
replace the carbon filter. This signal is normally
deactivated. To activate the alarm, disable the
electronic by pressing the 0 button for 3
seconds.
Next, simultaneously press buttons 1 and 2 for
3 seconds; at first, only button 1 will flash, then
both buttons 1 and 2 will flash to indicate
activation. Repeat the procedure to deactivate
the alarm; at first buttons 1 and 2 will flash and
subsequently only button 1 to indicate
deactivation.
Low-speed selection key (suction power) –
when flashing it indicates the need to wash the
fats filter.
Motor key OFF (stand by) – excludes the
electronics – reset wash/replace filters signals.
MOTOR OFF
Press briefly to switch the motor off.
RESET FILTERS SIGNALS
In functioning mode, after carrying out filter
maintenance, press the key until hearing the
sound signal. The flashing LED 1 (grease filter)
or 2 (carbon filter) stops flashing.
EXCLUDING THE ELECTRONICS
Press the key for 3 seconds. The hood
command electronics will be excluded.
This function can be useful during the product
cleaning operations.
Just repeat the operation to reinsert the
electronics.
If the hood fails to operate correctly, briefly disconnect it from
the mains power supply for almost 5 sec. by pulling out the
plug. Then plug it in again and try once more before
contacting the Technical Assistance Service.
Loading ...
Loading ...
Loading ...