Loading ...
Loading ...
Loading ...
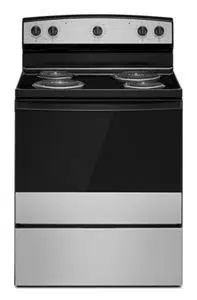
17
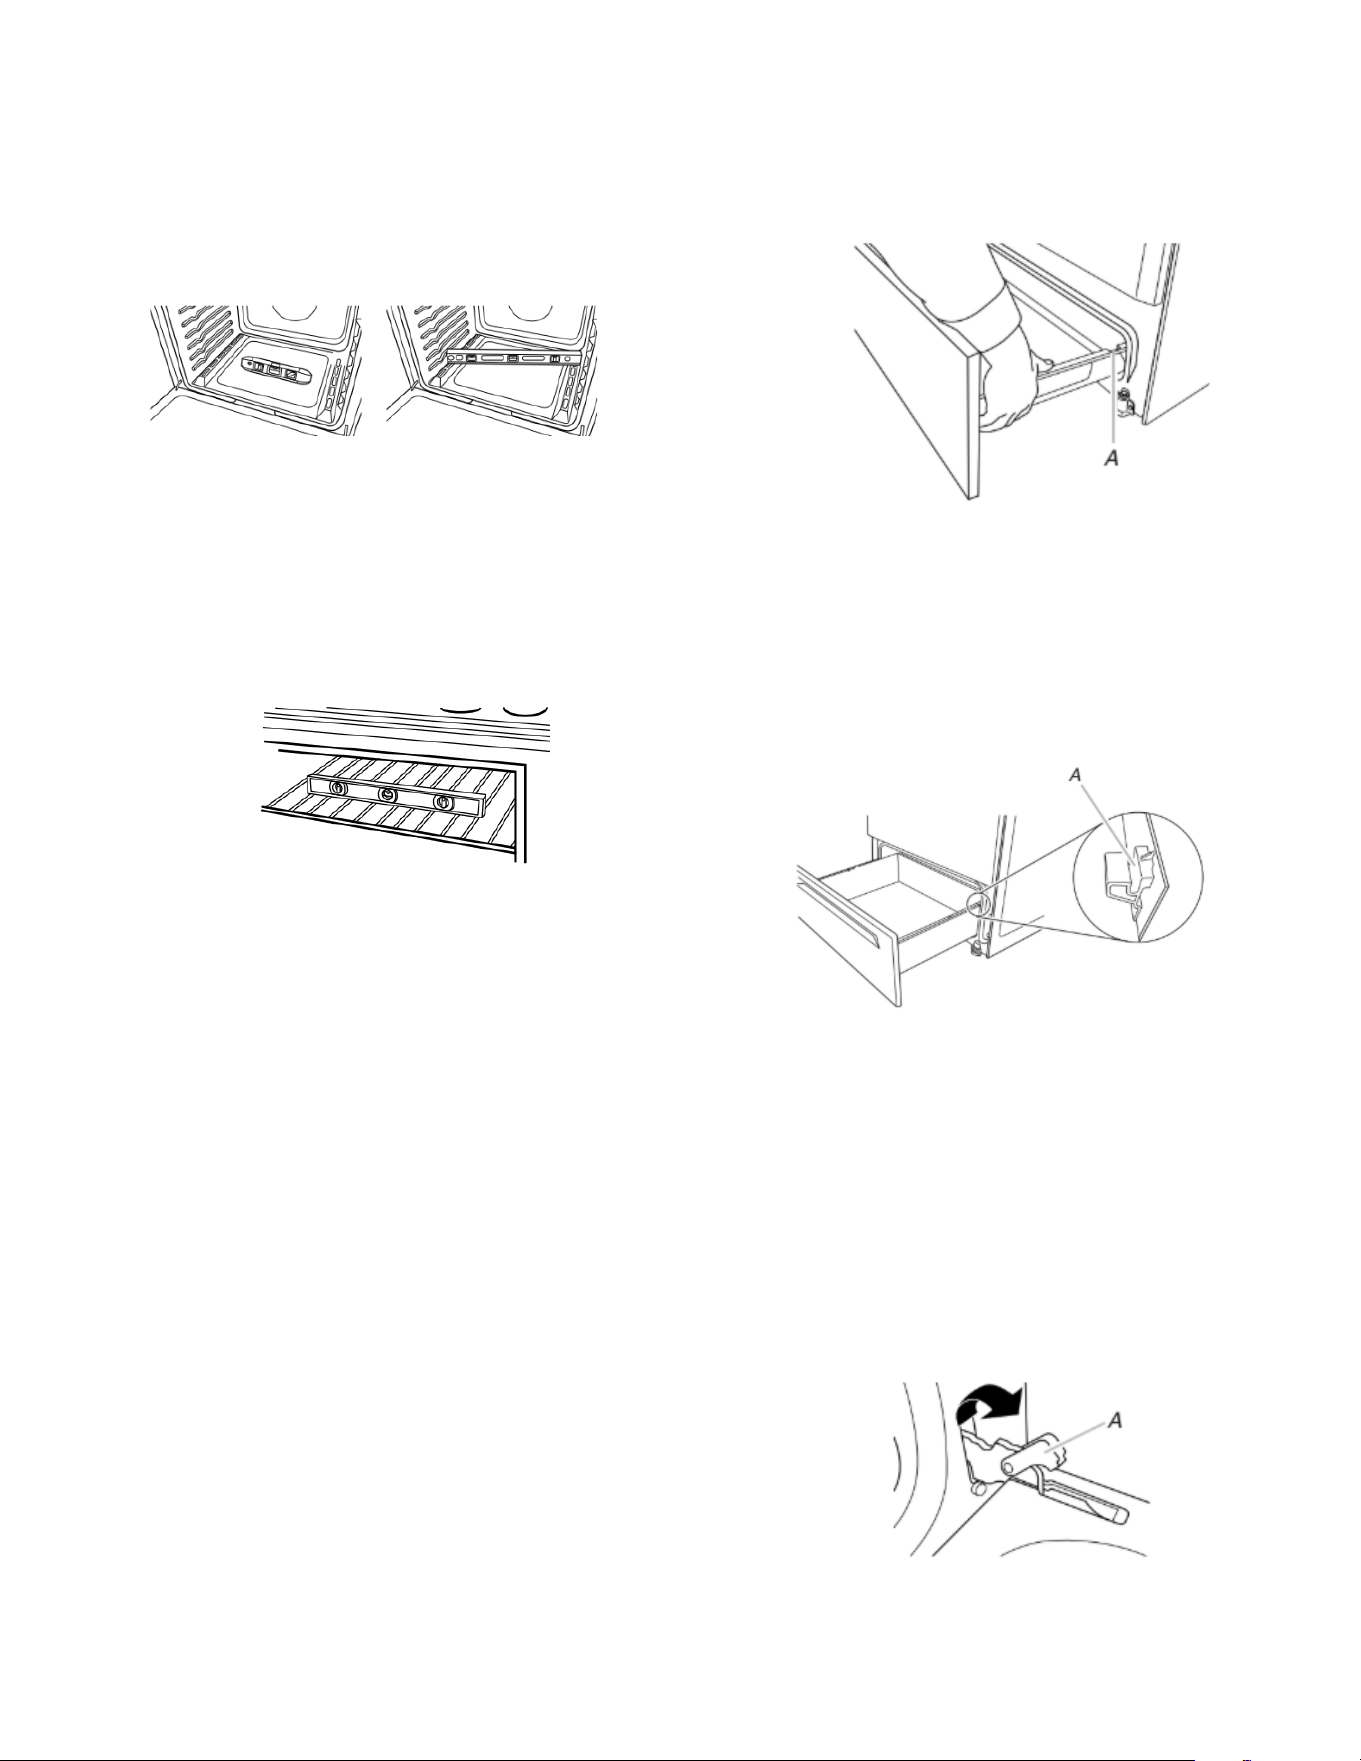
Level Range
Determine if you have AquaLift
®
Technology or Steam Clean by
referring to the “Range Maintenance and Care” section.
For Ranges with AquaLift
®
Technology or Steam
Clean:
1. Place level on the oven bottom as indicated in one of the two
figures below depending on the size of the level. Check with
the level: side to side and front to back.
2. If range is not level, pull range forward until rear leveling leg is
removed from the anti-tip bracket.
3. Follow the directions in Style 1 or Style 2, depending on the
style of drawer supplied with the range.
For Ranges without AquaLift
®
Technology or
Steam Clean:
1. Place a standard flat rack in oven.
2. Place level on the rack and check levelness of the range, first
side to side; then front to back.
3. If range is not level, pull range forward until rear leveling leg is
removed from the anti-tip bracket.
4. Follow the directions in Style 1 or Style 2, depending on the
style of drawer supplied with the range.
Style 1: Ranges Equipped with a Storage Drawer:
Use a 1/4" (0.64 cm) drive ratchet, wrench or pliers to adjust
leveling legs up or down until the range is level. Push range back
into position. Check that rear leveling leg is engaged in the anti-tip
bracket.
Style 2: Ranges Equipped with a Warming Drawer or
Premium Storage Drawer:
Use a wrench or pliers to adjust leveling legs up or down until the
range is level. Push range back into position. Check that rear
leveling leg is engaged in the anti-tip bracket.
NOTE: Range must be level for satisfactory baking performance
and best cleaning results using AquaLift
®
Technology and Steam
Clean functions.
Storage Drawer (on some models)
The storage drawer can be removed. Before removing, make sure
drawer is cool and empty.
To Remove:
1. Pull the storage drawer straight back to the drawer stop.
A. Drawer stop notch
2. Lift up the front of the drawer and pull the drawer out.
To Replace:
1. Lift up the front of the drawer and place the rear of the drawer
inside the range so that the drawer stop notch is behind the
drawer glide.
2. Lower the drawer so that the edge of the slide rail drops into
the slot in the drawer glide.
3. Slowly push the drawer into the range.
A. Engage drawer glide.
NOTE: When properly installed, the rear slides on the bottom
of the drawer will engage the base rails and the drawer will not
tip when items are placed in the drawer.
Oven Door
For normal range use, it is not suggested to remove the oven
door. However, if removal is necessary, make sure the oven is off
and cool. Then, follow these instructions. The oven door is heavy.
To Remove:
1. Open oven door all the way.
2. Pinch the hinge latch between two fingers and pull forward.
Repeat on other side of oven door.
A. Hinge latch
3. Close the oven door as far as it will shut.
Loading ...
Loading ...
Loading ...