INSTRUCTIONS FOR:
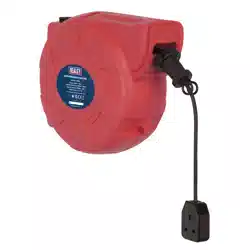
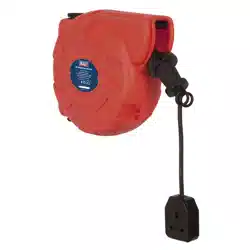
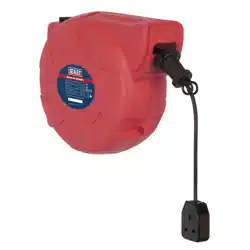
CABLE REEL SYSTEMS RETRACTABLE 2 X
230V SOCKET
MODEL No's: CRM10.V5 & CRM15.V5
1. SAFETY INSTRUCTIONS
1.1. ELECTRICAL SAFETY
WARNING! It is the user’s responsibility to read, understand and comply with the following:
You must check all electrical equipment and appliances to ensure they are safe before using. You must inspect power supply leads, plugs and
all electrical connections for wear and damage. You must ensure the risk of electric shock is minimised by the installation of appropriate safety
devices. An RCCB (Residual Current Circuit Breaker) should be incorporated in the main distribution board. We also recommend that an RCD
(Residual Current Device) is used with all electrical products. It is particularly important to use an RCD with portable products that are plugged
into an electrical supply not protected by an RCCB. If in doubt consult a qualified electrician. You may obtain a Residual Current Device by
contacting your Sealey dealer. You must also read and understand the following instructions concerning electrical safety.
1.1.1. The Electricity At Work Act 1989 requires all portable electrical appliances, if used on business premises, to be tested by
a qualified
electrician, using a Portable Appliance Tester (PAT), at least once a year.
1.1.2. The Health & Safety at Work Act 1974 makes owners of electrical appliances responsible for the safe condition of the appliance
and the safety of the appliance operator. If in any doubt about electrical safety, contact a qualified electrician.
1.1.3. Ensure the insulation on all cables and the product itself is safe before connecting to the mains power
supply. See 1.1.1. & 1.1.2. above and use a Portable Appliance Tester (PAT).
1.1.4. Ensure that cables are always protected against short circuit and overload.
1.1.5. Regularly inspect power supply, leads, plugs for wear and damage and all electrical connections
to ensure that none are loose.
1.1.6. Important: Ensure that the product voltage matches the power supply to be used.
1.1.7. DO NOT pull power plugs from sockets by the power cable.
1.1.8. DO NOT use worn or damaged leads, plugs or connections. Immediately replace or have repaired
by a qualified electrician.
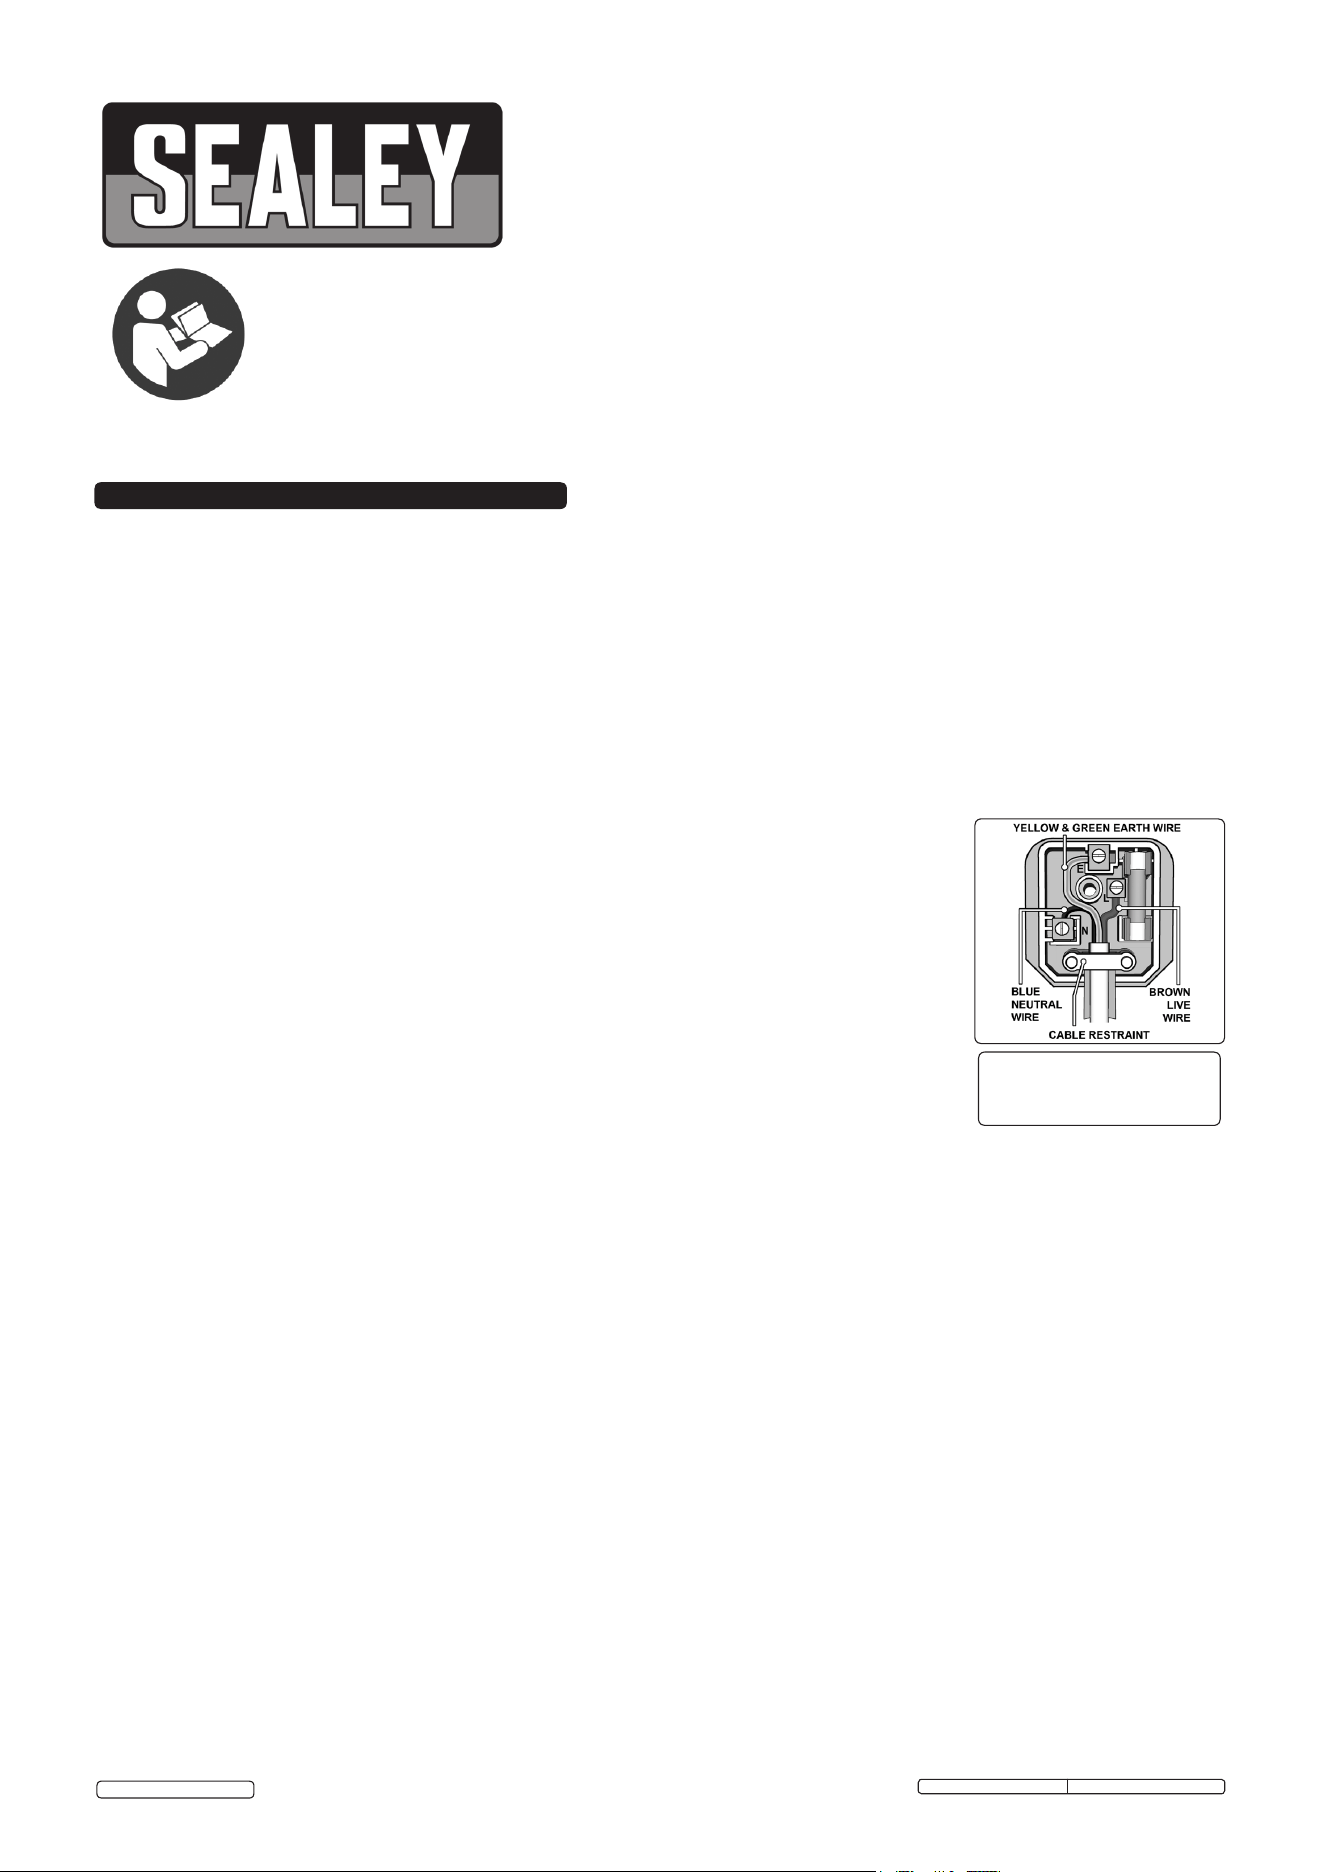
A U.K. 3 pin plug with ASTA/BS approval is fitted. In
case of damage, remove and fit a new plug according to the following instructions (discard old plug
safely).
(UK only - see diagram at right). Ensure the unit is correctly earthed via a three-pin plug.
a) Connect the GREEN/YELLOW earth wire to the earth terminal ‘E’.
b) Connect the BROWN live wire to live terminal ‘L’.
c) Connect the BLUE neutral wire to the neutral terminal ‘N’.
d) After wiring, check that there are no bare wires, that all wires have been connected
correctly , that cable outer insulation extends beyond the cable restraint and that the restraint is tight.
FUSE RATINGS:
CRM10.V5 - 13AMP
CRM15.V5 - 13AMP
1.2. GENERAL SAFETY
Familiarise yourself with the application and limitations of the reel, as well as the specific hazards.
WARNING! Isolate the reel from the electrical supply before connecting or disconnecting equipment, servicing or performing any
maintenance.
Maintain the reel in good condition (use an authorised service agent).
Replace or repair damaged parts. Use recommended parts only. Unauthorised parts may be dangerous and will invalidate the
warranty.
Locate and fix the reel in a suitable work area. Do not position in direct sunlight, or in areas of extreme heat or cold.
Keep extended cable away from heat, oil and sharp edges. Check cables for wear before each use and ensure all connections are
secure.
Maintain correct balance and footing. Ensure the floor is not slippery and wear non-slip shoes.
Keep children and unauthorised persons away from the work area.
DO NOT use the reel for any purpose other than that for which it is designed.
DO NOT operate the reel when you are tired, under the influence of alcohol, drugs or intoxicating medication.
When not in use, switch off the electrical supply and retract cable into case.
WARNING! DO NOT dismantle the reel casing, or attempt to remove the screws on the sides. To do so may result in damage to the
reel and/or personal injury and will invalidate the warranty. Internal maintenance, which will require the opening of the casing, must
only be undertaken by an authorised service agent.
Refer to Instruction
Manual
Original Language Version
CRM10.V5, CRM15.V5 Issue No:2(L) - 12/09/16
© Jack Sealey Limited
4.1. Extending the cable.
4.1.1. As the cable is pulled out from the reel the action of the ratchet mechanism can be heard alternating between the usual clicking
sound and a short period of silence. If the tension on the cable is released whilst the ratchet is clicking the cable will remain extended.
If the tension on the cable is released during the period of silence, the cable will retract. To stop the cable retracting, pull it out again a
little until you hear the ratchet clicking.
4.2. Retracting the cable.
4.2.1. To release the cable and allow it to automatically rewind, pull the cable out from the locked position until the clicking stops and then
release the tension on the cable. Do not let go of the cable, but keep hold of it and guide the socket back to the reel.
WARNING! The reel tension is factory set, if any adjustment is required contact an authorised service agent. DO NOT remove any of
the black spring cover screws.
4.3. Thermal cut-out.
4.3.1. In the event of the reel being overloaded, the cut-out will trip. If this occurs disconnect the reel from the mains supply and then
determine and rectify the cause of the overload.
4.3.2. Reconnect to the mains supply and press the cut-out reset button, after allowing two or three minutes for cooling.
4. OPERATION
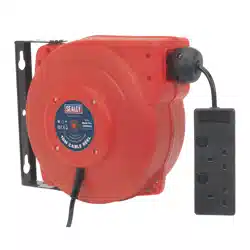
3. MOUNTING/ASSEMBLY
3.1. To wall mount the reel, first remove the wall mounting bracket from the reel by releasing and withdrawing the two bracket pivots.
To release the pivots, remove the casing screws which pass directly through each pivot.
Note: There are two screws attaching the top pivot. DO NOT remove any other casing screws.
3.2. Fix the bracket in an appropriate position, ensuring that the wall and the mounting screws and plugs will adequately support the
weight of the reel and the tension of the cable as it is pulled from the reel.
3.3. Re-attach the reel to the bracket, ensuring that the pivots are correctly inserted and retained by the casing screws.
3.4. Ensure that the cable can be pulled out to, and reeled back from, work sites without rubbing on the sides of the cable entry.
NOTE: It is our policy to continually improve products and as such we reserve the right to alter data, specifications and component parts without prior notice.
IMPORTANT: No liability is accepted for incorrect use of this product.
WARRANTY: Guarantee is 12 months from purchase date, proof of which will be required for any claim.
Original Language Version
CRM10.V5, CRM15.V5 Issue No:2(L) - 12/09/16
Parts support is available for this product. To obtain a parts listing and/or diagram, please log on to www.sealey.co.uk,
email sales@sealey.co.uk or phone 01284 757500.
Model No: CRM10.V5 CRM15.V5
Input: 230V 230V
Output: 230V 230V
Power Wound/Unwound: 1000/2750W 1000/2750W
Cable Length: 10m 15m
Cable Size: 3 x 1.5mm
²
3 x 1.5mm
²
Thermal Cut-out: Yes Yes
2. TECHNICAL SPECIFICATIONS
01284 757500
01284 703534
sales@sealey.co.uk
Sole UK Distributor, Sealey
Group, Kempson Way, Suffolk
Business Park, Bury St. Edmunds,
Suffolk, IP32 7AR
www.sealey.co.uk
© Jack Sealey Limited