Model No. DH65
Thank you for purchasing a Dellonda product. Manufactured to a high standard, this product will, if used according to these instructions, and properly
maintained, give you years of trouble free performance.
www.dellonda.co.uk
DH65 Issue:1 21/07/2021
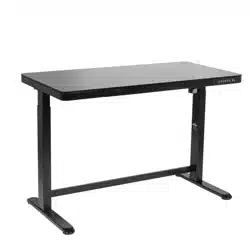
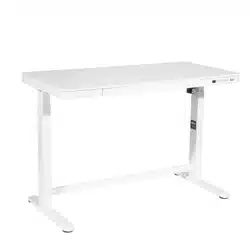
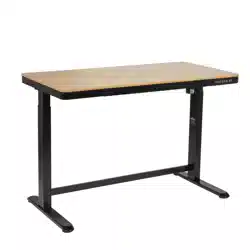
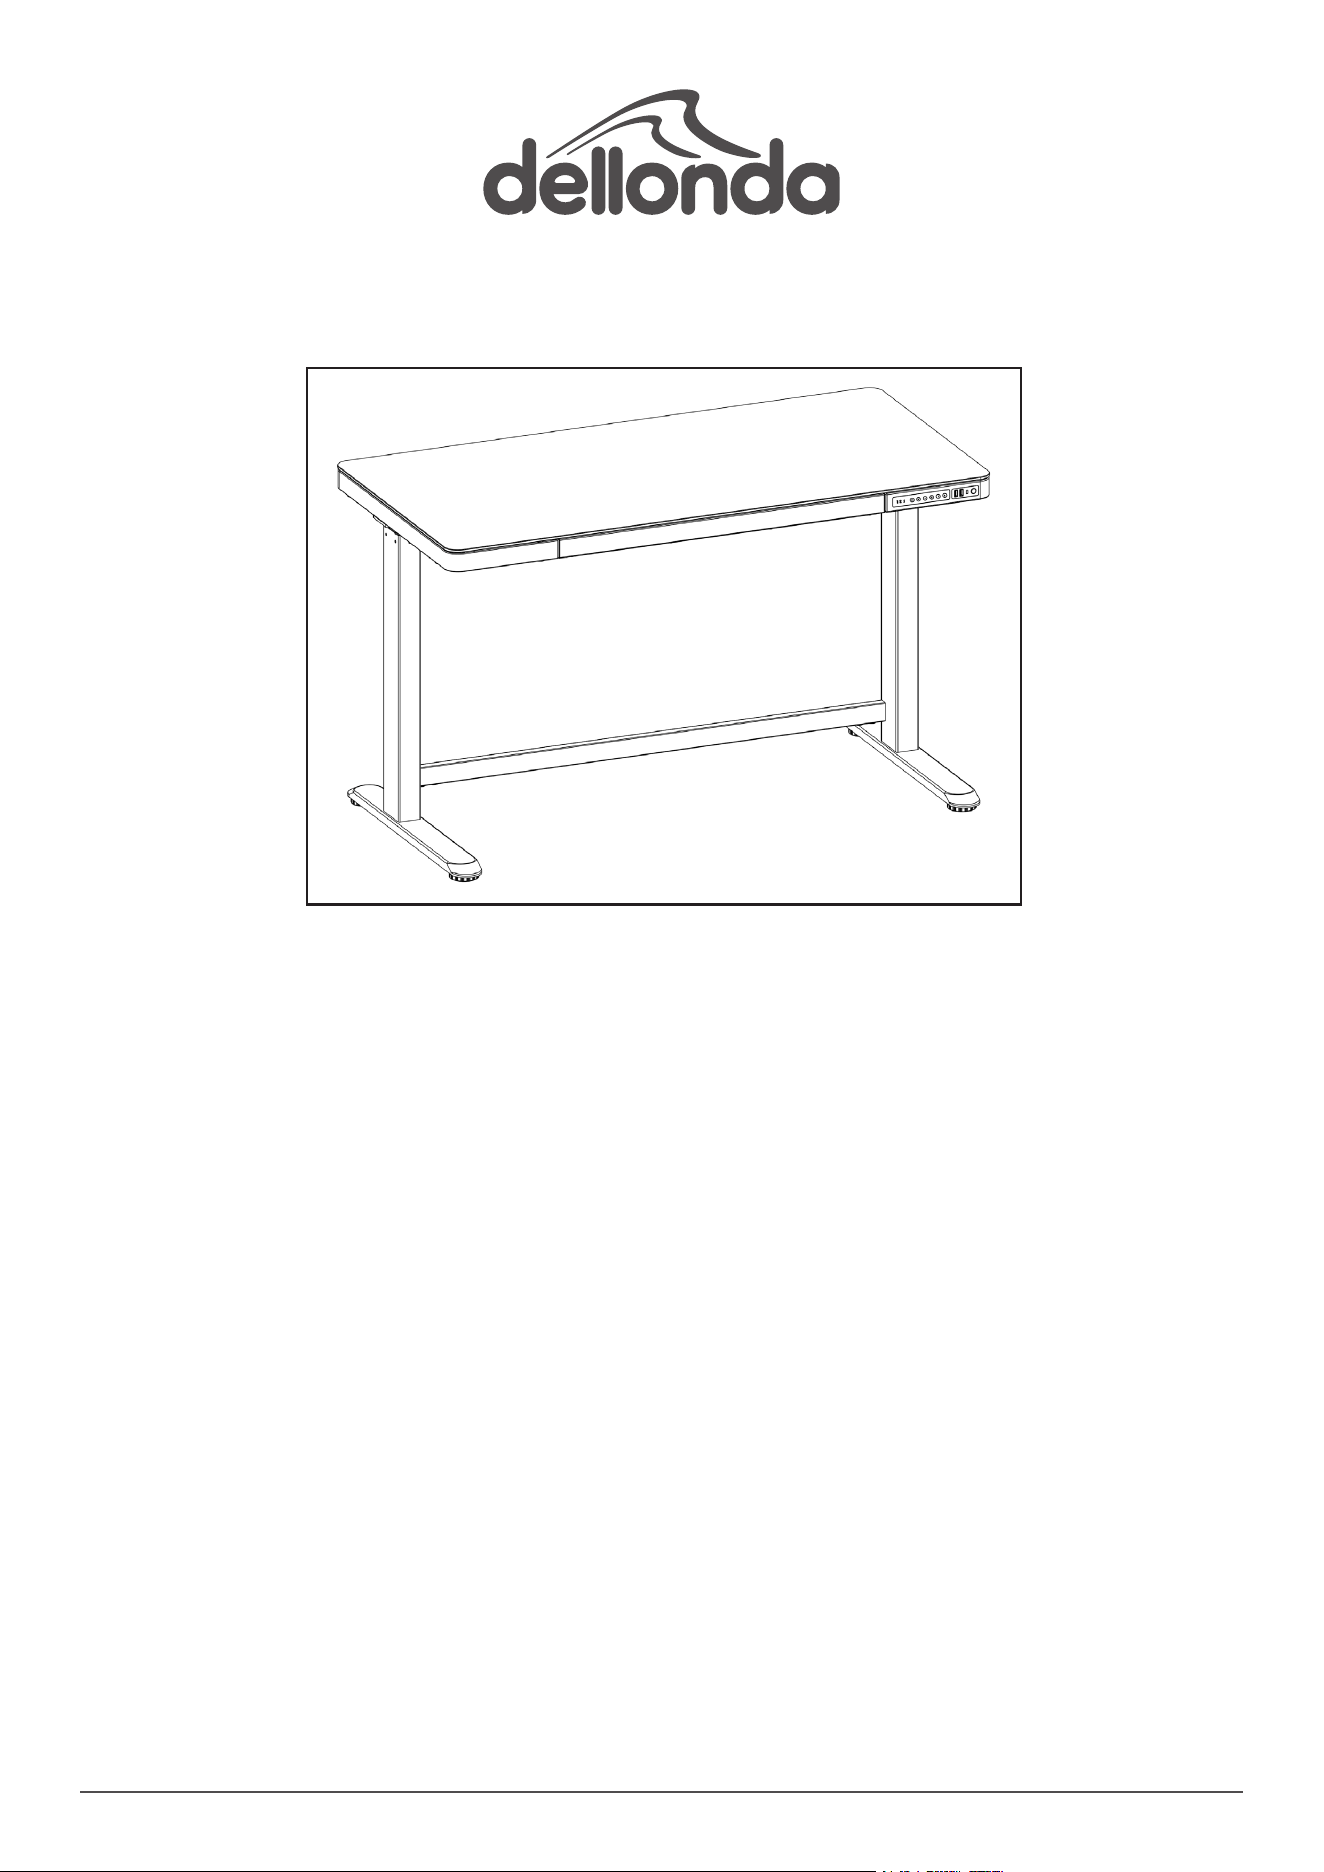
Dellonda Height-Adjustable Electric Sit & Stand Desk with
Control Panel & Drawer
2
Important Information
Please read these instructions carefully and note any safe operational requirements, warnings & cautions. Use the product correctly and with
care for the purpose for which it is intended. Failure to do so may cause damage and/or personal injury and will invalidate the warranty. Keep
these instructions safe for future use.
Contents
About the Product
Height-adjustable desk with stylish oak desktop ideal for your ofce or home needs. Features digital control panel with four programmable memory
presets enabling you to reach your desired height with the push of a button. Control panel also features 2x USB and 1x Type C port. Includes handy
storage drawer to store your ofce or home essentials. Single motor system ensures a fast and stable adjustment. Features ultra-quiet operation
with a sound level less than 50dB. Some simple assembly is required. Desktop made from hard wood and covered with an oak effect veneer.
Specication
• Height range: 720-1210mm
• Speed: 25mm/s²
• Desktop dimensions 1200 x 600mm
• Sound level <50dB
• Max. load capacity 50kg
• Supply 230V
Safety Instructions
• ELECTRICAL SAFETY
• WARNING! It is the user’s responsibility to check the following:
• Check all electrical equipment and appliances to ensure that they are safe before using. Inspect power supply leads, plugs
and all electrical connections for wear and damage. Dellonda recommend that an RCD (Residual Current Device) is used
with all electrical products. You may obtain an RCD by contacting your local domestic stockist.
• connections to ensure that they are secure.
• Important: Ensure that the voltage rating on the appliance suits the power supply to be used and that the plug is tted with
the correct fuse - see fuse rating in these instructions.
• DO NOT pull or carry the appliance by the power cable.
• DO NOT pull the plug from the socket by the cable.
• DO NOT use worn or damaged cables, plugs or connectors.
• Ensure that any faulty item is repaired or replaced immediately by a qualied electrician.
• This product is tted with a BS1363/A 13 Amp 3 pin plug.
• If the cable or plug is damaged during use, switch off the electricity supply and remove from use.
• Replace a damaged plug with a BS1363/A 13 Amp 3 pin plug. If in doubt contact a qualied electrician.
• Class II products are wired with live (brown) and neutral (blue) only, and are marked with the Class II symbol.
A) Connect the BROWN
live wire to the live terminal ‘L’.
B) Connect the BLUE neutral wire to the
neutral terminal ‘N’.
C) Check that there are no bare wires and ensure that all wires are correctly connected.
• Ensure that the cable outer sheath extends inside the cable restraint and that the restraint is tight.
• DO NOT connect either wire to the earth terminal.
• Dellonda recommend that repairs are carried out by a qualied electrician.
Recommended
fuse rating:
13A
3
• Unplug the power source before cleaning. Wipe the dust on surface with slight damp cloth when cleaning, DO NOT get water in the electrical
housing, and be careful not to loosen any cables.
• Check carefully to ensure correct and complete assembly before use.
• Familiarise yourself with all functions and program settings of the product before rst use.
• DO NOT let children play on the product.
• Slight noise caused by the V-ribbed belt or brake system will not have any effect on the use of the equipment.
• DO NOT clean the unit with corrosive or abrasive materials.
• This appliance can be used by children aged from 8 years and above and persons with reduced physical, sensory or mental capabilities or lack of
experience and knowledge if they have been given supervision or instruction concerning use of the appliance in a safe way and understand the
hazards involved. Children shall not play with the appliance.
• If the supply cord is damaged, it must be replaced by the manufacturer, it’s service agent or a similarly qualied person in order to avoid a hazard
and prolong the life of the equipment.
• ALWAYS make sure there are no hazards in the operating environment. e.g., nothing that will get hooked up on the desk, or stop the desk from
raising or lowering fully.
• Operating environment temperature 0-40°C.
• Keep the original instructions, for future reference.
• ALWAYS inspect the unit prior to use for fatigue and damage.
• Always be careful with the packaging materials in order to avoid any possible danger, e.g. plastic bag may lead to choking hazard to children.
• Keep the original packaging of the equipment if necessary in case of the future use in transportation.
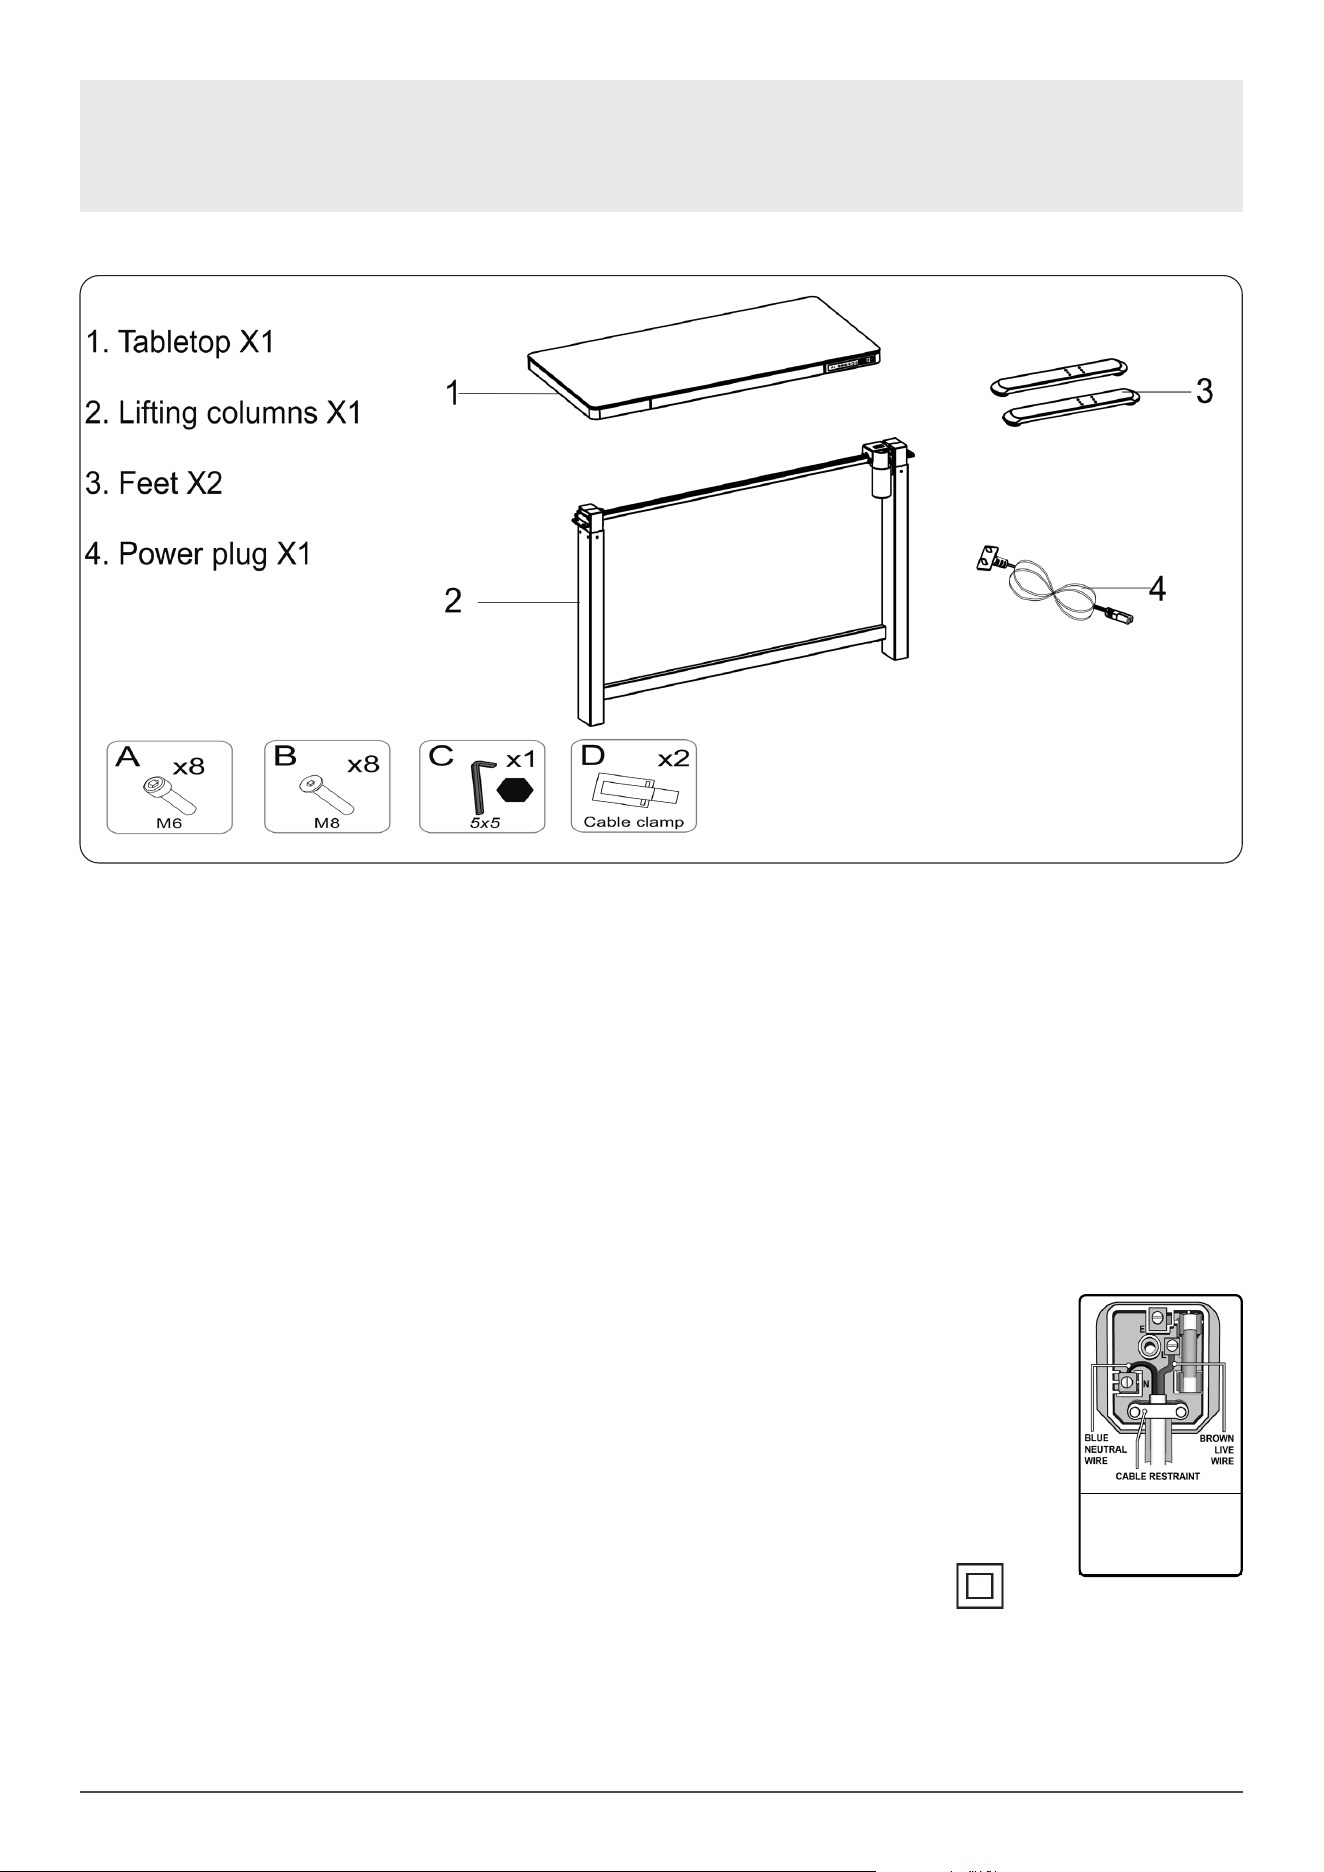
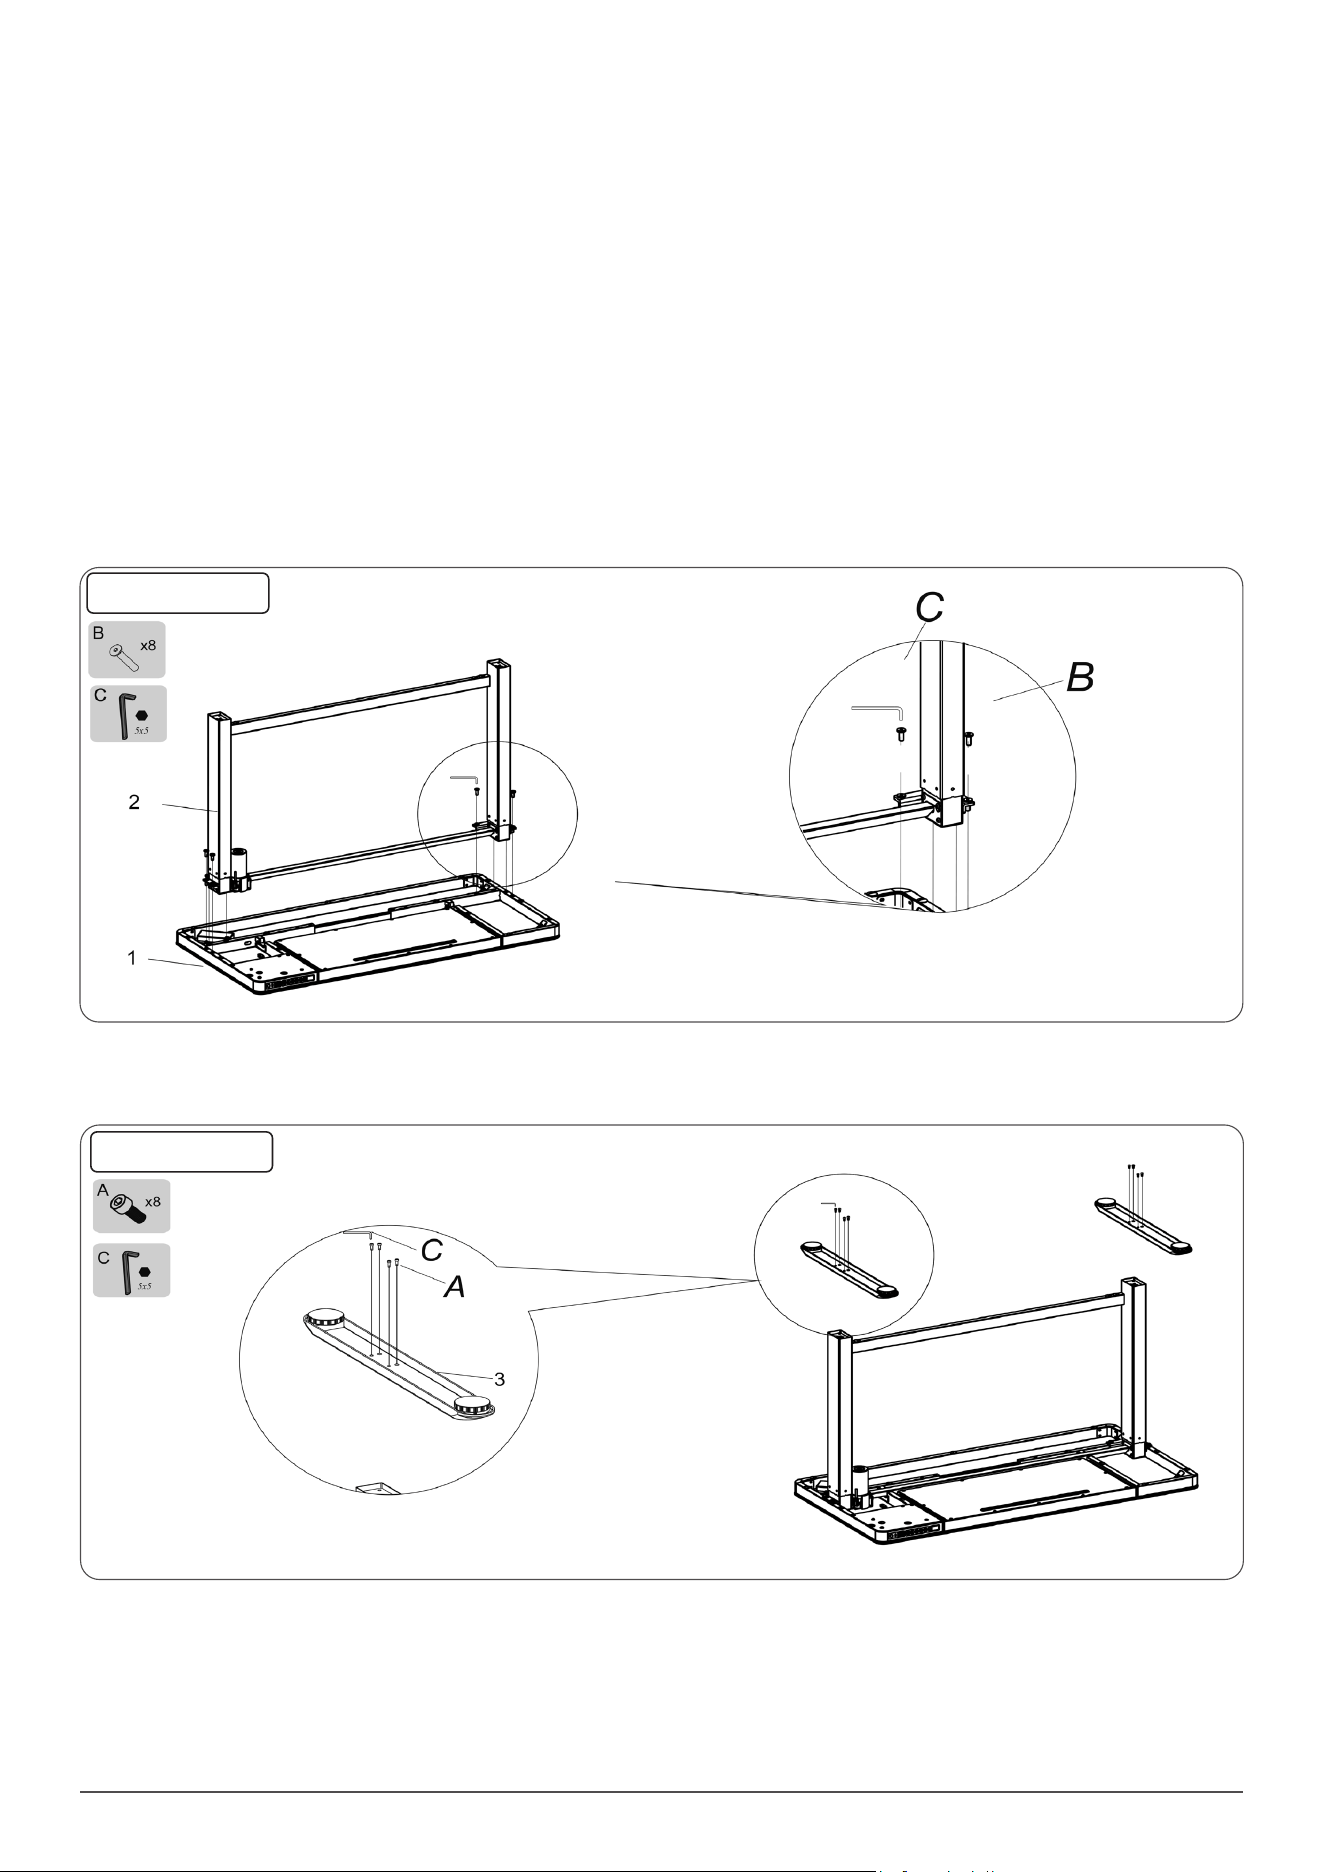
Assembly
• Step 1: Install table top and lifting columns
• Connect the tabletop (1) and the lifting columns (2) with the screw (Bx8) M8 and tighten it with hex wrench (C).
• Caution: Please do not place the oak surface directly on the ground during installation, in case it gets scratched.
• Be extra vigilant during installation to avoid damage.
•
• Step 2: Install the feet
• Install the feet (3) to the lifting columns with the screw M6 A*8 and tighten it with hex wrench (C).
Step 1
Step 2
4
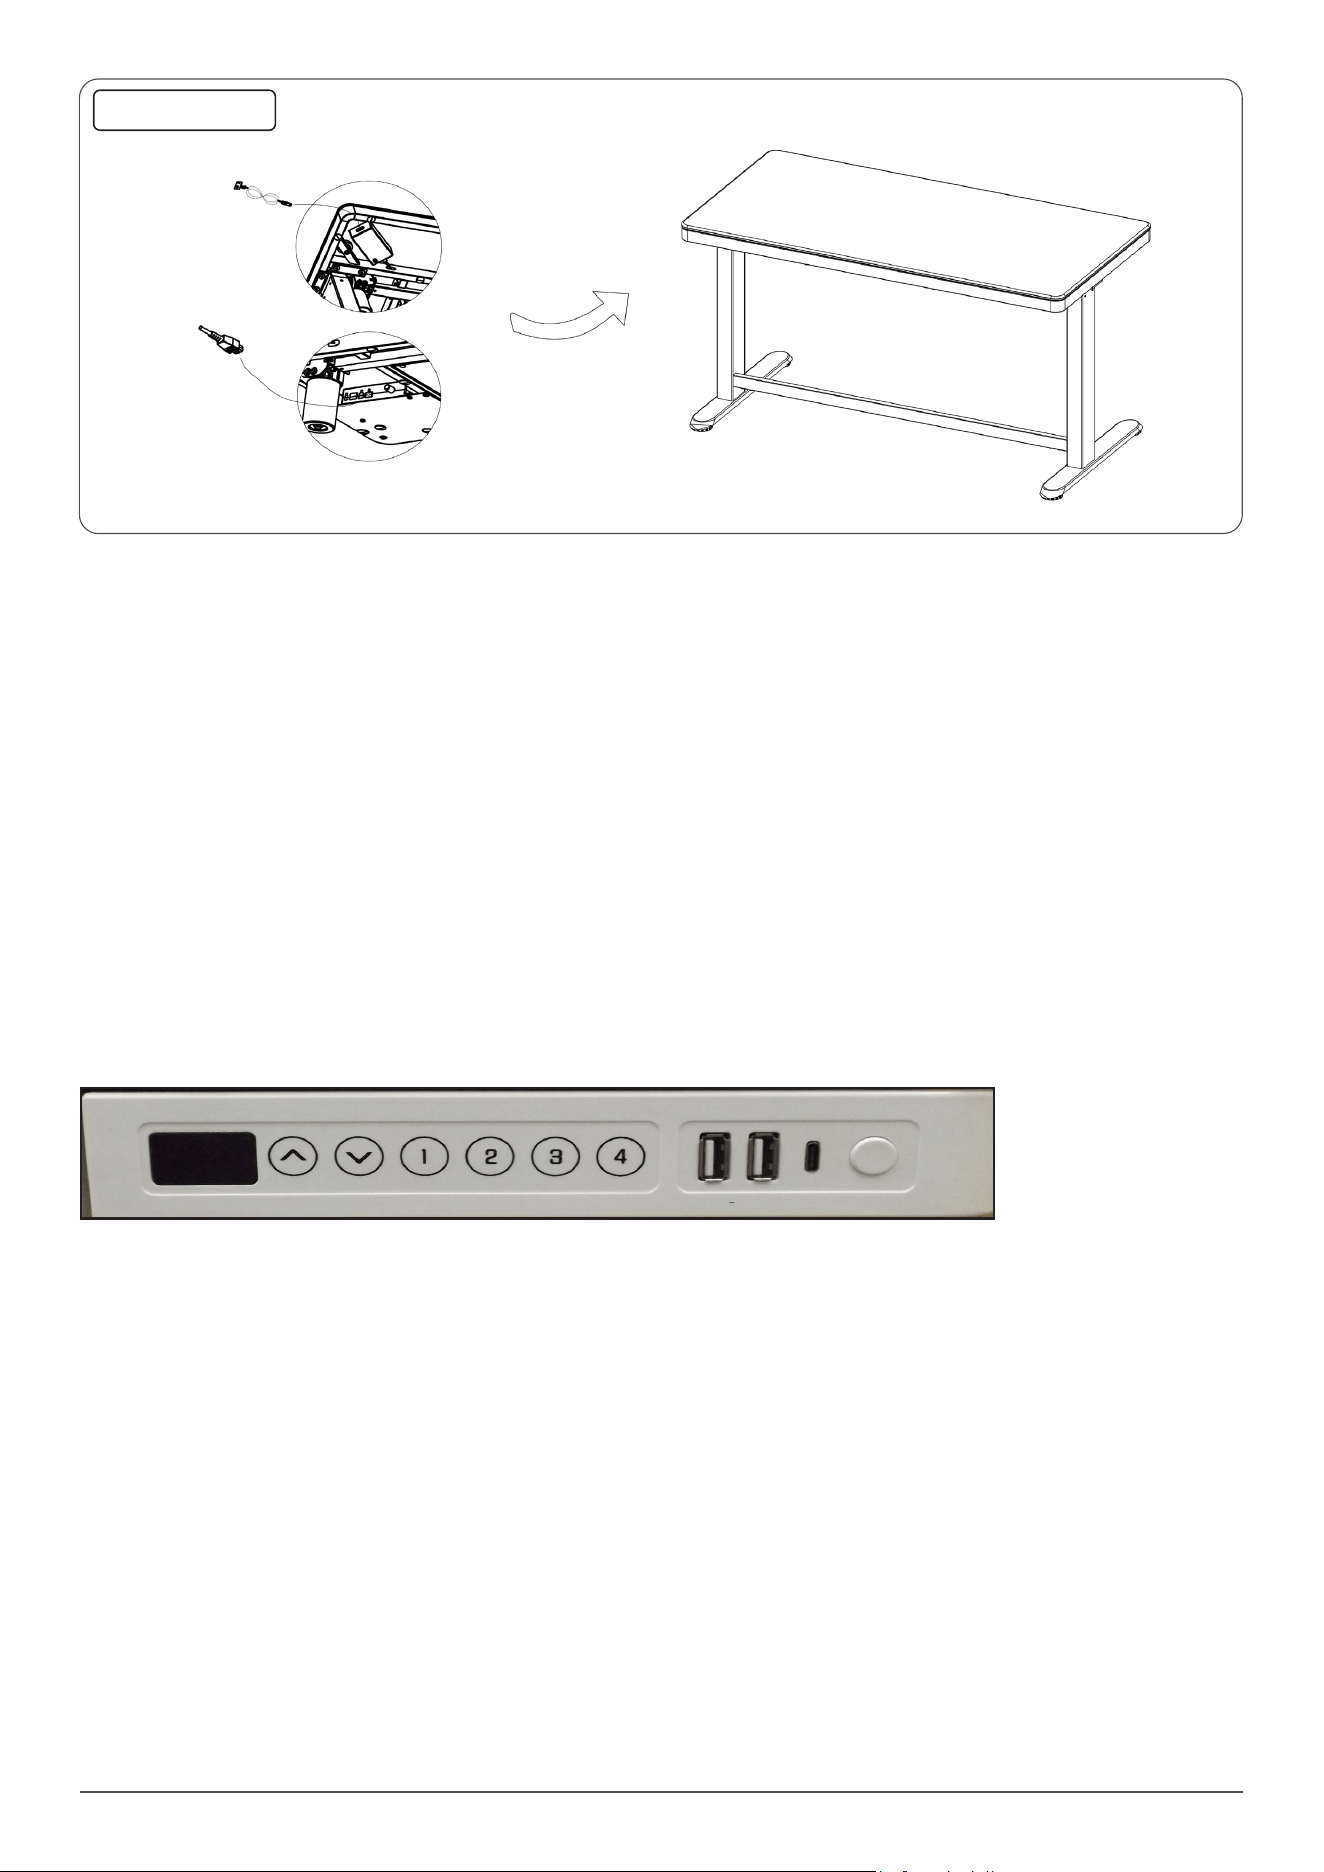
• Step 3: Install the motor and mains cable
• Connect the cable from the control panel to the cable that comes from the mains adapter box. Plug in the mains cable to the adapter box.
• Use cable ties to secure the mains cables.
Operation
1. Touch the up/down button to adjust the height of the desk, keep pressing the up/down button for 2 seconds to continue adjustment of the height,
the desktop run to its lowest point will display “bot”, the desktop at its highest point the display shows “top”.
• 2. Key button: 1,2,3,4 are the four height memory buttons.
Long press the button for approximately 3 seconds to store the current height.
• 3. Long press for 5 seconds buttons 3 and 4 (at the same time), ‘ASr’ (reset) indication will appear.
Press the down arrow button until the lifting table lowers to the lowest position and rebounds to rise to a stop. The display shows the lowest height “bot”.
Release the button, the reset is over and the table can be used normally.
• 4. The desk has two USB ports and one Type-C port, they can supply power for other electrical devices and can support the following charging
protocols, Type-C output: 5V3A/9V2A/12V1.5A, Type-A output: 3.6-6.5V2.4A/6.5-9V2A/12V1.5A, total output power of single port - 18W Max.
When the desk is moving, the power to the outputs will stop, when height adjustment stops power to the outputs will restart.
• 5. Short press the “LOCK” button to activate the child lock function.
This will stop the desk operating if the buttons are accidentally touched.
The screen will show “Loc” and beep when the desk is locked.
Press the “LOCK” button (beep will sound) again to unlock.
• 6. Long press the up and down button to switch the sensitivity level.
Press the up and down buttons again to scroll through the sensitivity settings:
When the screen shows “A-0”, it means the anti-collision function is off, “A-1” means the anti-collision sensitivity is in level 1, “A-2” means the anti-
collision sensitivity is in level 2, “A-3” means the anti-collision sensitivity is in level 3. Level 3 is the highest sensitivity.
Troubleshooting
• RESET: When the LED displays “ASr” press the down button until the desk reaches its lowest height and rebounds to stop. The reset has
completed.
• When the desk does not work and the LED shows “E01” or “E02”, wait 18 minutes before trying to operate again.
• If the down button does not work, check the cable connections and then turn the power off for at least 10 seconds. Turn on the power and press
the down button to start the RESET process when the LED displays “ASr”.
• If none of the above processes work please contact Dellonda Customer Service.
Step 3
LOCK
5
Problem Solution
No response when long pressing the down arrow after connecting a power
supply
Check that all cables are connected
Contact your supplier
No response when long pressing up/down arrow after connecting a power
supply
Check that all cables are connected
Contact your supplier
Rises slowly Check if overloaded (max. loading 50kg)
Contact your supplier
The motor will not move as instructed Contact your supplier
Desk will go down but will not go up Reposition
Desk slides down Check if desk is overloaded (max. loading is 50kg)
Contact your supplier
Desk frequently repositions Check if overloaded
Contact your supplier
Desk is overworked (duty cycle is max. 2 mins on & 18 mins off) Remove power supply. Restart after waiting 18 mins
Insufcient ascent and descent height Press “3” & “4” buttons at the same time for more than 3 secs until
the buzzer sounds twice, then reset again
Contact your supplier
Troubleshooting chart
Environment Protection, Waste Electrical and Waste Electronic Equipment Regulations
(WEEE)
Recycle unwanted packaging materials. When this product is no longer required, or has reached the end of its useful life, please dispose
of in an environmentally friendly way. Drain any uids (if applicable) into approved containers, in accordance with local waste regulations.
Please note that this product contains one or more batteries. It is our policy to continually improve products and we reserve the right to
alter data, specications and parts without prior notice. No liability is accepted for incorrect use of this product. Guarantee is 12 months
from purchase date, proof of which is required for any claim.
Dellonda Limited
Kempson Way, Suffolk Business Park, Bury St Edmunds, Suffolk. IP32 7AR
01284 757575 [email protected] www.dellonda.co.uk