

REVEL SAUNAS
USER MANUAL
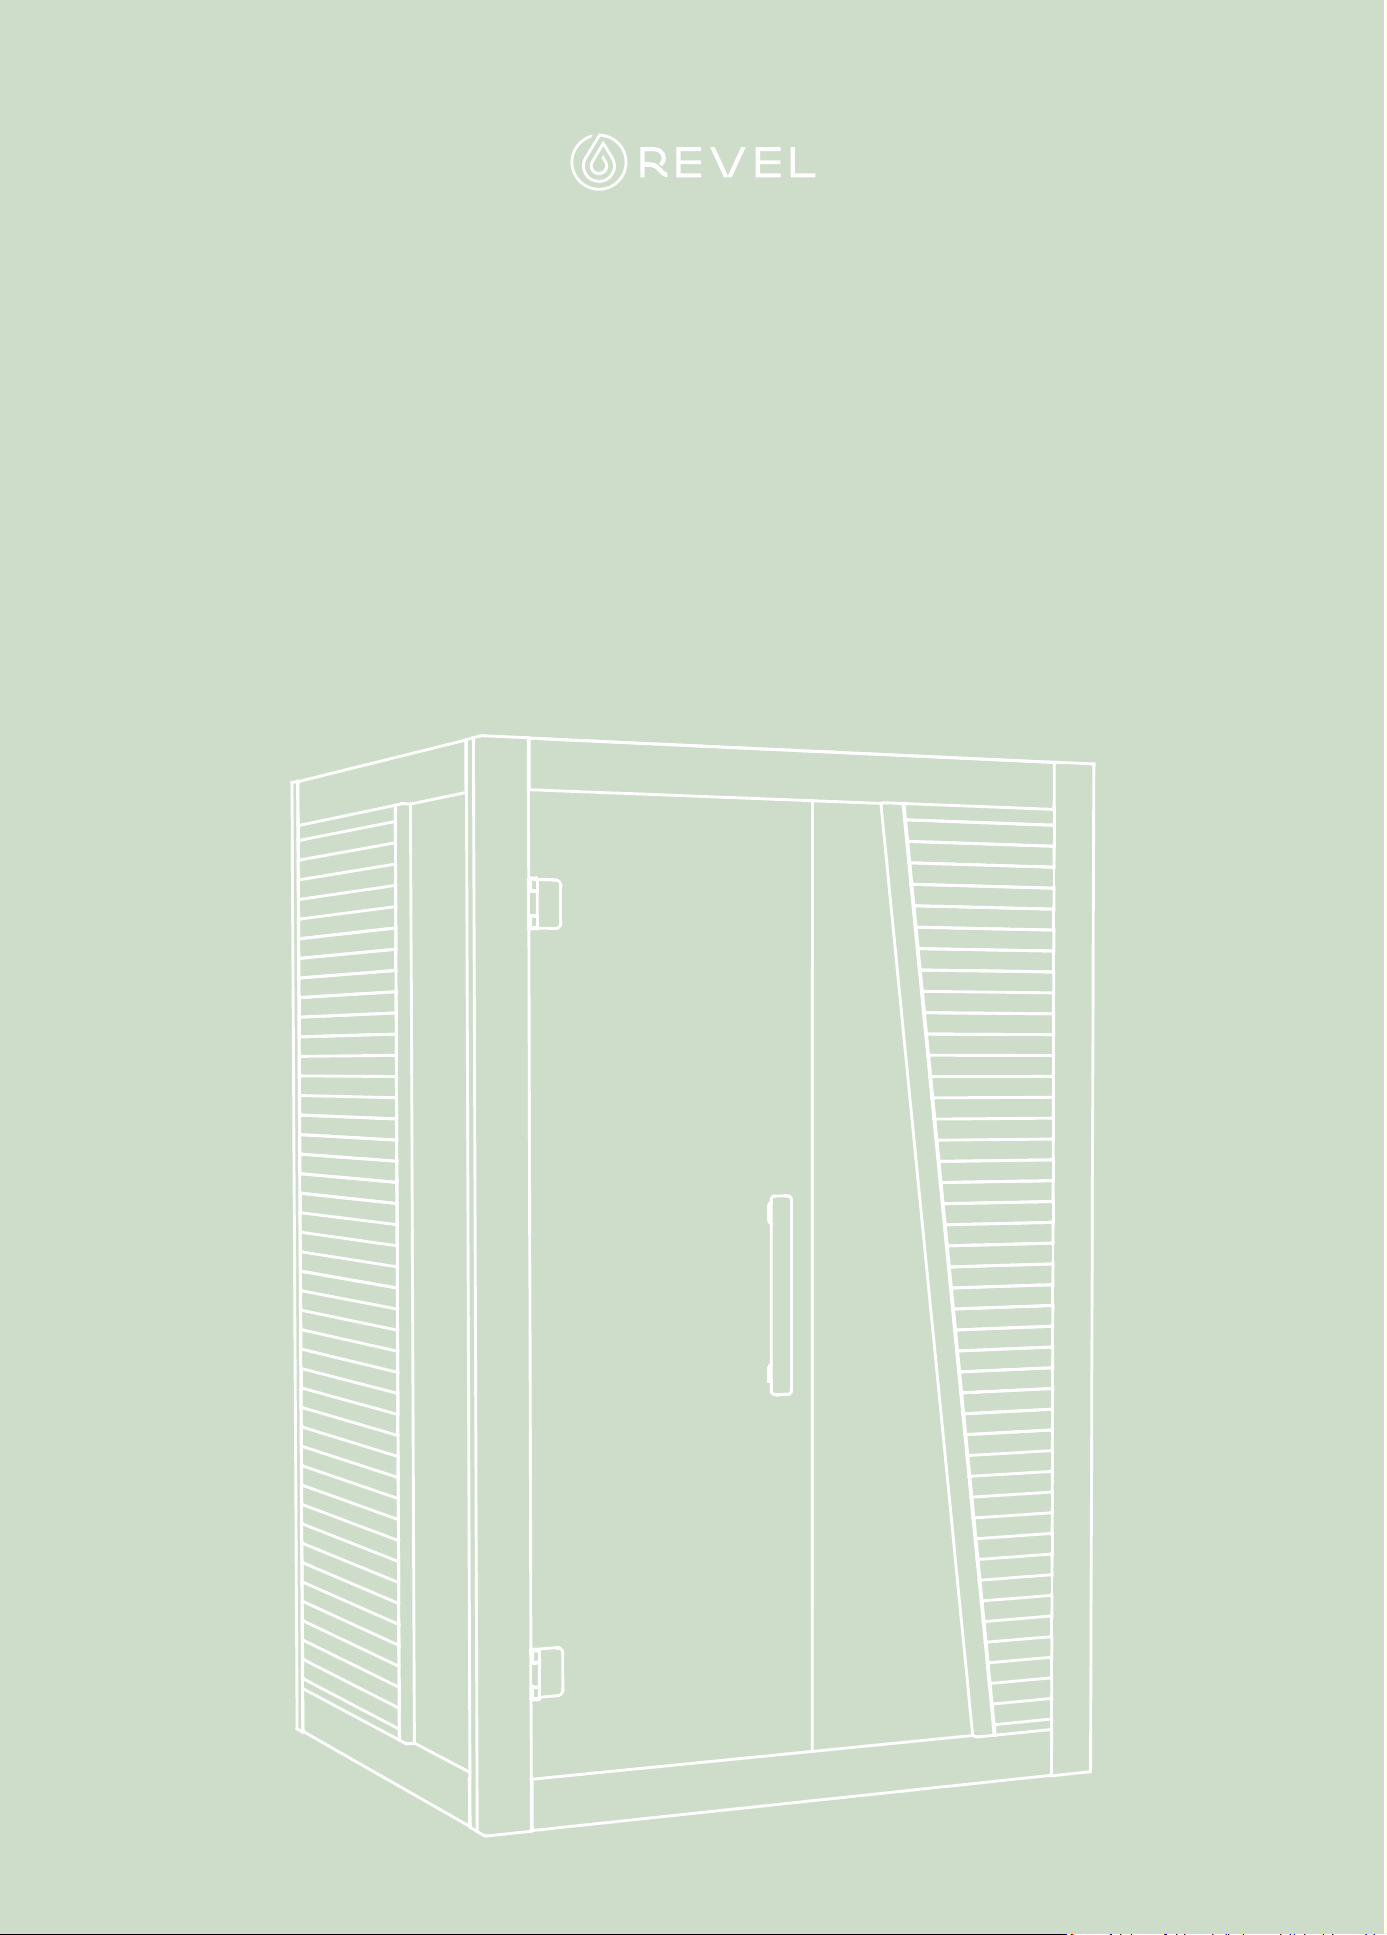
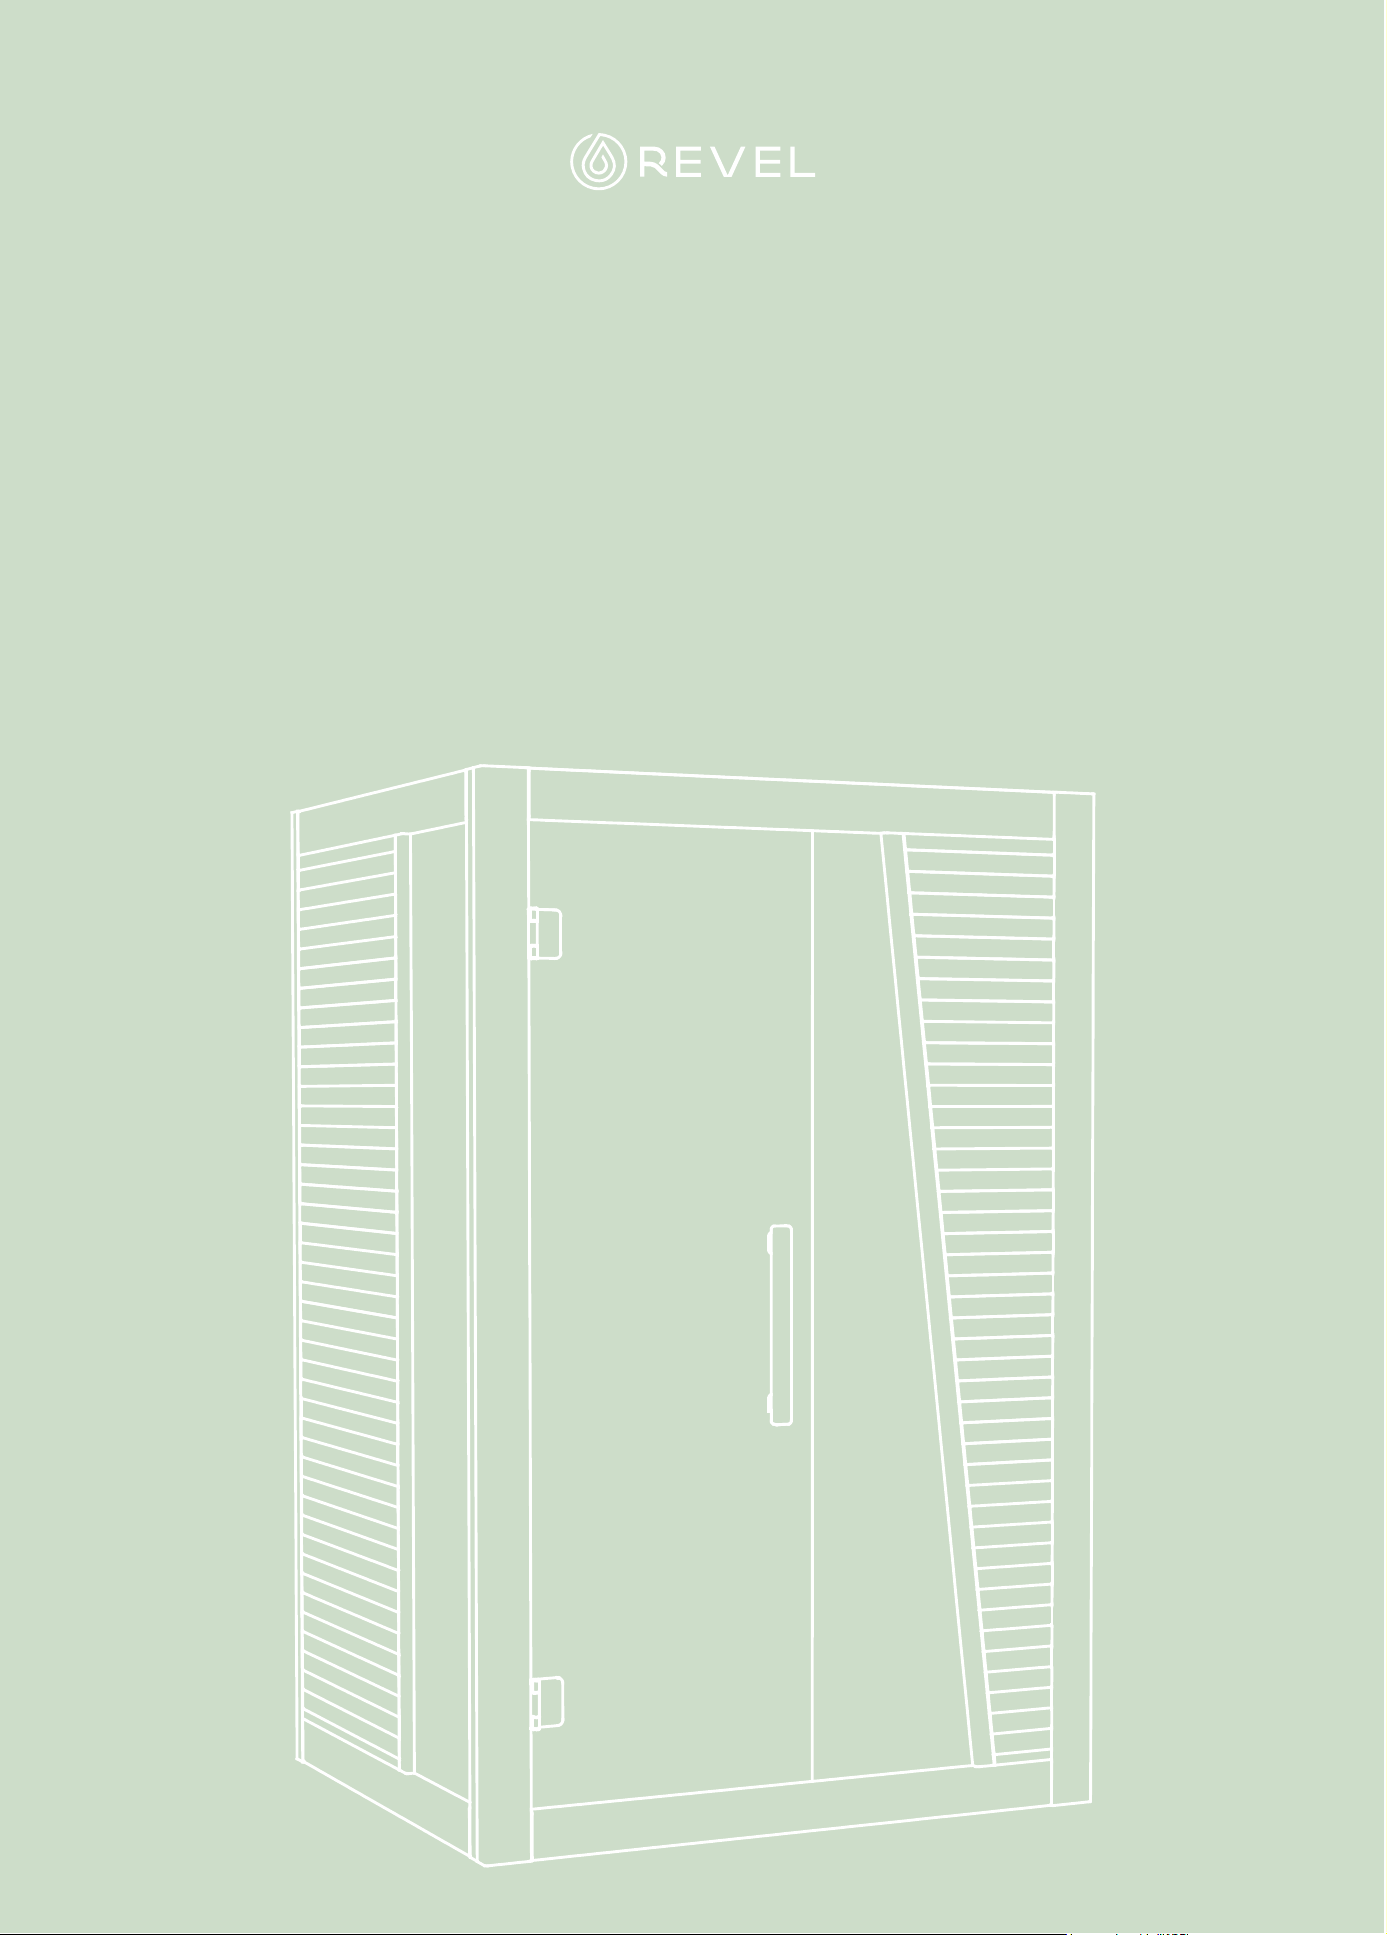
TAMPERE Traditional Sauna
Due to our continued product improvement, product illustrated on this
instruction manual may vary slightly from the actual product.

RECOMMENDATIONS
Read this manual carefully before using your sauna for the first time.
We recommend you keep it in a safe place for future reference.
• Wood is a living element, to maintain its original appearance, it is important to treat the outside of the wood against
moisture. Use a saturator only on the outside of the sauna.
• Install the sauna on a perfectly flat and hard surface.
• The sauna must remain in a dry area. Do not use it near a source of water (bath, damp floor, swimming pool).
• Do not use liquid cleaning products. Disconnect the sauna before cleaning and use a wet rag .
• Protect the sauna’s electrical cable to avoid it being crushed or pinched.
• Prior to replacing certain components, ensure that they are specified by the manufacturer or that they have the
same features as the original parts. Incorrect replacement can cause a fire, a short circuit or damage to the sauna. We
strongly recommend using a qualified technician.
• To avoid the risk of burns or electric shocks, do not use any metal tools.
• Do not put animals in the sauna.
• Do not leave the sauna switched on without supervision.
• Do not leave the sauna switched on for more than 3 hours at a time to avoid premature deterioration of the
equipment. After 3 hours continuous usage, switch off the sauna for at least one hour.
• We recommend that you do not install a locking system on the sauna door.
• Check compliance of your electrical installation prior to connecting your sauna to the power supply.

SAFETY
IMPORTANT :
Please read the safety instructions carefully before installing and using your sauna cabin. They are essential for your
safety, so please adhere strictly to them.
Beware of hyperthermia, heat stroke or heat exhaustion which can be caused or aggravated by noncompliance with
the safety instructions. Symptoms are fever, a rapid pulse, dizziness, fainting, lethargy and numbness in all or part of
the body. The effects are: reduced awareness of the heat, ignorance of imminent risks, loss of consciousness.
The sauna must not be used by:
• Children under 6 years of age.
• People with severe reactions to sunlight.
• Elderly or disabled people.
• People with previous medical conditions such as heart disease, high or low blood pressure, blood circulation
problems or diabetes without prior medical advice.
• Pregnant women. Excessive temperature can endanger the foetus.
• Persons suffering from dehydration, open sores, eye disorders, burns or sunstroke.
• Children between 6 and 16 years of age may use the sauna provided that they are continuously supervised by a
responsible adult and that the temperature does not exceed 60°C (140°F).
• In the event of problems involving health, medication or injury to muscles or ligaments, do not use the sauna without
previously consulting a doctor and obtaining approval.
• If surgical implants are worn, do not use the sauna without previously consulting a doctor and obtaining his approval.
• Do not use the sauna after strenuous activity.
• Wait 30 minutes for your body to cool down.
• Do not spend more than 40 minutes in the sauna at any one time.
• Do not consume alcohol or drugs before or during the session.
• Do not sleep in the sauna when it is in operation.
To avoid the risk of overheating, connect your sauna to a sufficiently powerful electrical outlet and do not connect •
other electrical equipment to the same wall socket.
• To avoid any risk of electrocution or damage to the sauna, do not use it:
• During thunderstorms.
• If the electrical cable is damaged, it must be replaced by a qualified person.
• If the electrical cable overheats, it must be checked by a qualified person.
• If you have to change a bulb, wait until the sauna is switched off and cooled down.
• Dry your hands before connecting or disconnecting the electricity.
• Never work with wet hands or feet.
• Do not switch the electricity or the heating system rapidly on or off as this could damage the electrical system. Do not
try to repair the sauna by yourself without the agreement of the sauna’s distributor or manufacturer. Unauthorized
attempts to repair it will invalidate the manufacturer’s warranty.
• Do not use any type of detergent inside the sauna.
• Do not pile up or store objects inside or on top of the sauna.
• Do not place flammable materials or chemical agents near the sauna.
DESCRIPTION
SAUNA
1
2
3
4
5
6
7
9
8
TAMPERE TRADITIONAL SAUNA
1
8
9
10
11
12
13
14
15
16
17
2
3
4.1
4.2
4.3
4.4
4.5
5
6
7
18
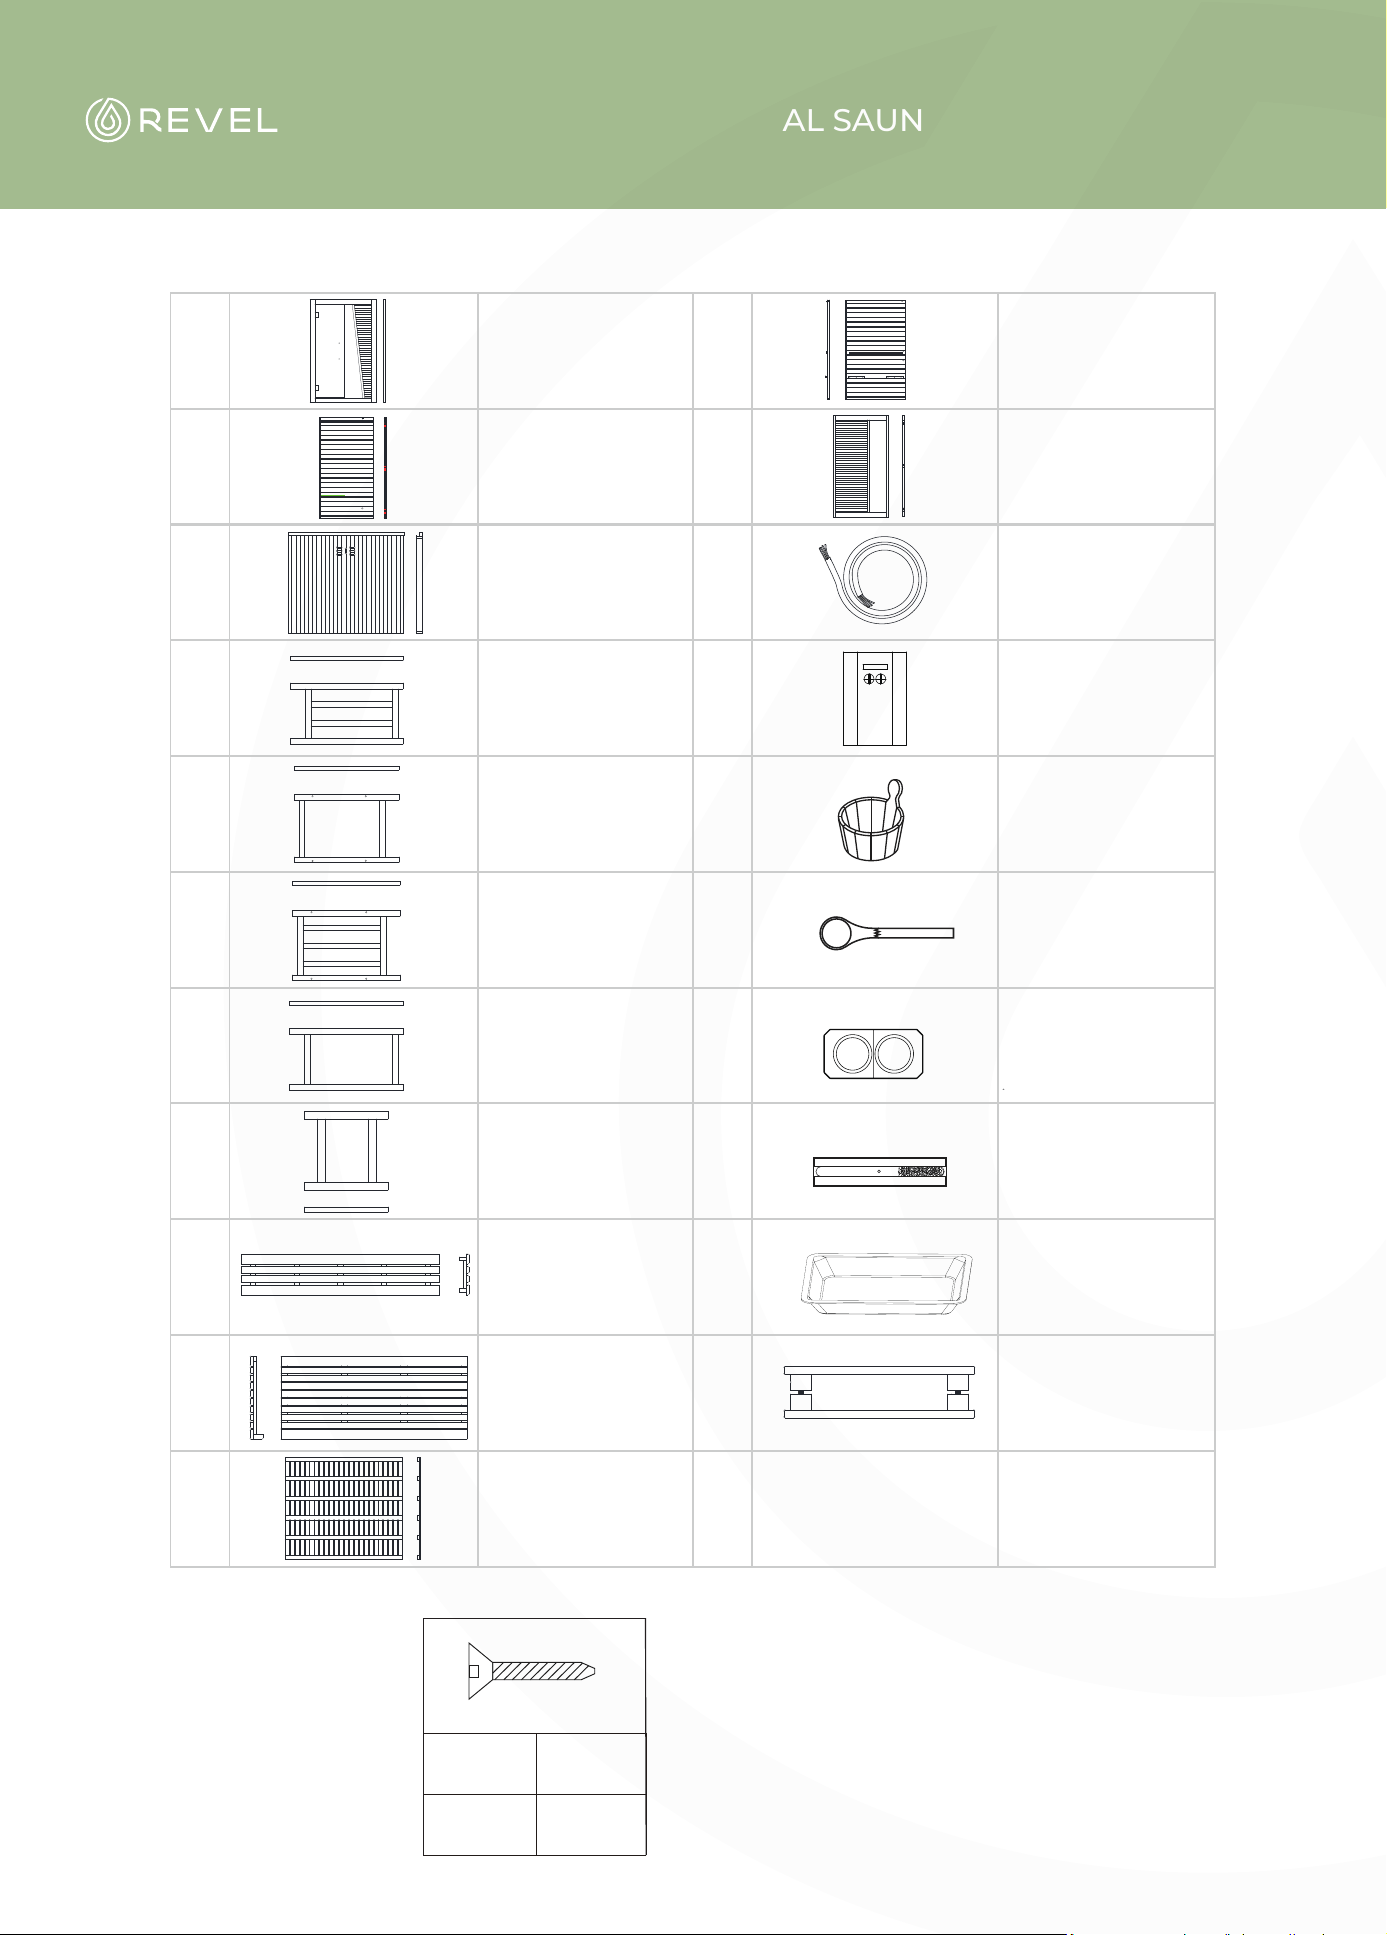
Ø4x50 Ø4x30
3x 16x
(1256x1950x40mm) 1x
(1060x1950x40mm) 1x
(1166x1013x68mm) 1x
(310x570x20mm) 1x
(310x570x20mm) 1x
(310x570x20mm) 1x
(310x570x20mm) 1x
(330x310x20mm) 1x
(1165x242x55mm) 1x
(1166x520x80mm) 1x
(1165x1013x36mm) 1x
(1170x1950x40mm) 1x
(1060x1950x40mm) 1x
1x Cable
1x Sauna stove
1x Wooden barrel
1x Wooden spoon
1x Hygrometer
1x Hourglass
1x Water pan
1x Handle
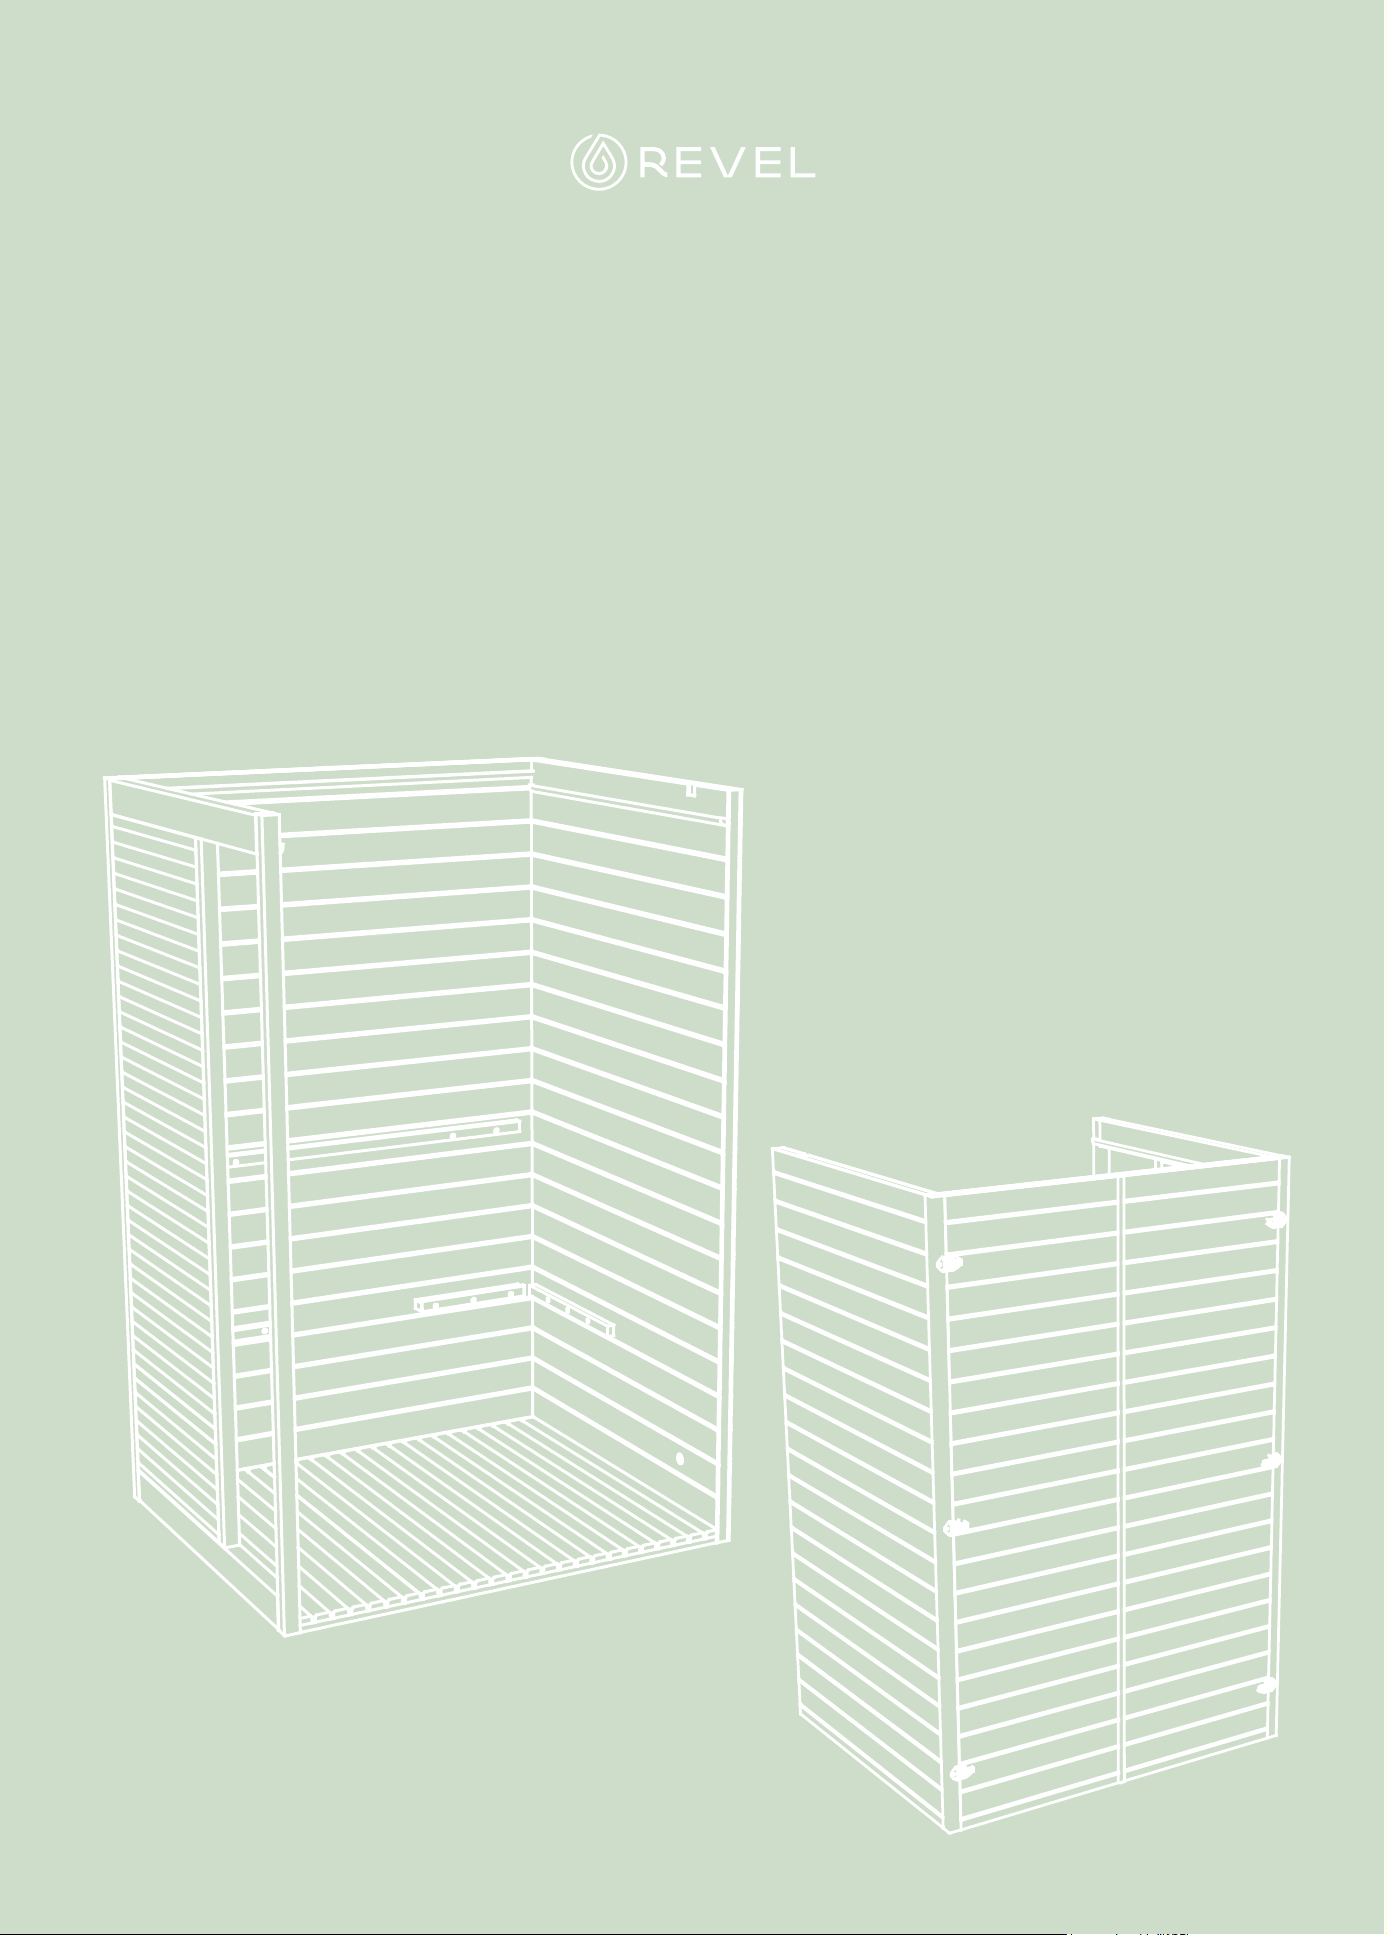
TAMPERE TRADITIONAL SAUNA
Read the assembly instructions carefully before starting.
Choice of location
Designed solely for exterior installation.
Select a space:
• In a dry area, on a flat stable surface that can support the weight of your sauna.
• The height must be sufficient for you to reach the ceiling and carry out electrical connections
and maintenance.
• Away from any source of water, flames or flammable materials.
Practical advice
• Note that sauna assembly requires 3 adults.
• Clearly identify each panel before you begin
• During assembly, position your sauna’s mains cable so that it is easily accessible.
• Note that there are variations between the models.
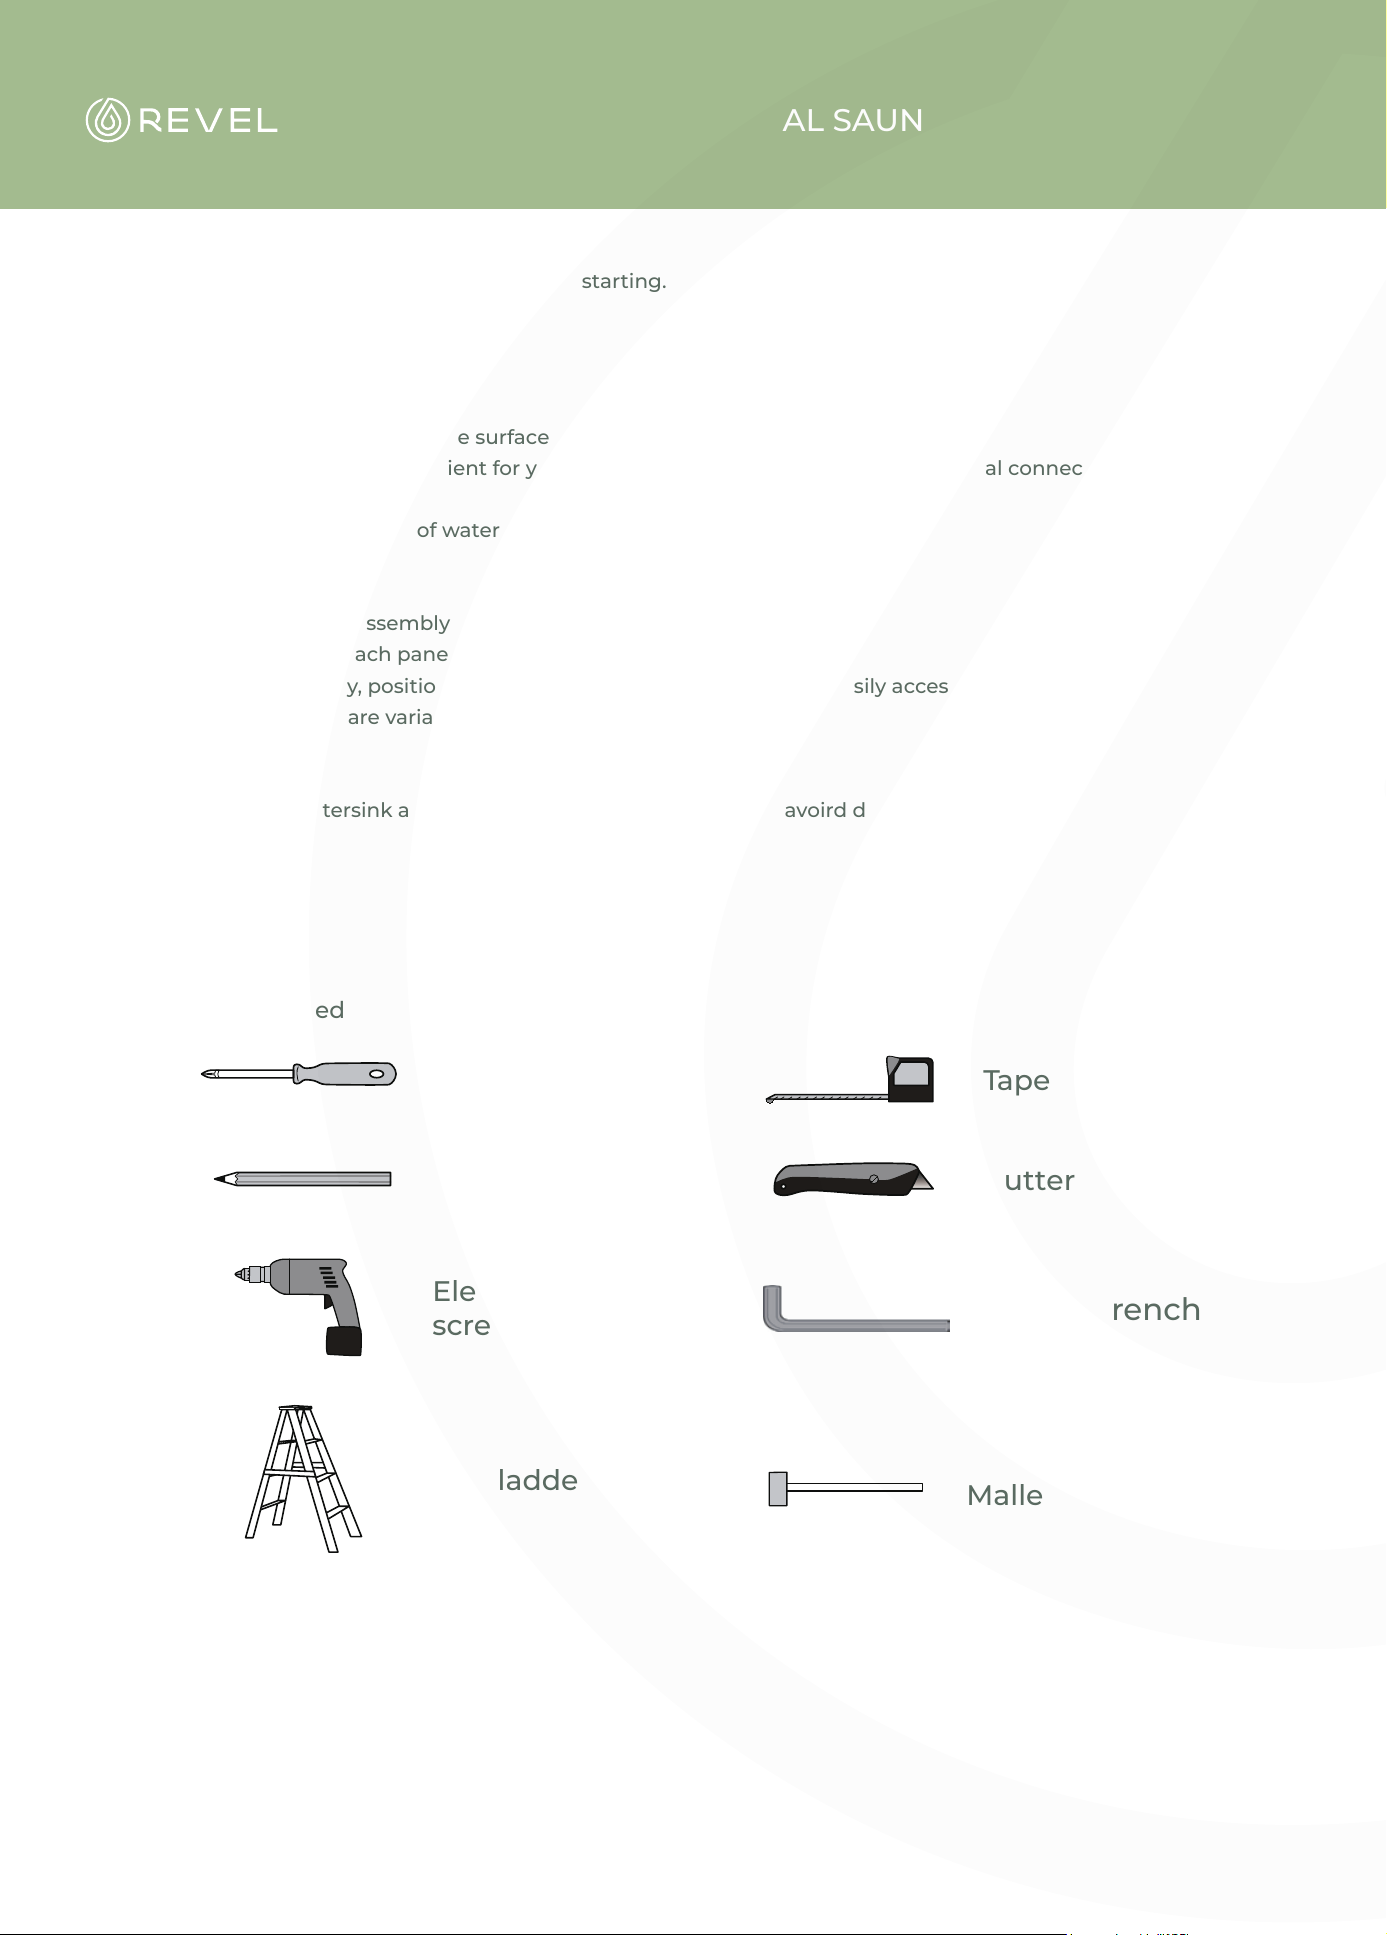
IMPORTANT :
Please check the countersink and hole diameter of the drill holes to avoird damaging the wood.
Tools needed
Screwdriver
Tape measure
Step ladder
Pencil
Cutter
Electric
screwdriver
Mallet
Allen Wrench
ASSEMBLY
INSTRUCTIONS
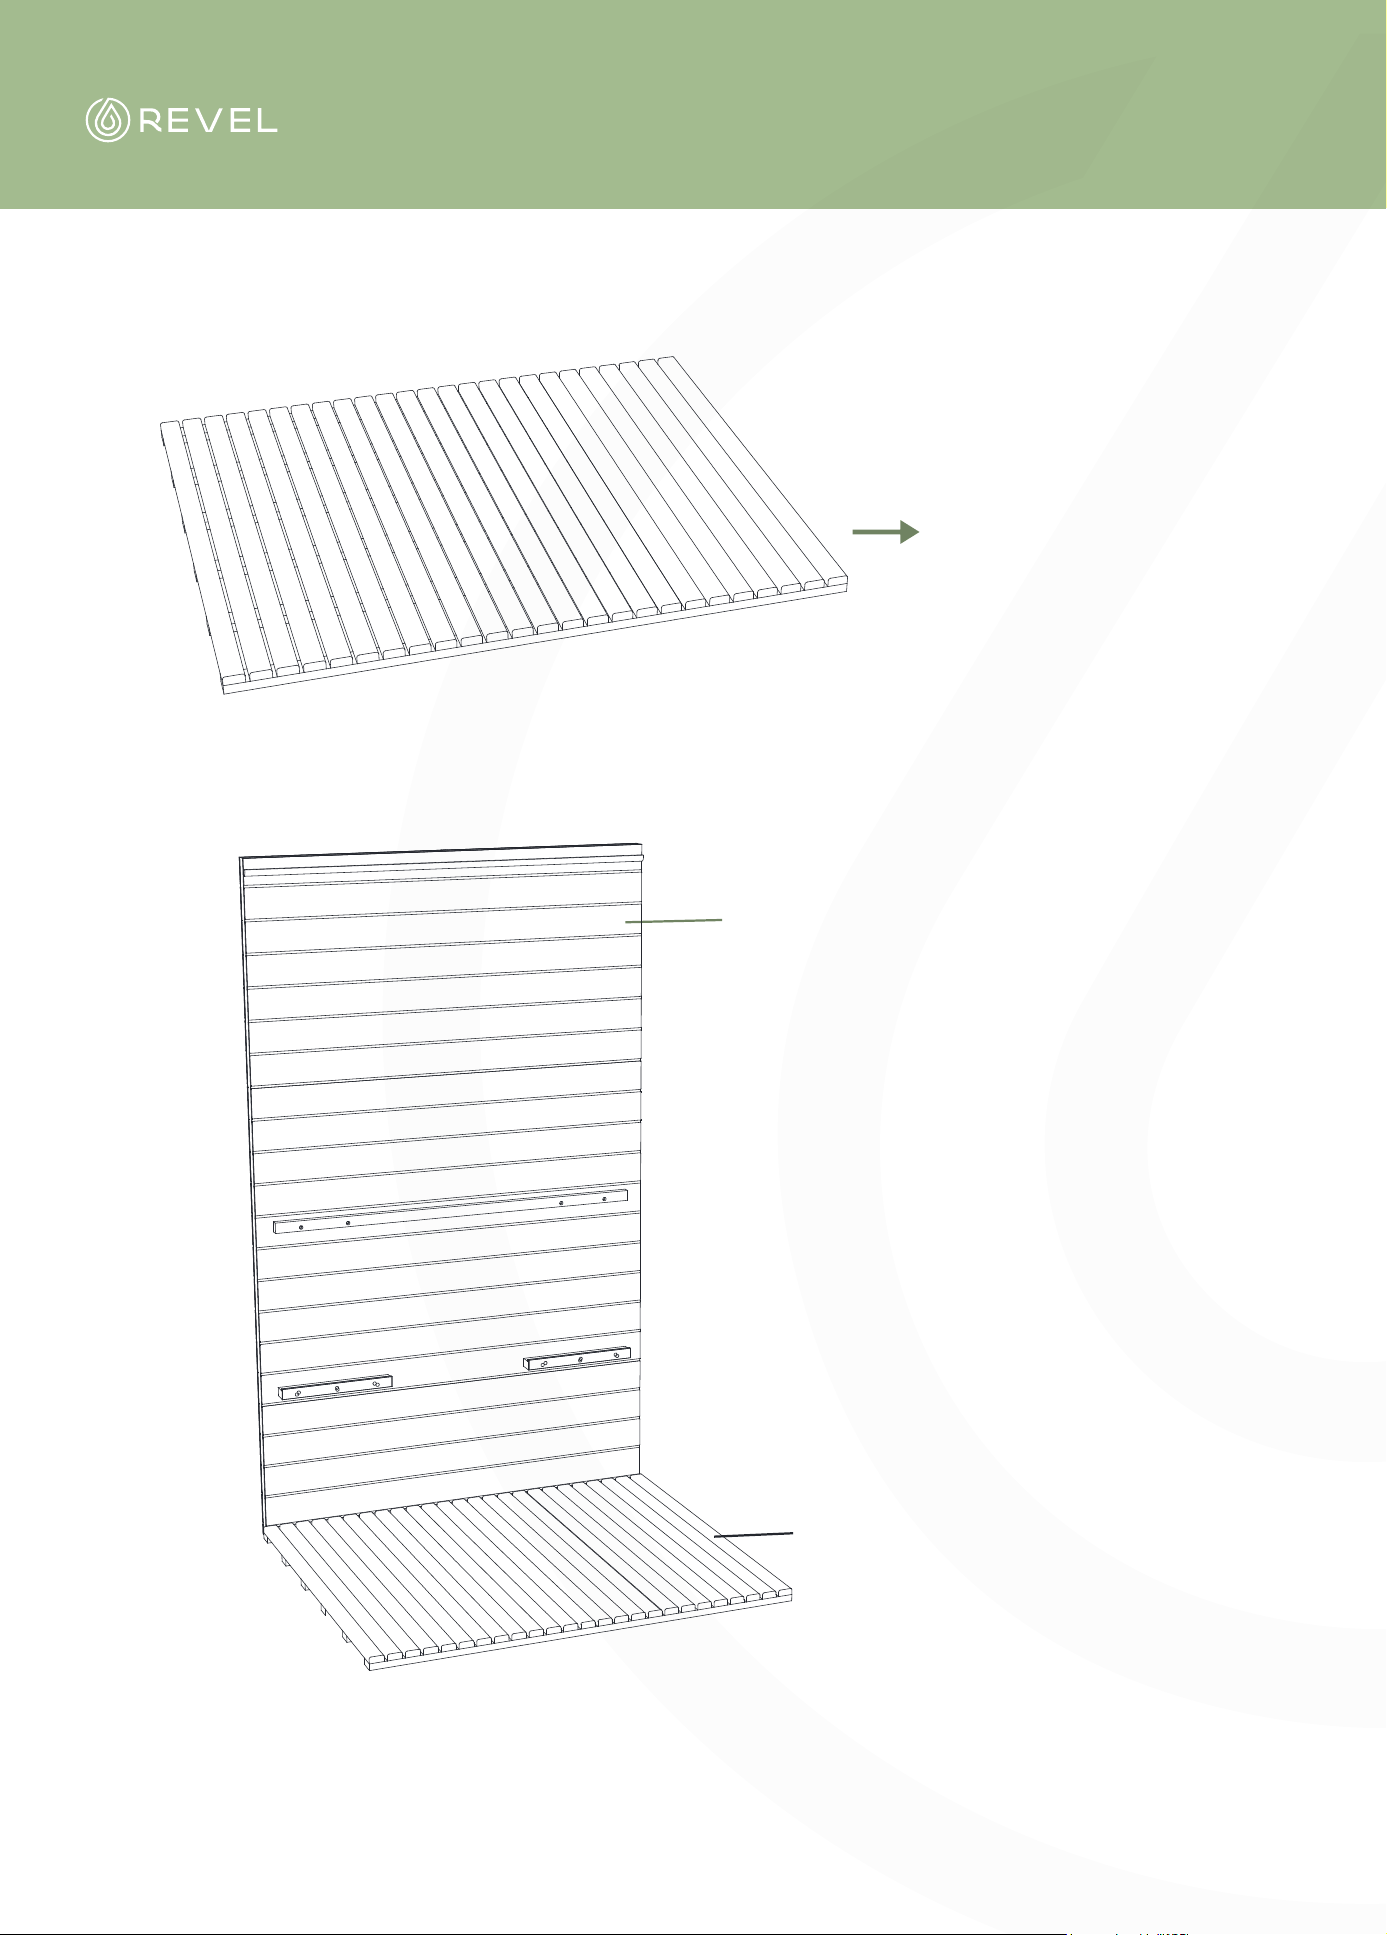
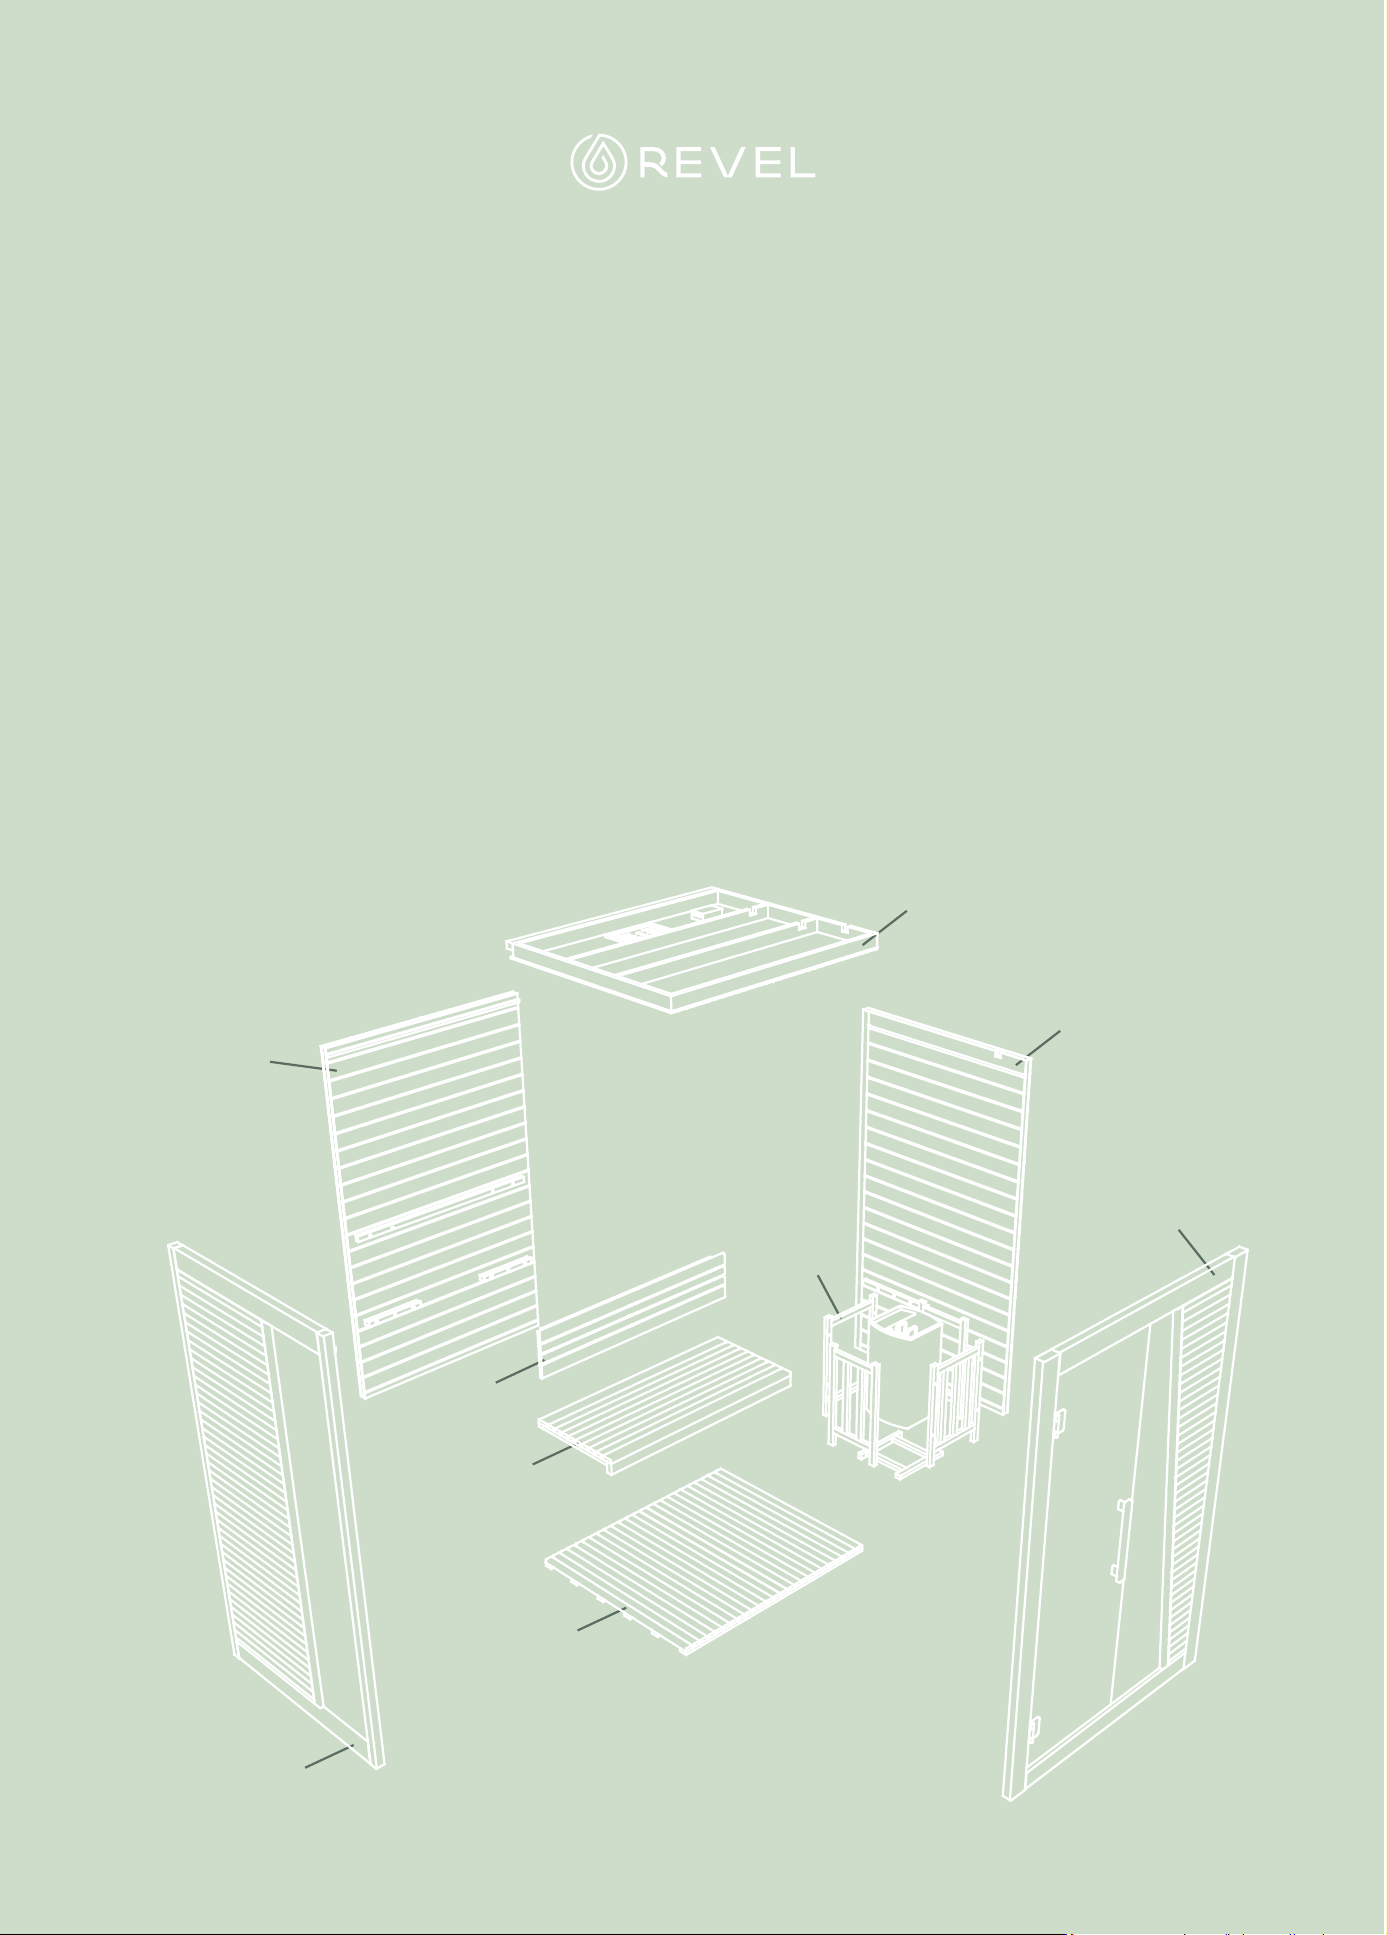
ASSEMBLY INSTRUCTIONS
Take out the base plate and place it on
a flat ground for installation
Rear panel
Take out the rear panel and stand it at the
corresponding position behind the base plate
Baseplate
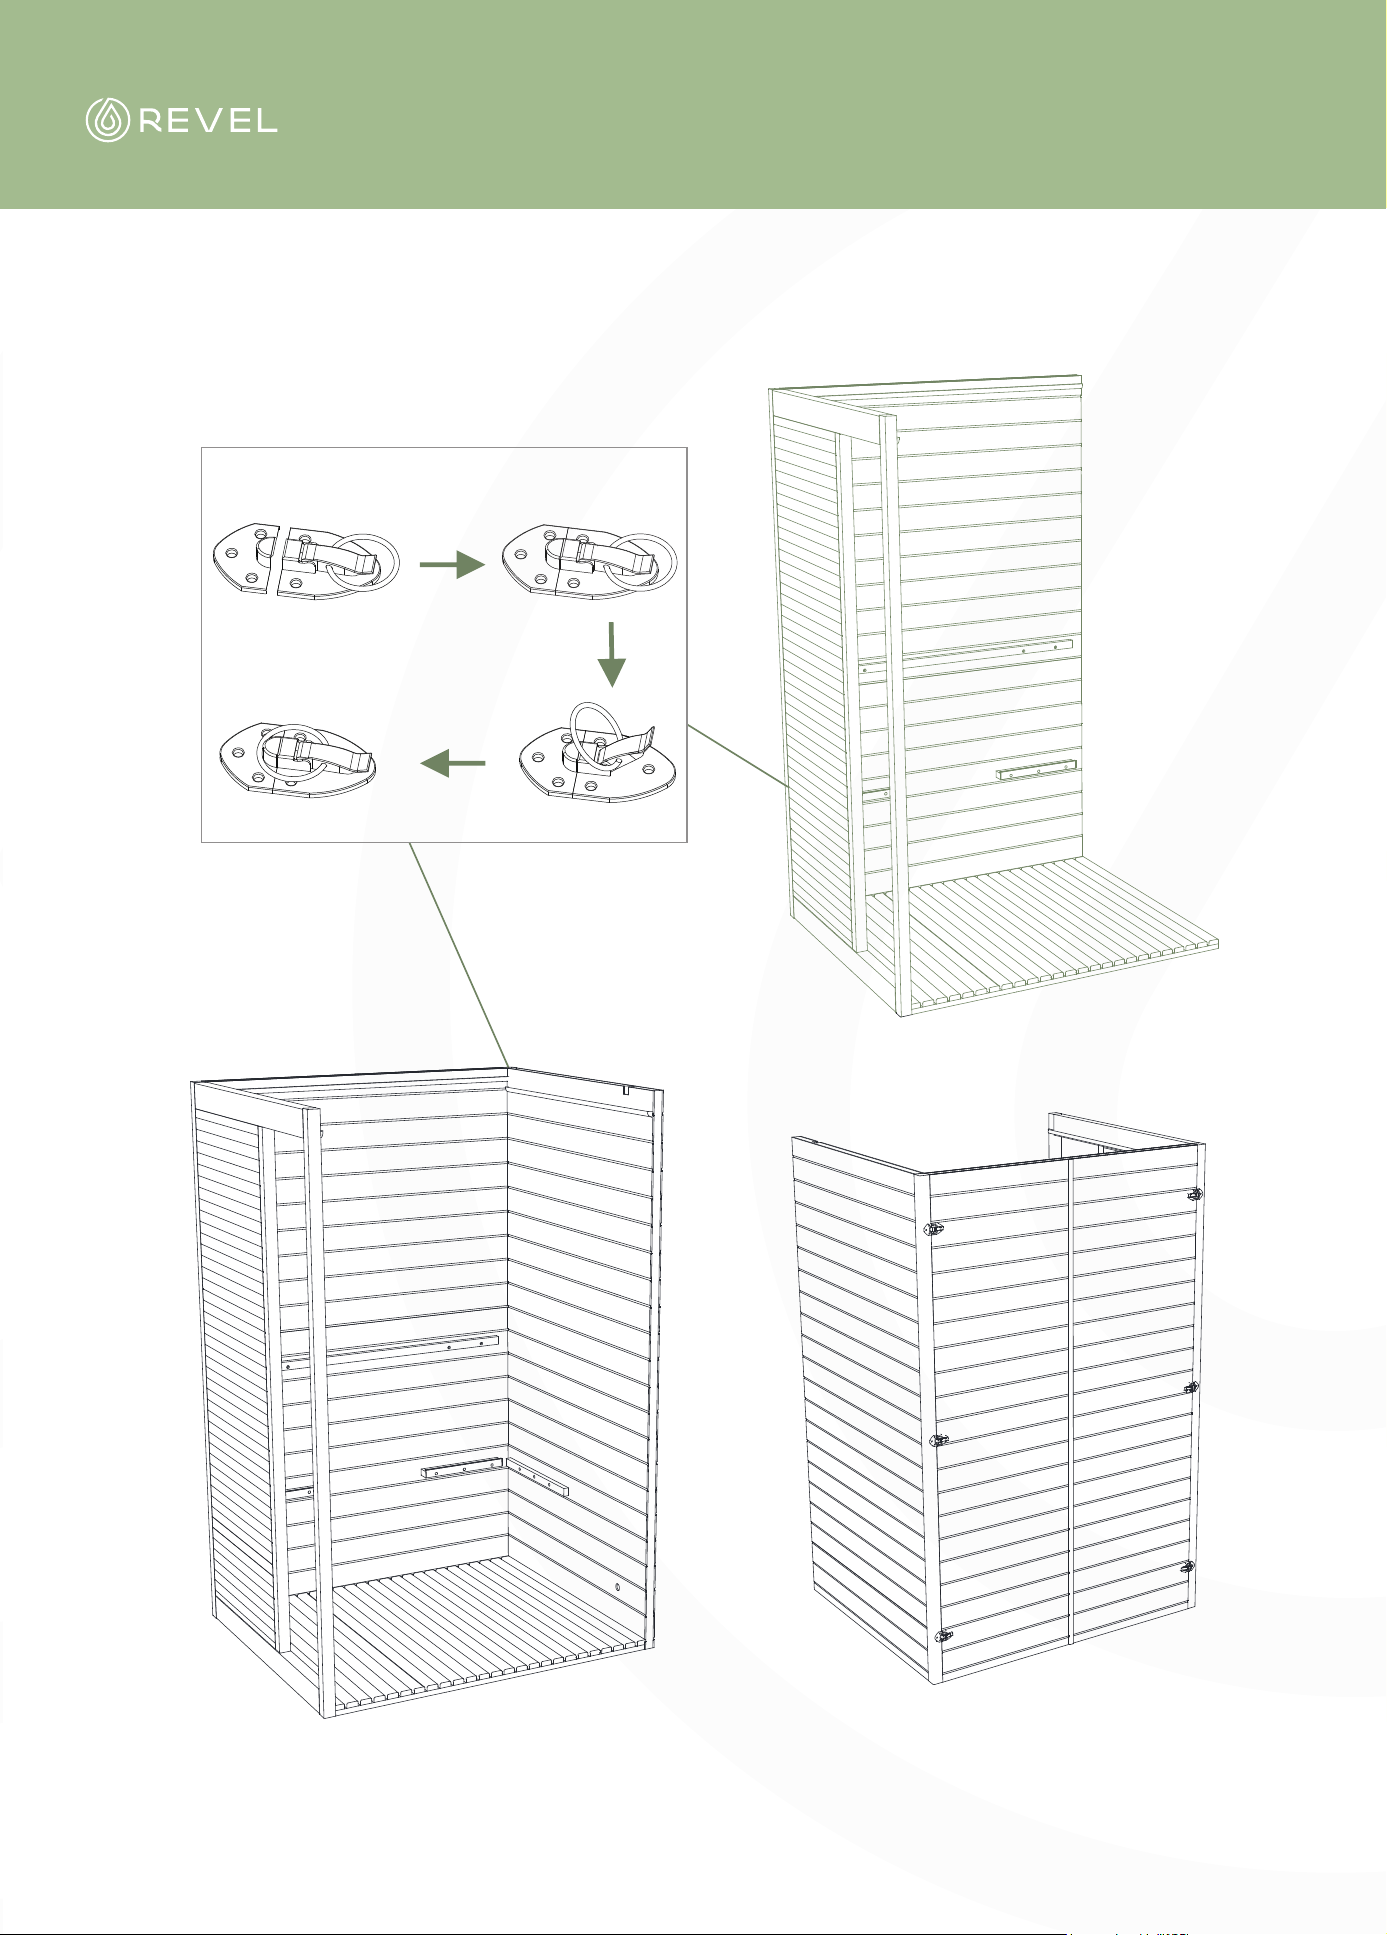
ASSEMBLE INSTRUCTIONS
ASSEMBLY INSTRUCTIONS
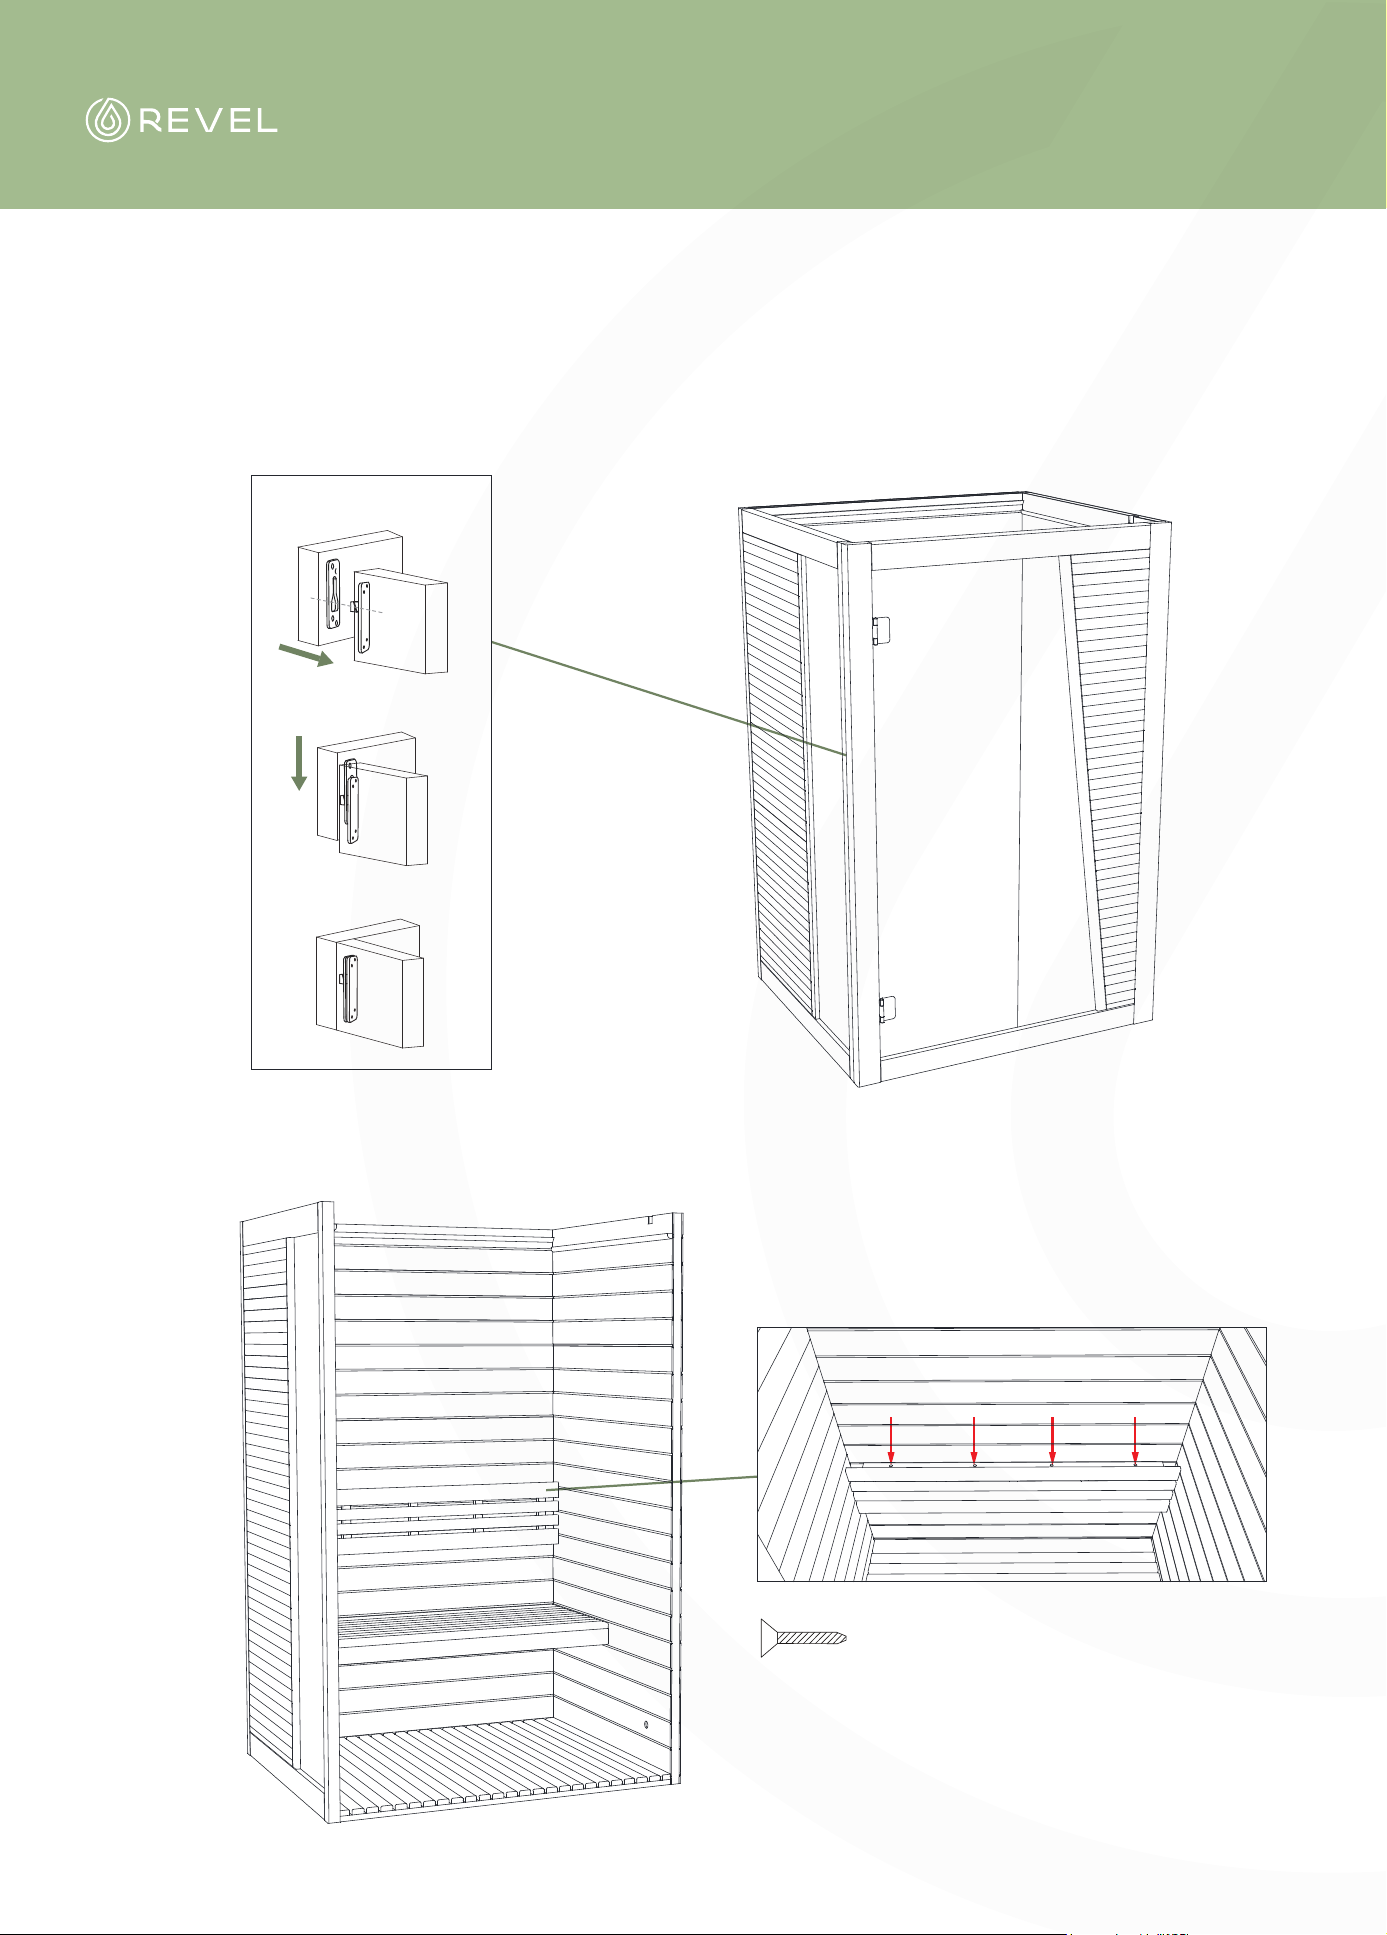
Outer buckle installation method
Assemble steps
Install the left and ride side panels:
The left and right side panels are fixed to the rear
panel through a buckle connection.
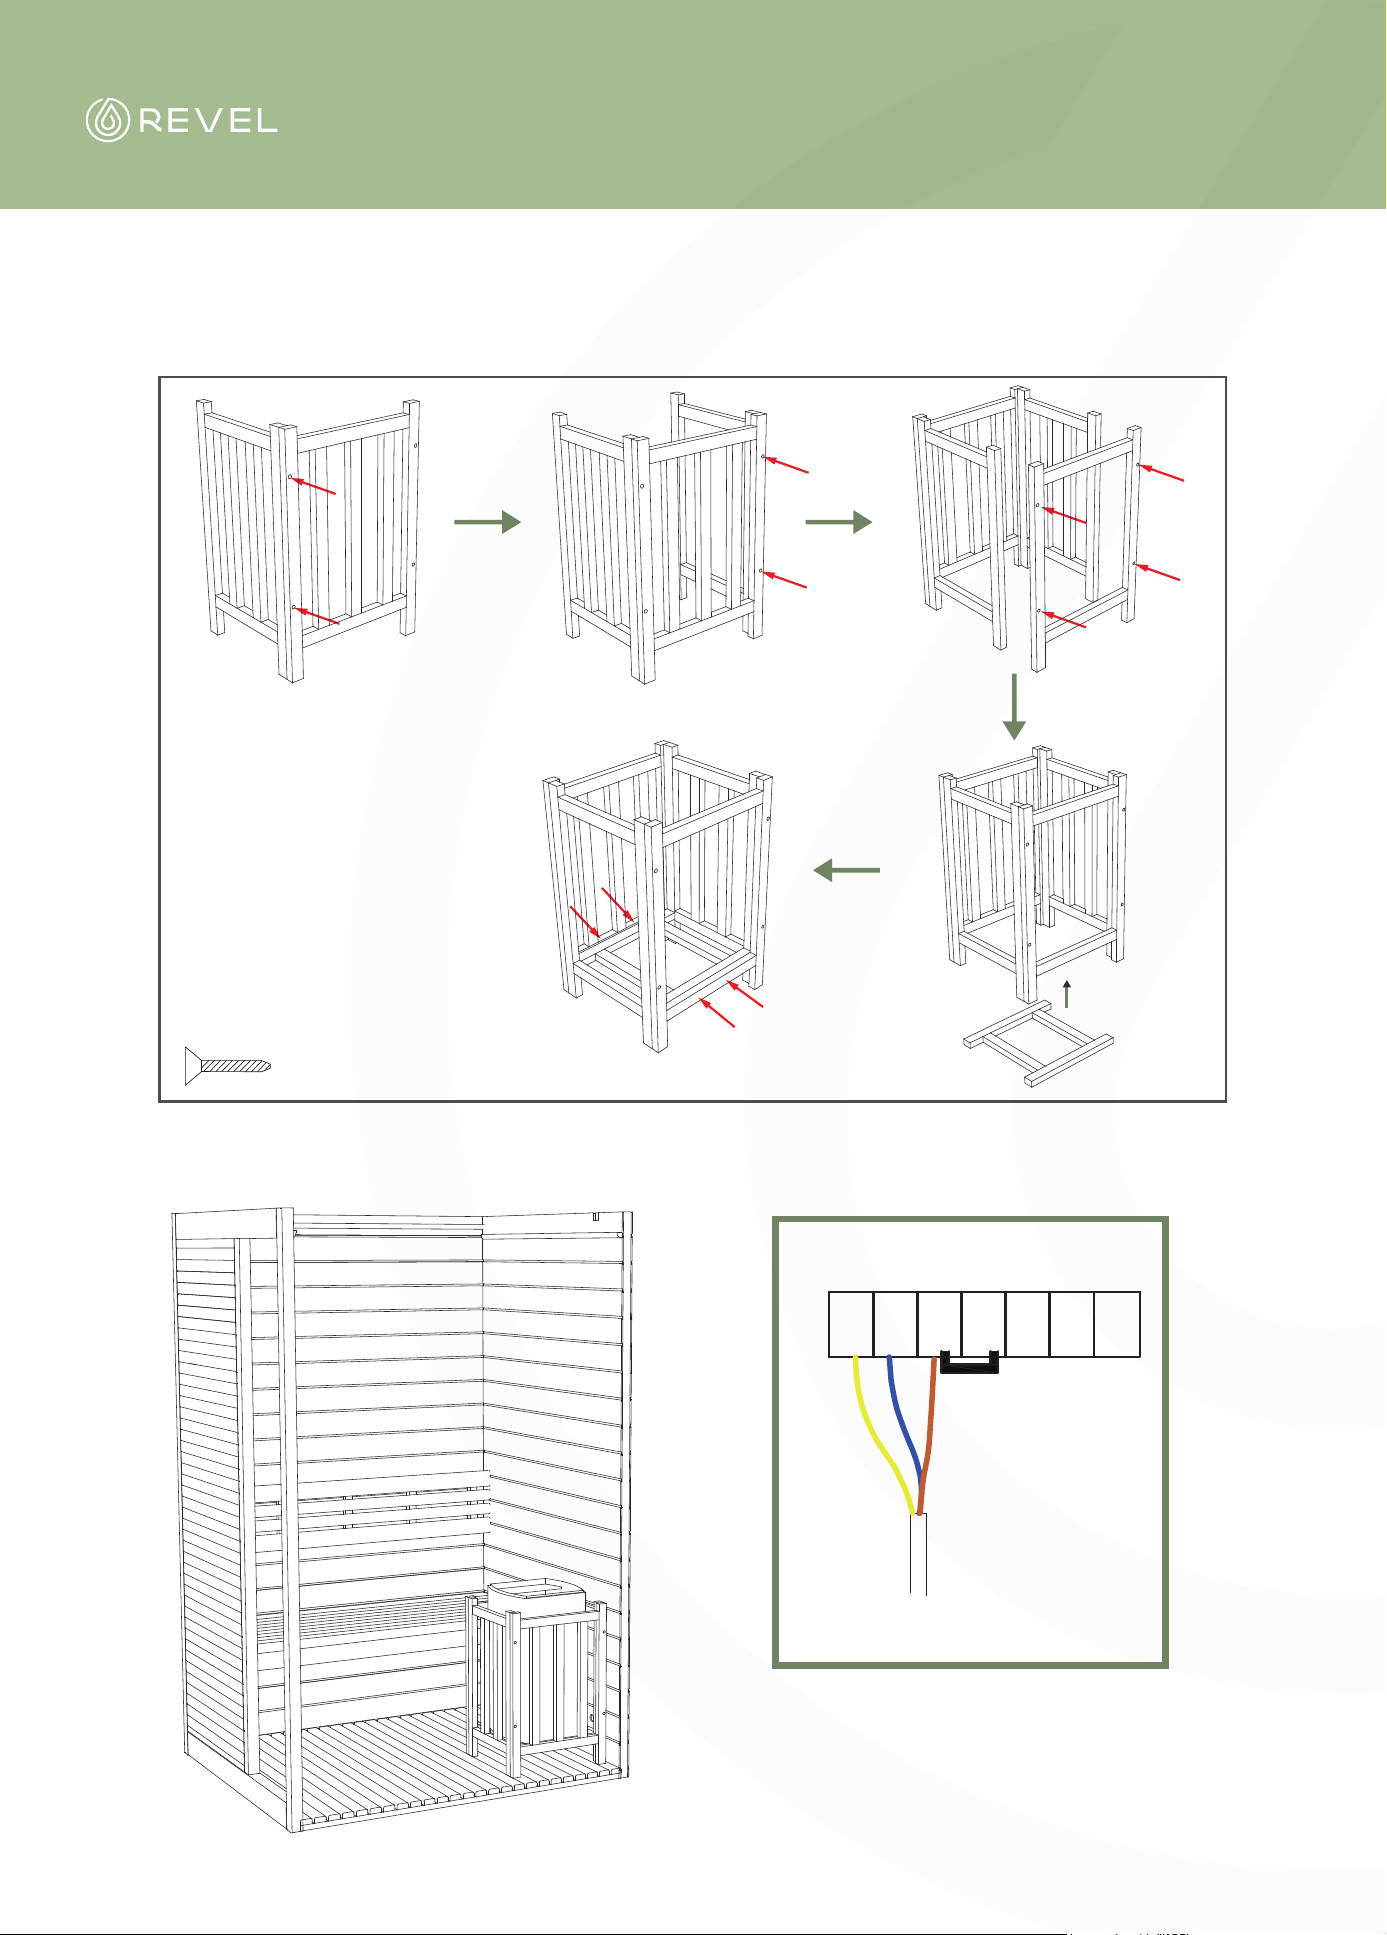
ASSEMBLY INSTRUCTIONS
Assemble steps
Ø 4 x 30 4PCS
Install the front panel:
The front panel is connected to the left and right side panels through
concealed buckles.
Hanging buckle
installation method
Install the internal seat and backrest:
The seat is directly fixed by the wall panel support,
and the back is fixed by locking screws;
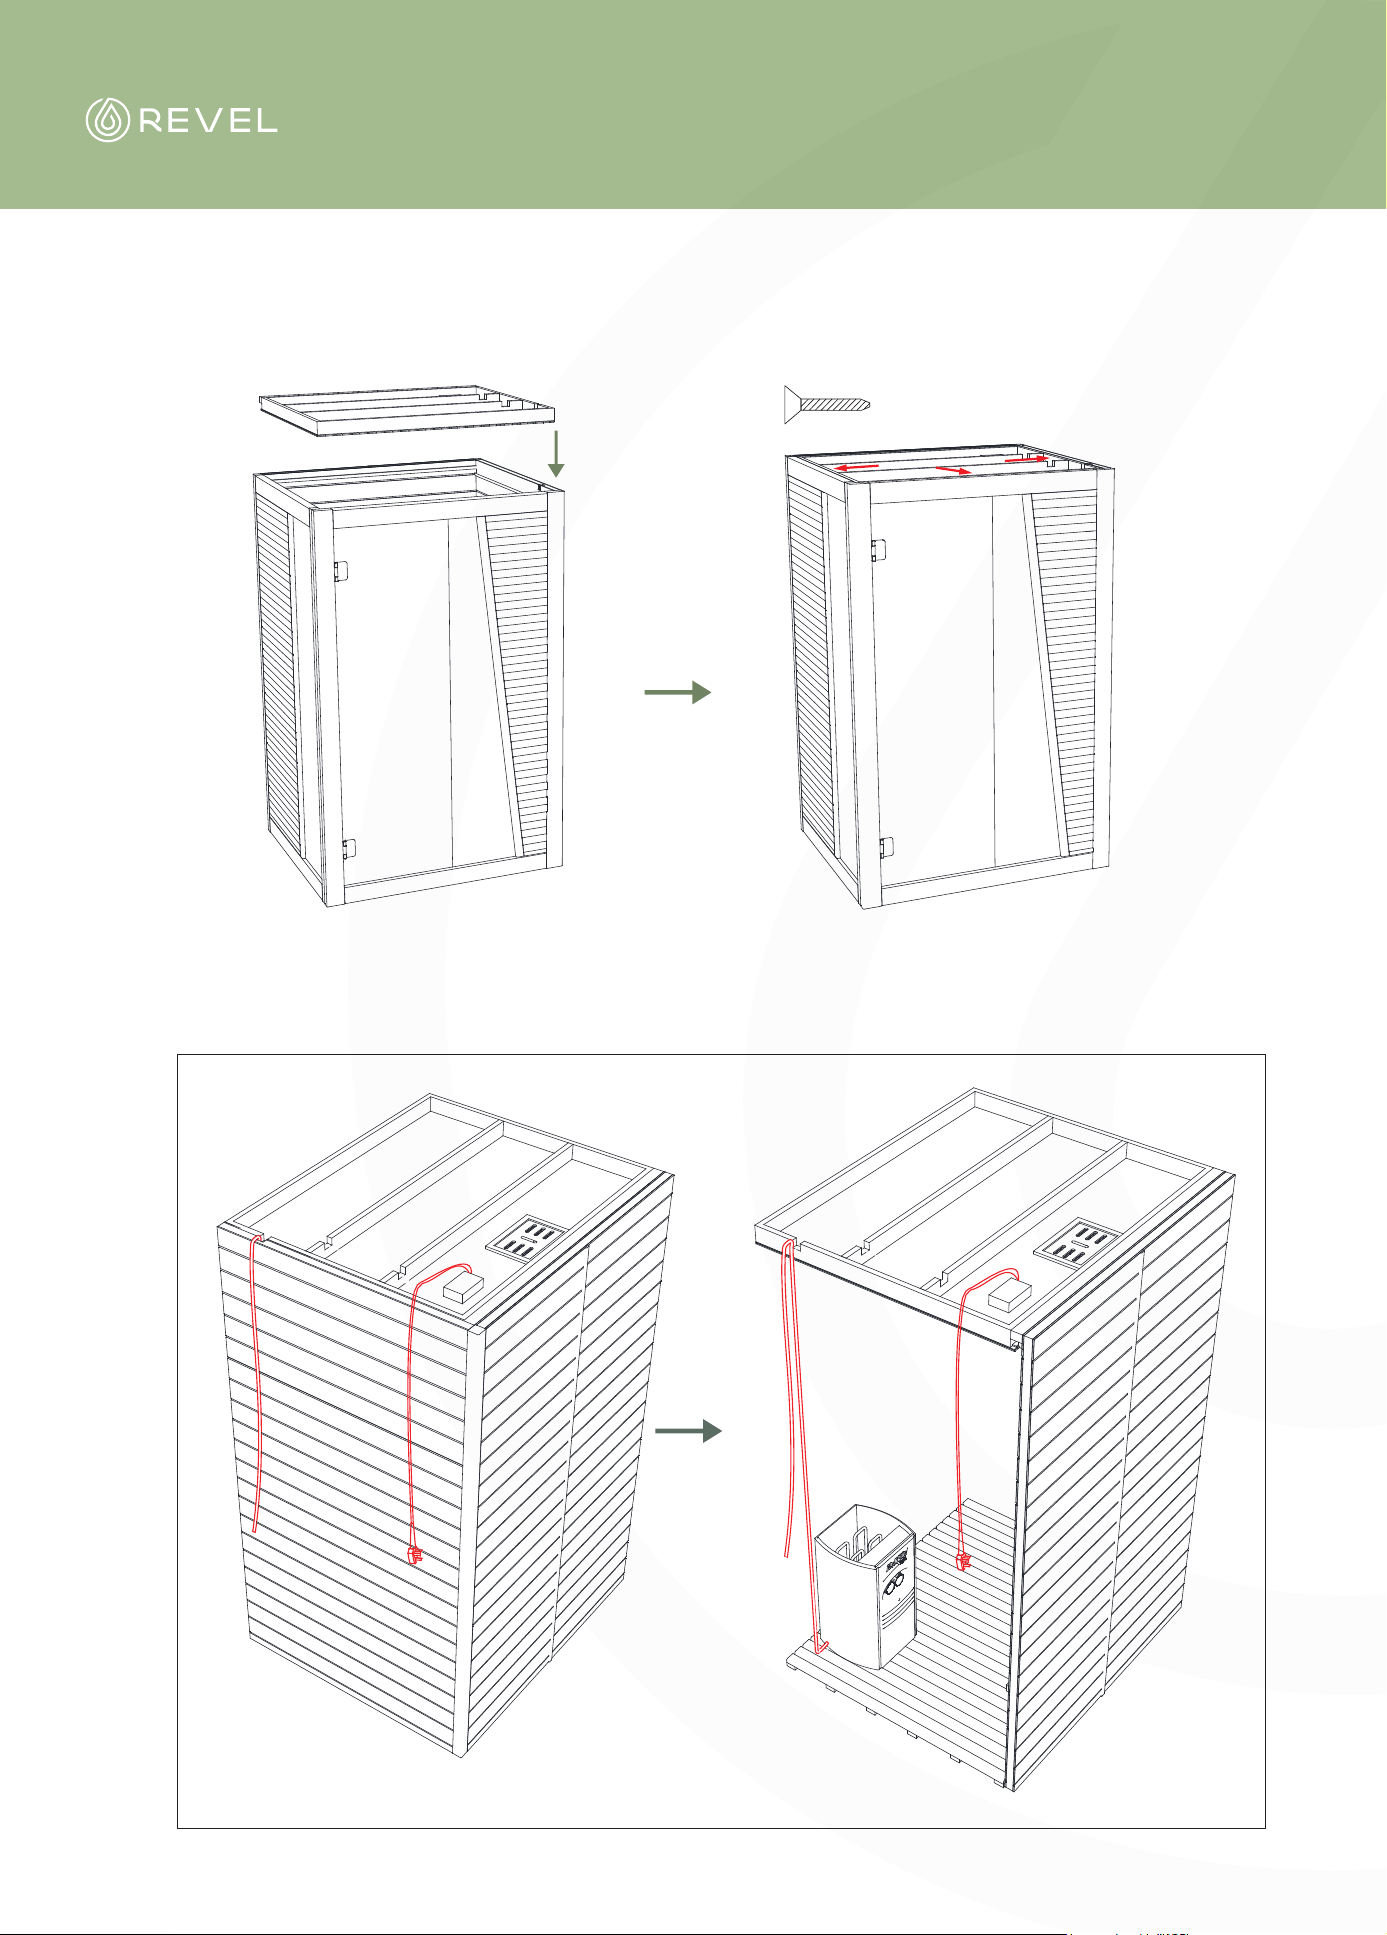
ASSEMBLY INSTRUCTIONS
Assemble steps
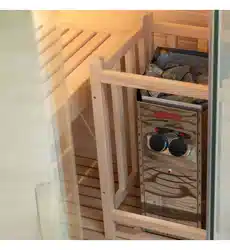
Place the sauna stove:
Place the stove frame near the right side panel,
and then place the sauna stove inside the stove frame;
Ø 4 x 30 12PCS
2
3
4
5
6
1
7
Sauna stove
Blue
Brown
Yellow
Install the sauna stove protection frame
Cable (3*2.5mm2)
ASSEMBLY INSTRUCTIONS
Assemble steps
Schematic diagram of the top switch power box and stove wiring:
Install the top plate
Ø 4 x 50 3PCS
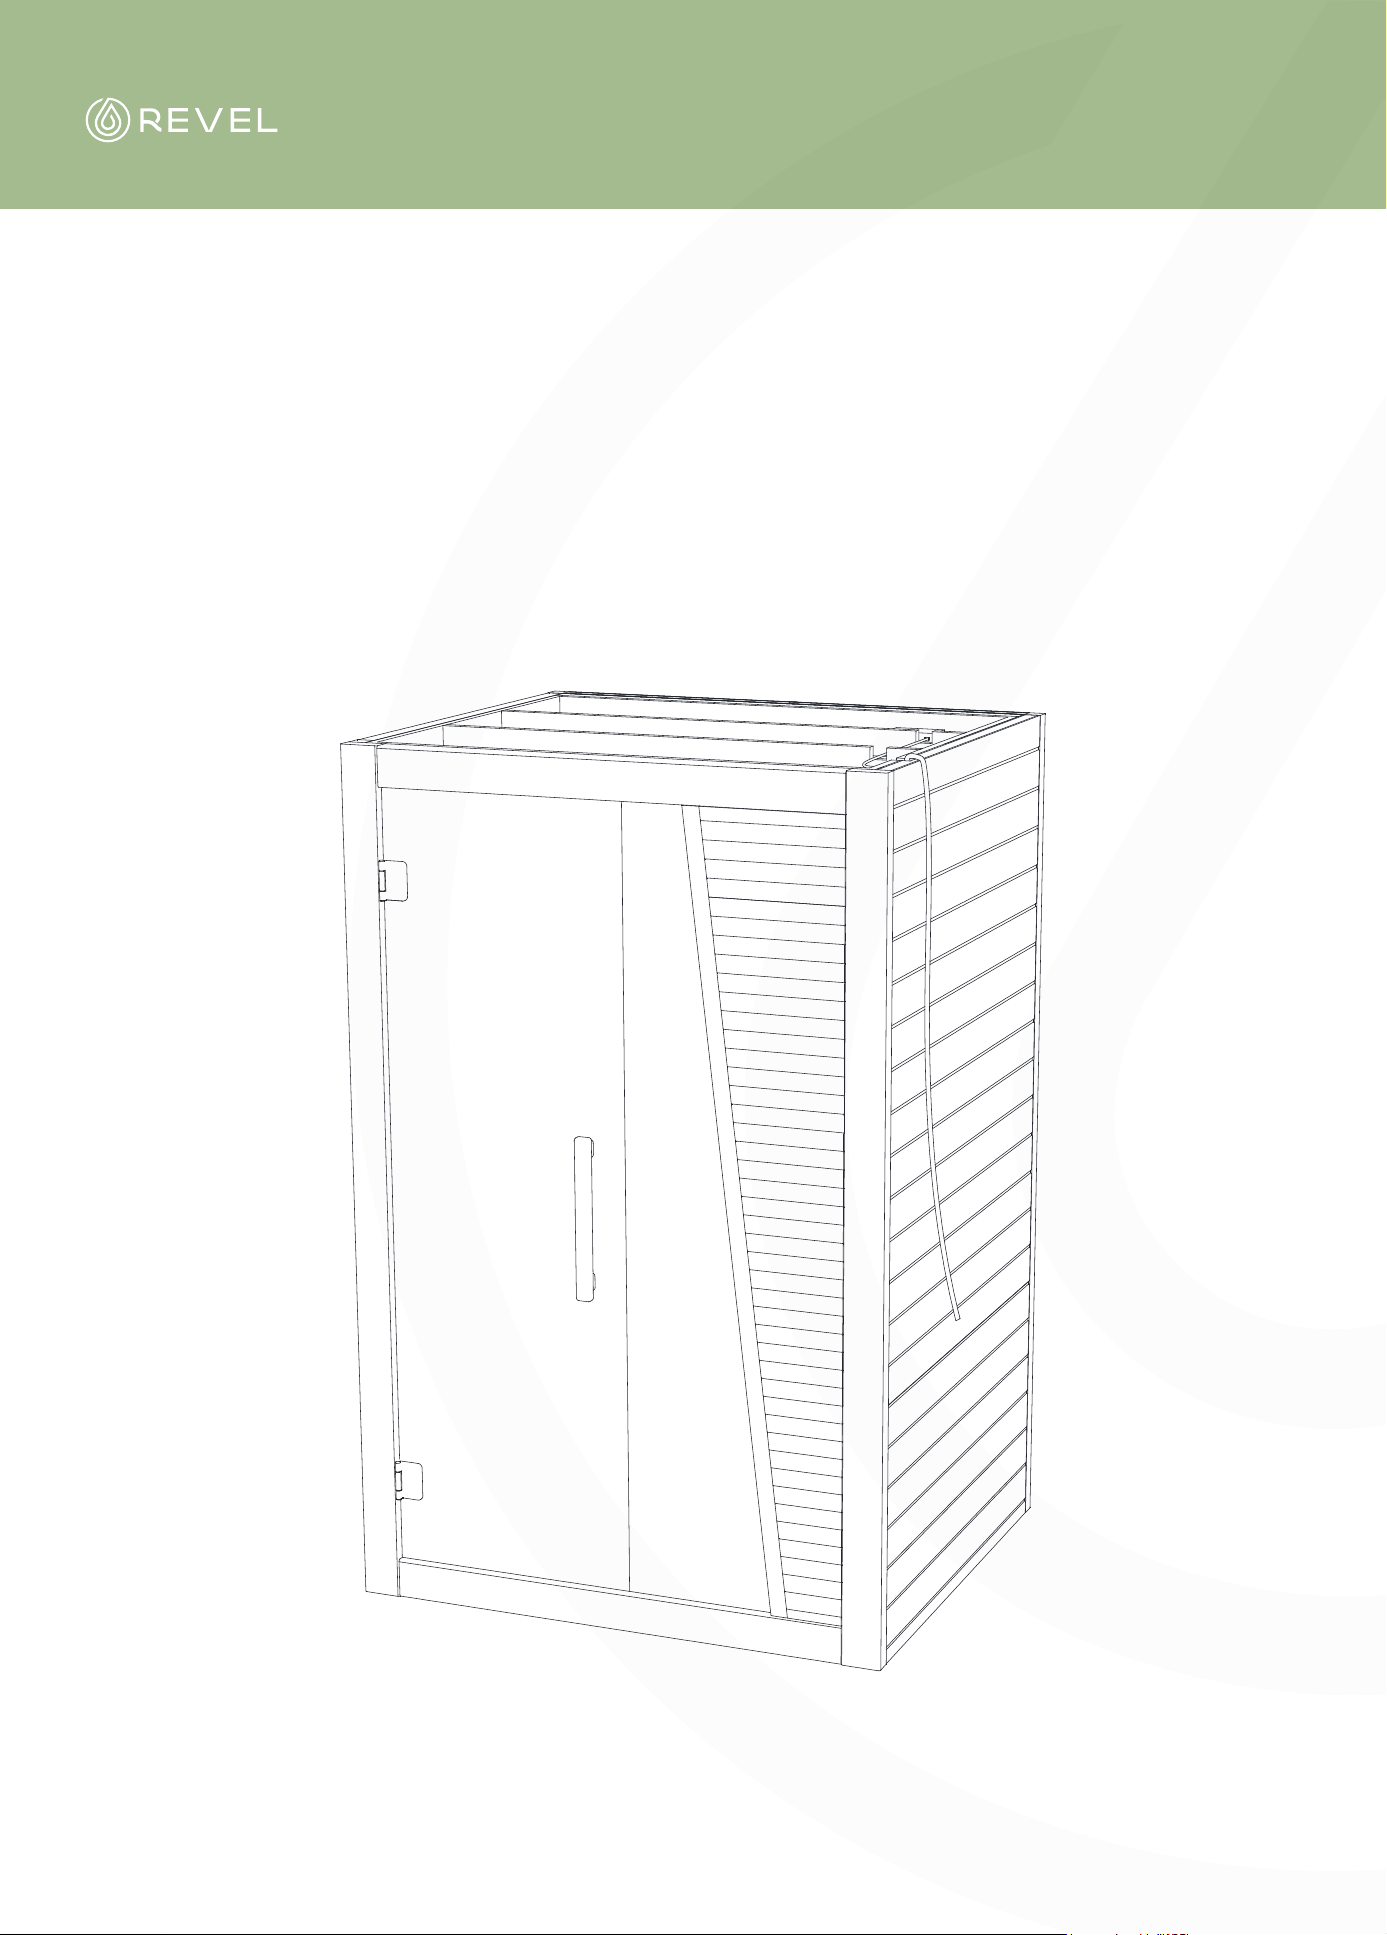
ASSEMBLY INSTRUCTIONS
Assemble steps
Finally, install the handle to complete the installation of the entire machine.
ASSEMBLE INSTRUCTIONS
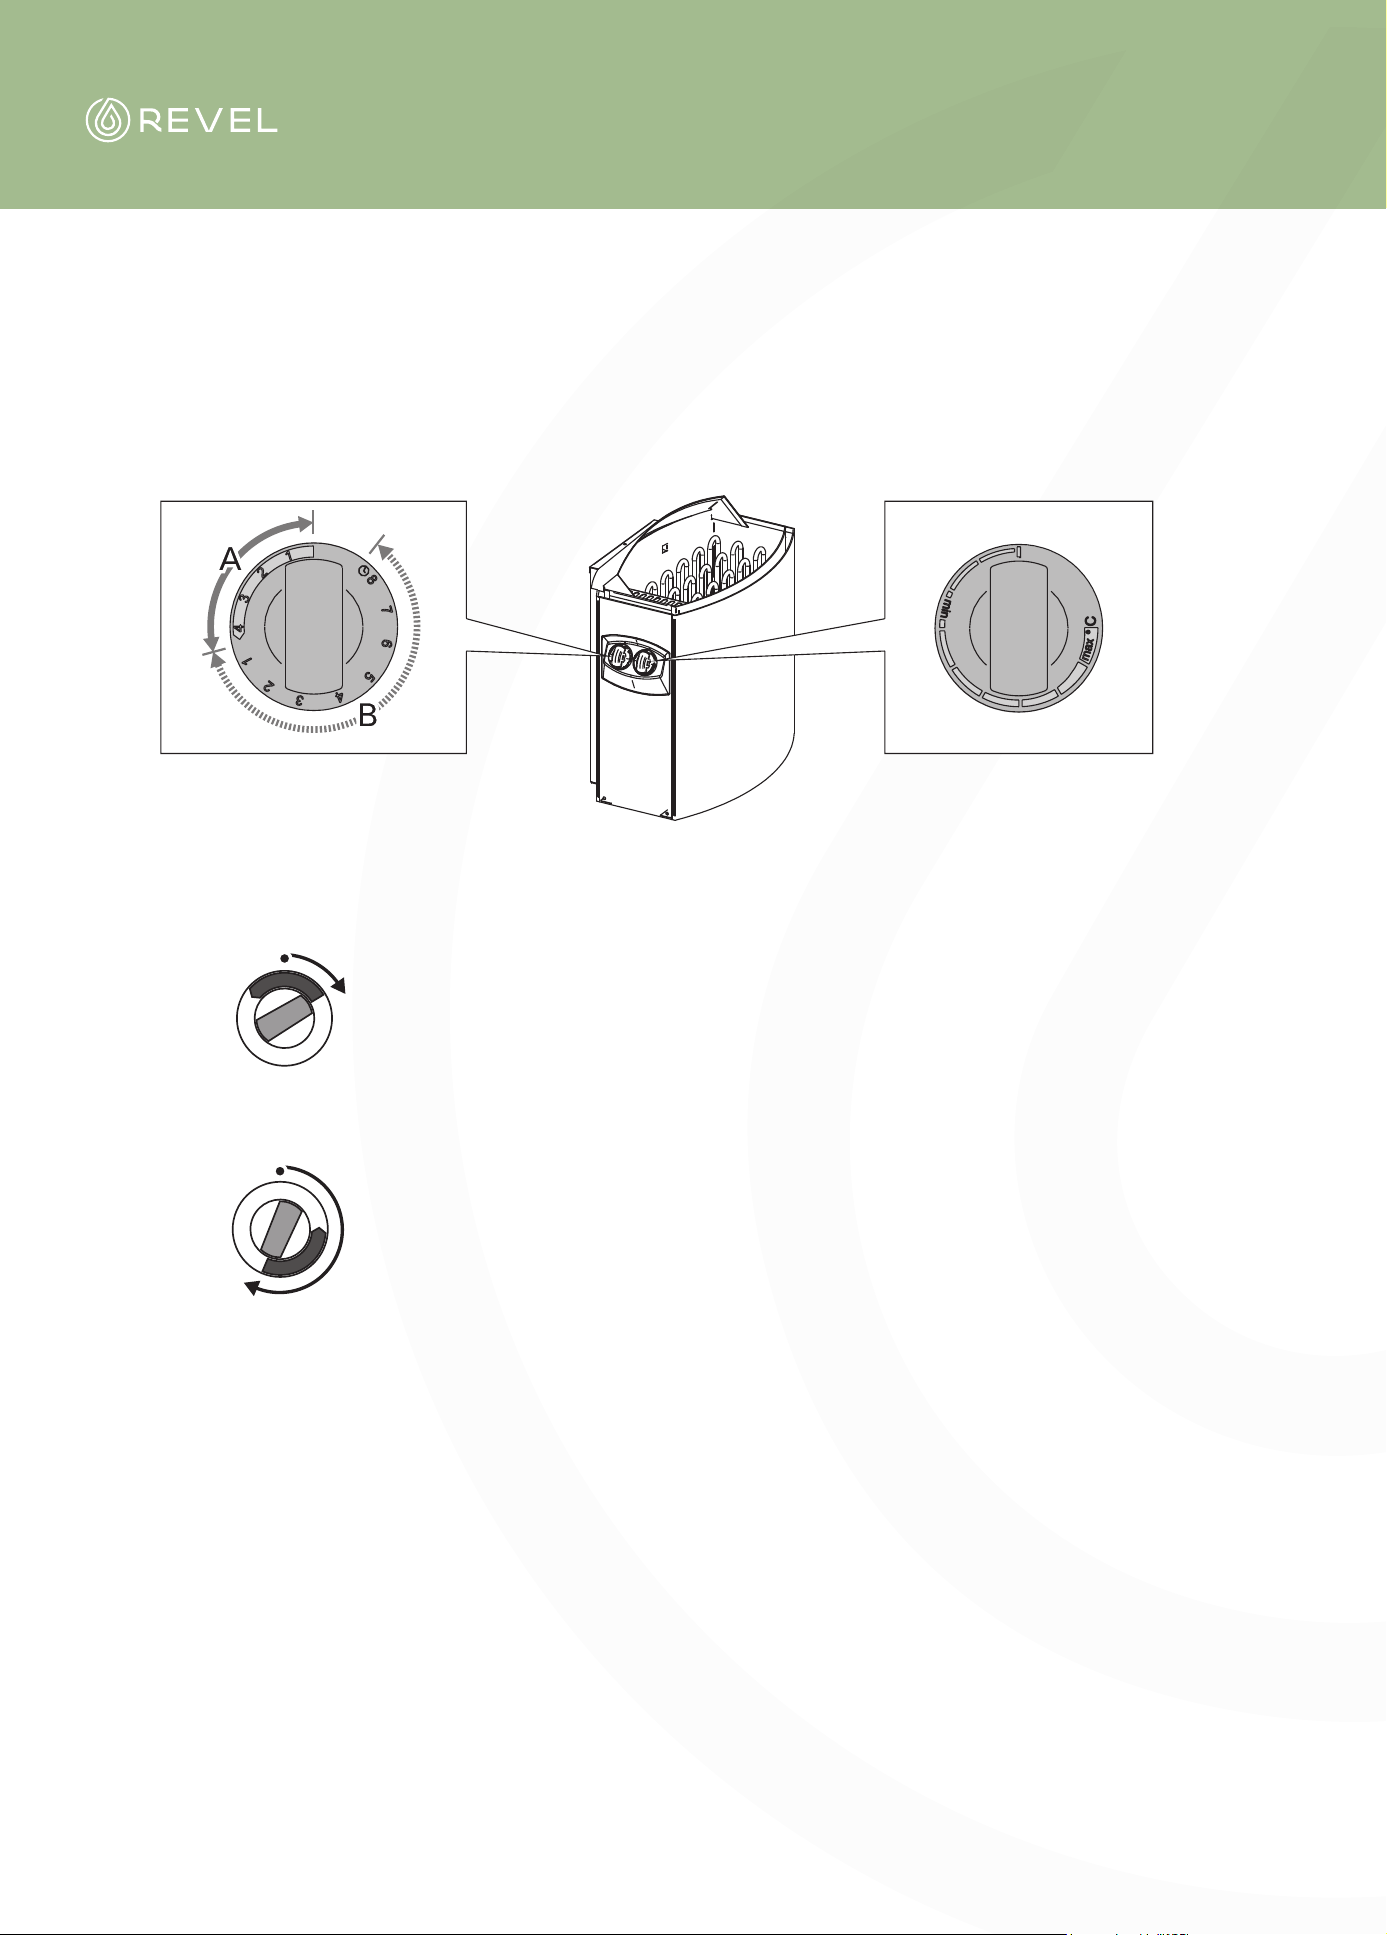
Timer switch Thermostat switch
1. Heater
2. Pre-setting
Turn the timer switch to the “ON” section
(Section A in figure 2, 0-4 hours). The heater
starts heating immediately.
Turn the timer switch to the “PRE-SETTING”
section (Section B in figure 2, 0-hours). The
heater starts heating when the timer has turned
the switch back to the “ON” section. After this,
the heater will be on for about four hours.
ON:
TIME (TIMED SWITCH-ON):
For more detailed information on the specific use and precautions of the sauna stove,
please read the manual provided with the sauna stove.
SAUNA
MAINTENANCE
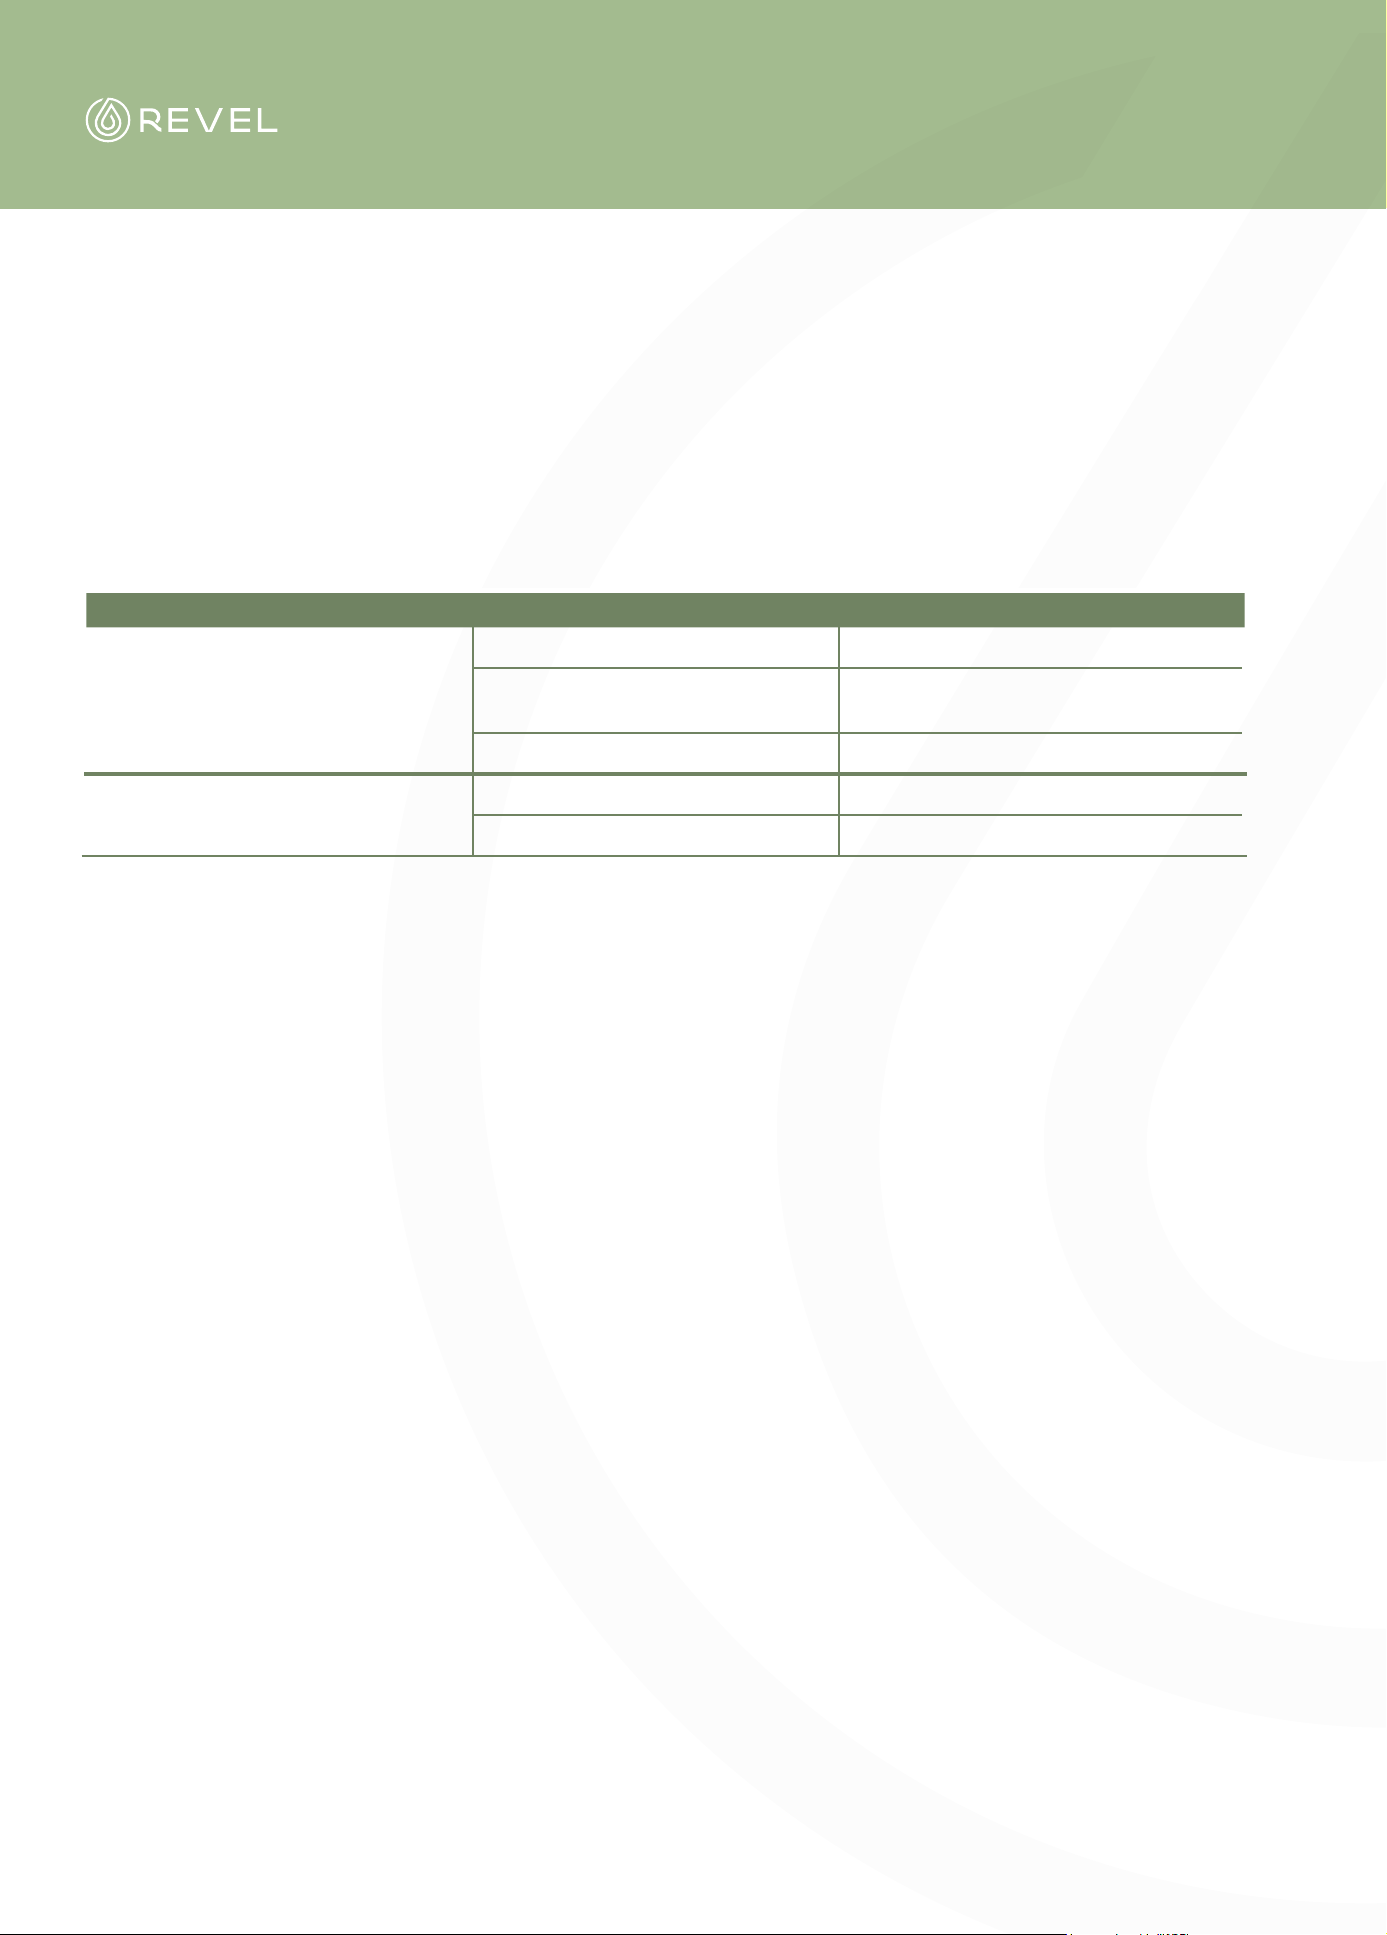
SAUNA MAINTENANCE
Maintenance
Problems identified Possible reasons Solutions
Electric stove does not heat up.
Power supply cable disconnected. Check power supply cable connection.
The general power supply is cut.
Check that the switchboard
and wall plug are working
Stove is overheat protected. Refer to the electric stove manual.
Sauna light fitting no longer
work.
Light cable not fully plug. Plug the cable.
Light is defective. Contact your dealer.
Protection of wood
Brush each exterior barrel slat and apply a wood stain when full assembly to protect the wood.
This wood stain had to be renewed according to the recommendations of the product used
IMPORTANT :
Disconnect the cabin’s power supply cable before undertaking any work.
Servicing :
1. Disconnect your sauna.
2. Use a vacuum cleaner to remove dust from crevices in the woodwork.
3. Clean the cabin with a damp cotton cloth and use a small amount of soap if necessary. Rinse with a damp cloth.
4. Clean the glass with a window / glass cleaner and a soft colth.
5. Maintain the exterior of the sauna every 2 years with a suitable product.
IMPORTANT :
• The wood should be treated with a protective product only on the outside of the sauna.
• No treatment should be applied inside the sauna.
• Do not use benzene, alcohol, chemical agents or strong detergents on the sauna since chemical products can damage the wood.
• Do not spray water on your sauna.
• Please read the instructions provided with the sauna stove for the installation and use of the stove.
• The heater may only be connected to the electrical network in accordance with the current regulations by an authorised,
professional electrician.

REVEL SAUNAS
USER MANUAL