Loading ...
Loading ...
Loading ...
6
ENGLISH (Original instructions)
7
ENGLISH
(Original instructions)
Warning! re Hazard. When disconnecting the charger from
the tool, be sure to unplug the charger from the outlet rst,
then disconnect the charger cord from the tool.
Trigger switch & reversing button (g. B)
u The drill is turned ON and OFF by pulling and releasing
the trigger switch (1)
u A forward/reverse control button (2) determines the direc-
tion of the tool and also serves as a lock off button.
u To select forward rotation, release the trigger switch and
depress the forward/reverse control button to the left.
u To select reverse, depress the forward/ reverse control
button the opposite direction.
u To lock the tool, set the forward/reverse slider into the
centre position.
Note! The center position of the control button locks the tool
in the off position. When changing the position of the control
button, be sure the trigger is released.
Keyless chuck (g. C)
Warning! Make certain the lock-off button is engaged to
prevent switch actuation before installing or removing acces-
sories.
To insert a drill bit or other accessory:
u Grasp the rear half of the chuck (7) with one hand and use
your other hand to rotate the front half (8) in the counter-
clockwise direction, as viewed from the chuck end.
u Insert the bit or other accessory fully into the chuck, and
tighten securely by holding the rear half of the chuck and
rotating the front portion in the clockwise direction as
viewed from the chuck end.
Warning! Do not attempt to tighten drill bits (or any other ac-
cessory) by gripping the front part of the chuck and turning the
tool on. Damage to the chuck and personal injury may occur
when changing accessories.
Drilling/screwdriving
u Select forward or reverse rotation using the forward/re-
verse slider (2).
u To switch the tool on, press the switch (1). The tool speed
depends on how far you press the switch.
u To switch the tool off, release the switch.
Hints for optimum use
Drilling
u Always apply a light pressure in a straight line with the drill
bit.
u Just before the drill tip breaks through the other side of the
workpiece, decrease pressure on the tool.
u Use a block of wood to back up workpieces that may
splinter.
u Use spade bits when drilling large diameter holes in wood.
u Use HSS drill bits when drilling in metal.
u Use masonry bits when drilling in soft masonry.
u Use a lubricant when drilling metals other than cast iron
and brass.
u Make an indentation using a centre punch at the centre of
the hole to be drilled in order to improve accuracy.
Screwdriving
u Always use the correct type and size of screwdriver bit.
u If screws are difcult to tighten, try applying a small
amount of washing liquid or soap as a lubricant.
u Always hold the tool and screwdriver bit in a straight line
with the screw
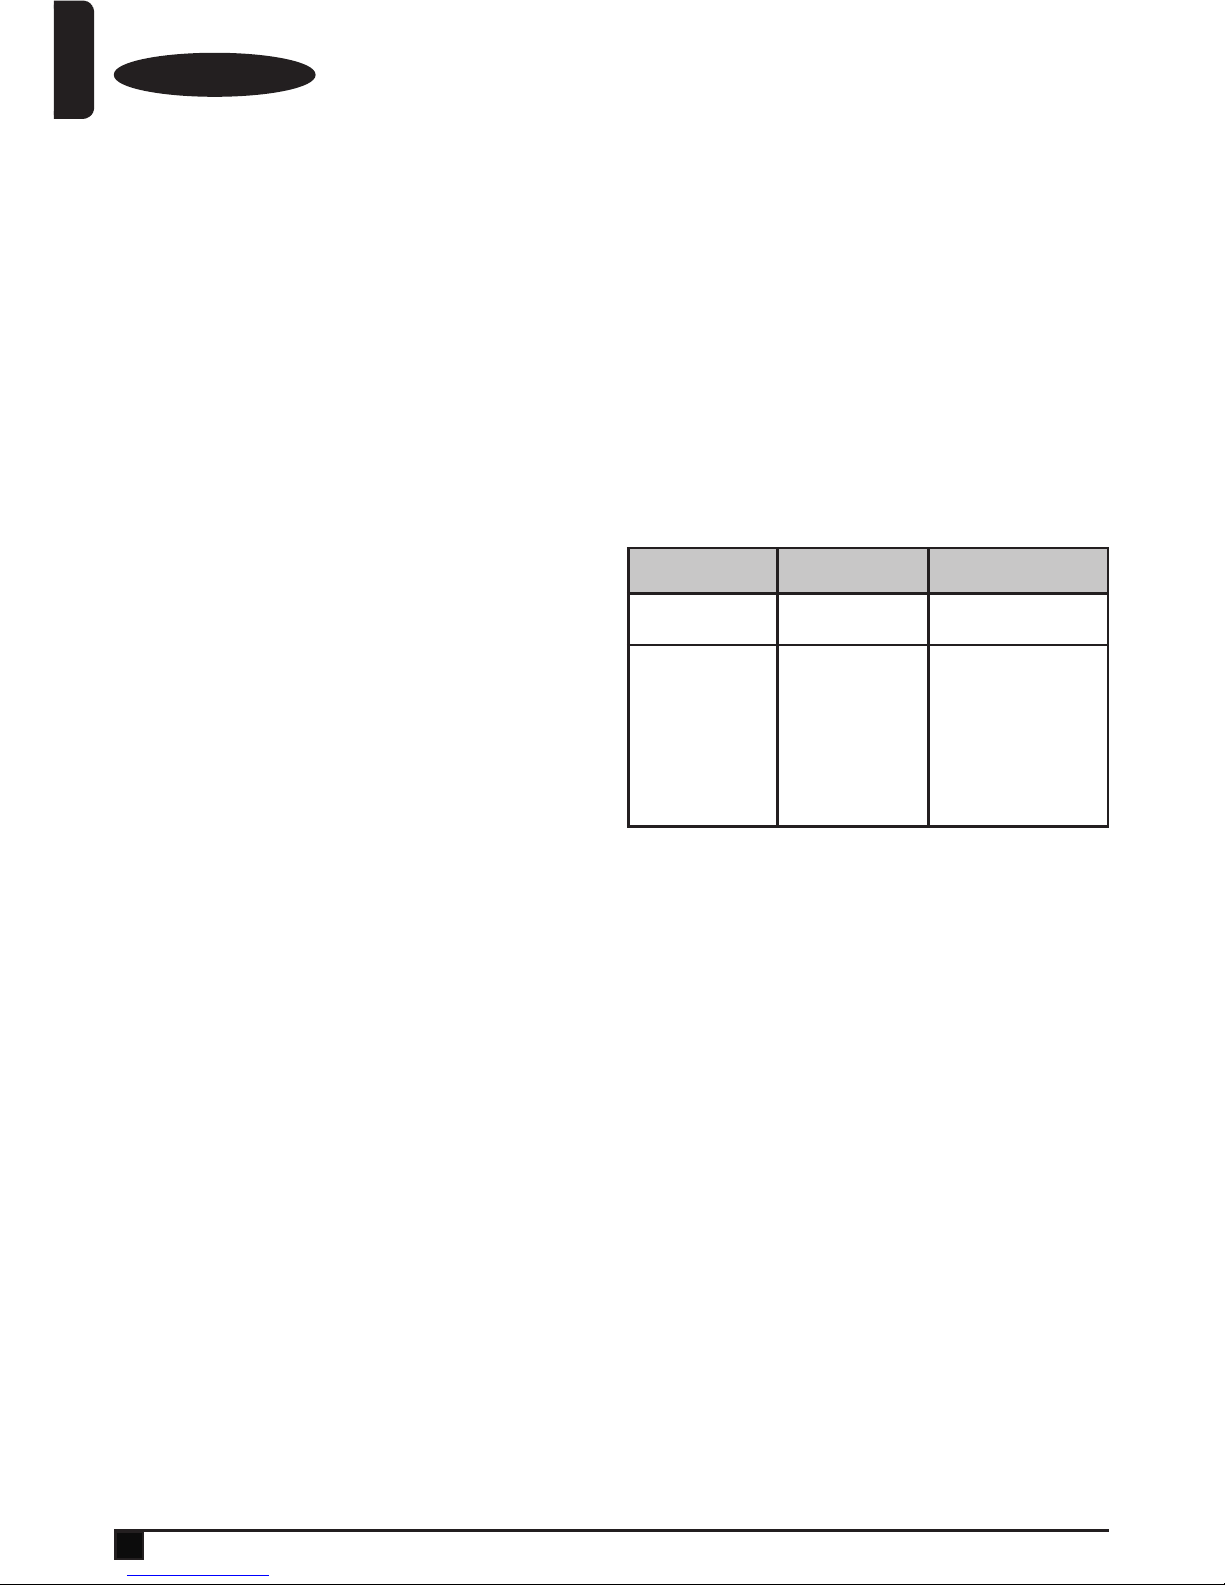
Troubleshooting
Problem Possible cause Possible solution
Unit will not start. Battery pack not
charged.
Check battery pack charg-
ing requirements
Battery pack will not
charge.
Charger not plugged
in.
Surrounding air
temperature too hot or
too cold.
Plug charger into a work-
ing outlet.
Move charger and battery
pack to a surrounding air
temperature of above 40
degrees F (45ºC) or below
105 degrees F (+40.5ºC)
Maintenance
Your BLACK+DECKER tool has been designed to operate
over a long period of time with a minimum of maintenance.
Continuous satisfactory operation depends upon proper tool
care and regular cleaning.
Your charger does not require any maintenance apart from
regular cleaning.
Warning! Before performing any maintenance on the tool,
remove the battery from the tool. Unplug the charger before
cleaning it.
u Regularly clean the ventilation slots in your tool and
charger using a soft brush or dry cloth.
u Regularly clean the motor housing using a damp cloth.
Do not use any abrasive or solvent-based cleaner.
u Regularly open the chuck and tap it to remove any dust
from the interior.
Protecting the environment
ZSeparate collection. This product must not be
disposed of with normal household waste.
Downloaded from www.Manualslib.com manuals search engine
Loading ...
Loading ...
Loading ...