Loading ...
3. Fit the 2 gasketed duct connectors into each end of the galvanised pipe (1 top & 1 bottom). Ensure that the connectors are pushed firmly into the pipe, up
to the centre rib of the connector.
4. The roof cowl can also be fitted at this stage, sliding the neck of the cowl over the duct connector fitted in the top end of the pipe. Again ensuring that it is
pushed firmly on over the gaskets and down to the centre rib.
5. Lower the bottom en
d of the pipe through the roof line and then using the bracing strap, anchor off the pipe to the roof/house frame using appropriate
fasteners as required.
6. With your hands circled around the semi-rigid ducting pipe, start from the centre of the pipe gently stretching and pulling it out to the ends… carefully form
it into the shape and length required to go from the lower end of the galvanised pipe down to the connection on top of y
our rangehood. Do this with as few
a bends as possible.
(If stretched out straight the duct will cover 3 metres. Each bend will reduce the length and a sharp 90⁰ bend could reduce the overall length by as much as 0.5m)
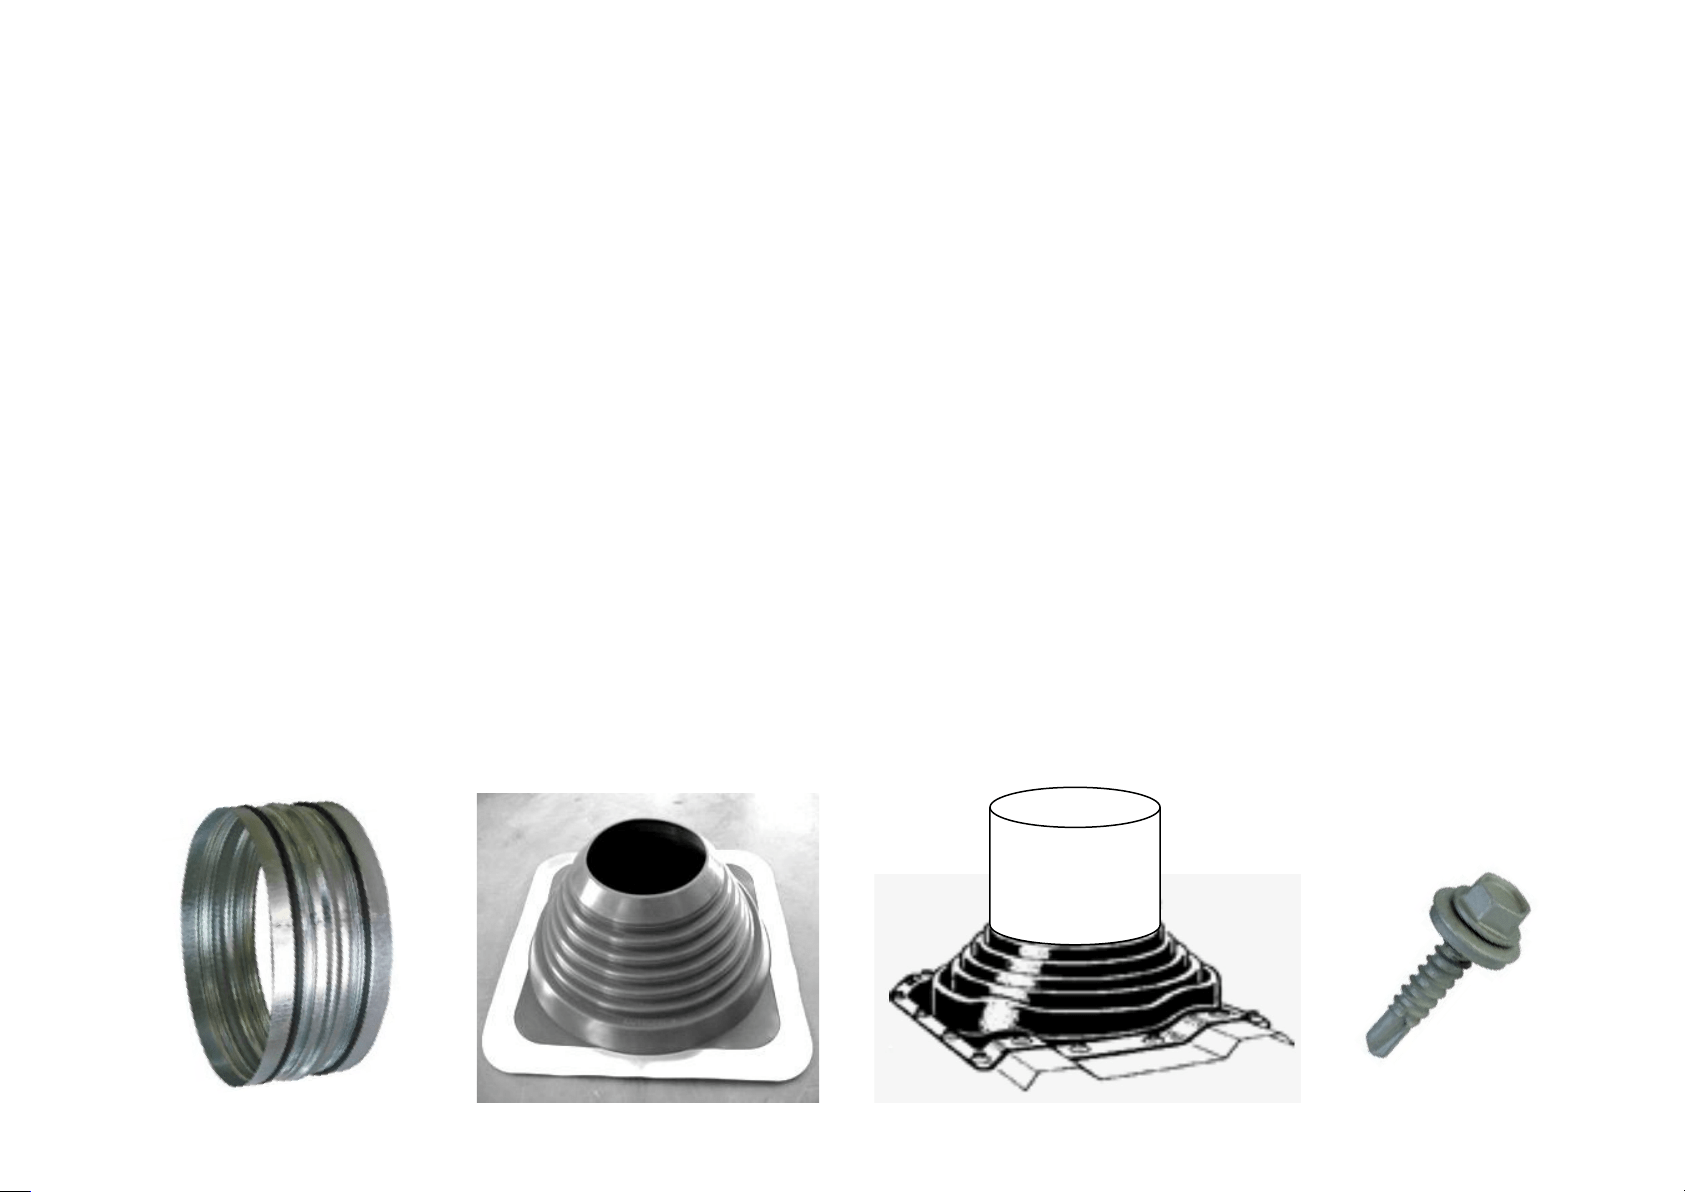
7. Fit the top end of the semi-rigid ducting over the gasketed connector on the lower end of the galvanised pipe and secure with 1 of the stainless steel ring
clamps, ensuring not to over tighten the screw and tear through
the aluminium. Hand tightening with a screw driver is ideal, or use a slow speed with a
cordless screwdriver or drill with a driver bit.
8. Carefully feeding/pulling through the ceiling, bring the lower end of the semi-rigid duct down to the connecting spigot on the top of the rangehood. Fit the
duct over the spigot and using the other stainless steel ring clamp, secure the duct to it. Again ensuring not to over tighten as above.
9.
After checking that the bracing strap is secure and that the galvanised pipe is in a vertical position (use a spirit level to check on at least 2 sides)… then
Metal Roof: carefully pull the silicone cone into position and form up the bonded aluminium edge as appropriate over the metal roof profile (either squared
off with the roof line or in a diamond shape). Gently lift up the edges and apply a silastic sealant around the roof under th e
edges of the flashing. Firmly
press the bonded aluminium edge of the base of the silicone cone over the roof profile again, smoothing it out as neatly as possible. Fasten down using
(self tapping) self sealing roofing screws.
Loading ...