Loading ...
Loading ...
Loading ...
EN - 10
WWW.SENIXTOOLS.COM
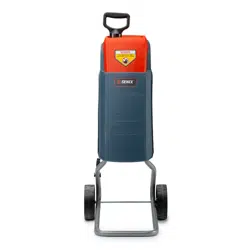
KNOW YOUR UNITAPPLICATIONS
Model: SDE15-L
As a wood chipper &shredder:
• Cutting up small branches and yard waste.
1 Hopper
2 Reset Button
3 Discharge Chute
4 Carbon Brush Cover
5 Wheel
6 Feeding Chute
7 Handle
8 Hopper Lock Knob
9 On/Off Switch with Safety Key
10 Power Plug
11 Paddle Holder
12 Collection Bag
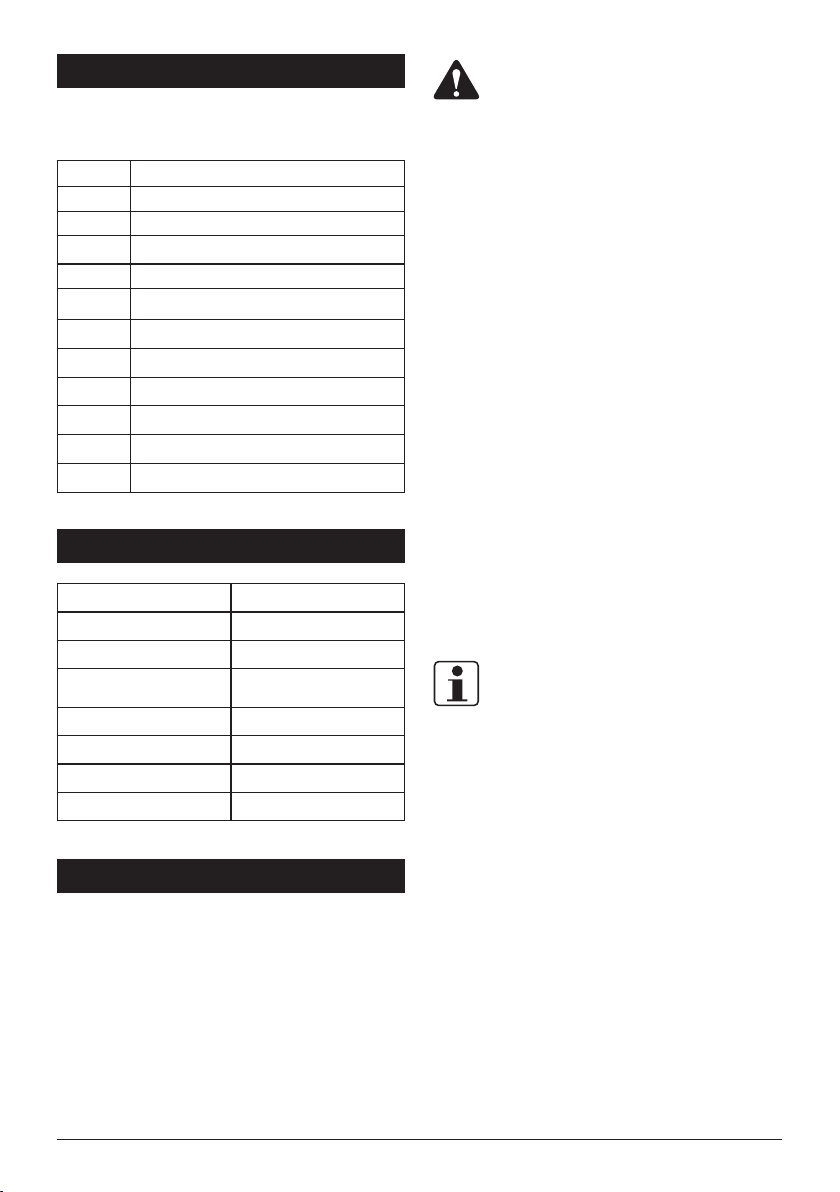
SPECIFICATIONS*
Model Number SDE15-L
Motor 120V, 60Hz, 15A
Maximum Speed 4000 RPM
Recommended Material
Diameter
0 to 1 inches (0 to 25.4 mm)
Maximum Material Diameter 1-1/2 inches (38 mm)
Cutterhead Size 7 inches
Weight 30.3 pounds
Product Dimensions 17.1 x 12.8 x 25.6 inches
ASSEMBLY
1. Unpack all parts and lay them on a at, stable surface:
2. Remove all packing materials and shipping devices, if
applicable.
3. The scope of delivery varies depending on the country
and purchased variant: Model of SDE15-L.
4. If you nd that parts are missing or show damage do not
use the product but contact customer service at 800-
261-3981. Using an incomplete or damaged product
represents a hazard to people and property.
5. Ensure that you have all the accessories and tools
needed for assembly and operation. This also includes
suitable personal protective equipment.
WARNING:
Do not plug in or turn on the tool until it is fully
assembled according to the instructions. Wear
eye protection and protective gloves for this
assembly work. Follow the assembly instructions
step-by-step.Read through and become
familiarized with the following procedures of
handling and adjusting your tool. Failure to
follow the safety instructions may result in
serious personal injury.
ASSEMBLING THE WHEELS &
STAND (Fig. 2)
1. Insert the wheel axle (A) through the bottom holes of the
stand (B).
2. Slide the wheels (C) onto both ends of the wheel axle.
Secure each wheel with a nut (D).
3. Snap the wheel covers (E) into each wheel.
4. Insert the two ends of the stand assembly into the
bottom of the shredder housing (F). Align the holes and
secure with screws (G).
INSTALLING THE PADDLE
HOLDER (Fig. 3)
1. Clip the paddle holder (A) onto one side of the stand.
2. Clip the paddle (B) into the paddle holder.
NOTE:
Place the paddle back into the paddle holder
every time after using.
CONNECTING THE EXTENSION
CORD (Fig. 4)
1. Make sure the power switch is in the OFF position.
2. Select the correct extension cord according to
"GUIDELINES AND RECOMMENDATIONS FOR
EXTENSION CORDS".
3. Make a knot with the power cord (B) and the extension
cord (A).
4. Connect the plug and receptacle.
COLLECTING SHREDDED
MATERIAL
Your shredder comes with a collection bag. Place the
collection bag under the discharge chute to collect
shredded material.
Loading ...
Loading ...
Loading ...