Loading ...
Loading ...
Loading ...
Page 5 • JL Audio, Inc., 2018 Continued on Next Page
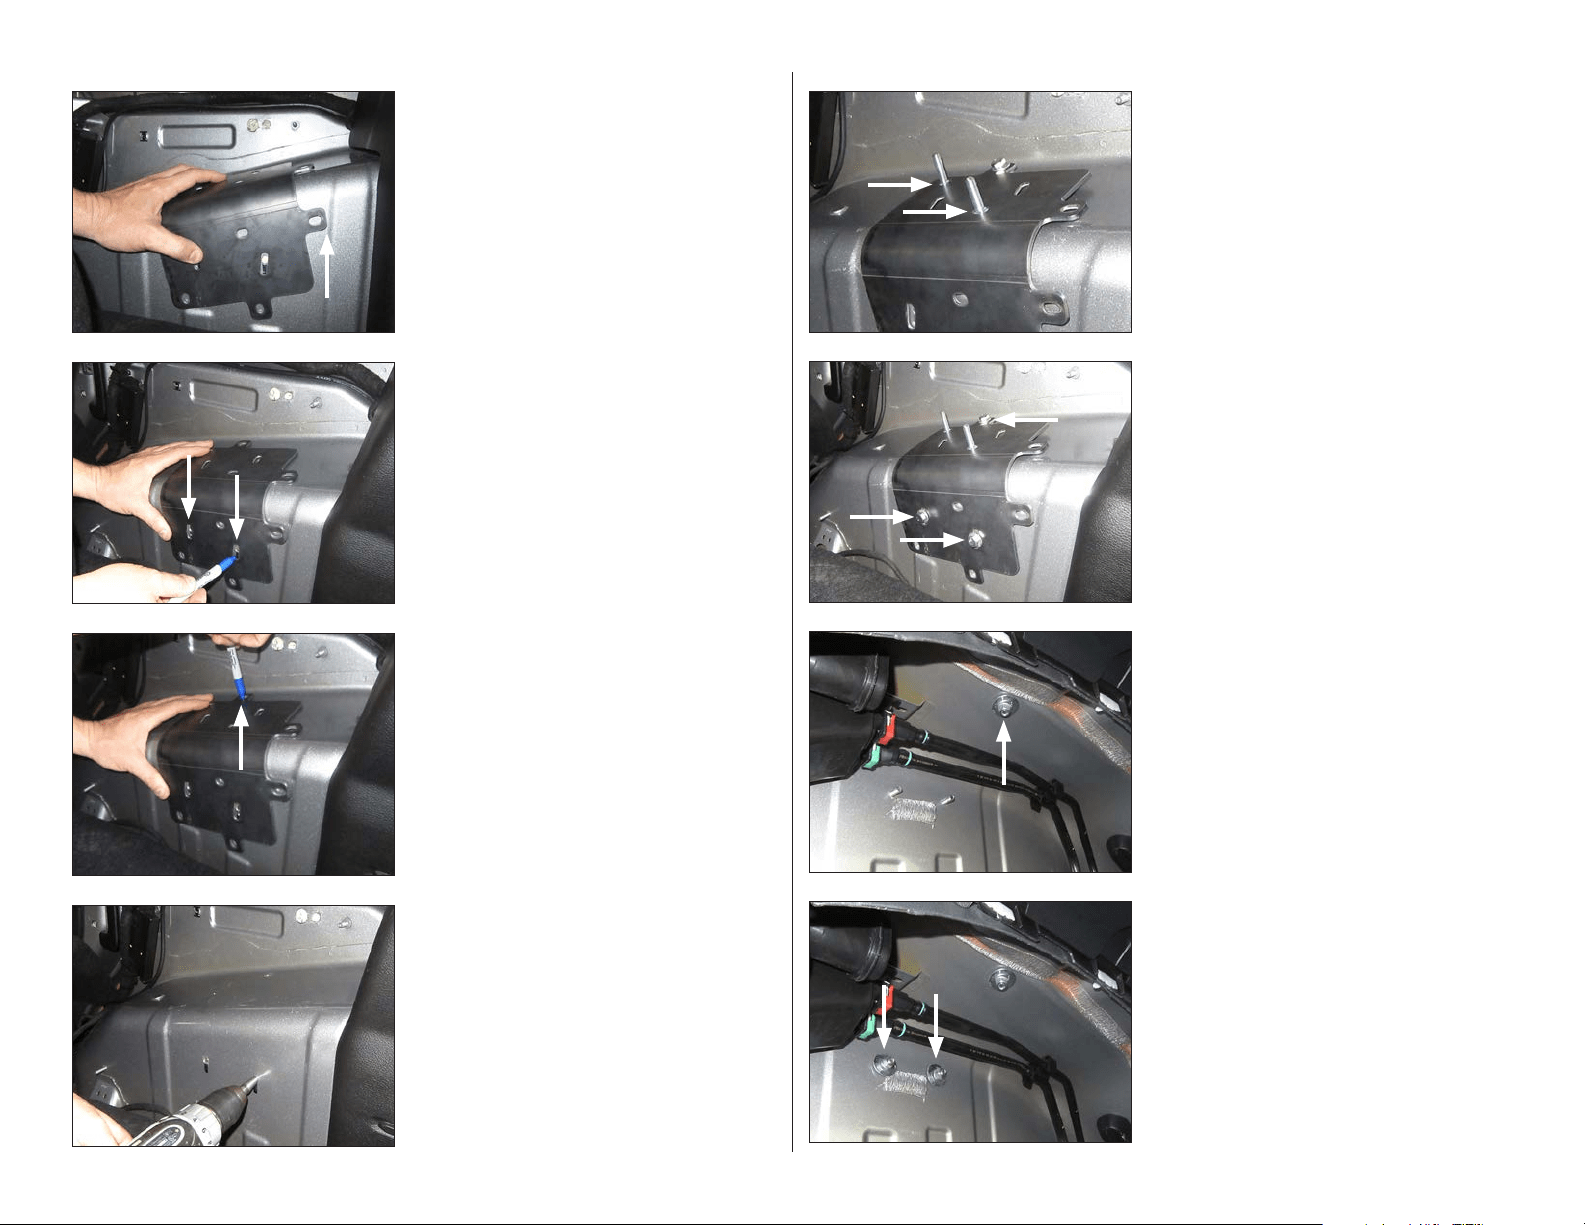
STEP 16
Slide a 5/16” Oversized Flat Washer, a 5/16” Split
Lock Washer, and a 5/16 - 18 Hex Nut each of
the lower 5/16 - 18 x 1” Hex Head Bolts, and
hand tighten.
Fully tighten the upper 5/16 - 18 Hex Nut
installed in the previous step, then fully tighten
the two lower 5/16 - 18 Hex Nuts.
STEP 15
From outside the vehicle, slide a 5/16”
Oversized Flat Washer, a 5/16” Split Lock
Washer, and a 5/16 - 18 Hex Nut over the upper
5/16 - 18 x 1” Hex Head Bolt, and hand tighten.
STEP 14
Slide a 5/16” Flat Washer over a 5/16 - 18 x 1”
Hex Head Bolt, and pass the assembly through
the upper hole in the Mounting Bracket,
through a 1/4” Aluminum Spacer, and through
the hole drilled in the wheel well.
Repeat the process for the lower holes, except
without the spacers.
STEP 13
Pass a 5/16 - 18 x 1-1/4” Square Neck Carriage
Bolt through the bottom of each of the square
holes in the Mounting Bracket, as shown. Push
a 5/16” Retaining Washer over each of the 5/16
- 18 x 1-1/4” Square Neck Carriage Bolts.
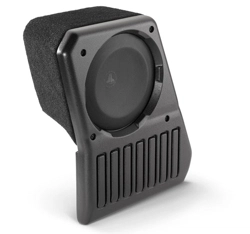
SB-J-JL4DDRV/10TW1 & SB-J-JL4DPAS/10TW1 INSTR_SKU# 011510
STEP 12
Using a step drill bit, carefully drill through the
top ends of the marks made in Step 10, and
enlarge the holes to 3/8”.
Carefully drill through the mark made in Step
11, and enlarge the hole to 3/8”.
STE P 11
With the Mounting Bracket in position, mark
the location of the indicated hole. Remove the
Mounting Bracket.
STEP 10
With the Mounting Bracket held in position,
mark the location of the two indicated slots.
Keep the Mounting Bracket in position for the
next step.
STEP 9
Position the Mounting Bracket as shown. The
curved surface will rest on the contoured
wheel well, and the indicated tab should be
flush with the front edge of the raised rib.
Loading ...
Loading ...