Loading ...
Loading ...
Loading ...
14
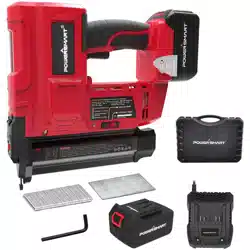
1. Press magazine latch (M) and open sliding magazine (H) .
2. Insert a stick of fasteners into the magazine channel.
●For brad nails, the pointed ends of the fasteners are
resting on the bottom edge of the magazine when loading.
●For staples, the head of the staples are resting on the top
of the magazine.
3. Close sliding magazine until the magazine latch clips
snuggly.
UNLOADING THE TOOL
WARNING: Always disconnect the power source before unloading.
1. Remove battery (L).
2. Press magazine latch (M) and open sliding magazine (H).
3. Remove all fasteners from the magazine channel.
4. Close sliding magazine until the magazine latch clips snuggly.
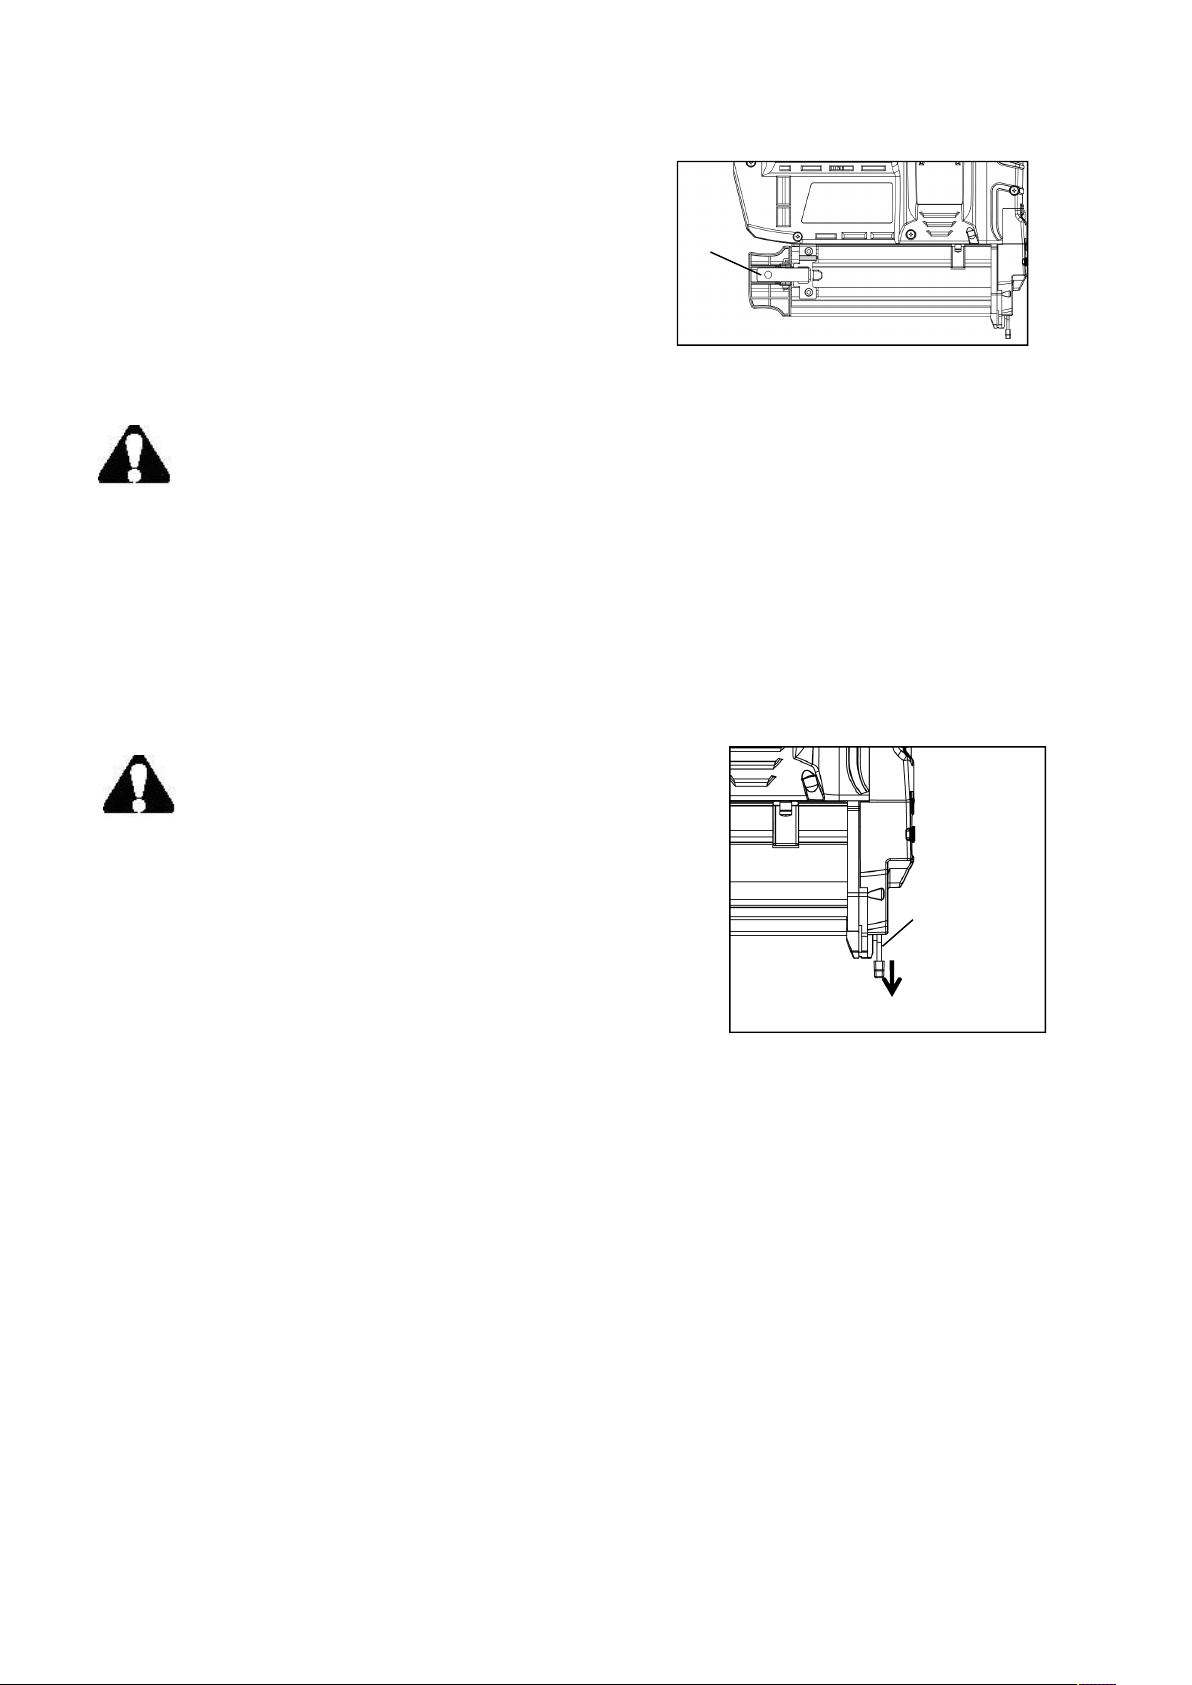
NO-MAR PAD
The no-mar pad attached to the nose of the tool helps prevent marring and denting when working with
softer woods.
WARNING: Disconnect the tool from the battery
before removing or replacing the no-mar pad. Failure
to do so could result in serious personal injury.
Remove the battery.
Remove the pad by pulling it down and away from the nose
(See fig.3).
To replace the pad, fit it into place over the nose and push up
to
reseat.
On-board storage for the pad is located on the magazine of the
tool.
An extra no-mar pad (N) is provided in the on-board storage area
(See fig.1).
CONNECTING AND REMOVING BATTERY
IMPORTANT!
The battery pack is not charged when it is purchased. Before using the power tool for the first time, place
the battery pack in the battery charger and charge. Make sure to read all safety precautions, and follow the
instructions in the battery charger section.
To install the battery pack
To install the battery pack into the bottom of the handle, align the rails of the battery pack with the rails in
the handle and push the battery into the handle. To connect the battery, slide the battery pack fully
forward. Until the latch locks into place.
Latch
NO-MAR PAD
Fig.2
Fig.3
Loading ...
Loading ...
Loading ...