Loading ...
Loading ...
Loading ...

6
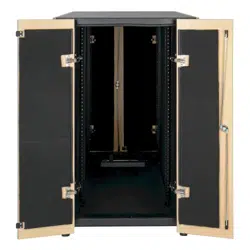
Enclosure Installation
Enclosure Configuration
Ground Connection
All enclosure components are grounded to the enclosure frame. Use the ground points located at the front or rear of the enclosure to connect an 8 AWG (3.264
mm) wire to your facility's earth ground connection. WARNING: Attach each enclosure to earth ground separately. Do not use the enclosure without an
earth ground connection.
Adjusting Mounting Rails
WARNING: Do not attempt to adjust rails without assistance. Do not attempt to adjust rails while equipment is installed in the enclosure.
Do not attempt to use rails without screws installed (two per rail).
The two mounting rails are pre-installed to the maximum front-to-rear rail distance of 30 inches (765 mm). This setting supports equipment depths up to
45 inches (1143 mm) maximum. Do not adjust the mounting rails unless your equipment requires different front or rear rail settings. The front and rear rails
can be adjusted independently in 3/8-inch (9.5 mm) increments for front-to-rear rail distances of 16 inches (406.5 mm) to 30 inches (765 mm).
1
Each rail is connected to the enclosure with two screws: one at the upper beam
A
and one at the
lower beam
B
.
2
Remove the screws fastening each of the rear mounting rails to the enclosure. (If adjustment of the
front rails is required, you can also remove the screws from the front rails.)
3
Slide the mounting rails to the desired depth and reattach them using the screws you removed in
Step 2. The rail attachment points are numbered
A
to help you align each pair of rails at the same
depth.
Grounding Locations
A
B
A
1
2
3
Loading ...
Loading ...
Loading ...