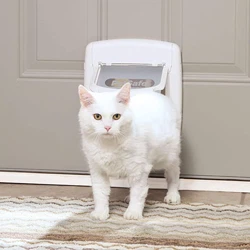
Loading ...
Loading ...
Loading ...
6 Customer Care Center +1 (800) 732-2677
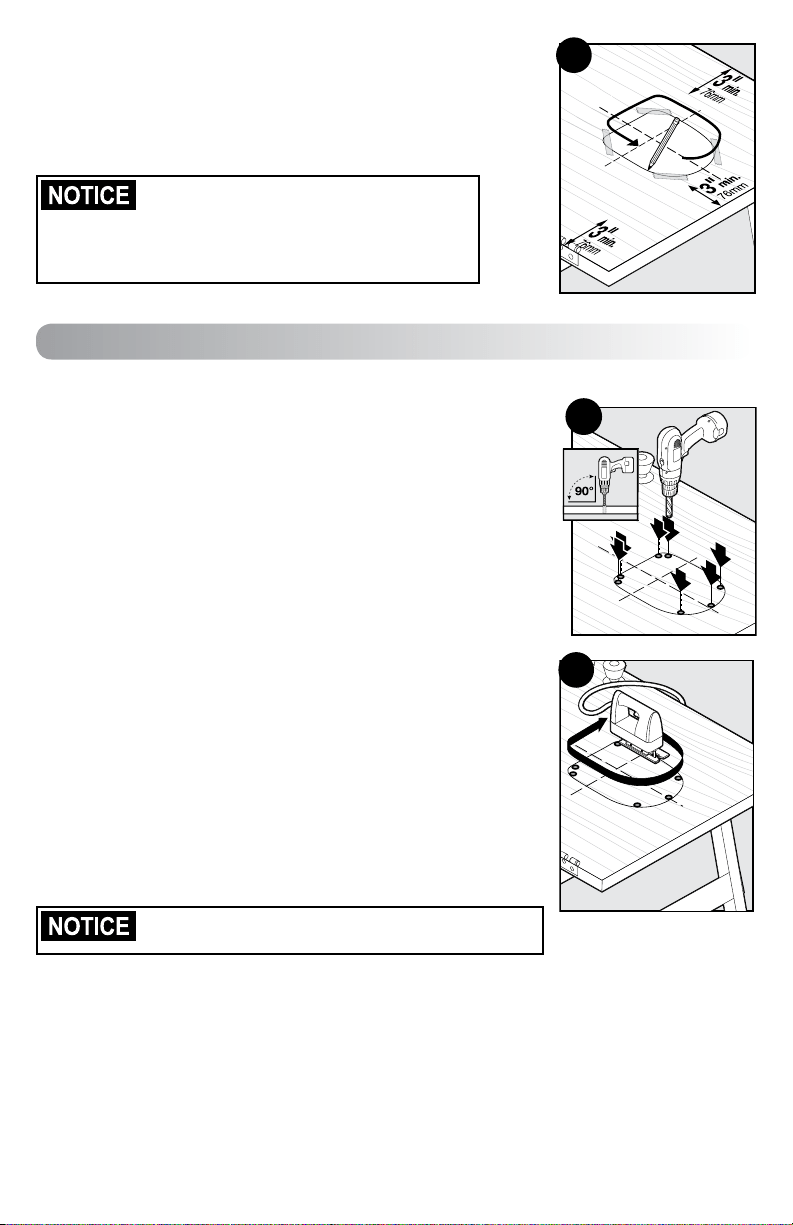
2C.
Cut out template for Non-Glass Doors. Match the
marked lines on the door with the shoulder and center lines on
the template. Tape template in place and trace template. Make
sure to trace underneath tape and connect the corners.
Remove the template and any excess tape from the door.
When applying cutting template there
should be a minimum of 3” between the
bottom and sides of the door and the outer
edge of the cutting template to maintain
the structural integrity of the door.
Cut Pet Door Opening
3A.
Drill ½” (13mm) holes in inside corners and center of bottom
curve of drawn template.
Helpful Tip: Use both hands to hold drill steady and straight at
a 90° angle.
3B.
Beginning in one of the holes just drilled, cut along the drawn
template lines. After cutting out the opening, you may need to
recut to square the opening. This is necessary for the pet door
frame to t correctly.
Helpful Tip: Apply masking or painter’s tape on bottom of
jigsaw and outer edges of drawn template to protect door
nish. Use a le to remove burrs after drilling and cutting to
make cutting and installation easier.
Helpful Tip: Use proper saw blade length and type according
to door thickness and material (for example a wood blade for a
wood door and a metal blade for a metal door). Cut slowly using
both hands to hold the saw steady and straight at a 90° angle.
This will help prevent the blade from cutting unevenly between
interior and exterior sides of the door.
Make sure there is nothing underneath the door where
you will be drilling the holes or cutting out opening.
2C
Step 3
3A
3B
Loading ...
Loading ...
Loading ...