Loading ...
Loading ...
Loading ...
Usingthesurfaceunits.
NOTE: Throughout this manual, features and appearance may vary from your model
i!!! !iiiilili!iii!i! iiiiiiiiiii!ii iii iiiii i, !i!!i!i ii !iiiili; iii!!ii!i!iiii iiiii directiooPUsh ekoobioandtumineithertotheset.ngyouwant.
i i; At both OFFand HI the control clicks
indicatingintoclickingposition,soundsthe Youcontrolduringmay ishearcooking,keepingslight the
power level you set.
A HOTSURFACE indicator light, on the
Be sure youturn the control knob to cooktop, will glow when any radiant
OFFwhenyoufinishcooking, element is turned on. It will remain
on until the suriace is cooled to
approximately 150°E
Hot surface indicator light will:
N comeon when the unit is hot to the touch.
_ stayonevenaftertheunitisturnedoff
_ glowuntiltheunitiscooledtoapproximately
!50°£
The WARM setting on the right REAR
surface unit keeps ah'eady heated food
warm until ready to serve. Do not use to
heat cold food.
WARMING ZONE GUIDE
SETTING FOOD
1(Low) 8read/Pastries
2(Medium) Chocolate/%tter
2(Medium) Sauces,Stews,
CreamSoups
2(Medium) Vegetables
3(High) Soups(liquid)
3(High) TeaorCoffee
TheWarmingZone Guideisfor
referenceonlyandthe SETi-ING
thatyou needwill dependonthe
amountand type offood,the
starting temperatureofthe food
andthe lengthof the holdingtime.
Using the Warming Zone (onsomemodels)
The WARMING ZONE, located in the
center of the glass cooktop surface,
will keep hot, cooked food at serving
temperature. Always start with hot food.
Do not use to heat cold _bod. Placing
uncooked or cold food on the WARMING
ZONEcould result in food-borne illness.
[] Touch the WARMINGZONE
SET'OFFpad.
[] Touch the number pads 1, 2 or 3
to select low (1), medium (2) or
high (3) warming setting.
[] Touch the STARTpad.
Always use pot holders or oven mitts
when removing fbod from the WARMING
ZONE,since cookware and plates will be
hot.
It_ _IIIL#IW'IIUT_ON; Do not warm food on the
WARMING ZONE for more than two hours.
NOTE:Thewarmingzonewill notglow red like
the cookingelements.
ROTwill be displayed when the glass
surface is hot and will remain on until
the surfhce is cool enough to touch.
NOTE:Lowersettingsmaynotheattheglass
surfaceenoughtocausetheHOTindicatorlight
tocomeon.
To turn the WARMING ZONEoff, touch the
WARMING ZONE SET'OFF pad until
WARMER disappears from the display.
For best results, all foods on the
WARMING ZONE should be covered with a
lid or almninum fbil. When warming
pastries or breads, the cover should be
vented to allow moisture to escape.
A warming zone ONlight will glow when
the unit is on.
_ Donotuseplasticwraptocoverfood.Plastic
maymeltontothesurfaceandbeverydifficult
toclean.
_ Useonlycookwarerecommendedfor
top-of-rangecooking
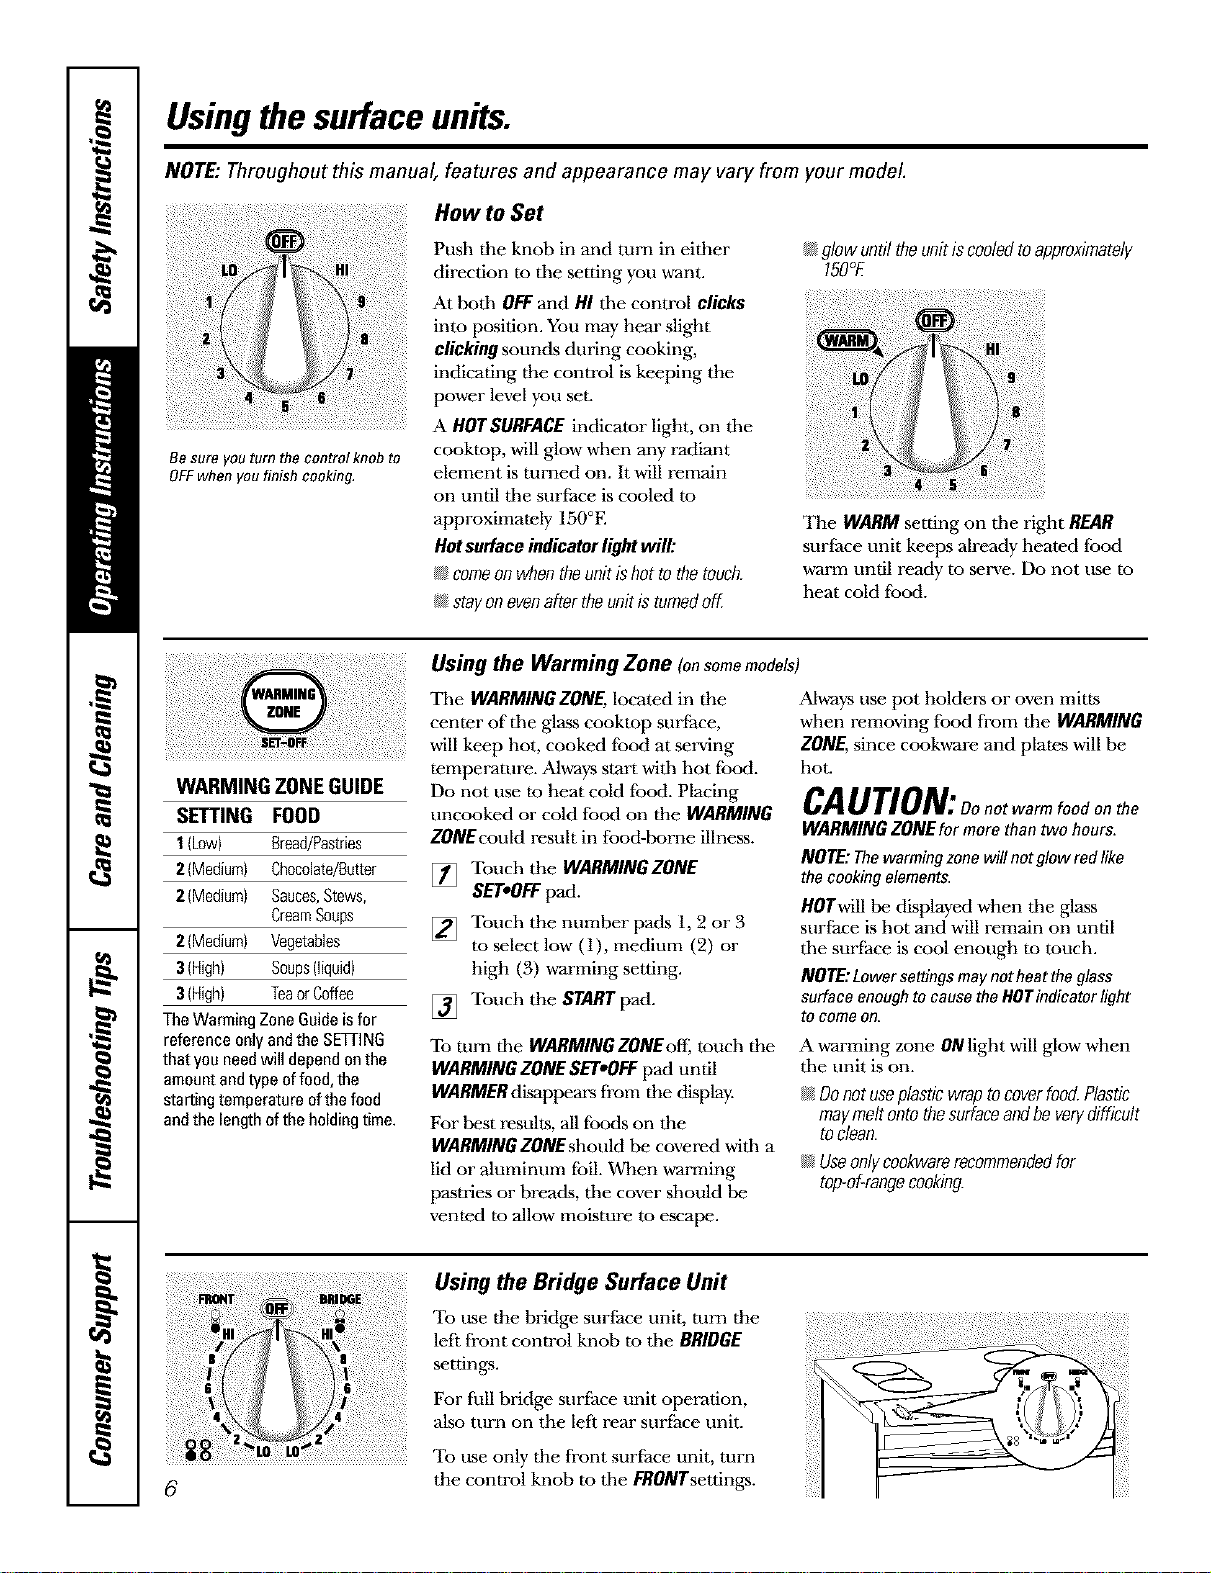
Using the Bridge Surface Unit
To use the bridge surt:ace unit. turn the
left front control knob to the BRIDGE
settings.
For full bridge sure'ace unit operation,
also turn on the left rear surface unit.
To use only the front sur_[hce unit, turn
the control knob to the FFlONTsetting_.
Loading ...
Loading ...
Loading ...