Loading ...
Loading ...
Loading ...
5
RJ40-6-V2
REMOVING AND SECURING THE GASKET
To remove the gasket to clean it:
1. Remove the lid and turn it upside down.
2. Pull gasket away from the metal ring until it is fully removed.
To secure the gasket back on:
1. Remove the lid and turn it upside down and place the inside of the gasket onto the gasket
holder. It should be positioned between the gasket holder and the inner edge of the lid.
2. Continue pushing the gasket onto the gasket holder while rotating the lid. It is fully secured
when all parts of the gasket holder sit flush against the inside of the gasket.
SETTING UP THE MULTI-COOKER
1. Plug the base of the power cord into the power cord port.
2. Plug the power cord into the wall. The Multi-Cooker will beep once, and the buttons will
illuminate for a second. Then the screen will display "----."
3. Ensure that the condensation cup is in place on the back of the Multi-Cooker.
4. Insert the cooking pot into the Multi-Cooker.
5. Put the ingredients into the cooking pot.
6. Select a function using the instructions on pages 7-11.
SECURING THE LID
1. Make sure the gasket is fully secured on the inside of the lid.
2. Place the lid onto the Multi-Cooker. Line up the arrow on the top of the lid with the arrow
located next to the unlock symbol.
3. Once it is secure, use the lid handle to turn the lid to the right, lining up the arrow next to
the lock symbol; this will lock the lid.
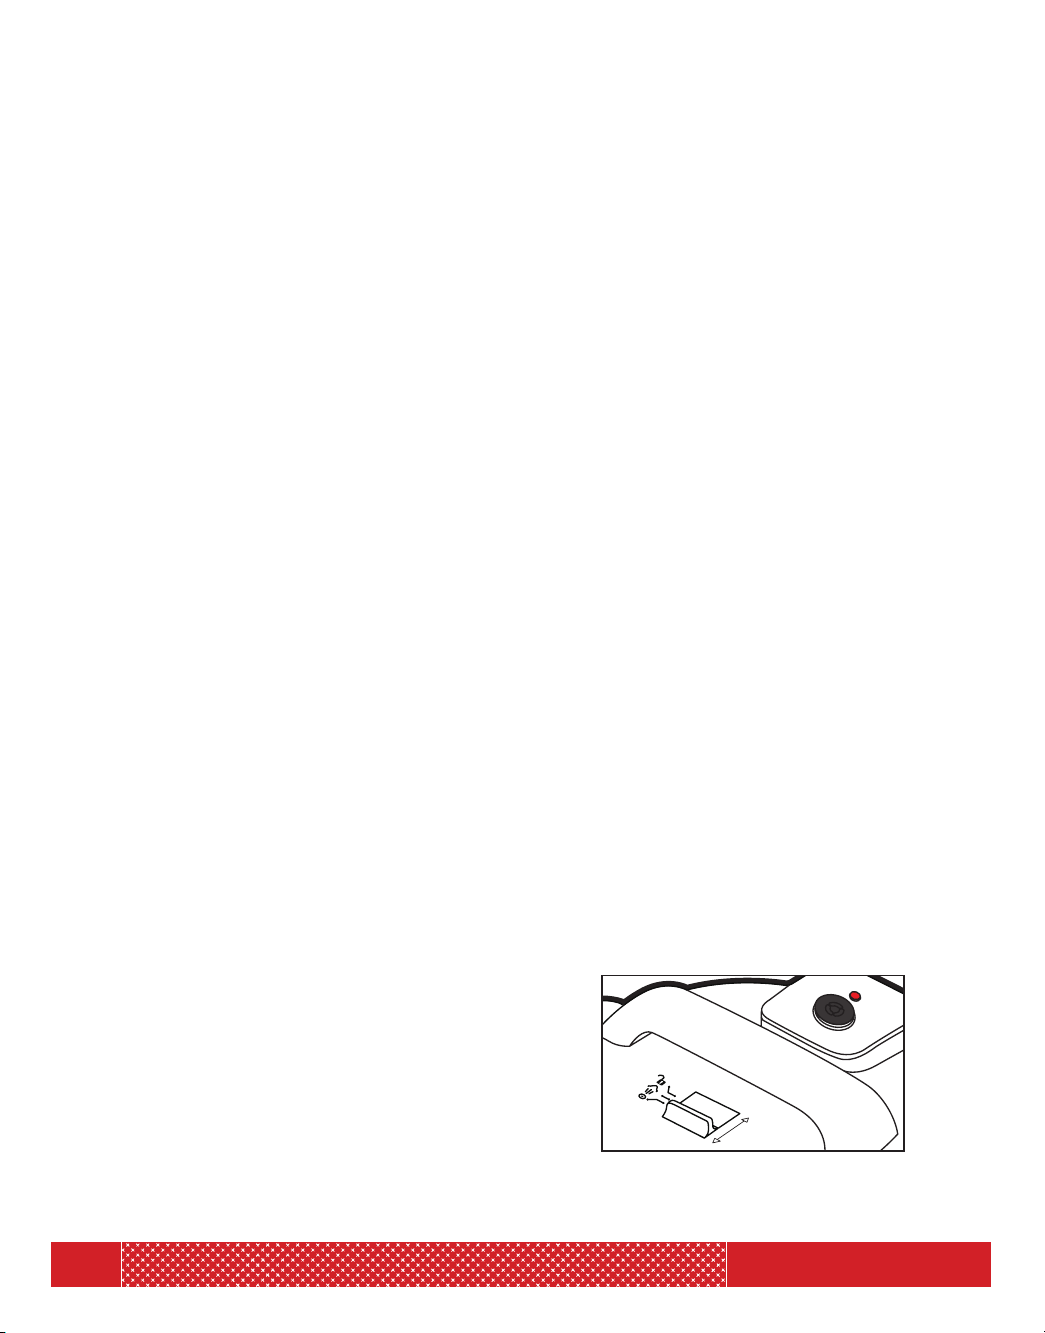
ADJUSTING THE PRESSURE RELEASE SWITCH
1. After placing lid on the Multi-Cooker, turn the
pressure release switch to Locked or Venting.
The Unlocked position will cause an error message.
NOTE: The pressure regulator valve is removable for cleaning; pull it up to remove. Never
attempt to remove it while the Multi-Cooker is in use or while the floating valve is lifted.
OPERATING INSTRUCTIONS
Loading ...
Loading ...
Loading ...