1
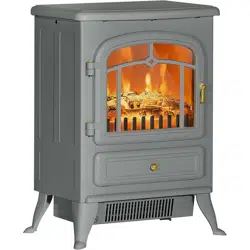
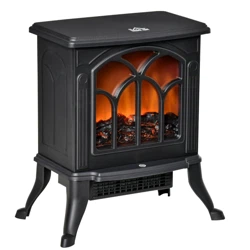
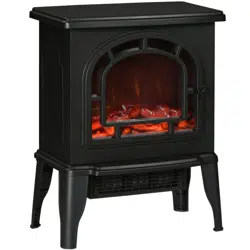
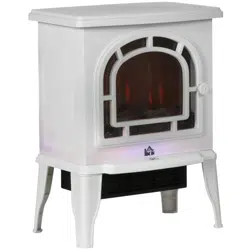
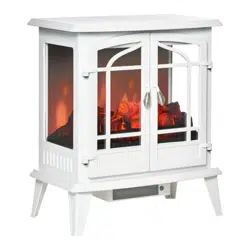
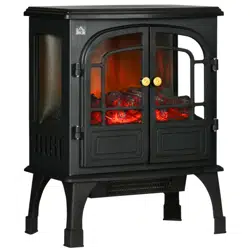
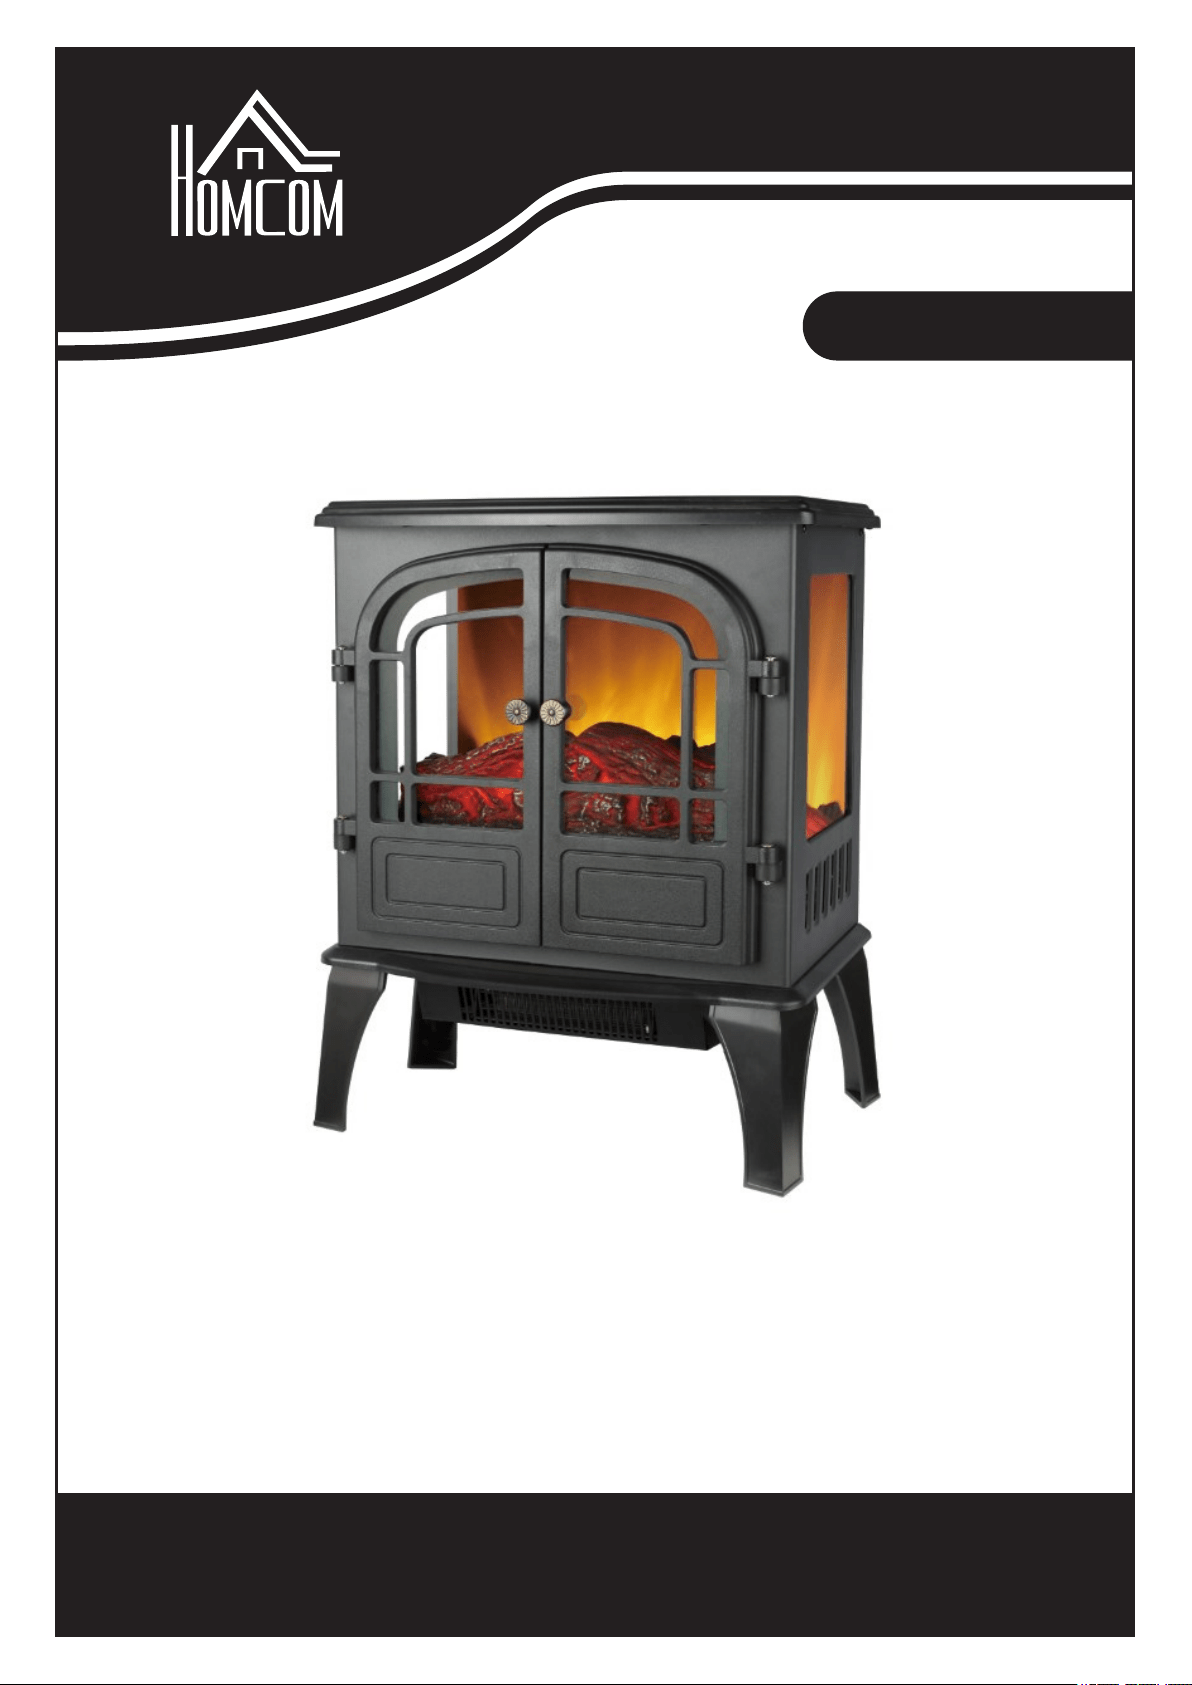
Electric Fireplace Stove with Heater
OWNER'S MANUAL
IMPORTANT, RETAIN FOR FUTURE REFERENCE: READ CAREFULLY
ASSEMBLY INSTRUCTION
820-342V80
INcja066_US

2
WARNING: INDOOR USE ONLY
IMPORTANT:
Please read this manual carefully before running this heater and save it for future.
NOTE: This manual contains important safety and operating instructions. Read all
instructions and follow them with use of this product.
IMPORTANT INSTRUCTIONS
When using this electric unit, basic safety precautions should always be followed to
reduce the risk of fire, electric shock, and injury to persons, including the following:
1. Read ALL instructions before using this unit.
2. CAUTION: Risk of Electric Shock. DO NOT open or try to repair the heater yourself.
3. This heater may get hot when in use. To avoid burns, DO NOT let bare skin touch hot
surfaces. If provided, use handles when moving this heater. Do not place it against
walls, furniture, curtains, etc.
4. Keep combustible materials, such as furniture, pillows, bedding, paper, clothes, and
curtains at least 3 ft from the front of the heater and keep them away from the sides,
top, and rear. DO NOT place towels or other objects on the heater.
5. Extreme caution is necessary when any heater is used by or near children or the
disabled, or when the heater is left operating and unattended.
6. DO NOT operate any heater with a damaged cord or after the heater malfunctions, has
been dropped or damaged in any manner. Return heater to authorized service facility
for examination, electrical or mechanical adjustment, or repair.
7. This heater is not intended for use in bathrooms, laundry areas and similar indoor
locations. NEVER locate heater where it may fall into a bathtub or other water
container. To protect against electrical hazards, DO NOT immerse in water or other
liquids.
8. DO NOT touch the control panel or plug with a wet hand.
9. DO NOT run cord under carpeting. DO NOT cover cord with throw rugs, runners, or
similar coverings. Arrange cord away from traffic area and where it will not be tripped
over.
10. DO NOT insert or allow foreign objects to enter any ventilation or exhaust opening as
this may cause an electric shock or fire, or damage the heater.
11. To prevent a possible fire, DO NOT block the air intakes or exhaust in any manner. DO
NOT use on soft surfaces, like a bed, where openings may become blocked.
12. A heater has hot and arcing or sparking parts inside. DO NOT use in areas where
gasoline, paint, explosive and/or flammable liquids are used or stored. Keep unit away
from heated surfaces and open flames.
13. Always plug heaters directly into a wall outlet receptacle. Never use with an extension
cord or relocatable power tap (outlet/power strip).
14. To avoid fire or shock hazard, plug the unit directly into a 120 V AC electrical outlet.
15. To disconnect heater, turn controls to OFF, then remove plug from outlet. Pull firmly on
the plug, DO NOT unplug by pulling on the cord.
16. Always unplug the unit before moving or cleaning, or whenever the heater is not in
use.
17. Use only for intended household use as described in this manual. Any other use not
recommended by the manufacturer may cause fire, electric shock, or injury to persons.
The use of attachments not recommended or sold by unauthorized dealers may cause
hazards.
18. Always use on a dry, level surface. Use on floor only.
3
19. DO NOT use outdoors.
20. WARNING: To reduce the risk of fire or electric shock, DO NOT use this unit with any
solid-state speed control device.
21. DO NOT attempt to repair or adjust any electrical or mechanical functions on this unit.
Doing so will void your warranty. The inside of the unit contains no user serviceable
parts. Qualified personnel should perform all servicing only.
22.Always use the product in an upright position.
SAVE THESE INSTRUCTIONS
SAFETY FEATURES
Overheat Safety Feature
This heater is equipped with a overheat safety feature. When the heaters internal
components reach a certain temperature that could cause overheat and possible fire,
the heater will automatically shut off.
WARNING: It is normal for the power cord to feel warm to the touch; however, a loose
fit between the outlet and the plug may cause overheating of the plug. If this occurs, try
inserting the plug into a different outlet. Contact a qualified electrician to inspect the
original outlet for damage.
IN THE BOX
*ELECTRIC STOVE
*LEG (4pcs)
*SCREW
*INSTRUCTION BOOKLET
ASSEMBLY INSTRUCTIONS
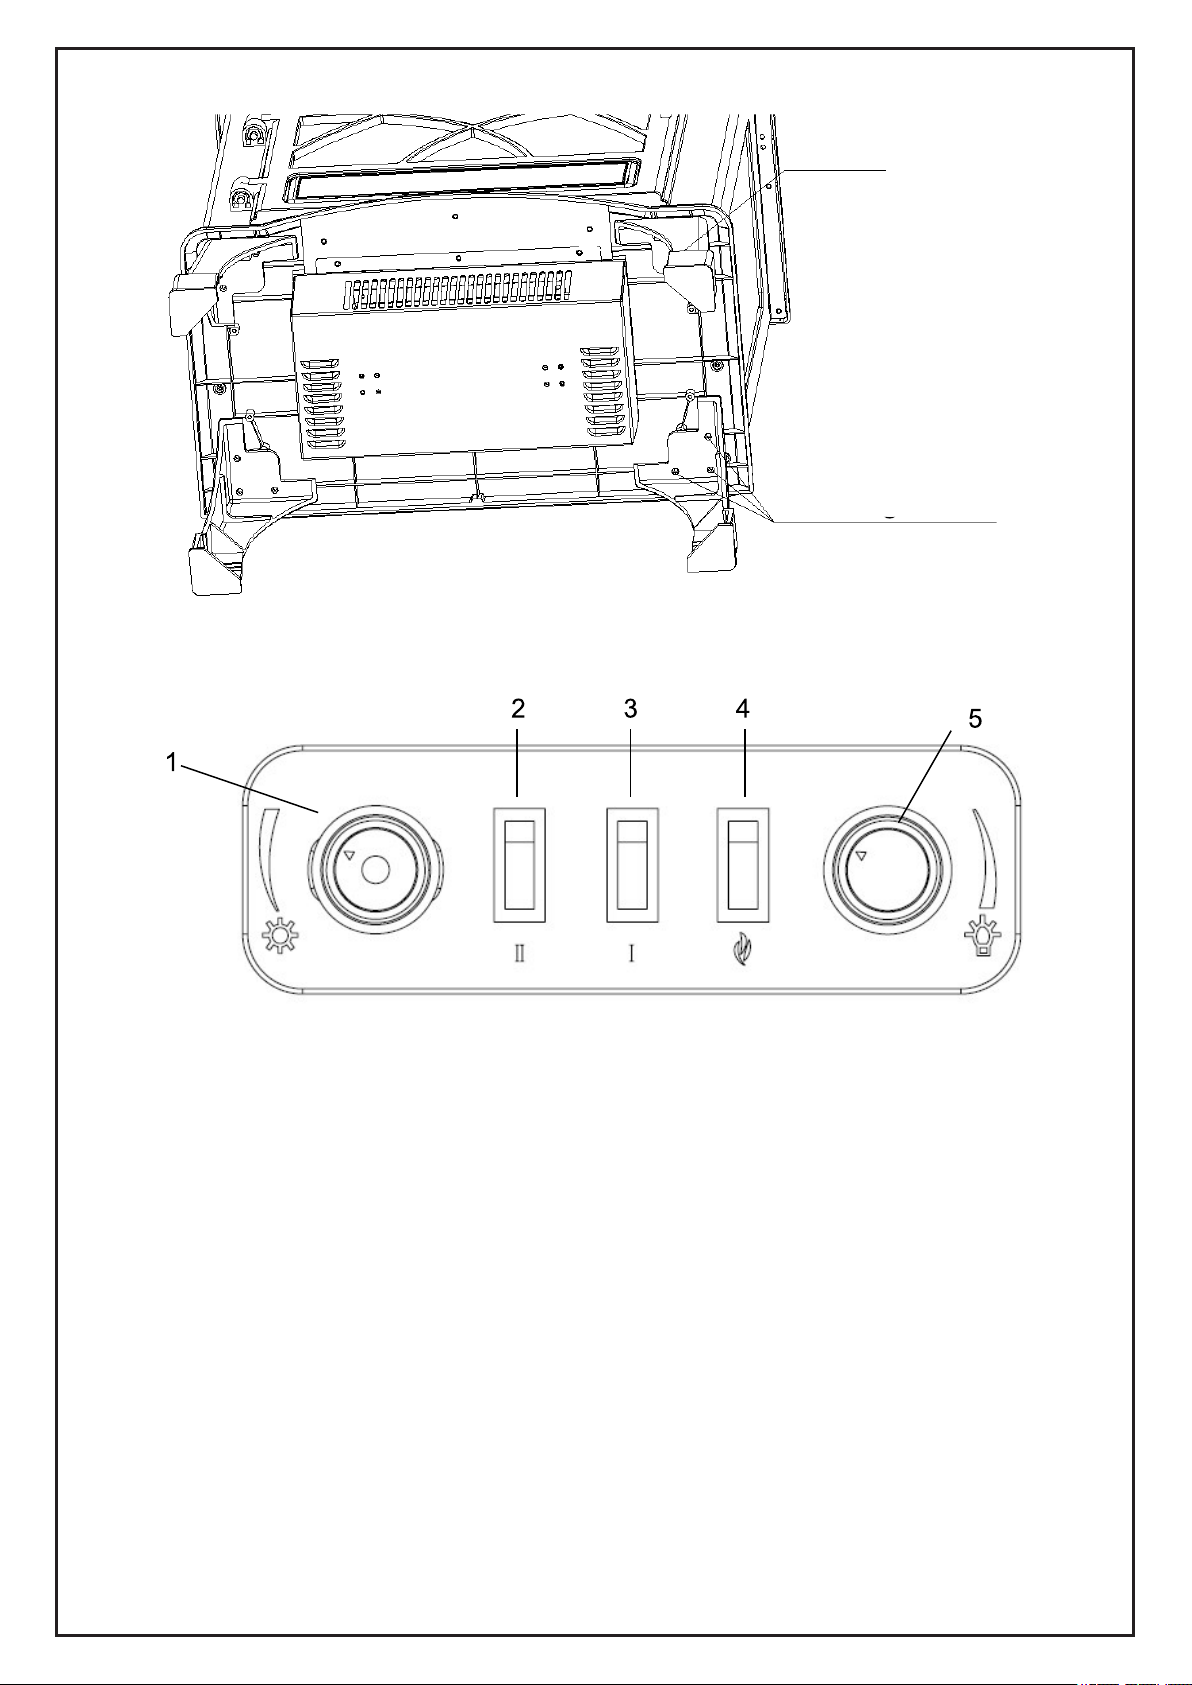
Lay stove upside down on a padded surface with the underside accessible. Attach leg
to stove by inserting the tab on the top of the leg into the corresponding slot on the
bottom of the stove. Insert screws into predrilled holes and tighten securely. Repeat
with remaining three legs.
PREPARATION
Before beginning assembly of product, make sure all parts are present. Compare parts
with package contents list and hardware contents above. If any part is missing or
damaged, do not attempt to assemble the product. Contact customer service for
replacement parts.
Tools Required for Assembly (not included): Phillips screwdriver
4
Leg
Fixing Screws
Location of Controls
AUTOMATIC CUT-OFF
A cut-off switch is fitted to the heating element to prevent damage due to overheating. If it
cuts-off due to an obstruction in the airflow, the heater must be allowed to cool for 5
minutes and the obstruction must be removed before restarting.
1. Thermostat control knob - Adjust to maintain room temperature
2. Heat Switch - Two switches for high heat setting
3. Heat switch – One switch for low heat setting
4. Flame switch - Both the power switch and the flame switch
5. Flame dimmer control - Adjust to set flame intensity
OPERATING YOUR HEATER
Once the stove has been properly assembled and connected to a grounded electrical
outlet, it is ready to operate:
Open control the door, by the knob of front of stove.
1. Thermostat control knob:
To adjust the temperature to your individual requirements, turn the thermostat dial (#1) to
the right (clockwise) to increase the desired temperature, or to the left (counter-clockwise)

5
to decrease desired temperature. This thermostat control dial can one or both of the (# 2 &
3) switches are in the “on” position. When the heater reaches the desired temperature, the
heater and one or both of the indicator lights will turn off.
2. ⅡHeat Switch
For high heat function - Press Ⅱswitch while the Flame effect switch (#4) and switch (#3)
are in the “on” position for high heat. The indicator light will turn on.
3. ⅠHeat Switch
For low heat function - Press Ⅰ switch while the Flame effect switch (# 4) is in the “on”
position for high heat. The indicator light will turn on.
4. Flame Effect:
Press Flame effect switch (#4) to the “on” position for flame effect. The indicator light will
turn on. This function can be used without heat.
5. Flame Dimmer Control:
Turn the dimmer dial (#5) clockwise or counter-clockwise to get the desired flame intensity.
The dimmer switch can only be used when the Flame effect switch is in the “on” position.
NOTE:
Heat functions will NOT operate unless the Flame effect switch (#4) is in the “on”
position.
MAINTENANCE
1.Glass Information
* Under no circumstances should this product be operated with missing or broken glass.
* Do not strike or slam the glass.
* Do not use abrasive cleaners to clean the glass.
* Replacement glass is available from the manufacturer and replacement should be carried
out by a qualified service person.
2. Cleaning
* To clean the unit, first turn off controls on unit and unplug unit from power source.
* To clean the glass door: remove dust with clean dry cloth or to remove finger prints and
other marks clean glass with clean damp cloth. Do not use abrasive cleaners or spray
liquids on glass door surfaces.
* Metal and metal painted parts should be cleaned with clean damp cloth only. Do not use
abrasive cleaners or spray liquids on this surface.
TROUBLE SHOOTING
If the heater will not operate, please check the following before seeking repair of service:
1. Check if the power cord is plugged into an electrical outlet, if not, plug in.
2. Check if electricity to the outlet is working.
Note: The heater may not be operating if the thermostat is set lower than the room
temperature. To begin operation, increase the thermostat temperature for a higher heat
setting.
STORAGE
Store the heater in a cool, dry location when not in use. To prevent dust and dirt build-up,
use the original packaging to repack the unit.
6