
Loading ...
Loading ...
Loading ...
English 11
Safety devices
몇 CAUTION
Missing or modified safety devices
Safety devices are provided for your own protection.
Never modify or bypass safety devices.
Power switch
The power switch prevents unintentional operation of
the device.
Pressure switch
If the lever on the trigger gun is released, the pressure
switch turns off the pump and the low pressure stream
is stopped. The pump switches on again when the lever
is pressed.
Motor circuit breaker
The motor circuit breaker shuts off the device if power
consumption it too high.
Symbols on the device
Device description
Device description
The maximum amount of equipment is described in
these operating instructions. Depending on the model
used, there are differences in the scope of delivery (see
packaging).
For the illustrations, refer to the graphics page
Illustration A
1 *Vehicle adapter
2 Charger
3 Device carrying handle
4 Charging socket
5 Power switch
6 Charge indicator
7 Trigger gun
8 *Conical jet nozzle for gentle cleaning
9 *Universal brush
10 Flat jet nozzle
11 Water reservoir
12 Water reservoir cover
13 Carrying handle for the water reservoir
14 Storage compartment for small parts
15 Valve opener
16 Fine filter
17 Type plate
18 *Suction hose
19 *Suction hose connection
20 *Water filter
21 *Cap
22 *Accessories box
23 *Viscous cloth
24 *Fur cleaning brush
25 *Microfibre cloth
* optional
Blink codes
Starting up
1. Place the device on a flat and level surface.
Battery charging
1. Charge the battery.
Illustration B
Note
The charge indicator flashes during the charging proce-
dure. This lights up continuously when the battery is ful-
ly charged. For information on the charging time, see
Chapter Technical data.
Water supply
ATTENTION
Contamination in the water
Damage to the pump and accessories
Fill the reservoir with clear water only.
Ensure that only clear water is sucked in.
Water supply from integrated water reservoir
ATTENTION
Improper water supply
Damage to the device
Do not fill the water reservoir with any detergents, pes-
ticides or other additives.
Do not immerse the device in water.
Remove the water reservoir for filling.
1. Pivot the carrying handle of the device to the side.
Illustration C
2. Pull the water reservoir vertically upwards.
Illustration D
3. Open the water reservoir lid and fill the water reser-
voir.
Illustration E
4. Fit the water reservoir on the device.
Illustration F
Note
Take care to ensure that the low-pressure hose lies in
the recess and is not crushed.
Sucking water from open containers
1. Pull the water reservoir vertically upwards.
2. Remove the valve opener using the suction hose
connection or a suitable pair of pliers.
Illustration G
3. Plug the suction hose connection onto the fine filter.
Illustration H
Charge the battery pack only using
the original charger enclosed or with
a charger approved by KÄRCHER.
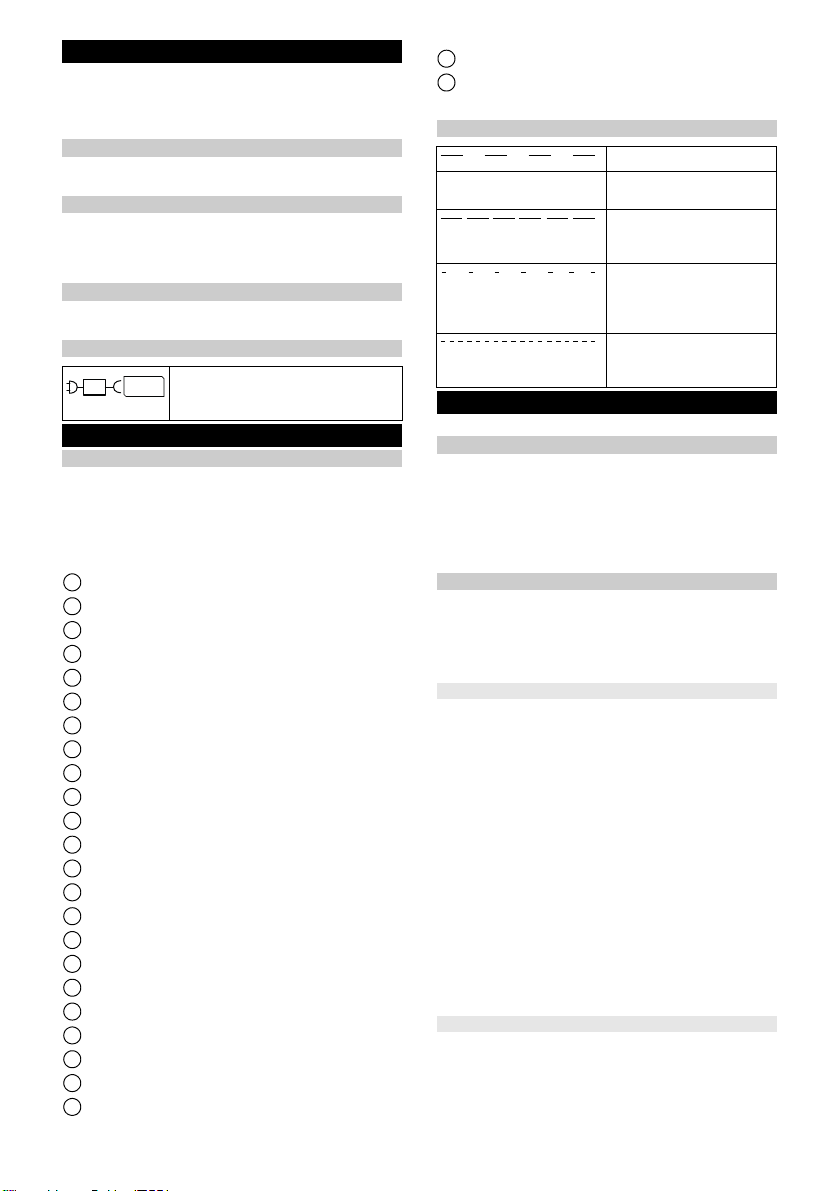
PS02PS02
Battery is being charged.
The battery is fully
charged.
Low battery voltage warn-
ing (approx. 2 minutes op-
erating time remaining).
The battery is discharged.
The device switches itself
off and cannot be switched
back on.
The motor circuit breaker
has tripped (see Chapter
Troubleshooting guide).
Loading ...
Loading ...
Loading ...