Loading page 1...
Loading page 2...
Loading page 3...
Loading page 4...
Loading page 5...
Loading page 6...

Custom-designed
Features
01
Loading page 8...
Custom-designed Features 7
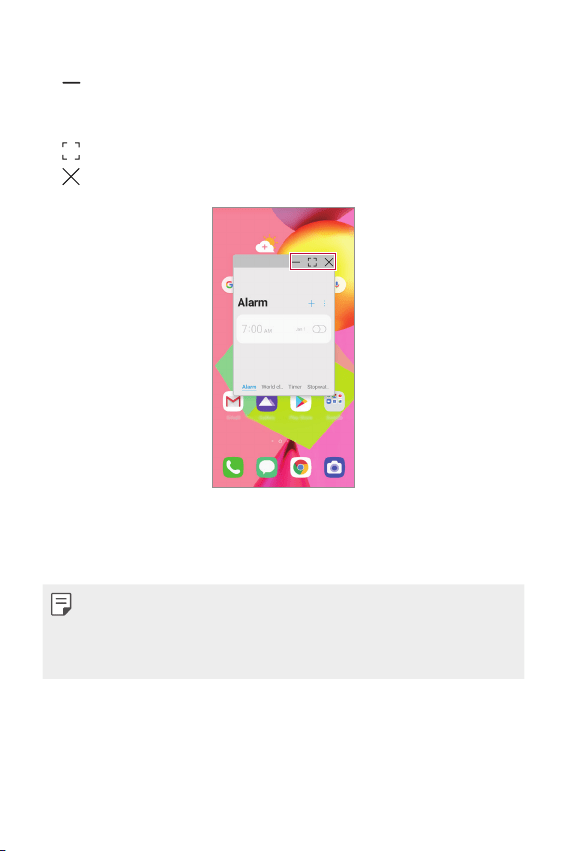
Using the pop-up window
• : Minimizes the pop-up window. The pop-up window is minimized
into the app icon floating on the screen, which can be moved anywhere
you want.
•
: Expands the app to full screen.
•
: Closes the app.
• To move the pop-up window: Drag the top of the pop-up window.
• To adjust the size of the pop-up window: Drag the left, right or
bottom edge of the pop-up window.
• You can open up to 5 apps using the pop-up windows.
• To select an app from the opened apps, tap one of the pop-up windows.
The selected pop-up window comes to the front.
• Pop-up windows cannot be moved to the status bar or navigation bar area.
Loading page 10...
Loading page 11...
Loading page 12...
Loading page 13...
Loading page 14...
Loading page 15...
Loading page 16...
Loading page 17...
Loading page 18...
Loading page 19...
Loading page 20...
Loading page 21...
Loading page 22...
Loading page 23...
Loading page 24...
Loading page 25...
Loading page 26...
Loading page 27...
Loading page 28...
Loading page 29...
Loading page 30...
Loading page 31...
Loading page 32...
Loading page 33...
Loading page 34...
Loading page 35...
Loading page 36...
Loading page 37...
Loading page 38...
Loading page 39...
Loading page 40...
Loading page 41...
Basic Functions 40
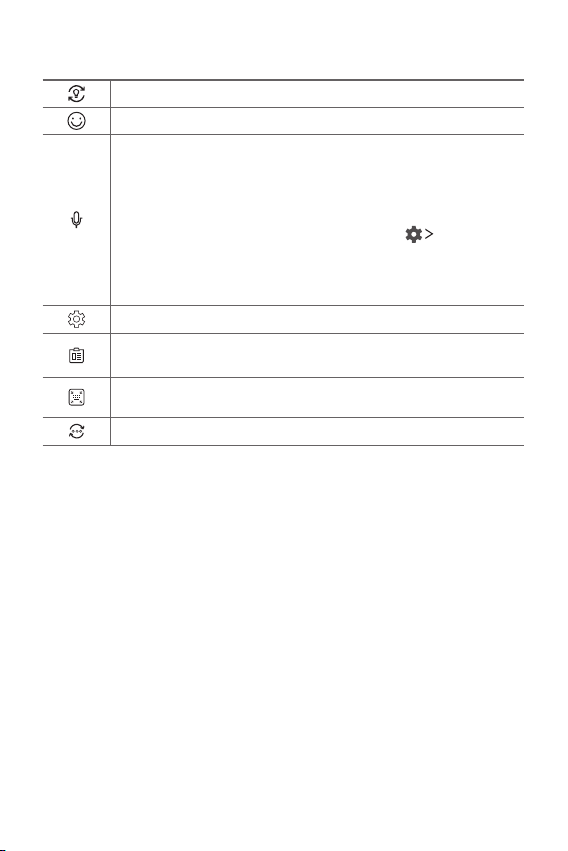
Smart Tool
Tap to hide the smart tools.
Tap to add emojis.
Tap to enter text by using voice.
•To maximize the voice command recognition, speak clearly.
•To enter text with your voice, make sure that your device is
connected to a network.
•To select the language for voice recognition, tap
Languages
on the voice recognition screen.
•This function may not be supported, or the supported languages
may differ depending on the service area.
Tap to access keyboard settings.
Tap to open the clip tray.
For more information, please see
Clip Tray
.
Tap to let the keyboard float, when you use the Multi-window
feature. You can also move the keyboard to the desired location.
Tap to bring the smart tools back.
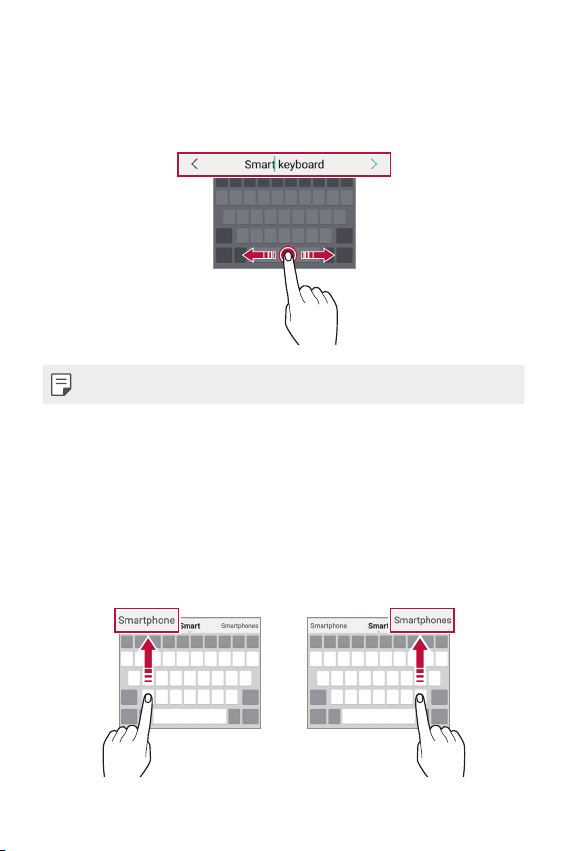
Using the Smart keyboard
You can use the Smart keyboard to enter and edit text.
With the Smart keyboard, you can view text as you type without
bothering to alternate between the screen and a conventional keyboard.
This allows you to easily find and correct errors when typing.
Basic Functions 41
Moving the cursor
With the Smart keyboard, you can move the cursor to the exact position
you want. When typing text, touch and hold on the space bar and then
drag left or right.
• This option is available only on the QWERTY keyboard.
Suggesting words
Smart keyboard automatically analyzes your usage patterns to suggest
frequently used words as you type. The longer you use your device, the
more precise the suggestions are.
Enter text, then tap a suggested word.
• The selected word is automatically entered. You do not need to
manually type every letter of the word.
Basic Functions 42
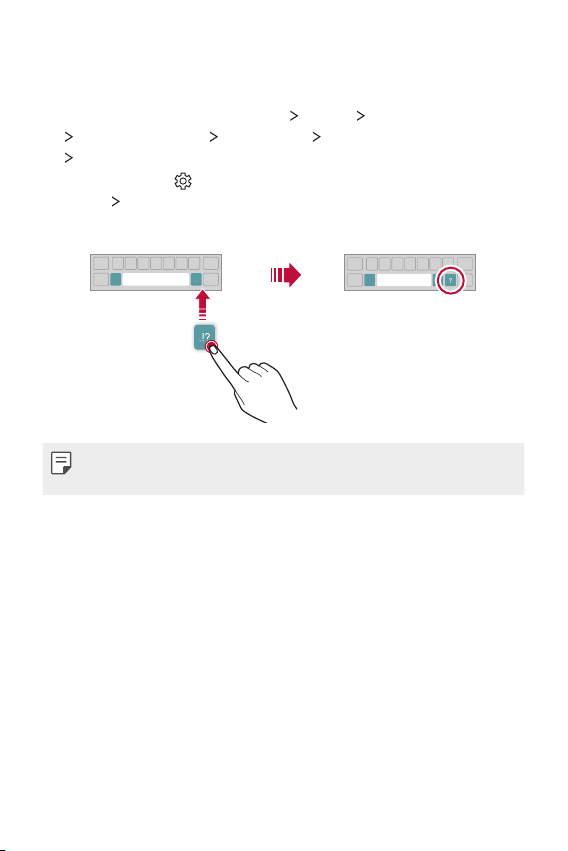
Changing the QWERTY keyboard layout
You can add, delete or rearrange keys on the bottom row of the keyboard.
1
On the home screen, tap Settings System Language & keyboard
Manage keyboards LG Keyboard Keyboard height and layout
QWERTY keyboard layout.
You can also tap
on the keyboard, then tap Keyboard height and
layout
QWERTY keyboard layout.
2
Tap a key on the bottom row, then drag it to a desired position.
EN
•
This option is available on the QWERTY, QWERTZ and AZERTY keyboards.
• This function may not be supported for some languages.
Basic Functions 43
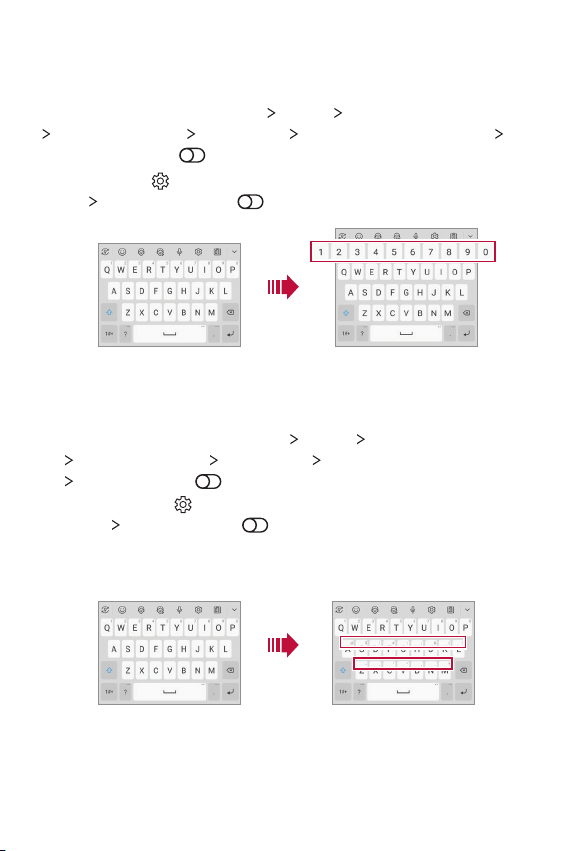
Extended keyboard mode
You can set to display number keys on the top row of the keyboard.
On the home screen, tap Settings
System Language & keyboard
Manage keyboards LG Keyboard Keyboard height and layout
Extended keyboard .
You can also tap on the keyboard, then tap Keyboard height and
layout
Extended keyboard .
Showing symbols on keys
You can set to show symbols in the character keys.
1
On the home screen, tap Settings System Language & keyboard
Manage keyboards LG Keyboard Keyboard height and layout
Symbols on keys .
You can also tap on the keyboard, then tap Keyboard height and
layout
Symbols on keys .
2
To enter a symbol, touch and hold the corresponding key and select
the desired symbol.
Basic Functions 44
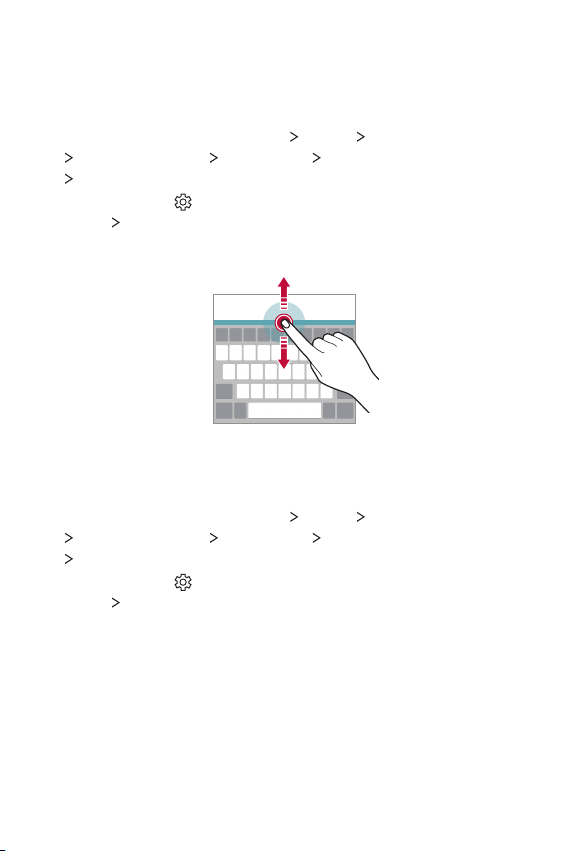
Customizing the keyboard height
You can customize the keyboard height to maximize hand comfort when
typing.
1
On the home screen, tap Settings System Language & keyboard
Manage keyboards LG Keyboard Keyboard height and layout
Keyboard height.
You can also tap
on the keyboard, then tap Keyboard height and
layout
Keyboard height.
2
Adjust the keyboard height.
Selecting a landscape keyboard mode
You can select a landscape keyboard mode from several choices.
1
On the home screen, tap Settings System Language & keyboard
Manage keyboards LG Keyboard Keyboard height and layout
Keyboard type in landscape.
You can also tap
on the keyboard, then tap Keyboard height and
layout
Keyboard type in landscape.
2
Select a keyboard mode.
Loading page 47...
Basic Functions 46
Adding languages to the keyboard
You can make additional languages available for keyboard input.
1
On the home screen, tap Settings System Language & keyboard
Manage keyboards LG Keyboard Language & keyboard layout
Select languages.
You can also tap
on the keyboard, then tap Language & keyboard
layout
Select languages.
2
Select the languages you want to use on the keyboard.
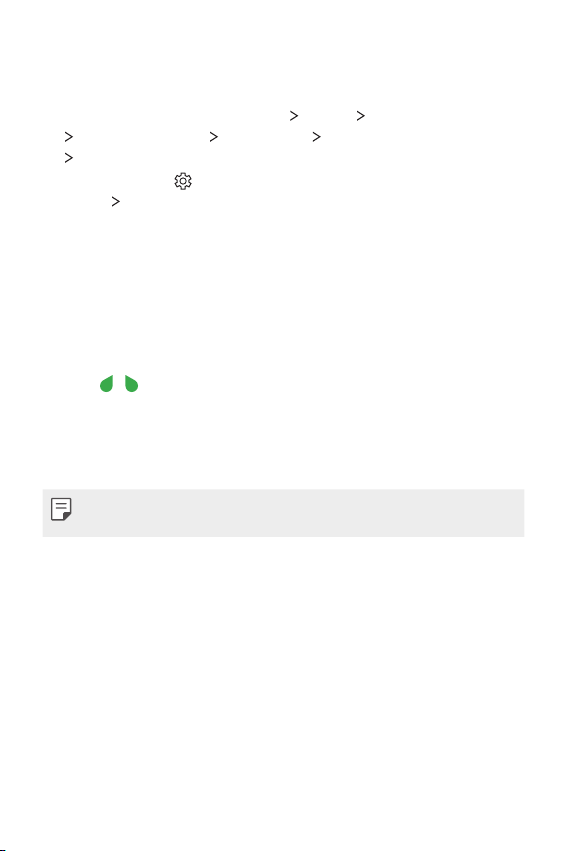
Copy and Paste
You can cut or copy text from an app, and then paste the text into the
same app. Or, you can run other apps and paste the text into them.
1
Touch and hold around the text you want to copy or cut.
2
Drag / to specify the area to copy or cut.
3
Select either Cut or Copy.
• Cut or copied text is automatically added to the clipboard.
4
Touch and hold the text input window, then select Paste.
• If there is no item that has been copied or cut, the Paste option will not
appear.
Loading page 49...
Loading page 50...
Loading page 51...
Loading page 52...
Loading page 53...
Useful Apps 52
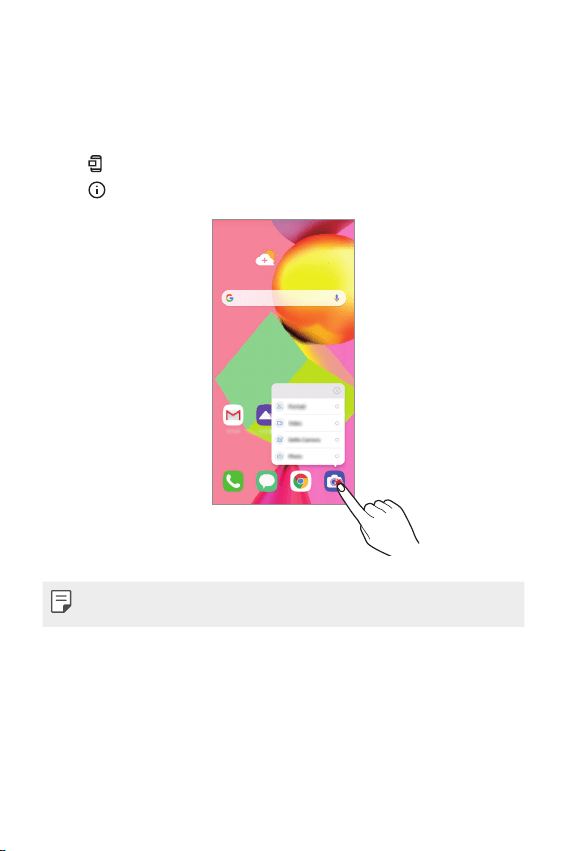
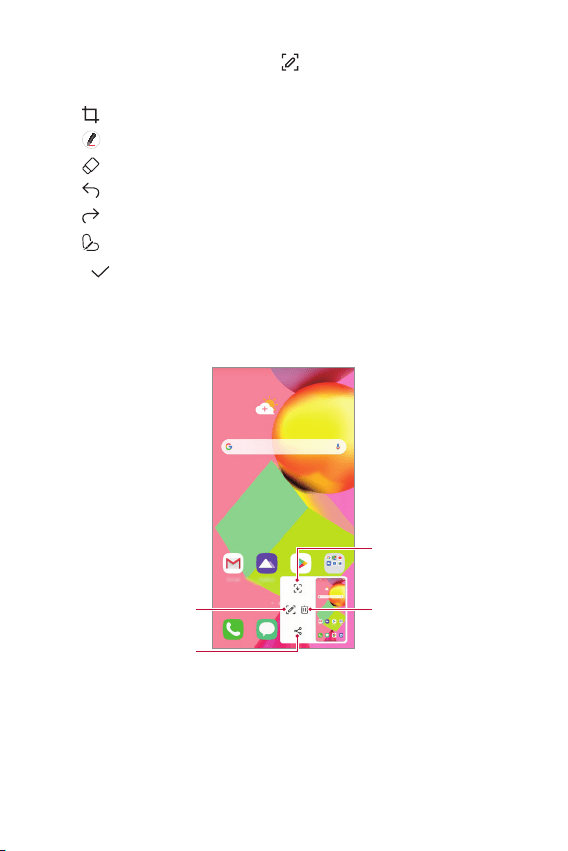
App Shortcuts
On the Home screen, touch and hold an app icon such as Phone,
Messaging, Camera, Gallery and Settings to display a quick access menu.
Use apps more easily through App Shortcuts.
• Tap
to set a widget for the app.
• Tap to check the app information.
• This feature is available only on some apps.
Loading page 55...
Loading page 56...
Useful Apps 55
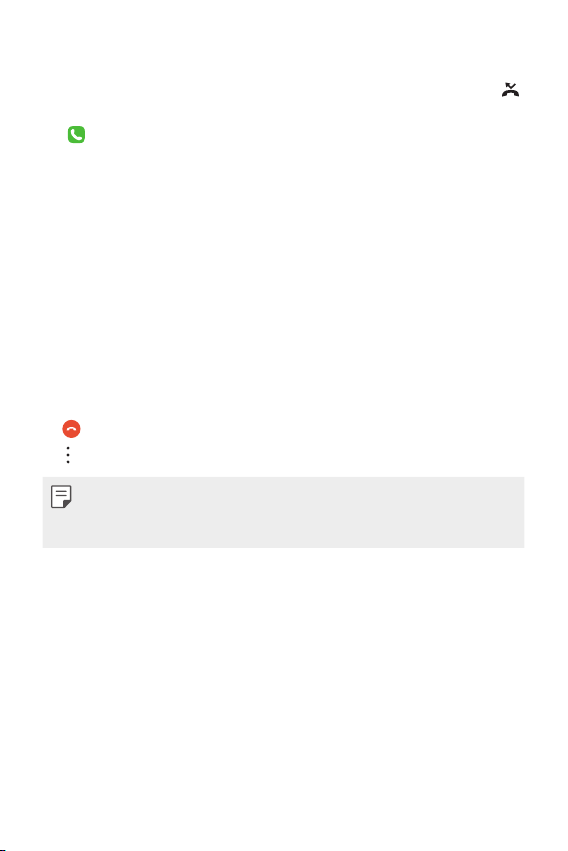
Viewing missed calls
If there is a missed call, the status bar at the top of the screen displays .
To view missed call details, drag the status bar downwards. You can also
tap
on the home screen and tap Call logs.
Functions accessible during a call
During a call, you can access a variety of functions by tapping the
on-screen buttons:
• Contacts: Allows access to your contacts list.
• Hold: Hold a call.
• Dialpad: Display or hide the dial pad.
• Speaker: Turn on the speakerphone function.
• Mute: Block your voice so that the other party cannot hear your voice.
• Bluetooth: Switch the call to a Bluetooth device that is paired and
connected.
•
: End a call.
• : Access more options during a call.
• Some functions are not available during a video call.
• Available setting items may vary depending on the area or service
provider.
Loading page 58...
Loading page 59...
Loading page 60...
Loading page 61...
Loading page 62...
Loading page 63...
Loading page 64...
Loading page 65...
Loading page 66...
Loading page 67...
Useful Apps 66
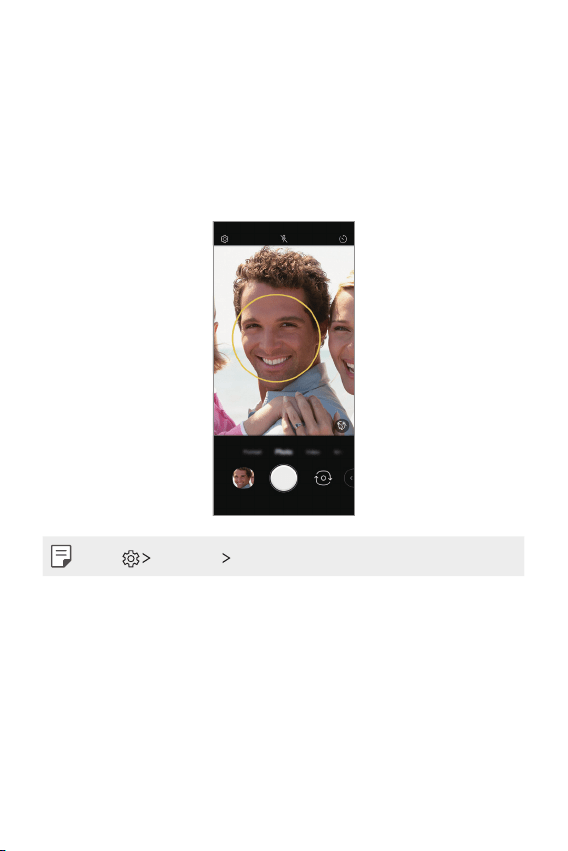
Auto shot
You can use the face detection feature to take selfies easily and
conveniently. You can set the device so that, when you look at the screen,
the front camera detects your face and takes a selfie automatically.
• The white colored guide frame appears when the front camera detects
your face. If the subject within the guide frame stops moving, the guide
frame color turns yellow, then the camera takes a photo.
• Tap Selfie shot Auto shot to enable the Auto shot feature.
Useful Apps 67
Interval shot
You can take selfies at an interval.
While using the front camera with Gesture shot enabled, you can show
your palm to the camera, then clench your fist twice quickly.
• Four photos are taken at regular intervals after a timer delay of three
seconds.
Save as flipped
Before taking a photo with the front camera, tap Save as flipped.
The image is flipped horizontally.
• When using the front camera, you can change the selfie shot settings in
the camera options. See
Customizing the camera options
for details.
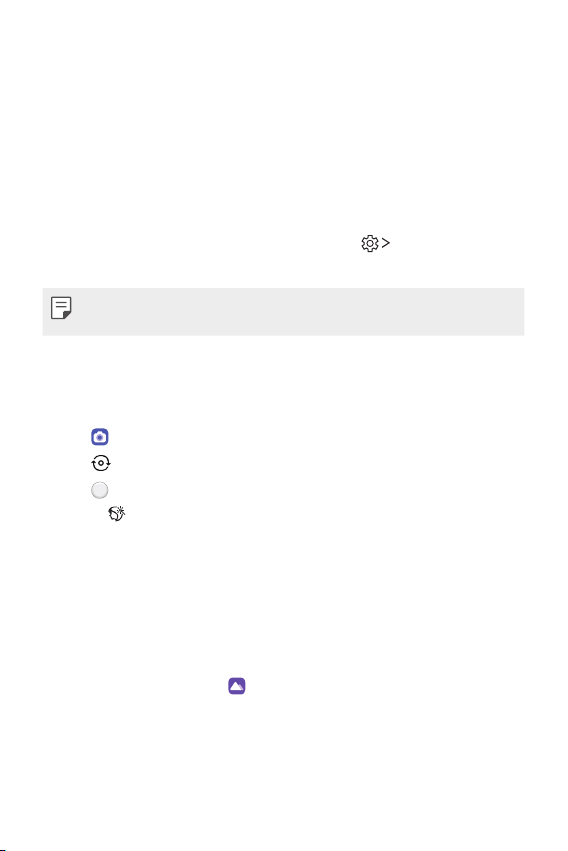
Selfie shot
You can use the front camera to view your face on the screen and take selfies.
1
Tap and select Photo by swiping camera modes.
2
Tap to switch to the front camera.
3
Tap to take photos.
• Tap to apply various beauty effects.
Gallery
Gallery overview
You can view and manage photos and videos saved on your device.
1
On the home screen, tap .
• Saved photos and videos are displayed by folder.

Useful Apps 68
2
Tap a folder and select a file.
• View the selected file in full-screen mode.
• While viewing a photo, swipe left or right to view the previous or
next photo.
• While viewing a video, swipe left or right to rewind or fast-forward
the video.
• If you save the location information or use a scene mode when
shooting, a sub folder is generated for each video.
• Some file formats may not be supported, depending on the installed
software.
• Some files may not be opened due to encoding.
• Files that exceed the size limit may cause an error.
Viewing photos
You can view photos saved in Gallery.
Access additional
options.
Delete images.
Share images.
Back to the
previous screen.
Open Google Lens.
Add to or remove
from your favorites.
• To display the menu items, gently tap the screen. To hide the menu
items, tap the screen again.
Loading page 71...
Loading page 72...
Loading page 73...
Loading page 74...
Loading page 75...
Loading page 76...
Loading page 77...
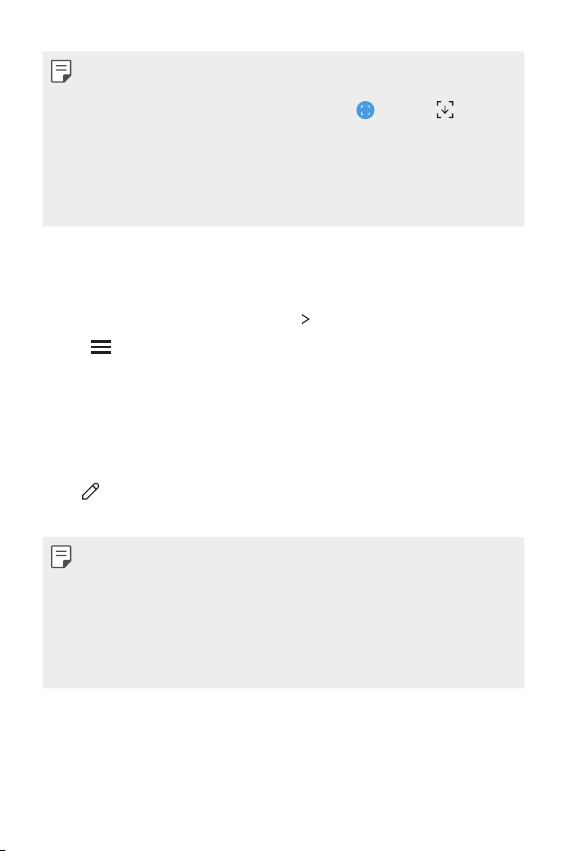
Useful Apps 76
2
To write notes on the screen, tap .
3
Write notes using the tools.
•
: Zoom in or out, or adjust the area to capture.
•
: Write notes by hand.
• : Erase handwritten notes.
• : Undo the previous edit.
• : Redo the recently deleted edits.
• : Crop the screen as you desire.
4
Tap and save the notes.
• Saved notes can be viewed in Gallery.
Additional features after capturing a screenshot
Tap to capture entire
screen by using the scroll
capture feature.
Tap to delete the captured
screen shot.
Tap to write notes on the
captured screen.
Tap to share the captured
screen shot.
Useful Apps 77
• You can capture the entire screen by using the scroll capture feature.
• While using an app such as Messaging and Chrome, drag the
notifications panel downwards and then tap
. Then, tap to
capture the entire screen you are currently viewing as a single file.
• This feature is available only on some apps that support the scroll
capture feature.
• Pinch two fingers or spread your fingers apart to change the memo
layout.
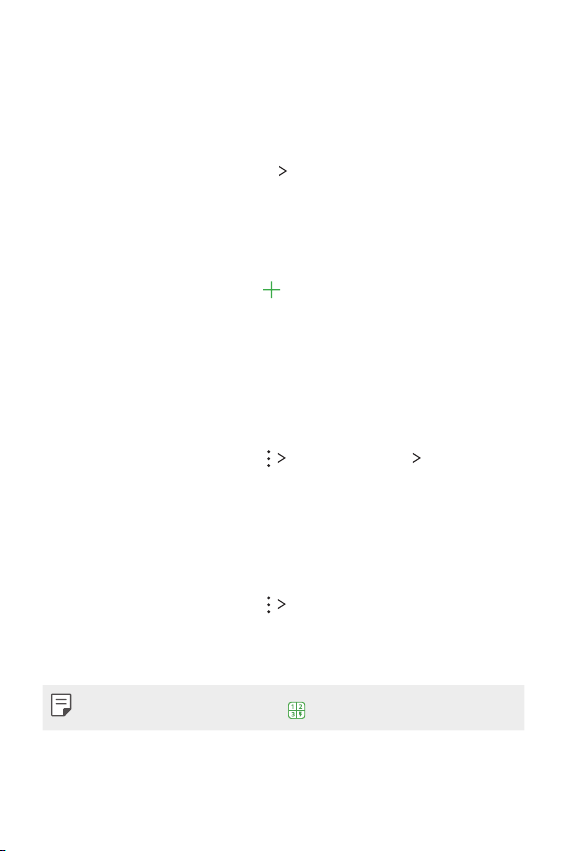
Managing folders
You can organize and view memos according to the memo type.
1
On the home screen, tap Essentials QuickMemo+.
2
Tap on the top part of the screen and then select the desired
function.
• All memos: You can collectively view all memos saved in
QuickMemo+.
• My memos: You can view the memos created in QuickMemo+.
• New category: You can add folders.
•
: You can change the order of folders or add/delete folders. By
pressing the folder, you can change the folder name.
• Some folders do not appear when the folder app initially started. Folders
are additionally displayed only when relevant memos exist.
• Deleted memos are moved to the trash bin and can be recovered within
7 days from the day they were deleted. In the QuickMemo+ app, you can
change the display type by placing two fingers on the screen and either
widening or narrowing the fingers.
• Some folders do not appear when the folder app is initially started.
Useful Apps 78
Contacts
Contacts overview
You can save and manage contacts.
On the home screen, tap Essentials
Contacts.
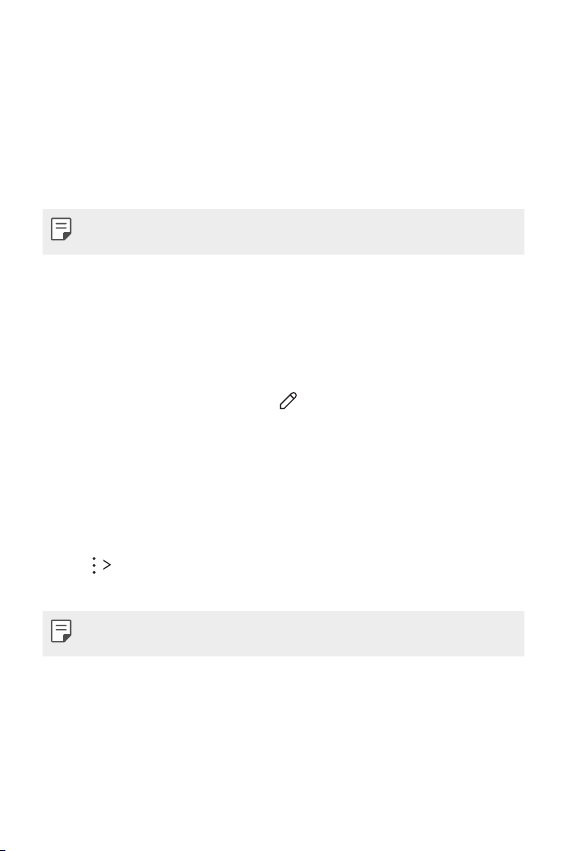
Adding contacts
Adding new contacts
1
On the contact list screen, tap .
• A pop-up appears for selecting the saving location for contact.
Select the desired location.
2
Enter contact details and tap Save.
Importing contacts
You can import contacts from another storage device.
1
On the contact list screen, tap Manage contacts Import.
2
Select the source and target locations of the contact you want to
import, and then tap OK.
3
Select the contacts and tap Import.
Adding contacts to the speed dial list
1
On the contact list screen, tap Speed dial.
2
Tap Add contact from a speed dial number.
3
Select a contact.
• While adding a new contact, tap to add a speed dial number.
Useful Apps 79
Searching for contacts
You can search for contacts by using one of the following options:
• Tap the search bar at the top of the Contacts screen and enter the
contact or phone number you want to search for.
• Scroll the contact list up or down.
• From the index of the contact list screen, tap the initial letter of a contact.
• Once you start typing numbers in the search bar, it brings up the
integrated search results from the call history and contact list saved.
Contact list
Editing contacts
1
On the contact list screen, select a contact.
2
On the contact detail screen, tap and edit details.
3
Tap Save to save changes.
Deleting contacts
You can delete contacts by using one of the following options:
• On the contact list screen, touch and hold a contact you want to
delete, tap Delete contact, then tap Delete to confirm.
• Tap
Delete on the contact list screen, select contacts you want to
delete, then tap Delete.
• Deleted contacts may not be restored.
Loading page 82...
Loading page 83...
Loading page 84...
Loading page 85...
Loading page 86...
Loading page 87...
Loading page 88...
Loading page 89...
Settings 88
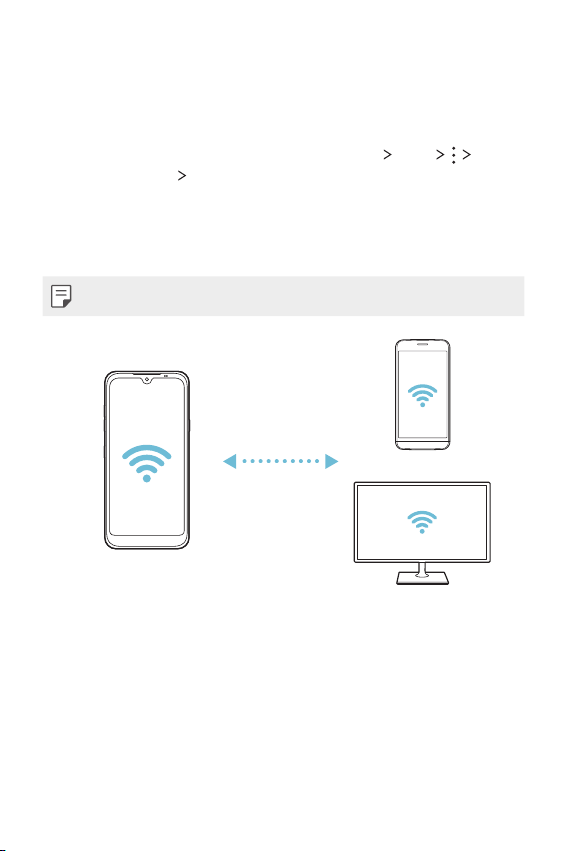
Wi-Fi Direct
You can connect your device to other devices that support Wi-Fi Direct to
share data directly with them. You do not need an access point. You can
connect with more than two devices by using Wi-Fi Direct.
1
On the settings screen, tap Network & internet Wi-Fi
Advanced Wi-Fi Wi-Fi Direct.
• Nearby devices that support Wi-Fi Direct automatically appear.
2
Select a device.
• Connection occurs when the device accepts the connection request.
• The battery may drain faster when using Wi-Fi Direct.
Loading page 91...
Loading page 92...
Loading page 93...
Loading page 94...
Loading page 95...
Loading page 96...
Loading page 97...
Loading page 98...
Loading page 99...
Loading page 100...
Loading page 101...
Loading page 102...
Loading page 103...
Loading page 104...
Loading page 105...
Loading page 106...
Loading page 107...
Loading page 108...
Loading page 109...
Loading page 110...
Loading page 111...
Loading page 112...
Loading page 113...
Loading page 114...
Loading page 115...
Loading page 116...
Loading page 117...
Loading page 118...
Loading page 119...
Loading page 120...
Loading page 121...
Loading page 122...
Loading page 123...
Loading page 124...
Loading page 125...
Loading page 126...
Loading page 127...
Loading page 128...
Loading page 129...
Loading page 130...
Loading page 131...
Loading page 132...
Loading page 133...
Loading page 134...
Loading page 135...
Loading page 136...
Loading page 137...
Loading page 138...
Loading page 139...
Loading page 140...
Loading page 141...
Loading page 142...
Loading page 143...
Loading page 144...
Loading page 145...
Loading page 146...
Loading page 147...
Loading page 148...
Loading page 149...
Loading page 150...
Loading page 151...
Loading page 152...
Loading page 153...
Loading page 154...
Loading page 155...
Loading page 156...
Loading page 157...
Loading page 158...
Loading page 159...
Loading page 160...
Loading page 161...
Loading page 162...