Loading ...
Loading ...
Loading ...
If you drop the trimmer, carefully inspect it for damage. If the blade
is bent or cracked, handles broken or if you see any other condition
that may affect the trimmer’s operation, it must be repaired before
putting it back into use. Call our customer service help line at
1-800-313-5111 for assistance.
CAUTION: Do not at any time let brake fluids, gasoline, petroleum
based products, penetrating oils, etc., come in contact with plastic
parts. They contain chemicals that can damage, weaken or destroy
plastic.
Make sure the unit is detached from the power supply, then use only
mild soap and a damp cloth to clean the tool. Never let any liquid get
inside the tool; never immerse any part of the tool into a liquid.
IMPORTANT: To assure product SAFETY and RELIABILITY,
repairs, maintenance and adjustment should be performed by a
qualified individual using only identical replacement parts.
The cutting blades are made from high quality, hardened steel and
with normal usage, they will not require re-sharpening. However, if
you accidentally hit a wire fence, stones, glass or other hard objects,
you may put a nick in the blade. There is no need to remove this
nick as long as it doesn’t interfere with the movement of the blade.
If it does interfere, make sure the unit is detached from the power
supply and use a fine toothed file or sharpening stone to remove the
nick.
Fertilizers and other garden chemicals contain agents which
greatly accelerate the corrosion of metals Do not store the tool
on or adjacent to fertilizers or
chemicals.
LUBRICATE BLADES - Stop
the unit and disconnect the
power cord. Then remove any
debris on blades. Apply a
light machine oil along the
edge of the top and bottom
blade supports. Make sure
handles remain clean and dry.
MAINTENANCE
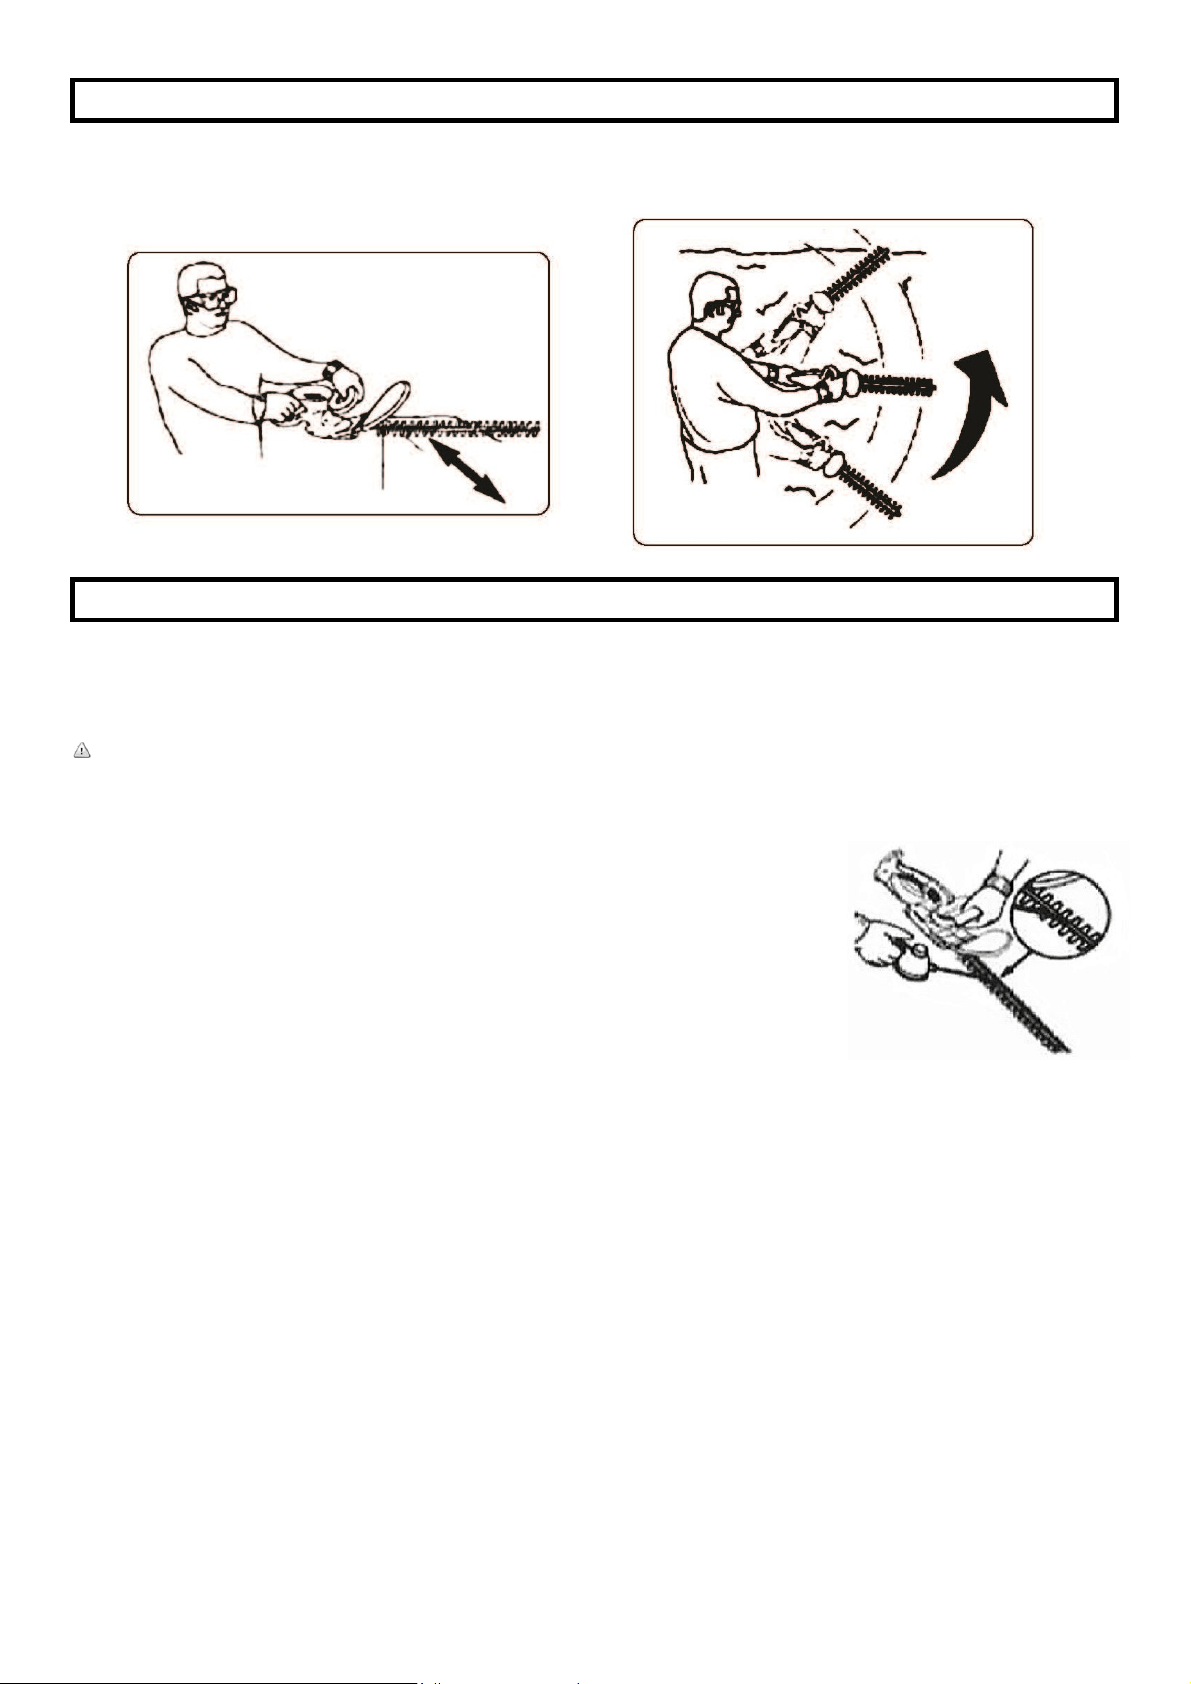
3. TRIMMING NEW GROWTH—A wide, sweeping motion,
feeding the blade teeth through the twigs is most effective.
A slight downward tilt of the blade in the direction of the
motion gives the best cutting.
4. SIDE-TRIMMING HEDGES—Begin at the bottom and
sweep up
TRIMMING INSTRUCTIONS
5
Loading ...
Loading ...
Loading ...