www.SQUATZ.com
PLEASE READ THIS MANUAL CAREFULLY BEFORE OPERATION
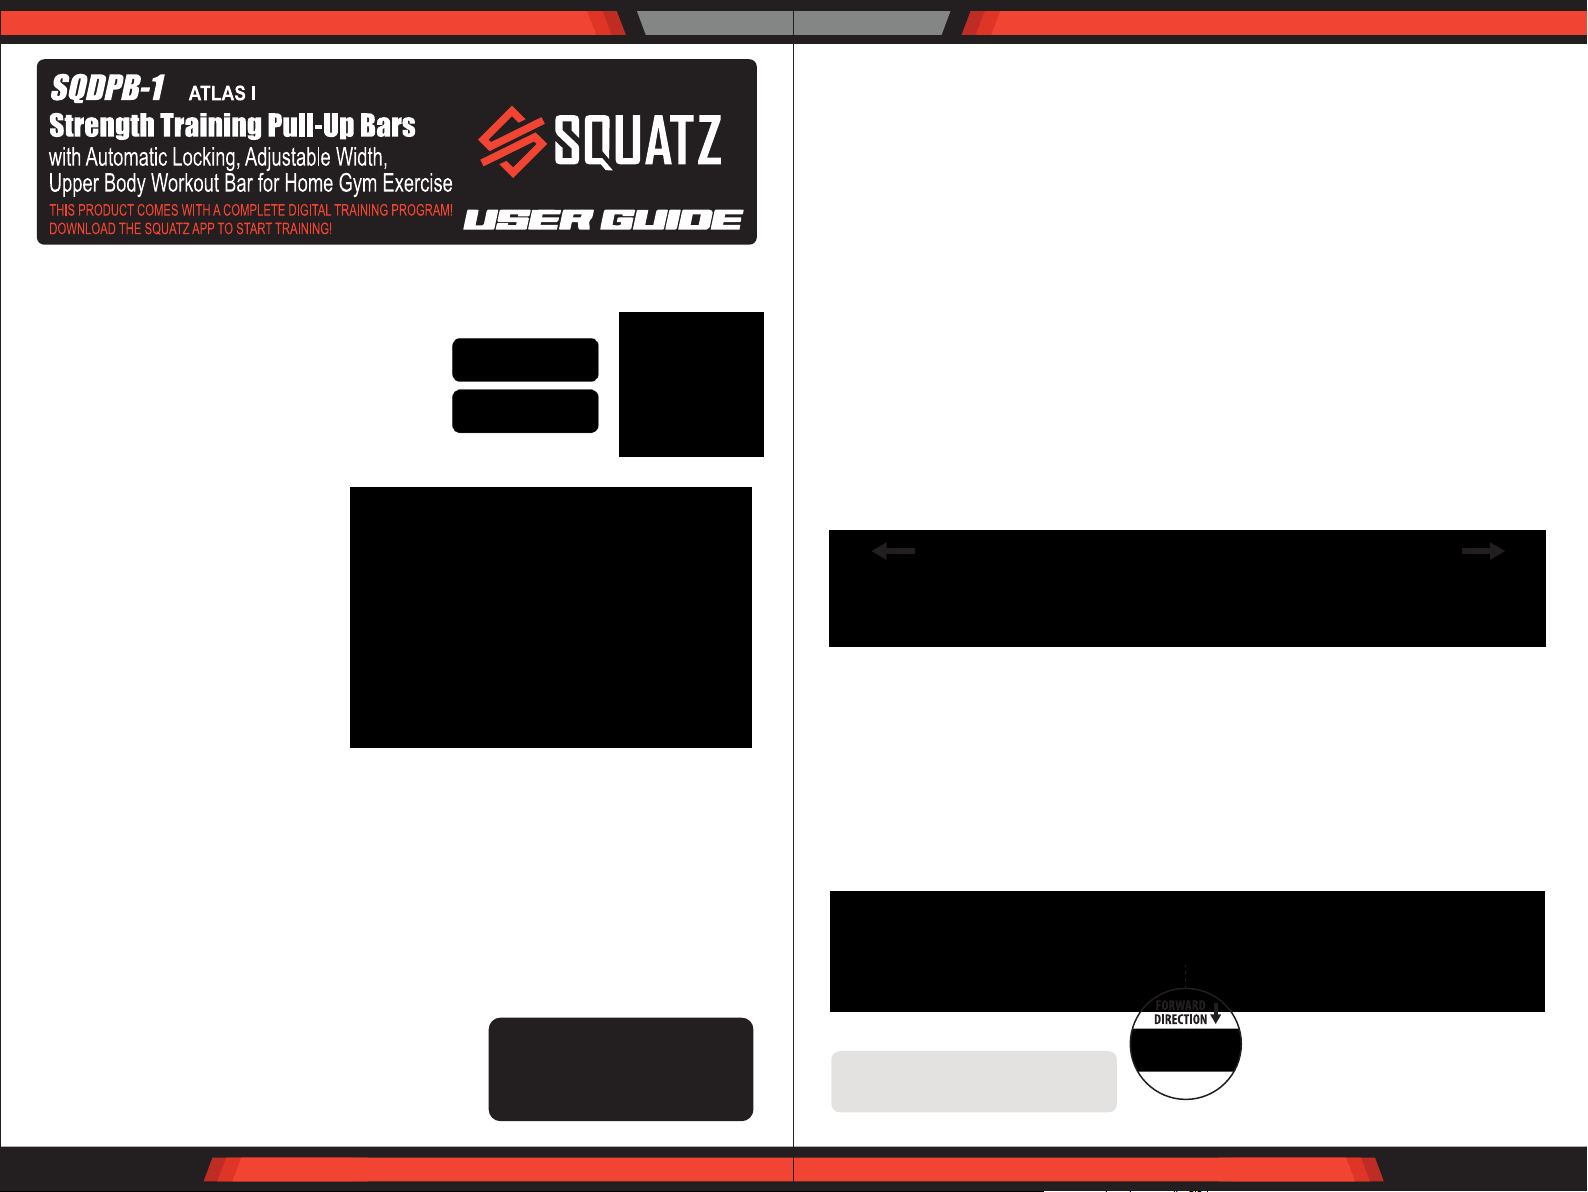
Features
• Easy to Install
• Diamond-Like Base Disperses Pressure
• Steel Pipe Reinforcement
• Removable and Easy to Carry
• Increase Thicker Non-Slip Rubber Pad
• 32" Anti-Skid Horizontal Bars
• Holds up to 440 Pounds
• Soft Anti-Skid PVC Material
• Enlarge Anti-Skid Block
• Large Contact Area and High Resistance
• No Screws and Drilling Required
• Adjustable Pull up Bar
• Suitable for Standard Doorway
• Protects Door Frames from Cracking
• High-Quality Load-Bearing Steel
• Safety with Deadlock Design Pull-Up Bars
• Non-Slip, Non-Toxic, Non-Smell and Comfortable
• Chin up Bar can be Adjusted in Width to Fit in Door Frame
• Level-Meter can Help Install Chin-Up Bar in the Balance State
• Non-Slip Soft Foam Handle Minimize Hand Fatigue and Pain
What's in the Box: Doorway Pull Up and Chin Up Bar
Technical Specs:
• Construction Material: (Metal Part) Iron Pipe,
(Rubber Part) PVC, (Plastic Part) ABS,(Foam) EVA
• Weight Capacity: 4.41lbs
• Length: 29.5” - 45” inches
• Product Dimensions (L x W x H): 29.5-45.3'' x 4.1'' x 6.9'' in.
www.SQUATZ.com
Installation Notes
Step 1: Loosen the locks on both sides outwards and extend the horizontal bar to the same width
as the mounting surface.
Method One:
Place the horizontal bar horizontally on a clean ground, keep both ends still, hold the foam in the middle,
and rotate it in the direction of the arrow to extend the horizontal bar.
Method Two:
Sit on a chair or sofa, place the horizontal bar horizontally on our legs, and the main body in the middle
does not move, rotate the two ends of the horizontal bar in the opposite direction of the arrow to extend
the horizontal bar.
Method Three:
Sit on a chair or sofa, place the horizontal bar upright, the main body in the middle does not move, and
rotate the two ends of the horizontal bar in the opposite direction of the arrow to extend the horizontal bar.
Step 2: Tighten the horizontal bar rmly and x it on the mounting surface.
Fixing Method: Hold one end of the horizontal bar with one hand and place the other end of the horizontal
bar againstthe mounting surface, and then hold the middle foam with one hand and rotate it in the direction
of the arrow until both ends are against the mounting surface (make sure the horizontal bar is level and the
bubbles in the level are stable in the center), and then continue to tighten in the direction of the arrow until
the horizontal bar is tightened.
Note: The direction of the big foot board
(upper narrow and lower width)
Questions? Comments?
We are here to help!
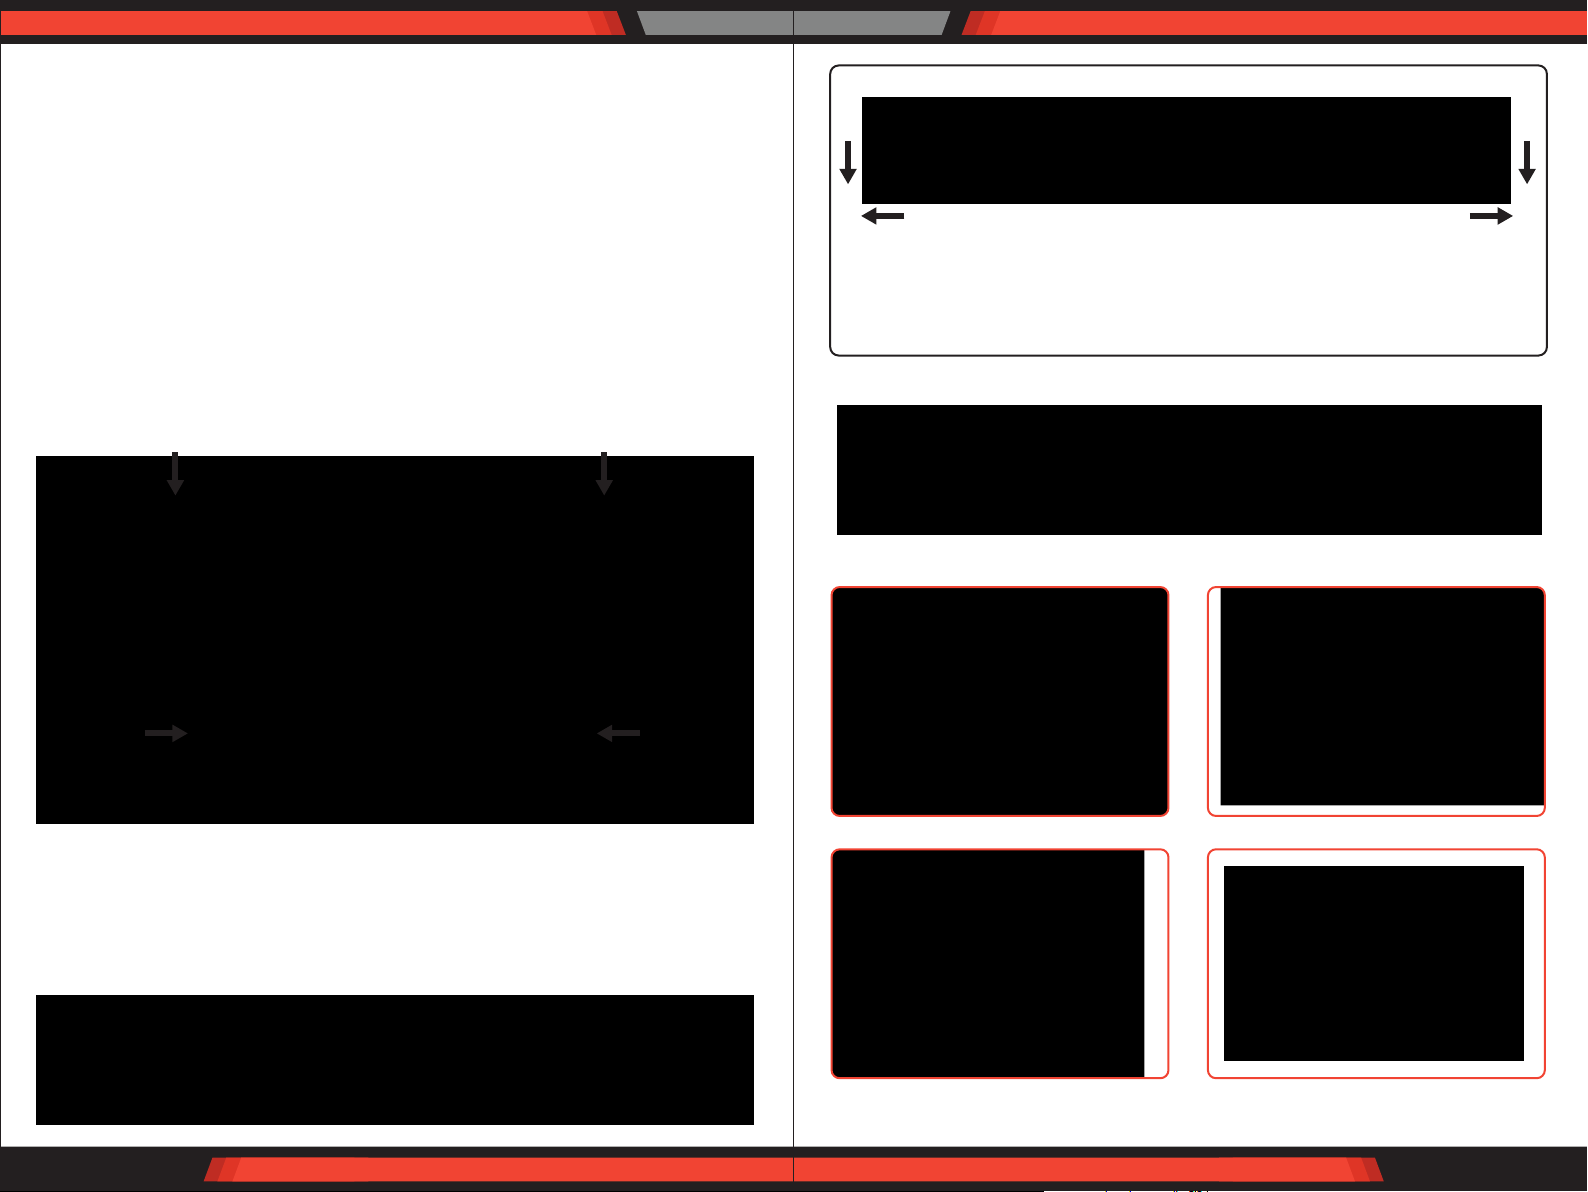
Inserted laterally Vertical rotation Stretch the red part
Reinforcement tips
1. Be sure to rotate in the direction indicated by the vertical arrow in the red part untilthe horizontal arrow
in the red part is aligned with the main pole card slot;
2. Align the entire lock buckle with the main bar slot and push it in to reinforce the horizontal bar;
3. After xing, rotate the main rod in the opposite direction of the arrow.
If it cannot be rotated, it is really xed;
4. When disassembling, push the buckle out of the slot before disassembling.
Step 3: After the horizontal bar is xed, close the locks at both ends to improve safety
Reinforcement Method: Stretch the red part inside the lock, rotate it in the direction of the vertical arrow,
align the horizontal arrow with the groove of the main pole, and then insert it forcefully (if you encounter
resistance, stretch the red part again.)
(Reminder: There will be a certain sound when the lock is inserted, which is normal)
Reminder: After we receive the horizontal bar, if the lock and the pole are tight and the big foot pole is
dicult to turn out, we must rst loosen the locks on both sides.
Solution: We can rst take out the horizontal bar from the package, hold the red part of the lock buckle in
one hand, hold the black part of the lock buckle in the other hand and pull it out;let it rotate in the opposite
direction of the vertical arrow, then release the lock buckle and turn it out Bigfoot.
www.SQUATZ.com www.SQUATZ.com
1. When the horizontal bar receives more gravity, the buttons on both ends will
slide down, which is a normal phenomenon;
2. When the button slides down, the two sides of the horizontal bar will protrude
outward, forming a triangular structure. Increasing the supporting force of the
wall guarantees your safety.
Gravity Enhancement Tips