
1
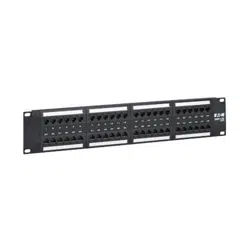
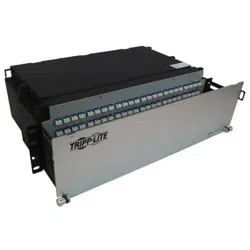
48-Port 1U Rack-Mount
Unshielded Blank Keystone/
Multimedia Patch Panel
Model: N062-048-KJ
1111 W. 35th Street, Chicago, IL 60609 USA • tripplite.com/support
Copyright © 2022 Tripp Lite. All rights reserved.
Quick Start Guide
WARRANTY REGISTRATION
Register your product today and be automatically entered to
win an ISOBAR
®
surge protector in our monthly drawing!
tripplite.com/warranty
Español 5 • Français 9 • Русский 13 • Deutsch 17
2
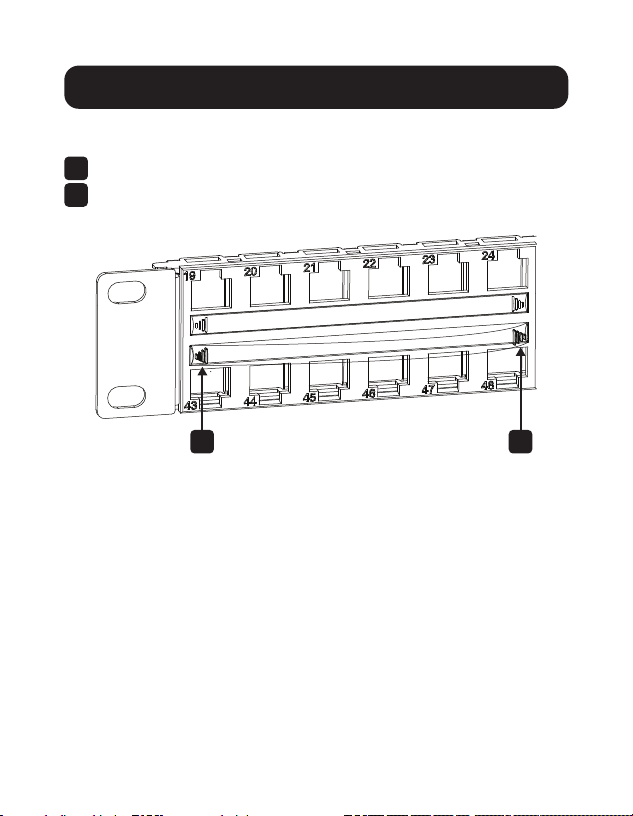
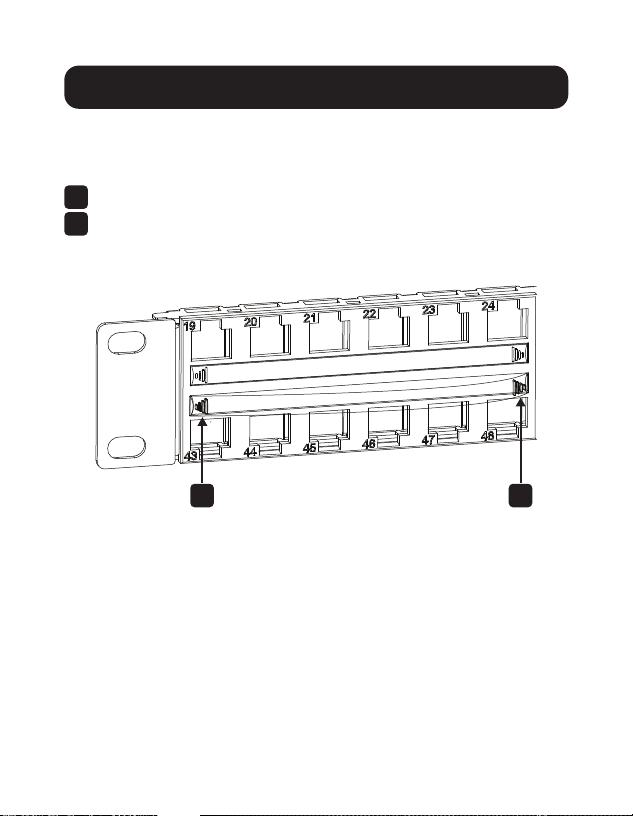
Installation
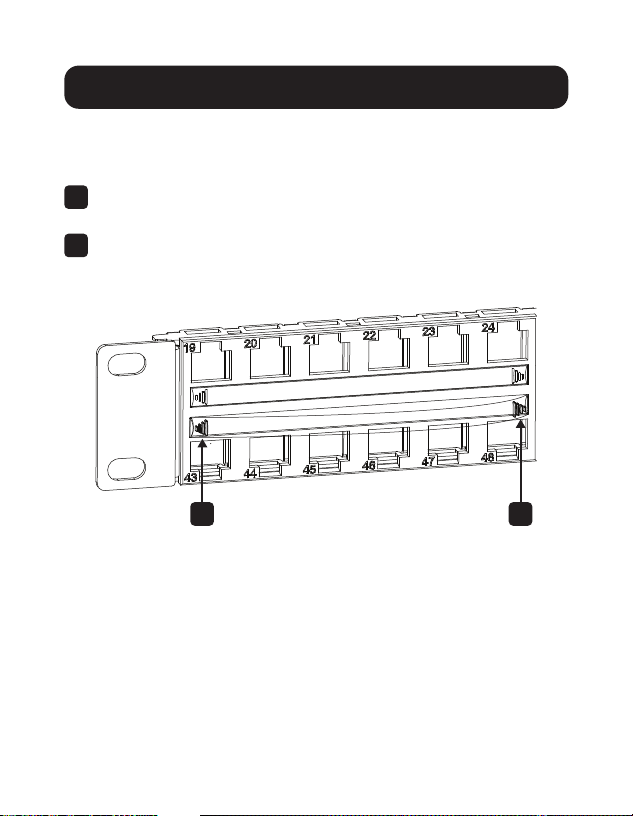
Insert/Remove Clear ID Window
1
Insert the clear ID window into the holder.
2
To remove, bend the clear ID window on both sides.
2 2
3
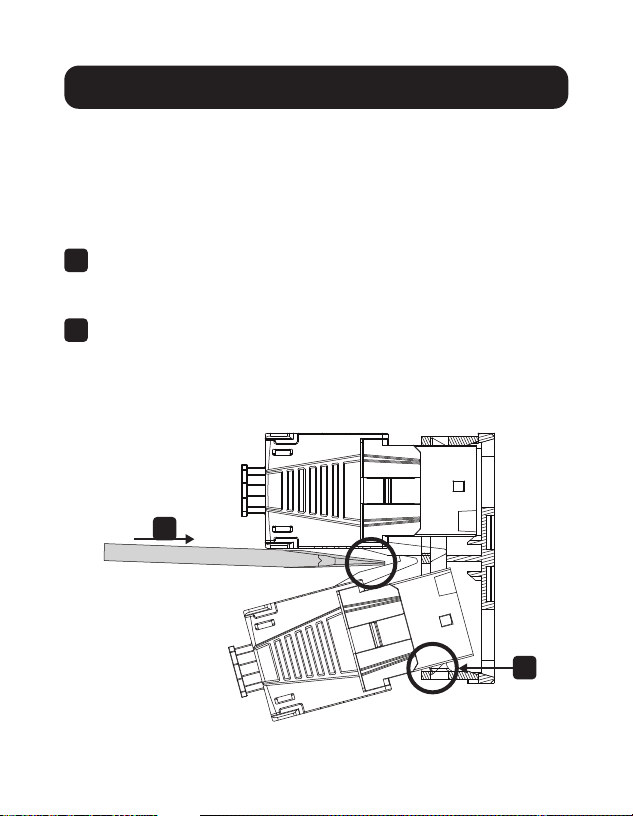
Installation
Insert Keystone Jack
Notes:
• It is highly recommended that keystone jacks be installed after they
have terminated.
• Install keystone jacks in the top row rst.
1
On the rear side of the patch panel, hook the terminated
keystone jack over the bottom ledge of the blank cutout.
2
Tiltthekeystonejackintotheportandpressrmlyonthe
keystonejacklatch.Usingaatheadscrewdriveroryour
hands, secure the keystone jack by snapping it into the
cutout.
1
2

4
1111 W. 35th Street, Chicago, IL 60609 USA • tripplite.com/support
22-02-208 9341AF_RevA
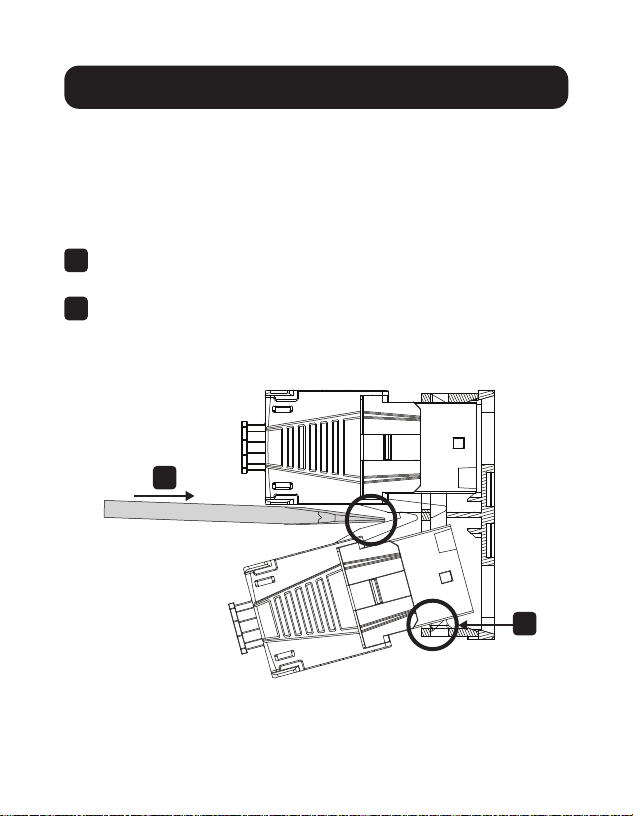
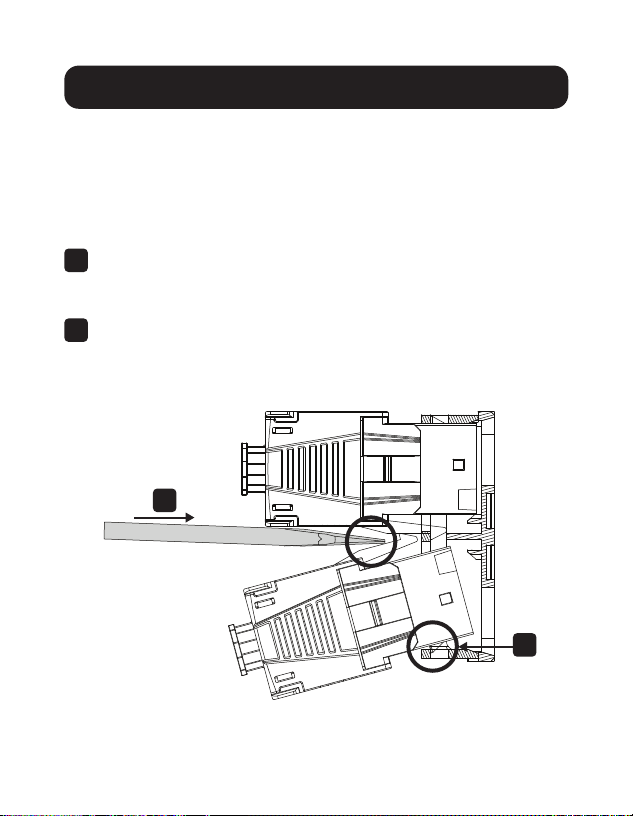
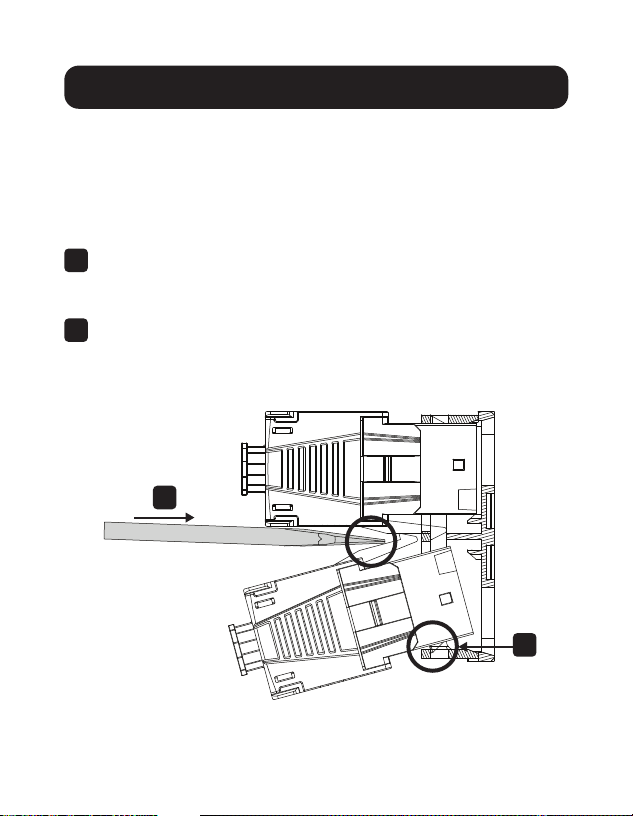
Remove Keystone Jack
1
Usingaatheadscrewdriver,pressthekeystonejacklatch.
Installation

5
Panel de Conexiones de
48 Puertos sin Blindaje
RJ45 Keystone / Multimedia
de 1U para Instalación en
Rack
Modelo: N062-048-KJ
1111 W. 35th Street, Chicago, IL 60609 EE UU • tripplite.com/support
Copyright © 2022 Tripp Lite. Todos los derechos reservados.
Guía de Inicio Rápido
English 1 • Français 9 • Русский 13 • Deutsch 17

6
Instalación
Insertar/Retirar Ventana de ID
Transparente
1
Inserte la ventana de ID transparente en el soporte.
2
Para retirarla, doble la ventana de la ID transparente en
ambos lados.
2 2
7
Instalación
Inserte el Conector Keystone
Notas:
• Es muy recomendable que los conectores keystone se instalen
después de que haya terminado.
• Instale primero los conectores keystone en la la superior.
1
En el lado posterior del panel de conexiones, cuelgue el
conector keystone terminado sobre el borde inferior de la
muesca prefabricada.
2
Incline el conector keystone en el puerto y oprima
rmemente el pestillo del conector keystone. Con un
destornillador plano o las manos, asegure el conector
keystone encajándolo en la muesca.
1
2

8
1111 W. 35th Street, Chicago, IL 60609 EE. UU. • tripplite.com/support
22-02-208 9341AF_RevA
Retire el Conector Keystone
1
Con un destornillador plano, presione el pestillo del
conector keystone.
Instalación

9
Panneau de câblage Keystone/
multimédia vide non blindé pour
montage en bâti 1U à 48 ports
Modèle : N062-048-KJ
1111 W. 35th Street, Chicago, IL 60609 USA • tripplite.com/support
Droits d'auteur © 2022 Tripp Lite. Tous droits réservés.
Guide de démarrage rapide
English 1 • Español 5 • Русский 13 • Deutsch 17
10
Installation
Insérer/supprimer la fenêtre
d'identication transparente
1
Insérerlafenêtred'identicationtransparentedansle
support.
2
Pourlaretirer,plierlafenêtred'identicationtransparente
desdeuxcôtés.
2 2
11
Installation
Insérer la prise Keystone
Remarques :
• Il est fortement recommandé d'installer les prises Keystone une fois
qu'elles ont été terminées.
• Installer d'abord les prises Keystone dans la rangée supérieure.
1
Àl'arrièredupanneaudecâblage,accrocherlaprise
Keystoneterminéesurlerebordinférieurdeladécoupe
vide.
2
InclinerlapriseKeystonedansleport,puisappuyer
fermement sur le loquet de la prise Keystone. À l'aide d'un
tournevisàtêteplateoulesmains,xerlapriseKeystone
enl'enclenchantdansladécoupe.
1
2

12
1111 W. 35th Street, Chicago, IL 60609 USA • tripplite.com/support
22-02-208 9341AF_RevA
Retirer la prise Keystone
1
À l'aide d'un tournevis à tête plate, appuyer sur le loquet de
la prise Keystone.
Installation

13
48-портовая стоечная
неэкранированная
коммутационная панель
Keystone/Multimedia
высотой 1U
Модель: N062-048-KJ
1111 W. 35th Street, Chicago, IL 60609 USA • tripplite.com/support
Copyright © 2022 Tripp Lite. Перепечатка запрещается.
Краткое руководство пользователя
English 1 • Español 5 • Français 9 • Deutsch 17

14
Установка
Вставить/удалить прозрачное окно
идентификатора
1
Вставьте прозрачное окно идентификатора в держатель.
2
Чтобы снять, согните прозрачное окно идентификатора
с обеих сторон.
2 2

15
Установка
Вставьте разъем Keystone
Примечания:
• Настоятельно рекомендуется перед установкой разъемов
Keystone произвести их заделку.
• Сначала установите разъемы Keystone в верхнем ряду.
1
С тыльной стороны коммутационной панели зацепите
заделанный разъем Keystone через нижний выступ
пустого выбивного отверстия.
2
Вставьте разъем Keystone в порт и плотно надавите на
защелку. С помощью отвертки с плоским шлицем или
рукой зафиксируйте разъем Keystone, вставив его в
выбивное отверстие.
1
2

16
1111 W. 35th Street, Chicago, IL 60609 USA • tripplite.com/support
22-02-208 9341AF_RevA
Извлеките разъем Keystone
1
С помощью отвертки с плоским шлицем нажмите на
защелку разъема Keystone.
Установка

17
1-HE-Rack mit
48 Anschlüssen,
ungeschirmtes, leeres
Keystone/Multimedia
Patch Panel
Modell: N062-048-KJ
1111 W. 35th Street, Chicago, IL 60609 USA • tripplite.com/support
Copyright © 2022 Tripp Lite. Alle Rechte vorbehalten.
Kurzanleitung
English 1 • Español 5 • Français 9 • Русский 13
18
Installation
Durchsichtiges ID-Fenster einsetzen/
entfernen
1
Setzen Sie das durchsichtige ID-Fenster in die Halterung ein.
2
Zum Entfernen biegen Sie das durchsichtige ID-Fenster auf
beiden Seiten.
2 2
19
Installation
Keystone-Buchse einsetzen
Hinweise:
• Es wird nachdrücklich empfohlen, Keystone-Buchsen nach dem
Anschluss zu installieren.
• Installieren Sie Keystone-Buchsen zuerst in der oberen Reihe.
1
Haken Sie die angeschlossene Keystone-Buchse auf der
Rückseite des Patch Panels über die untere Kante der leeren
Aussparung ein.
2
Kippen Sie die Keystone-Buchse in den Anschluss und
drücken Sie fest auf die Keystone-Buchsenverriegelung.
Befestigen Sie die Keystone-Buchse mit einem
Flachkopfschraubenzieher oder bei Hand, indem Sie diese in
die Aussparung einrasten.
1
2

20
1111 W. 35th Street, Chicago, IL 60609 USA • tripplite.com/support
22-02-208 9341AF_RevA
Keystone-Buchse entfernen
1
Drücken Sie die Keystone-Buchsenverriegelung mit einem
Flachkopfschraubenzieher.
Installation