Loading ...
Loading ...
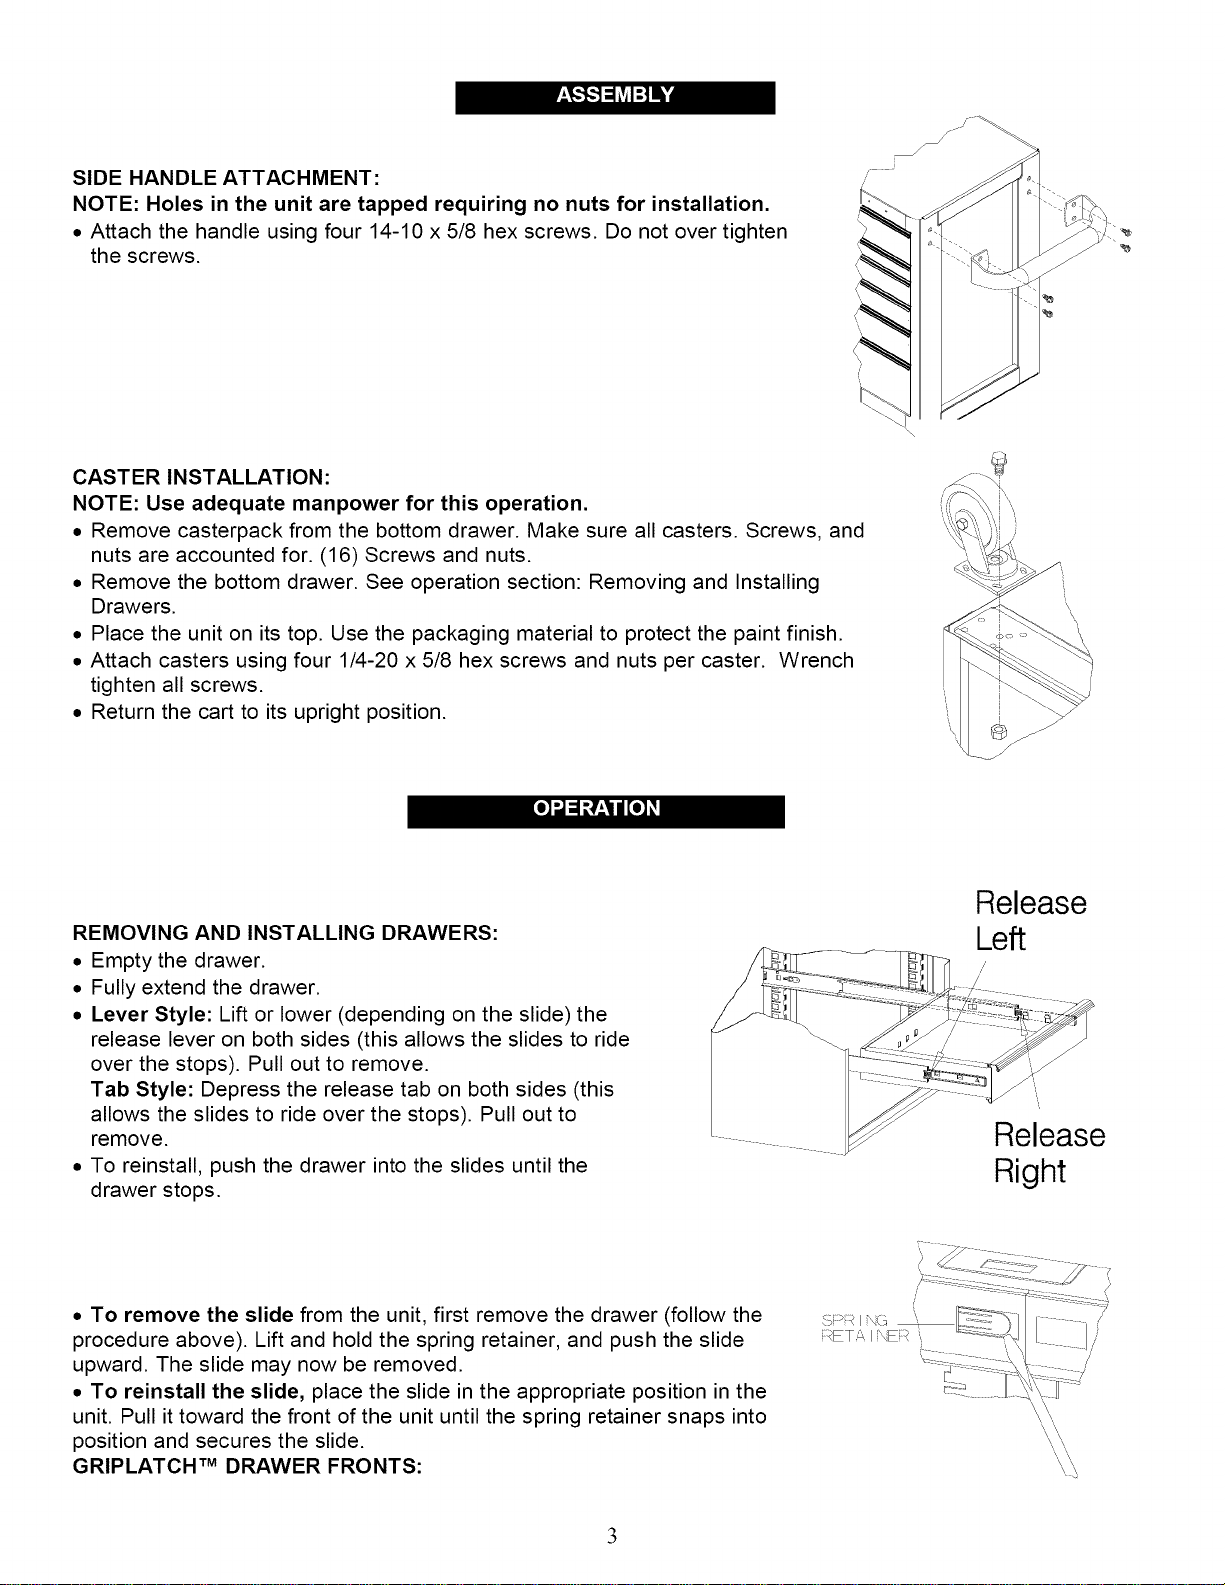
SIDE HANDLE ATTACHMENT:
NOTE: Holes in the unit are tapped requiring no nuts for installation.
• Attach the handle using four 14-10 x 5/8 hex screws. Do not over tighten
the screws.
CASTER INSTALLATION:
NOTE: Use adequate manpower for this operation.
• Remove casterpack from the bottom drawer. Make sure all casters. Screws, and
nuts are accounted for. (16) Screws and nuts.
• Remove the bottom drawer. See operation section: Removing and Installing
Drawers.
• Place the unit on its top. Use the packaging material to protect the paint finish.
• Attach casters using four 1/4-20 x 5/8 hex screws and nuts per caster. Wrench
tighten all screws.
• Return the cart to its upright position.
[.]'-] _ :_:_1i [.] _I
REMOVING AND INSTALLING DRAWERS:
• Empty the drawer.
• Fully extend the drawer.
• Lever Style: Lift or lower (depending on the slide) the
release lever on both sides (this allows the slides to ride
over the stops). Pull out to remove.
Tab Style: Depress the release tab on both sides (this
allows the slides to ride over the stops). Pull out to
remove.
• To reinstall, push the drawer into the slides until the
drawer stops.
Release
Left
• To remove the slide from the unit, first remove the drawer (follow the
procedure above). Lift and hold the spring retainer, and push the slide
upward. The slide may now be removed.
• To reinstall the slide, place the slide in the appropriate position in the
unit. Pull it toward the front of the unit until the spring retainer snaps into
position and secures the slide.
GRIPLATCH TM DRAWER FRONTS:
\\
\ \
",,\
\\
Loading ...
Loading ...
Loading ...