Loading ...
Loading ...
Loading ...
English
55
SETUP AND INSTALLATION
RS232 by Telnet Function
There is alternative RS232 command control way, in projector so called “RS232 by TELNET” for LAN / RJ45
interface.
Quick Start-Guide for “RS232 by Telnet”
Check and get the IP address on OSD of the projector.
Make sure that the PC / laptop can access the web-page of the projector.
Make sure that “Windows Firewall” setting is set disabled in case of “TELNET” function ltering out by
PC / laptop.
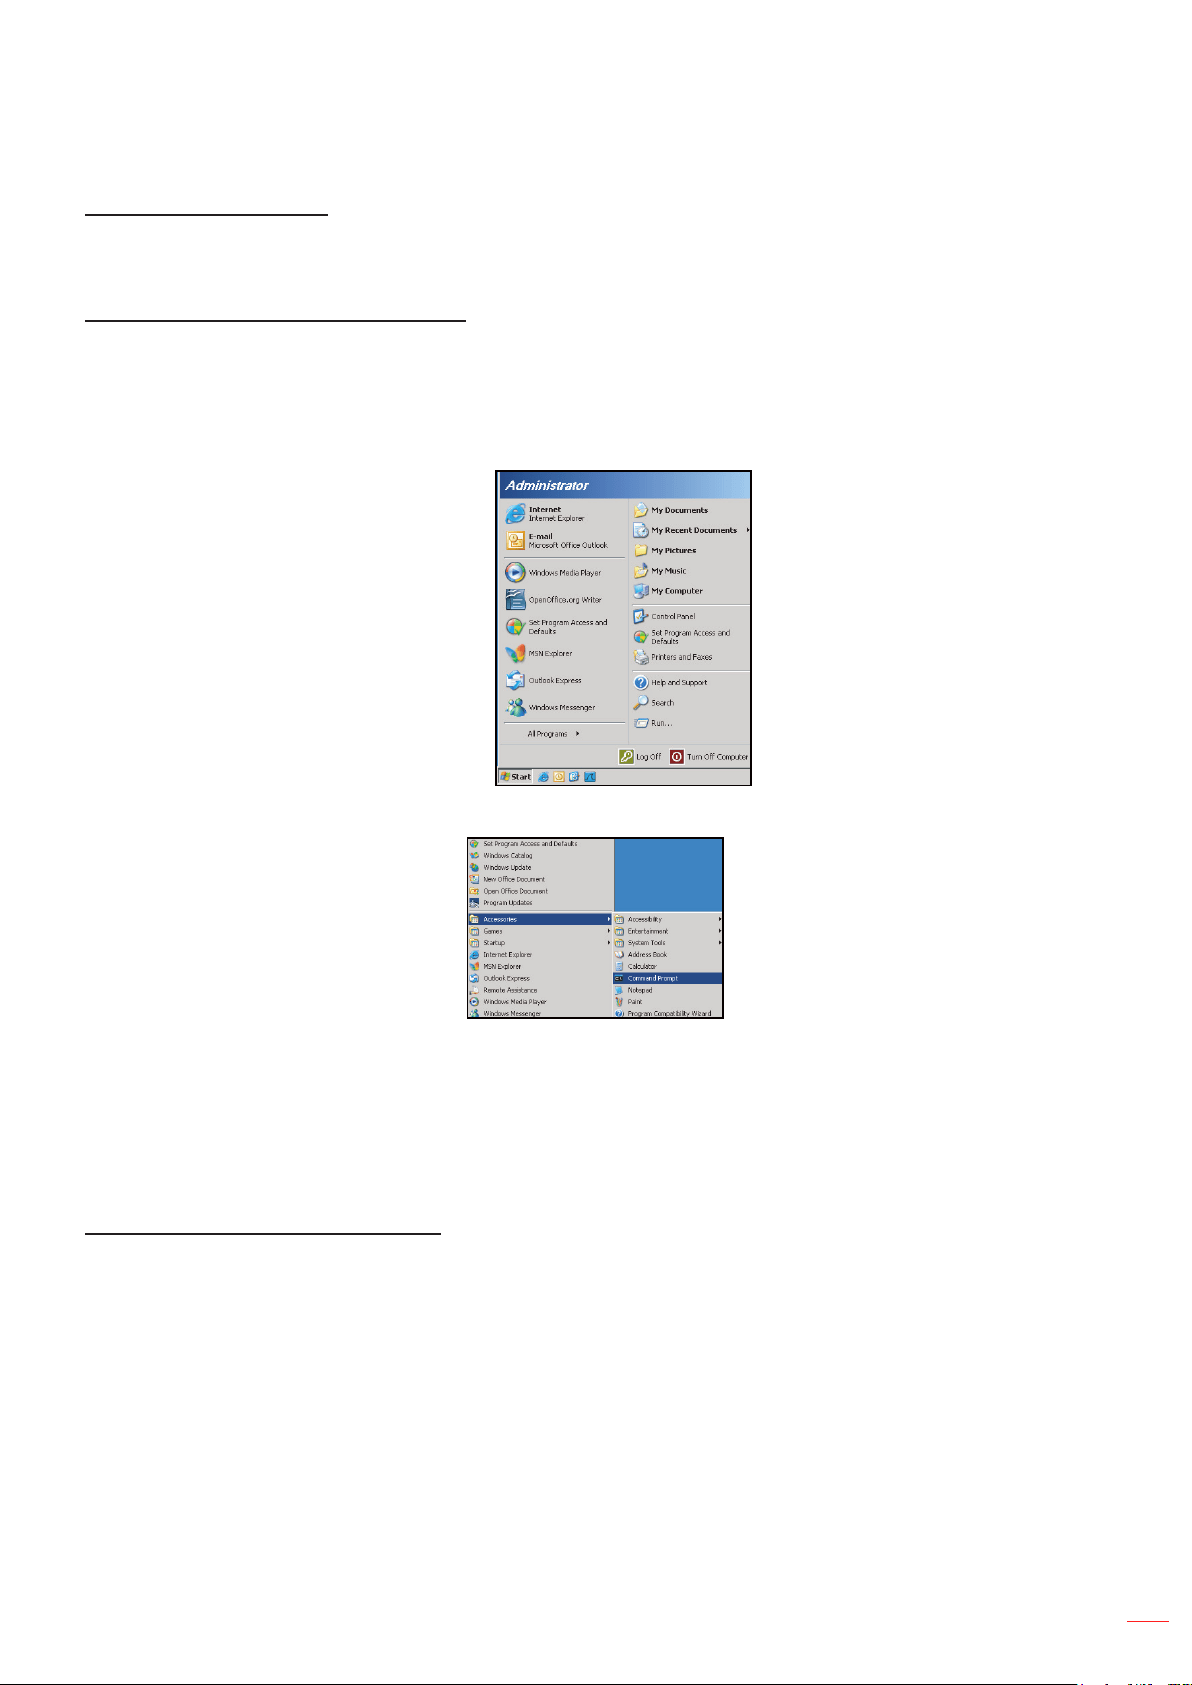
1. Select Start > All Programs.> Accessories > Command Prompt.
2. Input the command format as follows:
± telnet ttt.xxx.yyy.zzz 23 (“Enter” key pressed)
± (ttt.xxx.yyy.zzz: IP-Address of the projector)
3. If Telnet-Connection ready, and user can have RS232 command input, then “Enter” key pressed, the
RS232 command will be workable.
Specication for “RS232 by TELNET”:
1. Telnet: TCP.
2. Telnet port: 23 (for more detail, kindly please get contact with the service agent or team).
3. Telnet utility: Windows “TELNET.exe” (console mode).
4. Disconnection for RS232-by-Telnet control normally: Close
5. Windows Telnet utility directly after TELNET connection ready.
± Limitation 1 for Telnet-Control: there is less than 50 bytes for successive network payload for
Telnet-Control application.
± Limitation 2 for Telnet-Control: there is less than 26 bytes for one complete RS232 command for
Telnet-Control.
± Limitation 3 for Telnet-Control: Minimum delay for next RS232 command must be more than 200 (ms).
Loading ...
Loading ...
Loading ...